Page Table of Contents
Updated on Jan 21, 2026
Storing computer data to NAS, a Network drive, has become one of the most popular methods to ensure the safety of important information. This post from EaseUS will discuss the definition of NAS, the benefits of NAS, and how to back up Windows 11 files and OS to NAS with step-by-step guides.
[Definition You Need to Know] What is NAS?
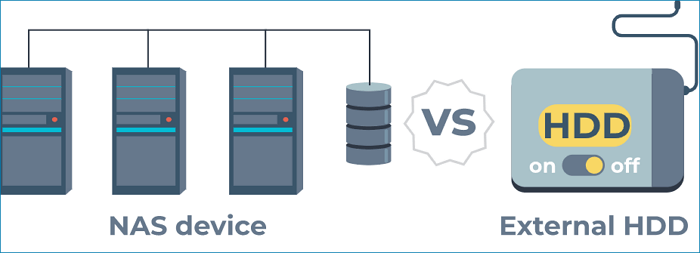
NAS, short for "Network Attached Storage", is a data storage device that can be connected to a network. It allows users to store and share data over the network, making it an ideal choice for backing up data. NAS devices have been around for many years, but they have only recently become popular as a backup solution. This is due to the fact that NAS devices offer a number of advantages over other storage solutions.
NAS devices are typically much cheaper than other storage solutions, such as SANs or DASs. They are also much easier to set up and use, making them ideal for small businesses or home users. In addition, NAS devices offer a number of features that make them ideal for backing up data. For example, most NAS devices come with built-in RAID support, which can protect against data loss in the event of a drive failure.
📖More Definitions Reading
Backup Locations | NAS vs. Local Drive: What's the Advantage?
If you want to create a Windows 11 backup, you have two options: either back up your data to a local drive or back up your data to a NAS (Network Attached Storage) device. There are advantages and disadvantages to both methods. Here's a quick overview of the pros and cons of each method:
#1. Backup to Local Drive
| 😊Advantages | ☹️Disadvantages |
|---|---|
|
|
#2. Backup to NAS
| 😊Advantages | ☹️Disadvantages |
|---|---|
|
|
How to Backup Windows 11 to NAS Network Drive - Files & OS
Now that you know the pros and cons of Windows 11 backup to network drive, it's time to apply it to store your backup files. More and more Windows users have now upgraded to Windows 11. This new system brings a lot of features and refreshes the operation experience. But in the aspect of backing up data, Windows 11 is a little bit disappointed.
Generally speaking, Windows 11 only strengthens the OneDrive sync feature, which most users think is useless. However, users can still make a basic data protection move thanks to the other built-in backup utilities. There are two methods to back up Windows 11 to NAS:
Apart from Windows built-in backup tools, you might need a third-party helper. Let's take a look at each method.
🚩Further Reading: How to Back Up Network Shared Files Using Network Backup Software
Method 1️⃣. Back up Windows 11 Files Only to NAS
This method is suitable for users who only want to back up specific files or folders. If you want to back up the entire system, please skip to Method 2.
You can either copy and paste the files and folders to the NAS drive or use Windows 11 File History to save different versions. In this part, we only introduce how to use File History to back up data to NAS on Windows 11. Here are the detailed steps:
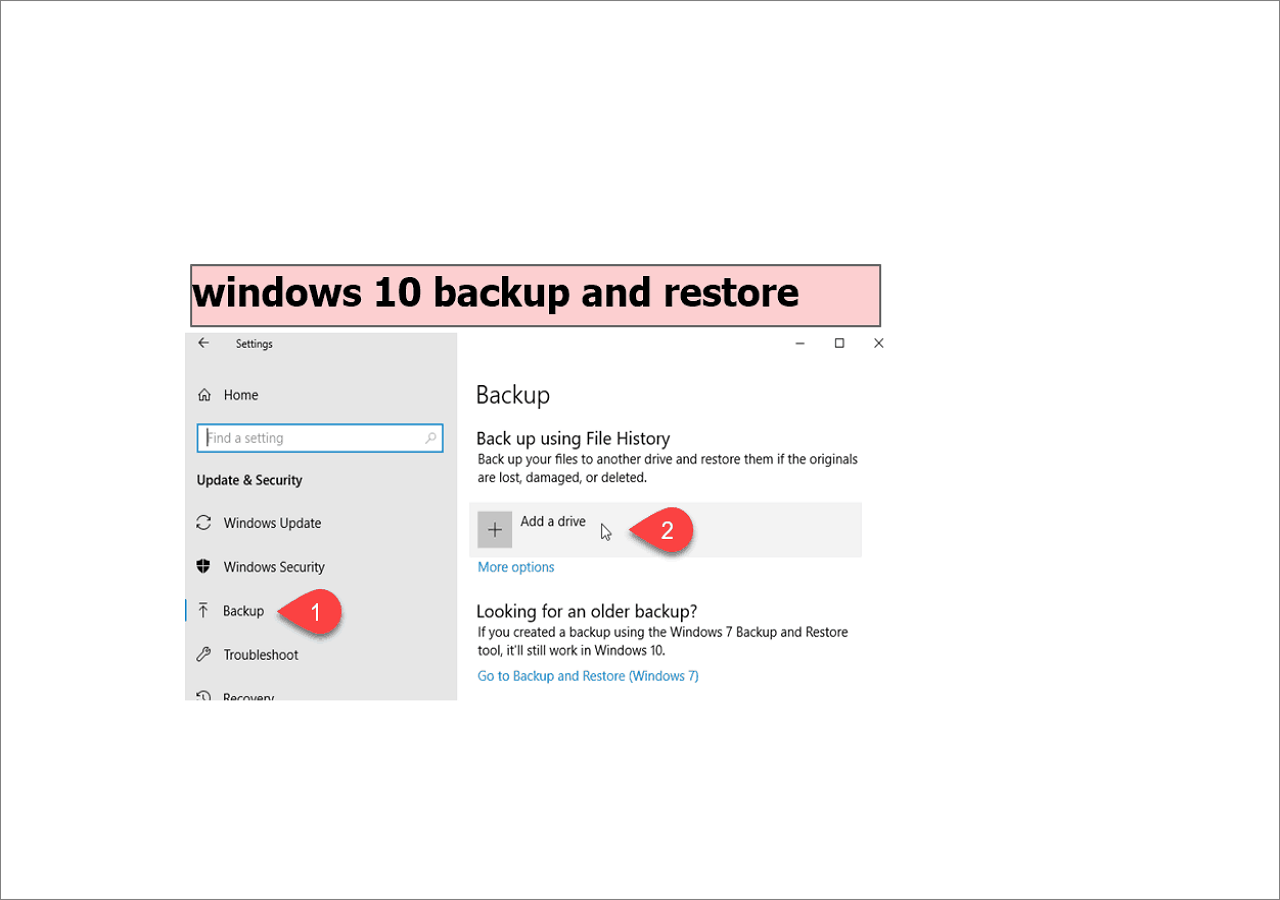
Step 1. Search Control Panel, enter System and Security, and then go to File History.
Step 2. Connect your NAS device to your computer and make sure it is turned on.
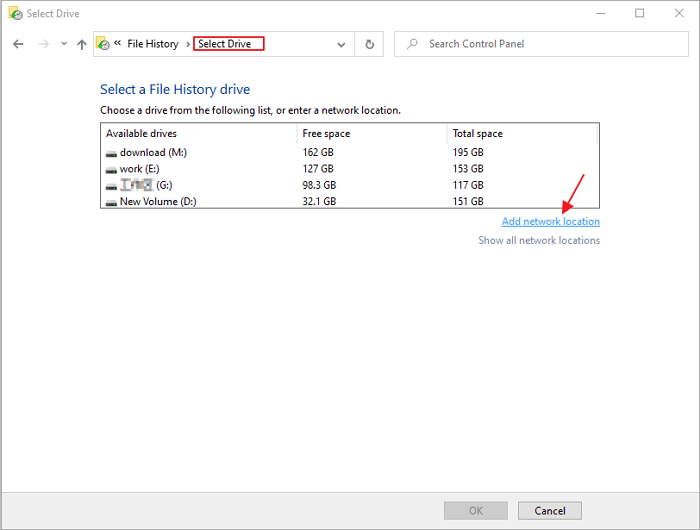
Step 3. On the left side is an option - "Select drive". Click and choose "Add a network location" to set your NAS drive as the backup location.
Step 4. Then turn on your File History, and it will start to make the first backup to your NAS drive.
2. Now, Windows users can only access File History from Control Panel in Windows 11
Note: These are the steps to back up Windows 11 to network drive with File History. Actually, the Windows Backup and Restore tool is also available to execute the task. You can refer to its ultimate guide to back up Windows 11 files and systems to NAS effectively.
The detailed guide above is about backing up Windows 11 files to NAS with File History. Method 2 will tell you how to back up the system to NAS.
📖You may be interested: Automatically Backup a Folder to A Network Drive
Method 2️⃣. Backup Windows 11 System to NAS
Back up Windows 11 system is not simply making a copy of all the system files. It is to create an image file that contains files, configurations, and even disk structure to a backup location. In Windows 11, users can use the built-in Backup and Restore to create a disk image. They can also rely on a free third-party backup tool - EaseUS Todo Backup, to simplify the process.
EaseUS Todo Backup
- Completely free backup tool for Windows users to backup files, system, disks/partitions, and mails.
- One-click backup saves time and learning costs to the greatest extent
- Always committed to data security, verified by over 20,000,000 users
- Support users to store backup anywhere: local drives, NAS, and cloud
Secure Download
EaseUS Todo Backup is a professional backup and restore software that can back up systems, hard drives, files, and applications with simple steps. Now let's see how to use EaseUS Todo Backup to perform Windows 11 backup to network drive. Before starting, please free download and install EaseUS Todo Backup on your computer first. Then follow the steps below:
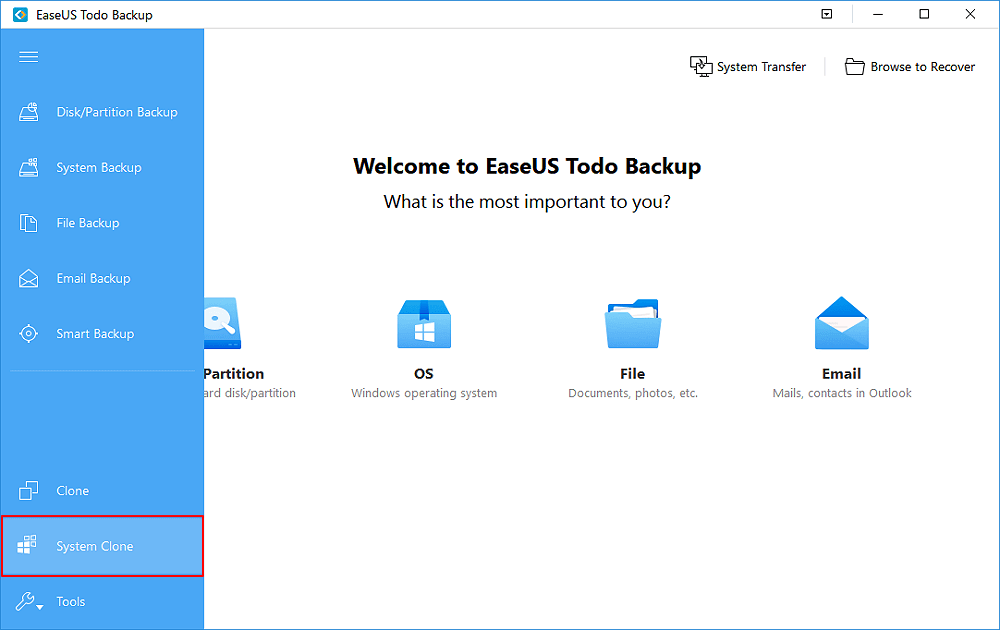
Step 1. Launch EaseUS Todo Backup and choose "Create Backup" on the home page, click "Select backup contents".

Step 2. Among the four available categories, click "OS" to start back up.

Step 3. The system partition will be automatically selected, you only need to select the location.

Step 4. Local Drive, Cloud, and NAS are available for you to save the backup file. You can also connect an external hard drive to preserve the system backup files.

Step 5. You can customize the settings in "Options" at the left bottom. After that, click "Backup Now", and the process will begin.
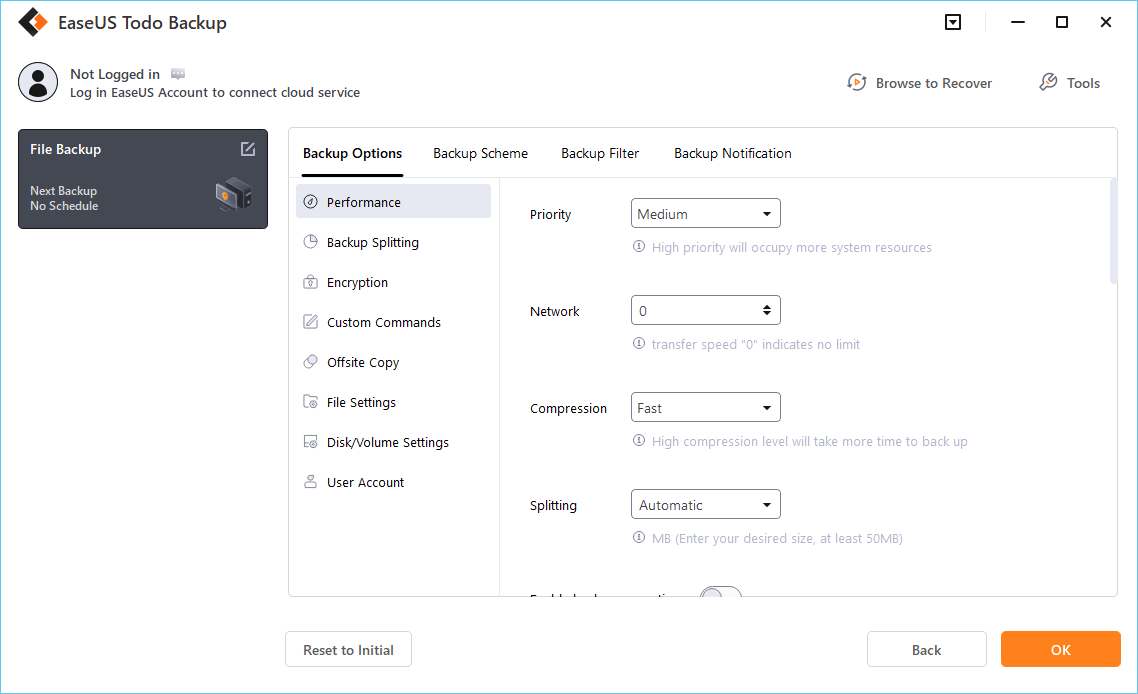
*After finishing the backup process, you can check the backup status, recover, open, or delete the backup by right-clicking the backup task on the left.
FAQs on Windows 11 Backup to Network Drive
1. How do I backup to a network drive in Windows 11?
There are two methods to backup data to NAS on Windows 11: backing up files only or backing up the entire system. Both Windows built-in tools and third-party backup software can help you backup Windows 11 files to a network drive. Connect the Network drive to your computer, and select it as the backup location when setting up the backup.
- Windows built-in tools: File History and Backup and Restore
- Third-party backup software: EaseUS Todo Backup, Acronis Cyber Protect, Paragon Backup and Recovery, etc.
2. Does Windows 11 have a backup program?
Windows 11 has two built-in backup programs: File History and Backup and Restore. File History can only backup specific files, while Backup and Restore can create a system image file containing all your computer's data. You can choose either of them according to your needs.
Final Thought
With the above guide, you should know how to backup Windows 11 files and the system to NAS. If you have any questions or suggestions when using EaseUS Todo Backup, please feel free to contact us. We're always here to help you out.
Was this page helpful? Your support is truly important to us!

EaseUS Todo Backup
EaseUS Todo Backup is a dependable and professional data backup solution capable of backing up files, folders, drives, APP data and creating a system image. It also makes it easy to clone HDD/SSD, transfer the system to different hardware, and create bootable WinPE bootable disks.
Secure Download
-
Updated by
![]()
Larissa
Larissa has rich experience in writing technical articles and is now a professional editor at EaseUS. She is good at writing articles about data recovery, disk cloning, disk partitioning, data backup, and other related knowledge. Her detailed and ultimate guides help users find effective solutions to their problems. She is fond of traveling, reading, and riding in her spare time.…Read full bio -
Written by
![]()
Jean
Jean is recognized as one of the most professional writers in EaseUS. She has kept improving her writing skills over the past 10 years and helped millions of her readers solve their tech problems on PC, Mac, and iOS devices. …Read full bio
Related Articles
![]() How to Backup Windows 10 Before Upgrading to Windows 11✅
How to Backup Windows 10 Before Upgrading to Windows 11✅![]() How to Create Disk Image Windows 10 for Free on Laptops & PCs
How to Create Disk Image Windows 10 for Free on Laptops & PCs![]() Windows To Go Creator for Windows 10/8/7
Windows To Go Creator for Windows 10/8/7![]() 5 Best Backup and Restore Software for Windows 10 [Updated 2026]
5 Best Backup and Restore Software for Windows 10 [Updated 2026]![]() How to Clone RAID Disk Safely and Easily
How to Clone RAID Disk Safely and Easily![]() Essential Guide to Windows 10 Backup and Restore in 2026 [All You Need to Know]
Essential Guide to Windows 10 Backup and Restore in 2026 [All You Need to Know]
EaseUS Todo Backup

Smart backup tool for your files, disks, APPs and entire computer.
Topic Clusters


Interesting Topics