Page Table of Contents
Updated on May 20, 2024
It becomes crucial to create a backup of your NAS, or you can lose your data in the case of an accident or failure. Creating a backup of your Synology NAS data to a cloud platform or an external USB drive is very simple. Continue reading to learn more about Synology NAS and how to back it up.
Does Synology NAS Come with Backup Software
Synology NAS uses Hyper Backup, which is its backup application. You can back up all of your important data to an external source or directly to third-party cloud platforms like OneDrive, Google Drive, Dropbox, Box, and more.
If you want to know how to move files from OneDrive to iCloud, you can read the article below:
Quick! How to Move Files from OneDrive to iCloud
You may want to move files from OneDrive to iCloud to free up space, create backups, or for easier access on iOS devices. You can move files from OneDrive to iCloud using both Mac and PC.
How to Backup Synology NAS with Hard Drive Backup Software
EaseUS Todo Backup Home is user-friendly backup and data restoration software that can quickly back up Synology NAS to external hard drive, a cloud drive, a local drive, or another NAS. It can also help you back up Windows 10 to Synology NAS.
Secure Download
You can schedule incremental backups of your Synology NAS data with the EaseUS Todo Backup Home to take place at predetermined times during the day or week.
EaseUS Todo Backup Home also helps with backing up your hard drive data and cloning hard drive Windows 10, and so much more. It is an award-winning backup and restoring software with 14 years of expertise and is recognized as one of the leaders in this industry.
Here's how to backup your Synology NAS with EaseUS Todo Backup Home:
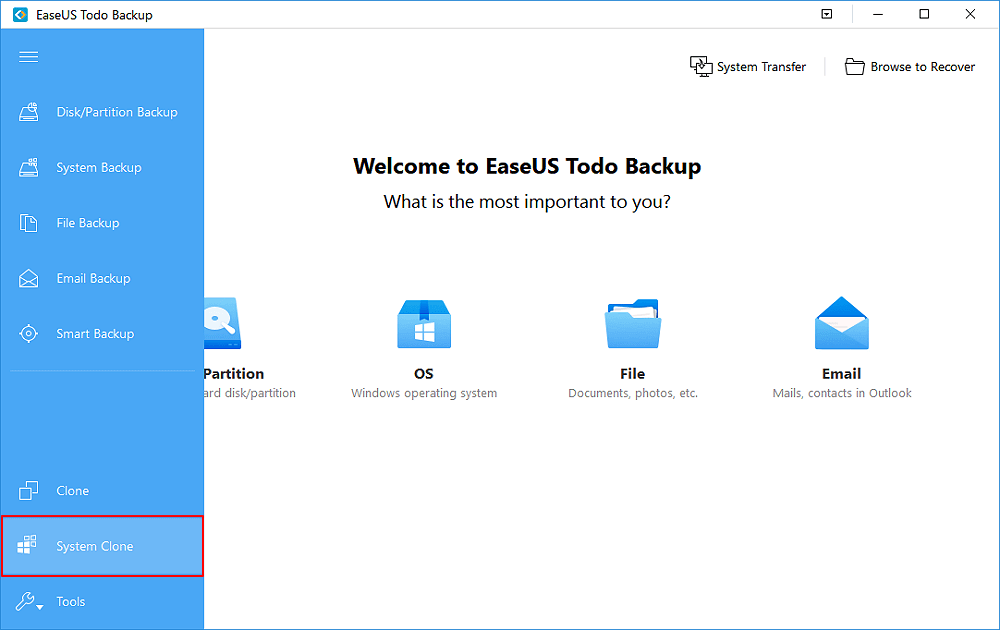
Step 1. Click the "Select backup contents" button to start backup.

Step 2. There are four data backup categories, File, Disk, OS, and Mail, click File.

Step 3. Both local and network files will be listed on the left. You can expand the directory to select the files to be backed up.

Step 4. Follow the on-screen guide, select the destination where you want to save the backup.

Click "Options" to encrypt the backup with password in "Backup Options", set the backup schedule and choose to start back up at certain event in "Backup Scheme". There are also many other options you can explore, customize the backup task according to your need.

Step 5. You can store the backup to local drive, EaseUS's cloud service, and NAS.

Step 6. EaseUS Todo Backup enables users to back up data to both third-party cloud drive and its own cloud drive.
If you want to back up data to third-party cloud drive, choose Local Drive, scroll down to add Cloud Device, add and login your account.


Step 7. Click "Backup Now" to start backup. After the backup task is completed, it will be displayed in the form of a card on the left side of the panel. Right-click the backup task to further manage it.

How to Backup Synology NAS to Cloud
You first need to confirm if your Synology NAS is running the latest DSM 7.0 or at least 6.0.
Once you have made sure, here's how to backup your Synology NAS data to the cloud using Hyper Backup:
Set up a backup task:
Step 1. Log in to DSM and from the package center, and download Hyper Backup if it isn't downloaded already.
Step 2. Launch Hyper Backup.
Step 3. Select the "Data backup task" option by clicking "the + icon" in the bottom left corner.
Step 4. Choose "Synology C2 Storage" from the Synology section, under the Backup Destination menu, or select a third-party cloud service platform, then click "Next".

Step 5. Sign in to your cloud using your account credentials.
Step 6. Choose "Create backup task".
Step 7. Select the folder that you choose to back up or the application.
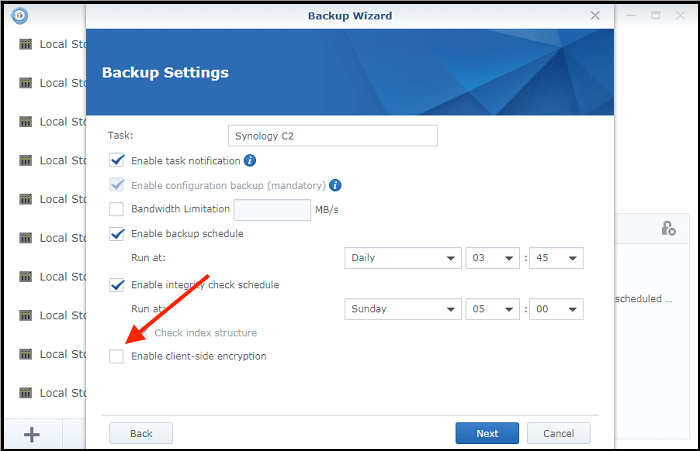
Step 8. Configure the backup settings as required and do the following.
Task: Give a name to the backup task.
Enable task notification: Set up task notification to be notified of the progress via email, push service, or SMS.
Bandwidth Limitation: Allocate your internet resources better by setting a limit on the bandwidth. (This option is available only if you are backing up your data to Synology C2 Storage).
Turn on scheduled backup: Enable automatic backups to backup your data automatically at a specified time.
Turn on integrity check: Turn on integrity check and schedule it to check for file corruption automatically.
Activate client-side encryption: Encrypt your backup data using a password, to keep it safe from unauthorized access. You will also need the password to download the backups from the cloud. Therefore, you must remember your password after encrypting your backup with a password, or you might lose access to your backup data.
Turn on "Enable backup rotation" by selecting the option to set up a rotation schedule and choose the following.
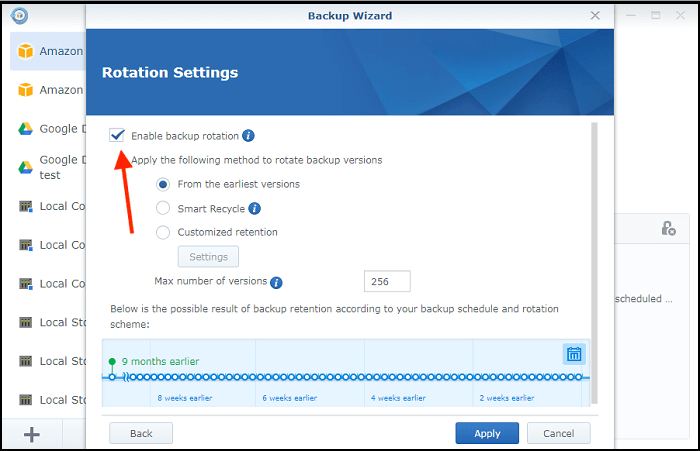
Delete existing backups: Delete previous backup versions once you have exceeded the maximum number of versions that you can save.
Smart Recycle: This helps the system replace old backups with new ones after the maximum number of backup versions is exceeded.
The maximum number of backup versions that can be stored: Set a limit for the number of backup versions that will be kept.
Timeline: Display how many backups were replaced and how many older backups will be replaced.
Step 1. Now, click "Apply" to complete the backup setup process.
Step 2. Click "Yes" to start the backup right away.
Backup using Cloud Sync
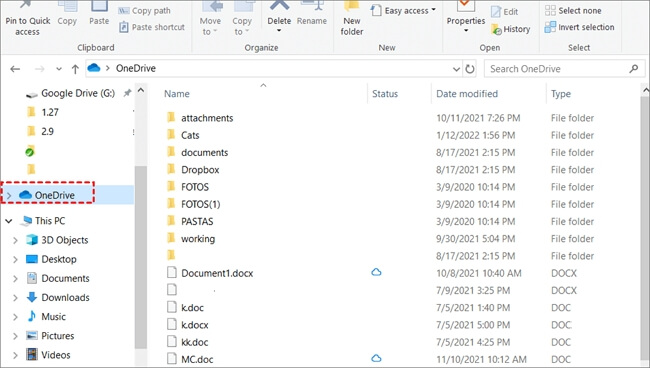
Step 1. Open "Cloud Sync" and select the cloud service to which you want to back up your Synology NAS data/folders, and click "Next".
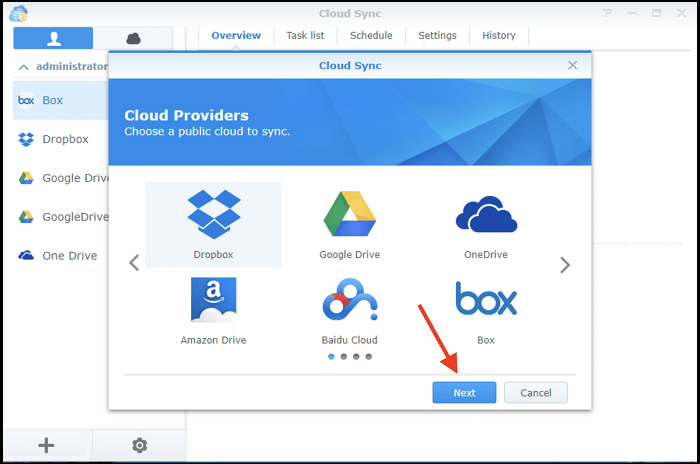
Step 2. Log in to your cloud service platform and permit Cloud Sync to access your account.
Step 3. Once permission is granted, configure your backup.
Step 4. Choose a "remote" and "local path".
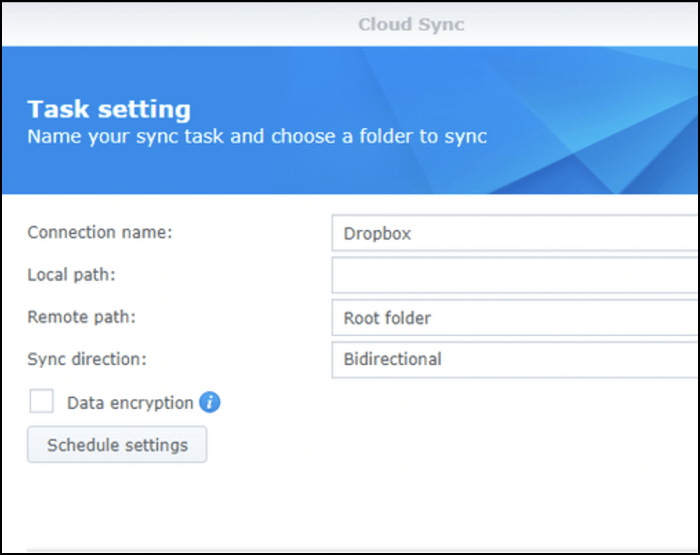
Step 5. Select a "Sync direction" and choose the following:
If you want to backup a folder to the cloud from Synology NAS, choose "Upload local changes only" and select "Don't remove data in the destination when it's removed in the source".
If required, tick "Data Encryption" to protect your backups with a password to prevent unauthorized access. You will be asked to enter the password to download the folder from the cloud, so storing the password somewhere safe is important. Also, the folder on your Synology NAS will remain unencrypted.
Step 6. Click "Next". If you want to configure particular sync settings, click "Advanced Settings". You can use this to unselect the types of files and file types you don't want to back up. Then, Click "OK".

Step 8. To complete the backup task, click "Apply". If encryption is enabled, a .zip file with the key will start downloading to your computer. Store this .zip file somewhere safe.
How to Backup Synology NAS Using USB Copy
You will need your Synology NAS to run the latest DSM 7.0 or 6.0 to make a backup on a USB drive. Here's how to backup your Synology NAS data to a USB:
Backup using Hyper Backup:
Step 1. Download the Hyper Backup if you have not already downloaded it.
Step 2. Launch Hyper Backup.
Step 3. Select "Data Backup" after clicking on "the + icon" in the bottom left corner of the backup wizard.
Step 4. Choose "Local folder & USB" in the Backup Destination window, and click "Next".
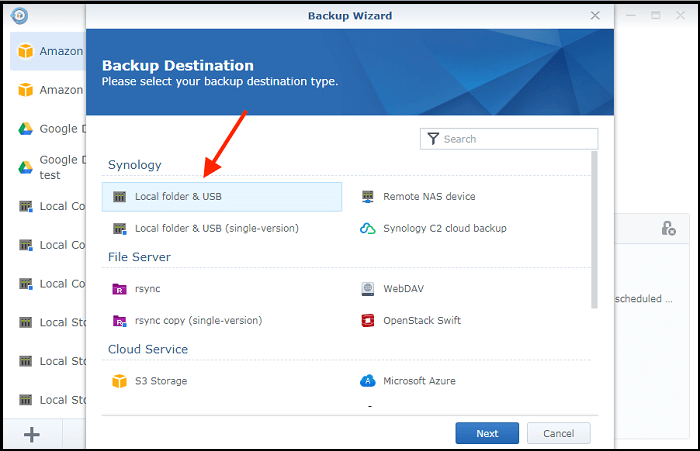
Step 5. Now, choose "Create backup task" and select the USB drive attached to your Synology NAS.
Step 6. Select the folder or the applications you want to back up to your USB drive.
Step 7. Configure the backup settings as mentioned in our previous step (Synology NAS backup to the cloud).
Step 8. Click the "Enable backup rotation" check box.
Step 9. Select "Apply" and then click "Yes" to begin the backup task and wait for it to successfully backup.
Backup Synology NAS FAQs
Here are a few additional details about Synology NAS that we believe you will find useful.
1. How do I back up my Synology NAS to an external hard drive?
You can back up your Synology NAS to an external hard drive by selecting the same option that you would select to upload it to a USB drive by selecting the same option. That is "Local folder & USB".
2. What is the best way to back up a NAS?
From a security standpoint, one of the best ways to back up a NAS is to store it on an external drive. But the backup has to be initiated manually every time.
3. Can Synology NAS backup to the cloud?
Yes, you can back up your Synology NAS to the cloud. Please refer to the solutions above for step-by-step instructions on how to back up your Synology NAS to the cloud.
4. How does Synology backup work?
Synology uses Hyper Backup to make an incremental backup of different types of data that have been modified or newly created to an external drive or the cloud.
Conclusion
The Synology NAS uses its backup software, Hyper Backup, to back up data to the cloud or store it locally on an external drive. Configuring the backup settings with Hyper Backup is quite a time-consuming task.
That's where EaseUS Todo Backup comes in to help make the backup and restore process simpler. The EaseUS Todo Backup is a solution for all your backup needs - you can back up your hard disk, create system images, clone your hard disk, and so much more.
Secure Download
Was this page helpful? Your support is truly important to us!

EaseUS Todo Backup
EaseUS Todo Backup is a dependable and professional data backup solution capable of backing up files, folders, drives, APP data and creating a system image. It also makes it easy to clone HDD/SSD, transfer the system to different hardware, and create bootable WinPE bootable disks.
Secure Download
-
Updated by
![]()
Jerry
"I hope my articles can help solve your technical problems. If you are interested in other articles, you can check the articles at the bottom of this page, and you can also check my Facebook to get additional help."…Read full bio -
Written by
![]()
Cedric
Cedric Grantham is a senior editor and data recovery specialist of EaseUS. He mainly writes articles and how-to tips about data recovery on PC and Mac. He has handled 10,000+ data recovery cases and is good at data recovery of NTFS, FAT (FAT32 and ExFAT) file systems, and RAID structure reorganization. …Read full bio
Related Articles
![]() How to Backup D Drive for Free on Windows 11/10/8/7🔥
How to Backup D Drive for Free on Windows 11/10/8/7🔥![]() 4 Ways to Back Up Computer to the Cloud Drive
4 Ways to Back Up Computer to the Cloud Drive![]() Professional Bootable Backup Software for Windows 11/10/7 [Free Download]
Professional Bootable Backup Software for Windows 11/10/7 [Free Download]![]() 3 Working Ways to Backup Contacts from Outlook | 2024 New
3 Working Ways to Backup Contacts from Outlook | 2024 New![]() Outlook Backup and Restore in 2 Ways [with Video]
Outlook Backup and Restore in 2 Ways [with Video]![]() Best Disk Cloning Software for Windows 7
Best Disk Cloning Software for Windows 7
EaseUS Todo Backup

Smart backup tool for your files, disks, APPs and entire computer.
Topic Clusters


Interesting Topics