Page Table of Contents
Updated on Jul 09, 2026
| 2 Ways - Create Bootable USB | Step-by-step Guide |
|---|---|
| Use CMD to create a bootable USB | Press 'Windows + R' keys to open Run box...Full steps |
| Try a third-party tool | Download EaseUS OS2Go, connect a blank USB to your PC...Full steps |
Since a bootable USB drive contains all essential system booting information and files, it can help boot and start a computer's operating system even when it's dead, which can be caused by corrupted system files, fatal hardware issues, black/blue screen of death, and many unpredictable reasons. We know that there are dozens of professional USB bootable creation tools online that are available to assist users to make bootable media in a much easier way. However, it's still quite useful to grasp the knowledge of using the Dikspart command to achieve the same goal.
Guide: use cmd to format and create a bootable USB drive
- Notice:
- Note that the process of making your USB drive bootable will erase all data on the target drive completely. Remember to back up important files and data in advance.
Select an alternate solution to Step 1 when you wish to format a hard drive faster with third-party free hard drive formatting software.
Step 1. Format the USB drive
1. In Windows 10, 8 or 7, press 'Windows + R' keys simultaneously to open the Run Dialog box, input cmd, and press Enter.
Or, just navigate to Start - All Programs - Accessories; right-click on the Command Prompt and select Run as Administrator.
2. In Command Prompt, type Diskpart and press Enter.
3. Type list disk. You'll see all the connected drives including the prepared USB hard drive, with additional information behind, such as the disk number, size, etc.
4. Then you should type select disk #. The # represents the number of your own USB hard drives. For example, mine is disk 1, so I type select disk 1.
5. Type the following commands one by one, and press Enter after each command.
- clean
- create partition primary
- select partition 1
- active
- format fs=ntfs
(it means you format the drive with NTFS file system) - assign
- exit
Step 2. Copy files from a DVD to the USB drive
1. Insert a DVD from where you want to copy the data to create a bootable USB drive. Let's assume the DVD drive letter is E:.
2. Open Command Prompt in the same way, type the following commands one by one, and press Enter after each command.
- E:
- cd boot
- bootsect /nt60 g:
(G: is your USB drive) - copy e:\*.* /s/e/f g:
Alternatively, you can try easier methods from the guidelines as follows:
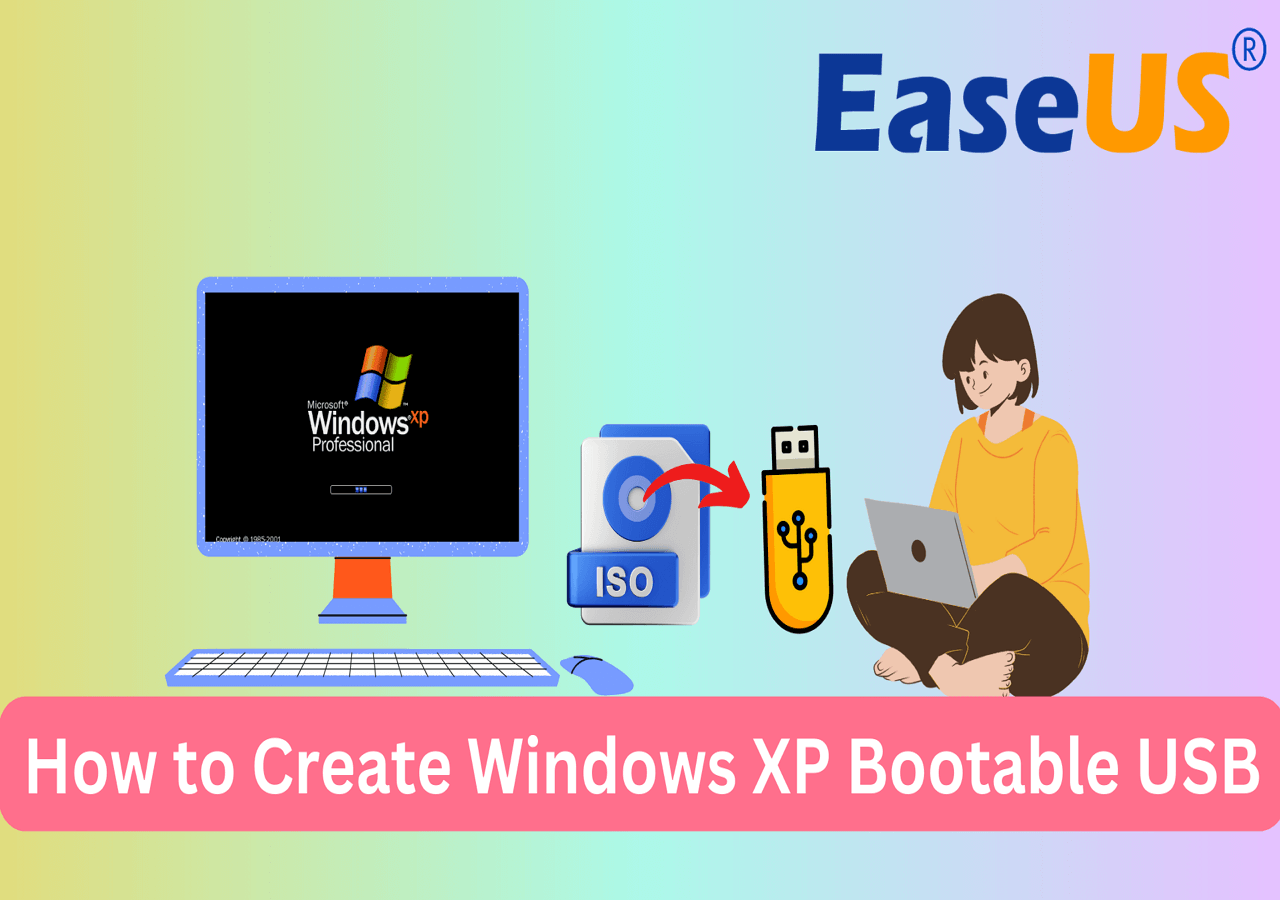
How to Create Windows XP Bootable USB | Full Guide
By following this tutorial, you will learn two effective methods of creating a Windows XP bootable USB.
Also, you can copy the entire content of the OS from an ISO image to the USB manually. To do this, go to the 'My Computer' window, right-click on the DVD drive where you put the ISO image, and select Open to view the contents. Copy all the files and folders on the DVD to the USB drive. Congratulations, you've succeeded in creating a bootable USB without any software!
Conclusion: think about a bit more
That's the overall process to create a bootable USB hard drive using cmd. Apparently, this is an advanced approach for experienced users only. What about the majority who know little about CMD skills? Will they be able to handle the long list of steps, most importantly, without making mistakes?
One software we'd like to recommend is EaseUS OS2Go. It is designed for users to create a portable Windows USB drive, support from Windows XP to the latest Windows 11. With simple clicks, you can put your own OS to a tiny USB stick then carry and use it to any device you want. You can use it on a Mac computer so that you can play Windows games on a Mac computer.
Unique benefits
- Skip the tedious procedure of formatting the USB hard drive and copying Windows installation.
- Install personalized Windows OS that you're currently running to the USB drive.
- Boot Windows OS from the drive on any computer.
Step 1. Install EaseUS OS2Go on your Windows computer, it will display your system drive's used space. Plug in a USB drive that is larger than the system drive used space. Choose the target USB drive and click Next to continue.

Step 2. EaseUS OS2Go will notify you that the following operation would delete all data on your drive. Make sure that you have backed up all the important data. Click the Continue button to proceed.

Step 3. Adjust disk layout. The default disk layout on the target drive will be exactly the same as the resource drive. You could also edit the layout according to your needs. Tick the option there if you're using a Solid State Drive as the Windows bootable drive. Next, click Proceed.

Step 4. Then EaseUS OS2Go will start to create the portable USB drive. It usually takes a while depending on your OS and Network condition. When the progress reaches 100%, the USB drive should be bootable now.

Step 5. Insert the portable Windows USB and start your computer. Press the required key (F2, DEL, F10...) to access BIOS. Choose to boot from the USB disk.
Note: Please make sure that the boot mode (UEFI or Legacy) of the portable USB and your target computer are the same, otherwise you may not be able to boot.
FAQ on How to Create Bootable USB Without Any Software
How do I manually create a bootable USB drive?
- Download the ISO file for the operating system you want to install.
- Connect a USB drive to your computer and format it as FAT32.
- Open the ISO file in 7-Zip and extract the contents of the ISO to the USB drive.
- Make sure that the boot order in your BIOS is set to boot from USB first.
- Reboot your computer, and it should now boot from the USB drive.
How do I create a bootable USB from the setup?
- Boot from the Windows installation media.
- Select the custom installation option on the "Where do you want to install Windows?" screen and choose your USB drive as the destination.
- Continue with the installation process, and Windows will automatically format and make the USB drive bootable.
Was this page helpful? Your support is truly important to us!

EaseUS Todo Backup
EaseUS Todo Backup is a dependable and professional data backup solution capable of backing up files, folders, drives, APP data and creating a system image. It also makes it easy to clone HDD/SSD, transfer the system to different hardware, and create bootable WinPE bootable disks.
Secure Download
-
Updated by
![]()
Larissa
Larissa has rich experience in writing technical articles and is now a professional editor at EaseUS. She is good at writing articles about data recovery, disk cloning, disk partitioning, data backup, and other related knowledge. Her detailed and ultimate guides help users find effective solutions to their problems. She is fond of traveling, reading, and riding in her spare time.…Read full bio -
Written by
![]()
Jean
Jean is recognized as one of the most professional writers in EaseUS. She has kept improving her writing skills over the past 10 years and helped millions of her readers solve their tech problems on PC, Mac, and iOS devices. …Read full bio
Related Articles
![]() 2026 Best Samsung Backup Software for PC/Phone (Free Download)
2026 Best Samsung Backup Software for PC/Phone (Free Download)![]() Backup HDD with Bad Sectors [Detailed Guides]
Backup HDD with Bad Sectors [Detailed Guides]![]() [Easy and Quick] How to Clone MBR to GPT SSD with Success
[Easy and Quick] How to Clone MBR to GPT SSD with Success![]() How to Create a Mirror Image of My Computer on Windows? Best Solutions
How to Create a Mirror Image of My Computer on Windows? Best Solutions![]() Download SanDisk Cloning Software to Migrate Data/OS (2026 Update)
Download SanDisk Cloning Software to Migrate Data/OS (2026 Update)![]() Upgrading to a Larger M.2 SSD? Here's How to Clone Your Drive
Upgrading to a Larger M.2 SSD? Here's How to Clone Your Drive
Topic Clusters


Interesting Topics