Page Table of Contents
Updated on Jul 01, 2026
If you're stuck on how to copy or move large folders/subfolders from one drive to the other, you shouldn't look any further. This article from EaseUS will discuss an easier technique to apply to copy files instead of using Xcopy. Using specific commands, you'll learn how to Robocopy copy folders and subfolders on Windows. We'll also introduce a third-party tool that you can use to back up files automatically.
Can You Move Folders and Subfolders Using Robocopy
Robocopy command for making an exact copy
byu/Qbccd insysadmin
This is a hot topic on Reddit: How do you copy files and folders using the Robocopy command?
Robocopy (Robust File Copy) is a command line utility on Windows that allows you to move folders and subfolders between drives. Robocopy is important for copying large datasets that would take longer when using other techniques. With this utility, you can move/copy folders and subfolders seamlessly.
'Moving' folders using Robocopy means that no copy of the file will be left in the source drive, while 'copying' folders will leave a copy in the source drive. Moving or copying files from the source to the destination directory using Robocopy is accomplished by typing specific commands on Command Prompt.
Below is a Robocopy command that you can use to copy folders and subfolders:
- robocopy c:\temp\source c:\temp\destination /E /DCOPY:DAT /R:10 /W:3. (The /E tells Robocopy to copy all subfolders, including empty ones. If you do not want to copy empty subfolders, use the /S.)
or
- robocopy C:\src E:\dst /E /COPYALL
We can break down this command as follows.
- C:src represents the source drive.
- E:dst represents the destination drive.
- /E means select all empty subfolders.
- /COPYALL means copy everything.
In the next section, we'll show you how to use Robocopy command to copy folders and subfolders.
In this post, you can learn what Xcopy is and how to copy folders and subfolders via the Xcopy command in various use cases.

Copy Folders and Subfolders Using Xcopy Command
In this post, you can learn what Xcopy is and how to copy folders and subfolders via the Xcopy command in various use cases. Read more >>
How to Copy Folders and Subfolders Using Robocopy
Robocopy allows you to either copy or move folders/subfolders between drives. If you want to retain a copy of the data on the source drive, using the "Copy" command is appropriate. However, if you want to copy data and leave nothing in the source drive, you can use the "Move" command. Below is how you can apply the two cases.
Case 1. Robocopy Copy Folder and Subfolders
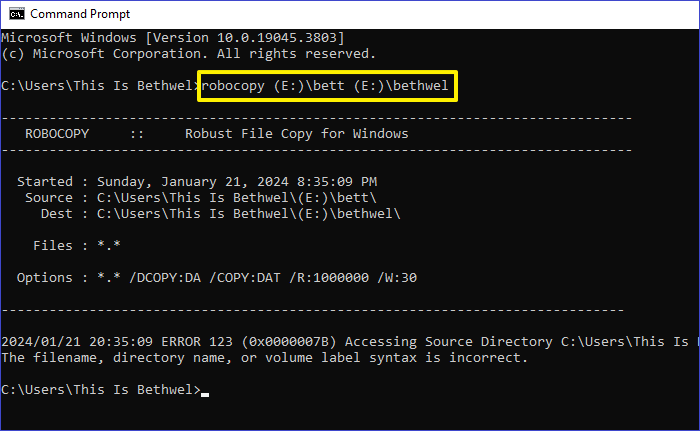
To Robocopy copy folders and subfolders with permissions on your Windows PC, you'll first need to launch Command Prompt as an administrator. If you want to copy folders only and exclude subfolders, you can use the command below:
robocopy C:\src E:\dst
You can also copy all files, including NTFS ACLs, folders, subfolders, and other file attributes. To achieve that, you'll need to add the "/E" command option to select all empty subfolders. Next, you can add the "/COPYALL" command option to copy any other file component (multiple files).
Check out the complete Robocopy command below to copy all folders and subfolders:
robocopy C:\src E:\dst /E /COPYALL
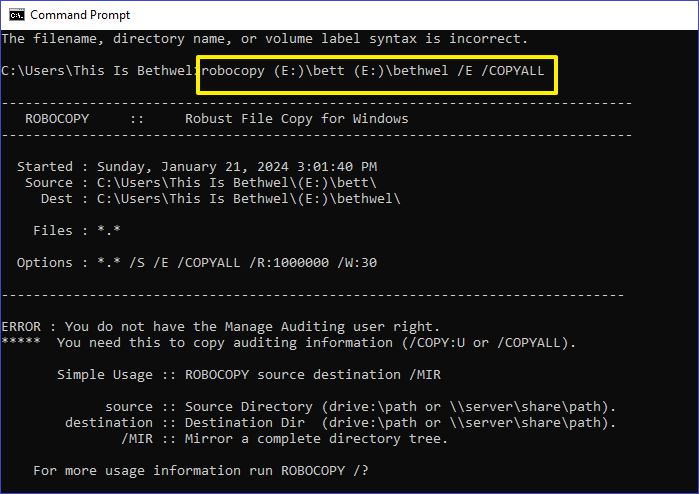
Note: Ensure you replace "C" and "E" with the correct drive letters, while "src" and "dst" should represent the exact folder/subfolder names.
Case 2. Robocopy Move Folder and Subfolders
If you want to only maintain copies of your files in the destination folder, you can use the "MOV" command. This will delete files in the source folder and move copies to the target drive. Below is a Robocopy command to move folders (without subfolders) from the source to the destination drive:
robocopy C:\src E:\dst /MOV
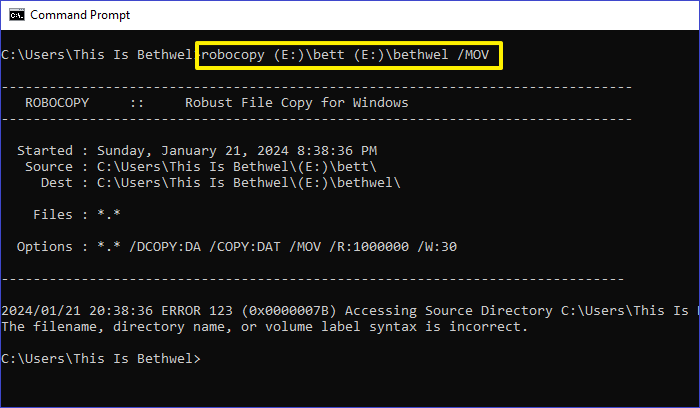
The above command will help move files from the "C" drive to the "E" drive. Please replace the drive letters above with the correct ones on your PC.
In addition to the "MOV" command option, you can use the "MOVE" command (note the difference) to transfer all files and folders. This command won't exclude subfolders and other file attributes as the previous command. Check it out below:
robocopy C:\src E:\dst /MOVE
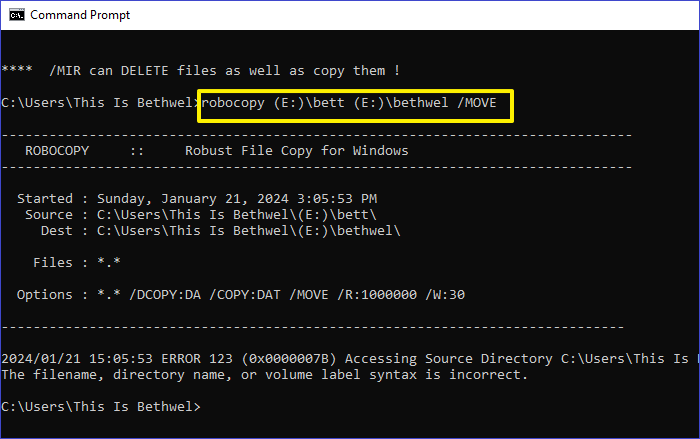
The Robocopy MOVE command applies when you want to delete any files from the source drive and only maintain copies in the destination drive.
Share this blog on your social platforms to help others if you find it useful.
How to Use Robocopy to Copy Files Over Network
With Robocopy, it's also possible to move files over a network. However, one challenge with this method is that you may encounter a network interruption anytime. To address this, Robocopy allows you to use the "/Z" command option to restart file transfer if it has stalled midway (following a network downtime).
Therefore, this will prevent the transfer from failing. Additionally, Robocopy allows you to add the "/FFT" command option to preserve file timestamps while copying files via a network. Check out the command below to easily copy files over a network:
robocopy C:\src \\SRV1\share /Z /FFT
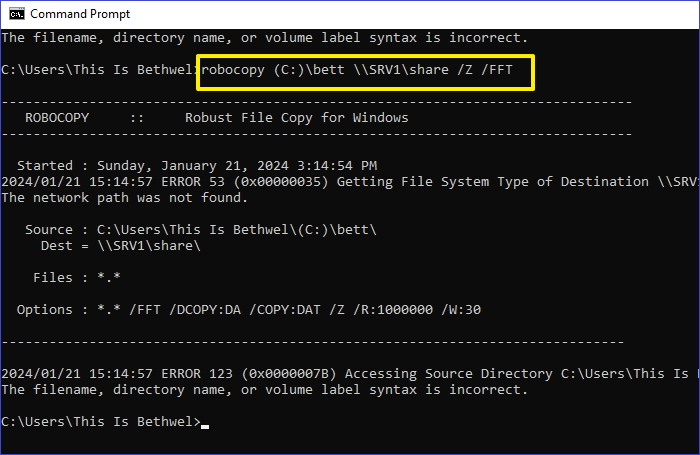
The above command will allow Robocopy to share your files over a network server and prevent network interruption (/Z) while preserving file timestamps (/FFT).
In addition to the above command, you can add the "/IPG" switch command to specify the inter-packet gap option. This ideally means the wait time Robocopy will have to apply between sending simultaneous packets.
For All: Backup Files Automatically Instead of Copying🔥
Instead of copying files from one drive to another using Robocopy to create a backup, you can do that automatically using backup software. One software that we highly recommend for such tasks is EaseUS Todo Backup. This free backup tool can back up all your data in just a few clicks.
It allows you to back up your drives or files to different locations, including the cloud, the network, external drives, NAS, or local drives. There's no room for losing your files during the automatic backup process since EaseUS is quite reliable. Whenever you need to access the backups, EaseUS Todo Backup allows you to restore them easily. You can retrieve the backup data to the same or different device.
EaseUS Todo Backup
- One-click backup and quick recovery with high efficiency
- Create a Windows system image on a USB drive
- Perform disk imaging or cloning in just several clicks
- Back up files to the cloud with 250G free cloud storage
- Perform full, incremental, and differential backups
Secure Download
Do you want to seamlessly back up all the data on your PC's drives? Ensure you use EaseUS Todo Backup. You'll just need to download a free version of the software, and you're good to go. You can upgrade to the premium version anytime for more advanced features.
Step 1. To initiate a backup, click the Select backup contents option.

Step 2. There are four data backup categories, File, Disk, OS, and Mail, click File.

Step 3. On the left, both local and network files will be shown. You may extend the directory to pick the backup files.

Step 4. Follow the on-screen instructions and choose a location to store the backup.

Click Options to encrypt the backup with a password in Backup Options, then click Backup Scheme to specify the backup schedule and start the backup at a certain event. There are also other additional choices you may choose to tailor the backup process to your requirements.

Step 5. The backup may be stored on a local disk, EaseUS' online service, or NAS.

Step 6. EaseUS Todo Backup enables customers to back up data to a third-party cloud drive as well as its own cloud drive.
If you want to back up data to a cloud drive provided by a third party, choose Local Drive, scroll down to add Cloud Device, and then add and log in to your account.

You can also choose the EaseUS cloud drive. Sign up for an EaseUS Account, then click EaseUS Cloud and log in.

Step 7. Click Backup Now to begin the backup process. The backup job will be presented as a card on the left side of the panel after it has been finished. Right-click the backup job to handle it further.

To Wrap Things Up
This article has shown you how to use the command line to Robocopy copy folders and subfolders on Windows. In addition to copying, Robocopy allows you to move folders and subfolders seamlessly. Also, copying files over a network is possible, provided your PC has an internet connection.
If you want an alternative way to back up your files automatically instead of copying, you should try EaseUS Todo Backup. This third-party data backup software allows you to quickly save your files to different locations and recover them when needed. To get started with EaseUS backup software today, ensure you download and install it on your PC.
Secure Download
Use Robocopy to Copy Folder and Subfolders FAQs
Below are frequently asked questions about Robocopy copy all files and folders on Windows.
1. What Switch Do You Use with Xcopy or Robocopy to Copy Subdirectories?
You'll use the /S /E /T switch to copy subdirectories with Xcopy or Robocopy. Here, /S will copy only the occupied directories; /E copies everything, including empty and occupied directories; while /T will copy the directory structure excluding the files.
2. What Is Faster Robocopy or Xcopy?
Robocopy is considered a faster alternative to Xcopy. Generally, Robocopy offers a retry option in the event you encounter errors during the file transfer process, while Xcopy doesn't offer that. This makes it a faster option since you won't have to repeat copying data if you encounter errors.
3. What Are the Disadvantages of Robocopy?
The main disadvantages of Robocopy include the following:
- Complexity- since it runs on the command line, it takes time for an average user to familiarize themselves with the Robocopy commands.
- Buggy- Robocopy isn't entirely secure since you may run into bugs from time to time.
- Supports only Windows- you can't use Robocopy on other operating systems like Linux or Mac.
Although it has some disadvantages, Robocopy is still useful.
4. Does Robocopy Copy Everything?
When copying files between folders or drives, Robocopy will only copy those whose source and destination have different attributes, i.e., size and time stamps. Therefore, Robocopy will skip files with similar attributes in the source and destination folders.
Was this page helpful? Your support is truly important to us!

EaseUS Todo Backup
EaseUS Todo Backup is a dependable and professional data backup solution capable of backing up files, folders, drives, APP data and creating a system image. It also makes it easy to clone HDD/SSD, transfer the system to different hardware, and create bootable WinPE bootable disks.
Secure Download
-
Updated by
![]()
Jerry
"I hope my articles can help solve your technical problems. If you are interested in other articles, you can check the articles at the bottom of this page, and you can also check my Facebook to get additional help."…Read full bio
Related Articles
![]() How to Fix Windows 10 System Restore Stuck (100% Works)
How to Fix Windows 10 System Restore Stuck (100% Works)![]() How to Create Clonezilla USB with Rufus (2026 Easy Guide)👍
How to Create Clonezilla USB with Rufus (2026 Easy Guide)👍![]() 5 Best Free Windows 11 Backup Software | Backup Data for Free
5 Best Free Windows 11 Backup Software | Backup Data for Free![]() Backup WD Hard Drive with Best Free Backup Software
Backup WD Hard Drive with Best Free Backup Software![]() Is Acronis True Image Free? | Find the Answer Here
Is Acronis True Image Free? | Find the Answer Here![]() How to Factory Reset PC Without Losing Data in Windows
How to Factory Reset PC Without Losing Data in Windows


Topic Clusters


Interesting Topics