Page Table of Contents
Updated on Jul 01, 2026
| Workable Solutions | Step-by-step Troubleshooting |
|---|---|
| Windows Could Not Find the Recovery Environment | Create Windows 10 installation media...Full steps Restore System Files and Settings...Full steps |
| Use System Restore when PC Won't boot | You can use Windows 10's "Advanced startup settings"...Full steps |
| Prepare a WinPE Bootable Disk | We can run EaseUS Todo Backup without system boot partitions...Full steps |
What Causes the Could Not Find the Recovery Environment Error?
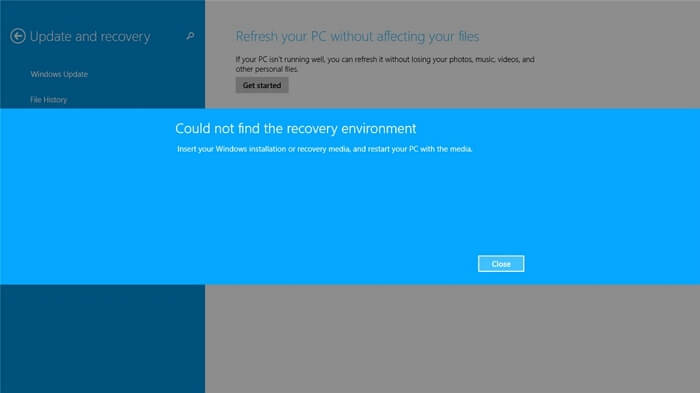
If the Windows Recovery Environment is deactivated for some reason, or if the WinRE image is missing or corrupted, this error is most likely to occur. Because the WinRE file is placed on the recovery disc, this error can also occur if it has been damaged or corrupted in any way.
Solutions to Windows Could Not Find the Recovery Environment
You'll be able to finish the solutions below in the order that they appear if you were intending on resetting or refreshing your computer because it is slow or because you are trying to troubleshoot another error.
Create Windows 10 installation media
If you can't reset your PC using the Settings app's Reset this PC option, you might be able to do so from the Windows 10 Recovery Media environment. To do so, you'll need a DVD or USB drive with the software already installed. This can be the DVD or USB that you used to install Windows, but it's also simple to produce.
Step 1. Go to Microsoft's website and download the Media Creation Tool application. Accept the terms and conditions that show when you open the executable file you just downloaded.
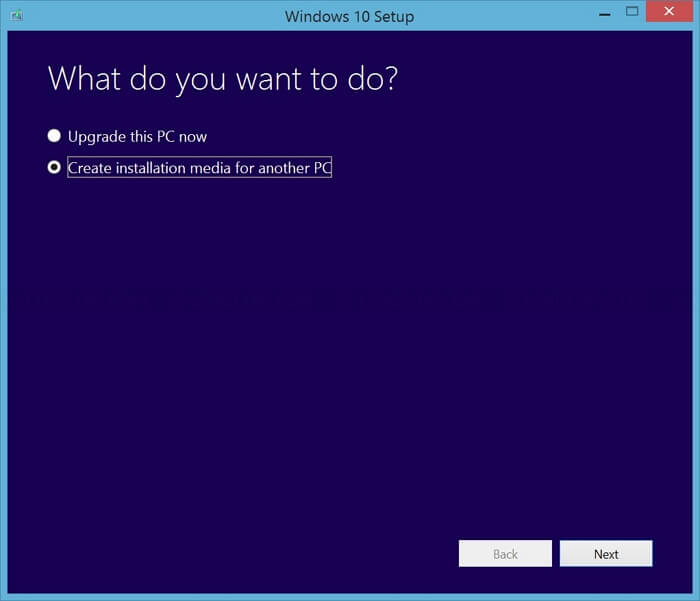
Step 2. From the second window, choose to Create installation media (USB flash drive, DVD, or ISO file) for another PC.
Step 3. The bootable drive's language, architecture, and other parameters will be determined by your computer, but you should uncheck the Because you need to accomplish this on a different computer, use the recommended options for this PC to select the suitable settings for the PC you're trying to fix the problem on.
Step 4. When requested to pick between USB drive or DVD, select USB drive or DVD, depending on which device you wish to use to store this ISO file.
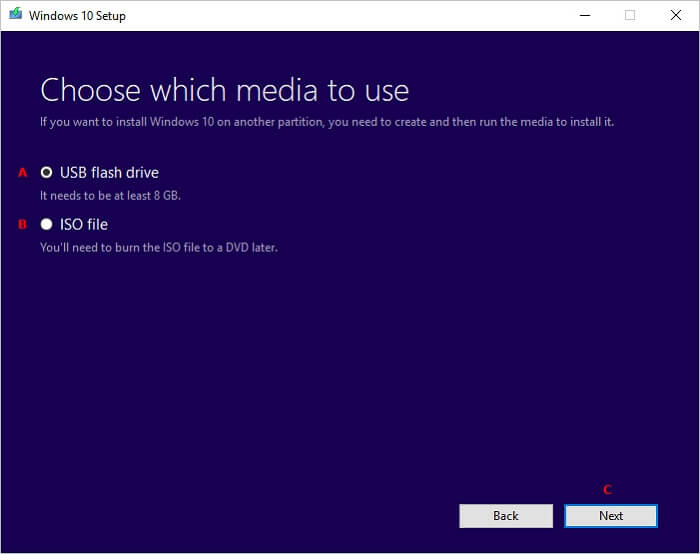
Step 5. Select the USB or DVD drive from the list of storage media linked to your computer by clicking Next.
Step 6. When you click Next, the Media Creation Tool will begin downloading the files needed to make the installation device.
We can start truly solving the resetting problem by inserting this installation disc you should boot from now that you most likely have your recovery media.
Step 1. Boot your computer and insert the installation drive you own or have just produced. The methods below are exclusive to Windows 10, so be sure to follow them carefully.
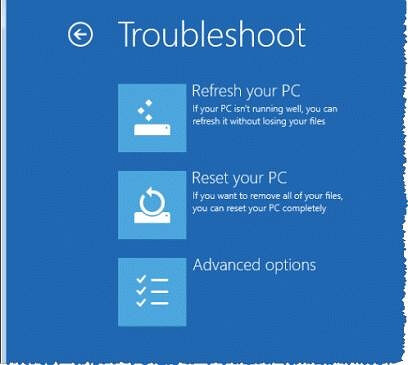
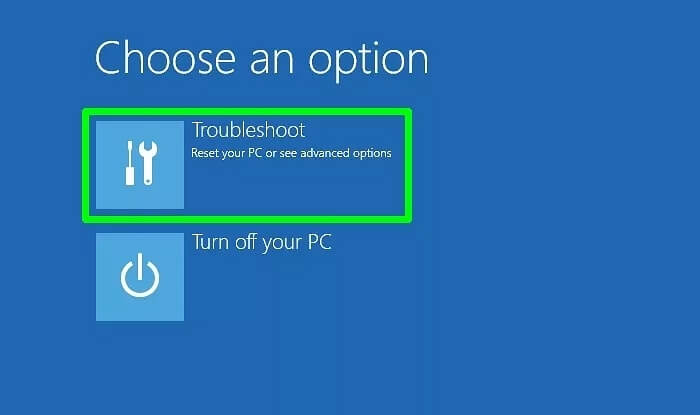
Step 2. A Choose your keyboard layout window will appear; select the one you want to use. Navigate to Troubleshoot > Reset this PC on the Choose an option screen.
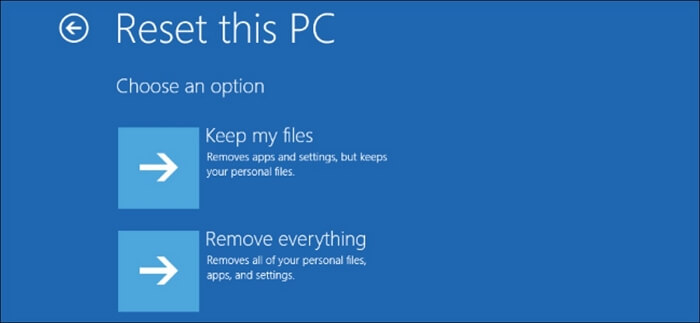
Step 3. Select Keep my files or Remove everything from the Reset this PC window, depending on your objectives and how you want to reset your PC.
Step 4. The choice to Keep My Data will uninstall all installed apps and reset all settings, but your personal files will be preserved. The Remove Everything option does exactly what it says: it totally resets your computer.
Step 5. Wait for the procedure to complete before restarting your computer, and you may now use your newly reset machine.
Note: If your machine does not instantly start from the installation DVD, you may need to adjust some BIOS settings first. Because the default booting priority often prefers your hard drive above the installation medium and simply boots from the HDD, this must be done.
Restore System Files and Settings with Windows Recovery
Hopefully, you won't need to restore your system too often, but if it does, for example, if it keeps crashing or specific functions stop working, here's how to revert the modifications by restoring Windows to a prior state.
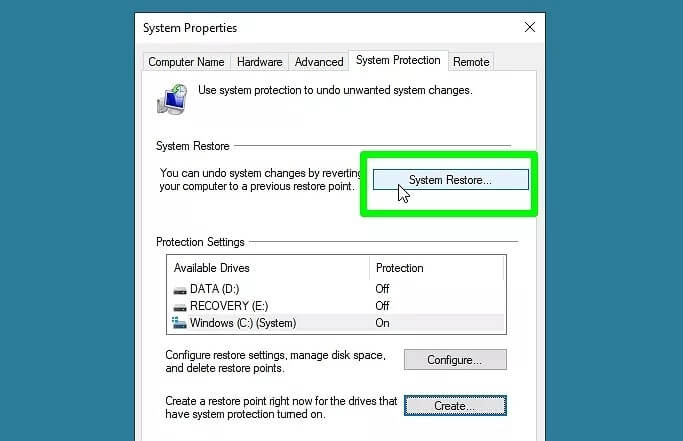
Step 1. Open the System Properties box in the same way we did before, and on the System Protection tab, select the "System Restore" button.
If the option is greyed out, you don't have any restoration points to choose from.
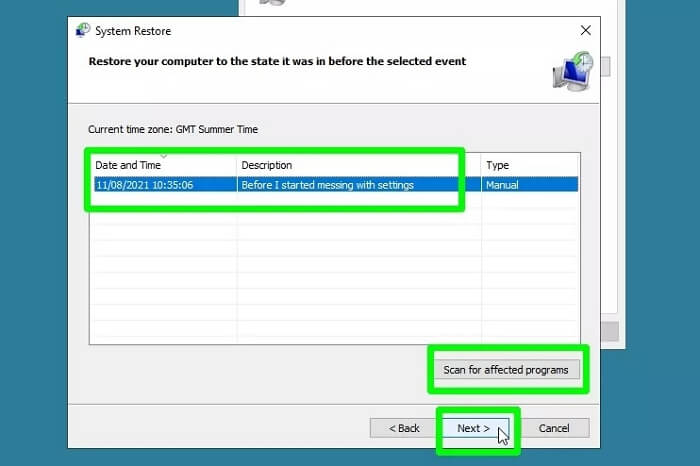
Step 2. To begin, click Next when the System Restore window appears. Choose the restore point to which you want to restore your system.
It's also worth checking which apps and drivers will be removed since they were installed after the restore point was created by clicking "Scan for affected programs." Click Next to continue.
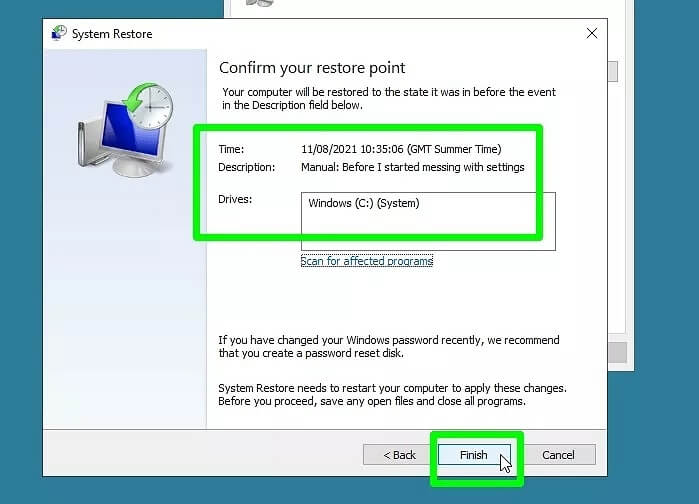
Step 3. Review and confirm the restore point's details, then click the Finish button. This will restore your system to the state it was in at the time the point was created.
Remember that System Restore will require a restart of your PC to complete, so save any open files before clicking Finish.
Furthermore, System Restore cannot be interrupted while it is running. Because it can take a long time, it's a good idea to do anything else while you wait!
How to Use System Restore when Windows 10 PC Won't boot
If your computer won't boot up properly or crashes almost immediately, you can use Windows 10's "Advanced startup settings" to execute System Restore. Here's how to use this way to get to System Restore.
Step 1. Turn on or restart your computer, then hold down the F11 key as it boots up. Alternatively, when restarting your computer, hold down the Shift key.
A blue screen with the words Choose an option will appear. From the drop-down option, select Troubleshoot.
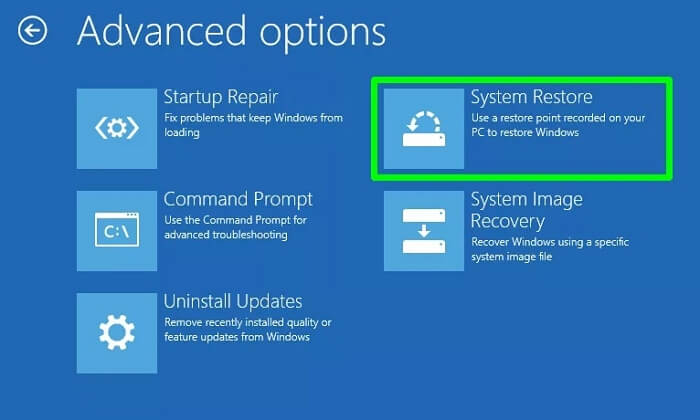
Step 2. Now you'll be sent to the "Advanced options" screen. If you don't see a button with that name, look for one and click it.
Select the System Restore option in either case.
Prepare a WinPE Bootable Disk
WinPE (also known as Windows Preinstallation Environment or Windows PE) is a small version of Windows that can be used to deploy PCs, workstations, and servers, as well as troubleshoot operating systems while they are offline.
It can be started from a USB flash drive, a hard disc, or other media. WinPE is used by large organizations and OEMs such as Dell, HP, Asus, Acer, and Lenovo to preinstall the operating system on PCs during the production process. As a result, after purchasing, you will receive a machine with Windows 11/10/8/7 installed. WinPE has the following features:
- Download the Windows operating system and once done, install.
- Before installing Windows 11/10/8/7, make sure your hard drive is ready.
- Create Windows images and apply them.
- To recover system files, use recovery tools like Windows RE (Windows Recovery Environment).
- Resolve issues with system boot failure.
- Manage disc partitions that aren't possible to do in Windows, such as formatting the C drive.
- Provide a platform for third-party disc cloning software to run on.
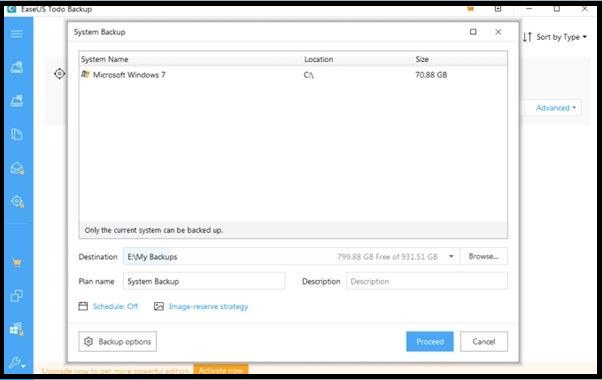
We may require a WinPE bootable disc if the operating system fails to boot, or if we need to move the system from a backup image to another HDD/SSD. We can run EaseUS Todo Backup without system boot partitions in the pre-installation Environment and recover system/data from the backup. EaseUS Todo Backup offers two options for creating a bootable CD or DVD: Linux-based bootable discs and WinPE-based bootable discs.
Secure Download
Step 1. Prepare a USB drive which can be written and read.
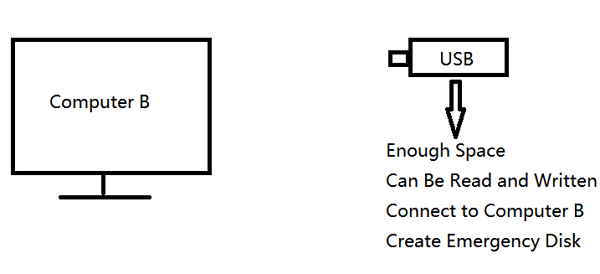
Step 2. Launch and install EaseUS Todo Backup on the Computer B.
Step 3. Find and click "Tools" and choose "Create Emergency Disk".

Step 4. Choose the Boot disk location. You can create an ISO file, a bootable USB or CD/DVD disc.

Step 5. Then click "Create" to start.
Conclusion
Finally, while attempting to reset your computer, Windows may be unable to locate the recovery environment. In this article, we've discussed possible solutions for the problem Windows Could Not Find the Recovery Environment.
It's now your turn. You can try to address the problem using one of these. Other backup options, in our opinion, are less trustworthy and effective than Ease US To-do backup.
Was this page helpful? Your support is truly important to us!

EaseUS Todo Backup
EaseUS Todo Backup is a dependable and professional data backup solution capable of backing up files, folders, drives, APP data and creating a system image. It also makes it easy to clone HDD/SSD, transfer the system to different hardware, and create bootable WinPE bootable disks.
Secure Download
-
Updated by
![]()
Daisy
Daisy is the Senior editor of the writing team for EaseUS. She has been working at EaseUS for over ten years, starting as a technical writer and moving on to being a team leader of the content group. As a professional author for over ten years, she writes a lot to help people overcome their tech troubles.…Read full bio -
Written by
![]()
Jean
Jean is recognized as one of the most professional writers in EaseUS. She has kept improving her writing skills over the past 10 years and helped millions of her readers solve their tech problems on PC, Mac, and iOS devices. …Read full bio
Related Articles
![]() How to Move Files from Subfolders to Main Folder in Windows
How to Move Files from Subfolders to Main Folder in Windows![]() 6 Ways to Fix OneDrive Error Code 0x8004de40 in Windows
6 Ways to Fix OneDrive Error Code 0x8004de40 in Windows![]() How to Move Folders and Subfolders Using CMD in 4 Different Ways
How to Move Folders and Subfolders Using CMD in 4 Different Ways![]() Best Disk Cloning Software for Windows 11(Free and Paid)
Best Disk Cloning Software for Windows 11(Free and Paid)![]() Halo Inifinite Keeps Crashing on PC: Solved by Specialists' 10 Ideas
Halo Inifinite Keeps Crashing on PC: Solved by Specialists' 10 Ideas![]() [Unstable Wifi] How to Fix Wifi Keeps Disconnecting in Windows 11
[Unstable Wifi] How to Fix Wifi Keeps Disconnecting in Windows 11
Topic Clusters


Interesting Topics