Page Table of Contents
Updated on Jul 01, 2026
| Workable Solutions | Step-by-step Troubleshooting |
|---|---|
| Fix 1. Loose or Broken USB Repair | Try every USB portable available or...Full steps |
| Fix 2. Incorrect BIOS Settings | Press and hold ESC, F1, F2, F8 or F10...Full steps |
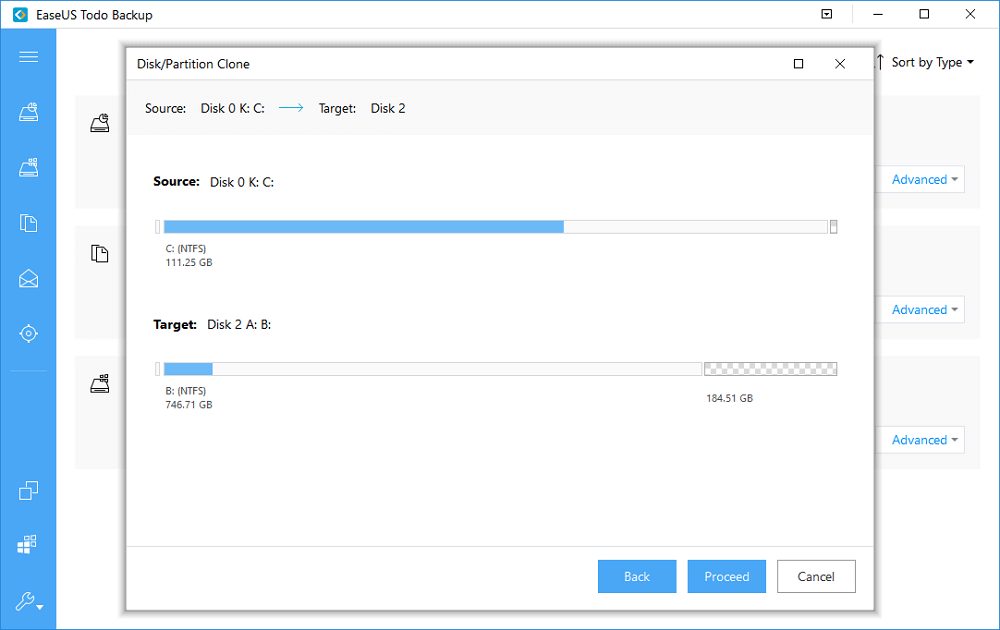
| Fix 3. Failed Disk Clone | Download bootable USB creation software...Full steps |
The general steps to install Windows OS on a USB flash drive are like this:
- First, create a bootable USB flash drive.
- Second, download the Windows image on the bootable USB drive.
- Third, go into the BIOS settings, set the USB as the boot priority and choose to boot from USB.
But here comes the problem, you took the right steps and enter into the BIOS environment with success, only see that the bootable USB drive not showing up there! Why doesn't BIOS recognize or detect the bootable USB flash drive then?
Why Doesn't the Bootable USB Drive Show up in the Bios
Here we have many thinkings on solving a bootable USB not working problem, which appears to be missing somewhere. You may perhaps have attempted to reconnect the USB installation media for several times, but why the computer still doesn't recognize it? Answers are now given.
1. USB Connection Issues Resulting from Loose or Broken USB Port
Solution - Try to connect the USB drive through every USB port that is available to use on either a desktop or laptop. If necessary, find another working computer and repeat until completely exclude the factor of a not working port.
2. Incorrect BIOS Settings
Solution - You must configure the boot order sequence in BIOS settings so that your computer can make its own decision which physical device it should select to boot from. So, to make BIOS correctly detect your USB drive and pick it to boot the computer, make sure that you choose the USB as the boot sequence priority.
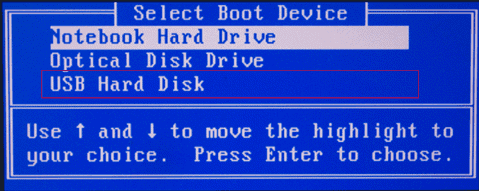
To make bootable USB show up in BIOS, try to specify the boot order:
- Depending on the BIOS manufacturer, press and hold ESC, F1, F2, F8 or F10 during the initial startup screen, a menu shall appear.
- Choose to enter the BIOS setup and select the BOOT tab. System devices appear in order of priority.
- To give a USB device boot sequence priority over the hard drive, try to move the hard drive device to the top of the boot sequence list, expand the hard drive device to display all hard drives and move the USB device to the top of the list of hard drives.
- Save and exit the BIOS setup utility.
Besides the fixed BIOS settings, some experienced users suggest disable Safe boot and change the Boot Mode to "CSM" or "Legacy" instead of "UEFI". So, you could possibly take this piece of advice!
3. Making Bootable USB Flash Drive Is Unsuccessful
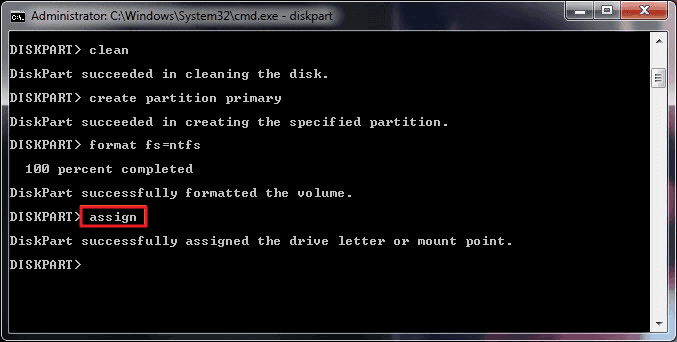
Solution - Have you checked whether your USB is really bootable or not? Some people didn't see a USB drive appearing in the BIOS boot menu only because the "bootable" USB drive they've created is not bootable at all! Especially by means of using cmd to create bootable USB drive without any software.
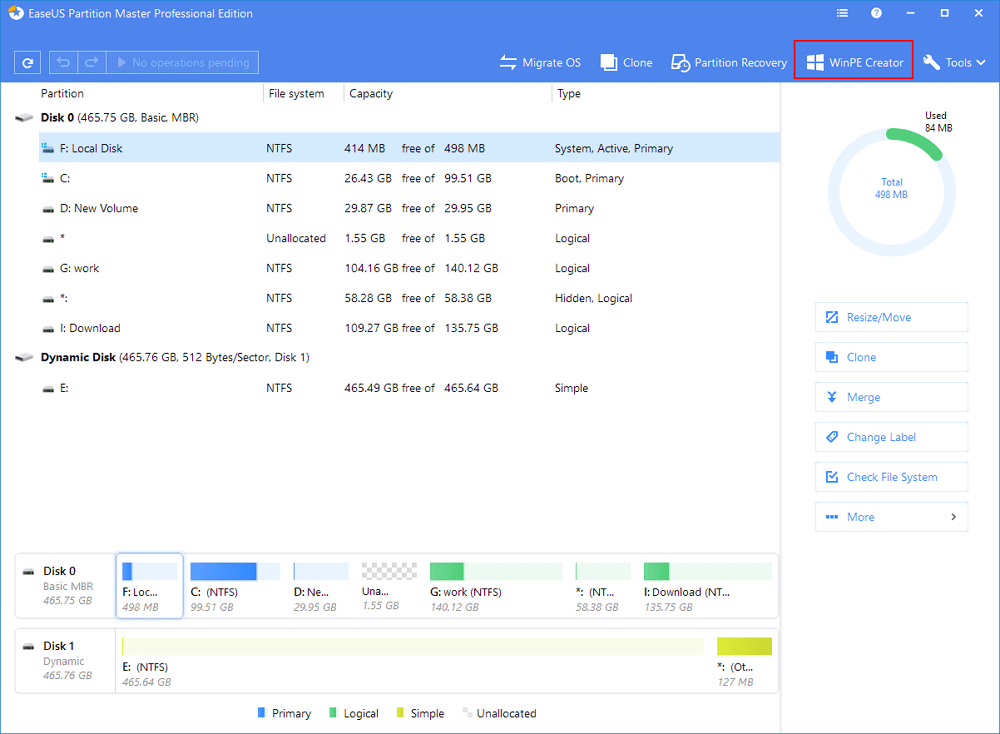
To deal with bootable USB drive not showing up or recognized the issue in BIOS boot menu in Windows 10/8.1/8/7, a piece of USB bootable software could help. For example, EaseUS OS2Go offers a feature to clone, install and run Windows OS on a USB drive that ensures 100% bootable on any other computer. That is to say, using this perfect Windows To Go creation tool to create a new bootable USB drive from scratch, you can easily repair a bootable USB flash drive that is not showing up, detected, read or recognized!
Step 1. Install EaseUS OS2Go on your Windows computer, it will display your system drive's used space. Plug in a USB drive that is larger than the system drive used space. Choose the target USB drive and click Next to continue.

Step 2. EaseUS OS2Go will notify you that the following operation would delete all data on your drive. Make sure that you have backed up all the important data. Click the Continue button to proceed.

Step 3. Adjust disk layout. The default disk layout on the target drive will be exactly the same as the resource drive. You could also edit the layout according to your needs. Tick the option there if you're using a Solid State Drive as the Windows bootable drive. Next, click Proceed.

Step 4. Then EaseUS OS2Go will start to create the portable USB drive. It usually takes a while depending on your OS and Network condition. When the progress reaches 100%, the USB drive should be bootable now.

Step 5. Insert the portable Windows USB and start your computer. Press the required key (F2, DEL, F10...) to access BIOS. Choose to boot from the USB disk.
Note: Please make sure that the boot mode (UEFI or Legacy) of the portable USB and your target computer are the same, otherwise you may not be able to boot.
FAQ on Bootable USB Drive Not Showing Up
1. Why is my bootable USB not showing up?
As we mentioned in the post, the bootable USB not showing up may be because of the USB connection issue resulting from the loose or broken USB port. Or because of the incorrect BIOS settings.
2. Why is my flash drive not showing up when I plug it in?
The flash drive not showing up when plugged in may be a problem with the USB connection, which can be caused by the loose or broken USB port. Another reason may be that the files on the flash drive are corrupted.
Was this page helpful? Your support is truly important to us!

EaseUS Todo Backup
EaseUS Todo Backup is a dependable and professional data backup solution capable of backing up files, folders, drives, APP data and creating a system image. It also makes it easy to clone HDD/SSD, transfer the system to different hardware, and create bootable WinPE bootable disks.
Secure Download
-
Updated by
![]()
Jerry
"I hope my articles can help solve your technical problems. If you are interested in other articles, you can check the articles at the bottom of this page, and you can also check my Facebook to get additional help."…Read full bio -
Written by
![]()
Jean
Jean is recognized as one of the most professional writers in EaseUS. She has kept improving her writing skills over the past 10 years and helped millions of her readers solve their tech problems on PC, Mac, and iOS devices. …Read full bio
Related Articles
![]() Cloud Download or Local Reinstall Windows 11/10? Check Differences
Cloud Download or Local Reinstall Windows 11/10? Check Differences![]() HP Recovery Disk Windows 10 Free Download (3 Ways & 1 Alternative)🔥
HP Recovery Disk Windows 10 Free Download (3 Ways & 1 Alternative)🔥![]() Download WinPE Builder for All Windows
Download WinPE Builder for All Windows![]() Full Comparison: Seagate One Touch vs Backup Plus Slim
Full Comparison: Seagate One Touch vs Backup Plus Slim![]() Run Disk Clone Windows 11 and Windows 10 with EaseUS Disk Copy
Run Disk Clone Windows 11 and Windows 10 with EaseUS Disk Copy![]() How to Make External Hard Drive Bootable in Windows 10/Windows 11
How to Make External Hard Drive Bootable in Windows 10/Windows 11
Topic Clusters


Interesting Topics