Page Table of Contents
Updated on Jul 01, 2026
"Hi, what's the best way to make an external hard drive bootable? You see. Like copying all the Windows boot files to it so that I can boot Windows 10 from the bootable drive. Please, an easier way is much more appreciated."
There are many significant reasons for creating a bootable HDD or USB drive that carries a user's customized Windows operating system. For example, when your PC unexpectedly shuts down and can be never turned on due to hard disk failure or system corruption, you can still easily start the computer from the bootable drive. A bootable external hard drive also does great help when a computer's dead or crashed. Besides, with a bootable external USB drive, you can use your own operating system wherever you go and whenever you like. To enjoy these advantages through creating a bootable external hard drive, you have three workable methods to choose from.
Method 1. How to Make an External Hard Drive Bootable with EaseUS OS2Go
Applies to: Windows 11/10/8.1/8/7/Vista/XP (32-bit and 64-bit)
The simplest and quickest way to make an external hard drive bootable is to use the Windows portable creator software - EaseUS OS2Go. It is recognized as the best Windows OS cloning software, Windows To Go USB alternative, bootable USB creation tool and portable Windows USB creator. The software will clone all system files, boot files and other personalized data files to the target drive. Simply prepare your external hard drive in which you're going to make bootable, and follow the detailed steps below to make an external hard drive bootable in Windows 10 or other supportable OS.
Detailed guide:
Step 1. Install EaseUS OS2Go on your Windows computer, it will display your system drive's used space. Plug in a USB drive that is larger than the system drive used space. Choose the target USB drive and click Next to continue.

Step 2. EaseUS OS2Go will notify you that the following operation would delete all data on your drive. Make sure that you have backed up all the important data. Click the Continue button to proceed.

Step 3. Adjust disk layout. The default disk layout on the target drive will be exactly the same as the resource drive. You could also edit the layout according to your needs. Tick the option there if you're using a Solid State Drive as the Windows bootable drive. Next, click Proceed.

Step 4. Then EaseUS OS2Go will start to create the portable USB drive. It usually takes a while depending on your OS and Network condition. When the progress reaches 100%, the USB drive should be bootable now.

Step 5. Insert the portable Windows USB and start your computer. Press the required key (F2, DEL, F10...) to access BIOS. Choose to boot from the USB disk.
Note: Please make sure that the boot mode (UEFI or Legacy) of the portable USB and your target computer are the same, otherwise you may not be able to boot.
In addition to being a bootable HDD/SSD/USB creator for Windows use, EaseUS OS2Go also enables Mac users to run particular Windows apps and games from the bootable external drive. Following are useful posts for Mac users:
- How to Run Windows Apps on Mac
- How to Play Windows Games on Mac
Method 2. Make an External Hard Drive Bootable with CMD
Applies To: Windows 10/8/7
Windows Command Prompt can also be useful method to create a bootable external hard drive in Windows 10, 8 or 7. But compared with method 1, this solution is more complex and is likely to cause a boot failure. Be cautious during this process.
1. Format the external hard drive
To format a drive using cmd via Command Prompt, follow the diskpart commands below carefully. Try your best to avoid any mistakes.
Step 1. Type cmd in the search box, you can get the best match called Command Prompt. Right-click on it and choose "Run as administrator".
Step 2. On the Command Prompt black window, enter the following commands in the same order here:
- X is the number corresponding to your disk. You have to replace it with the corresponding letter from your own system.
- Press "Enter", every time you enter your command
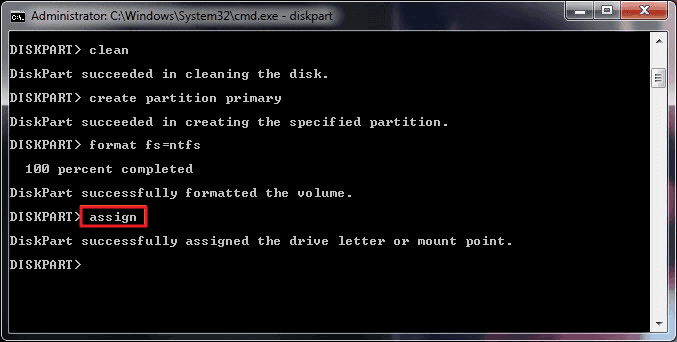
diskpart
list disk
select disk X
clean
create partition primary
format fs=ntfs
assign
exit
If everything goes well, this is how your cmd screen will look like
2. Copy the Windows 10 installer files
Step1. Insert your Windows DVD into the optical drive. To open "dism.exe" in CMD, open Command Prompt Admin (Windows + X), enter the command in the following:
g:
cd boot
G:\bootbootsect /nt60 d:
- "g" is your DVD drive letter
- "d" is your external drive letter
Step 2. Copy all files from the Windows CD to the drive using xcopy by entering the command in the following:
cd\
G:\xcopy g:\*.* /s/h/f d:\
All those commands are used to make your external hard drive bootable. Select the bootable drive at the Windows startup, it will boot Windows immediately. If you receive a message says: "Could not open the BCD template store. Status = [c000000f]", try the following commands to repair console to rebuild BCD or, you can watch the video to fix your boot problems (BCD problems are included).
attrib c:\boot\bcd –h –r –s
del c:\boot\bcd
bootrec /rebuildbcd
Method 3. Install Windows 10/8 on External Hard Drive with Windows Built-in Feature
Applies To: Windows 10 Enterprise/Education/Pro and Windows 8/8.1 Enterprise
In Windows 10 Enterprise/Education/Pro and Windows 8/8.1 Enterprise, there is a built-in feature that enables you to create a Windows To Go workspace by creating an imaged version of Windows on Windows-compatible external hard drives. However, unlike OS2Go that is available for all Windows versions. This feature is only accessible for Windows 10 Enterprise/Education/Pro and Windows 8/8.1 Enterprise users and only certified USB drives can be made bootable.
Useful post: How to Create Windows To Go USB Without the Enterprise Edition
Requirements for USB Drives:
- Has high random read/write speeds and can run Windows workloads smoothly
- Has been tuned to ensure they boot and run on hardware certified for use with Windows 7 and later
- Is backed with manufacturer warranties and should continue operating under normal usage
If you are using the right Windows version and have a certified external hard drive, you can make the external hard drive bootable. (This process will format your external hard drive, back up your external hard drive in advance.)
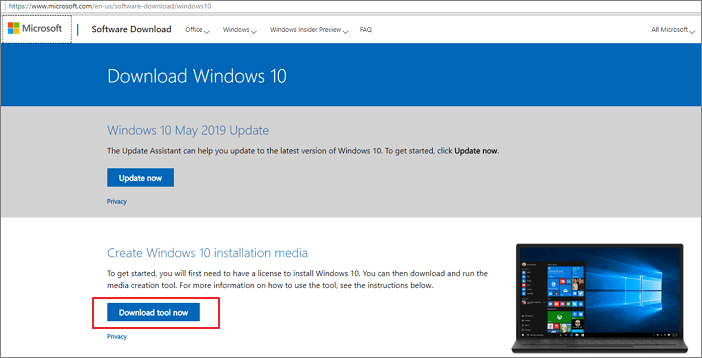
Step 1. Download the related installation ISO file from Microsoft and connect the hard drive to your computer.
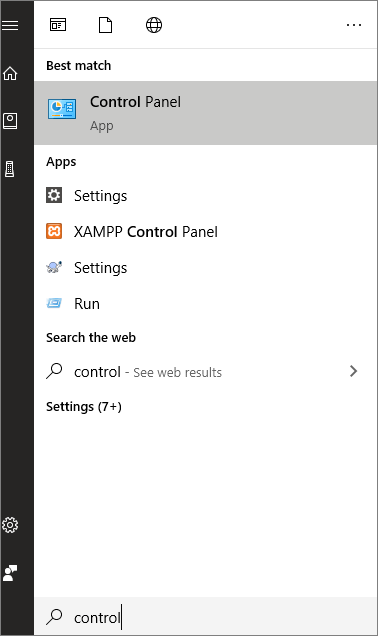
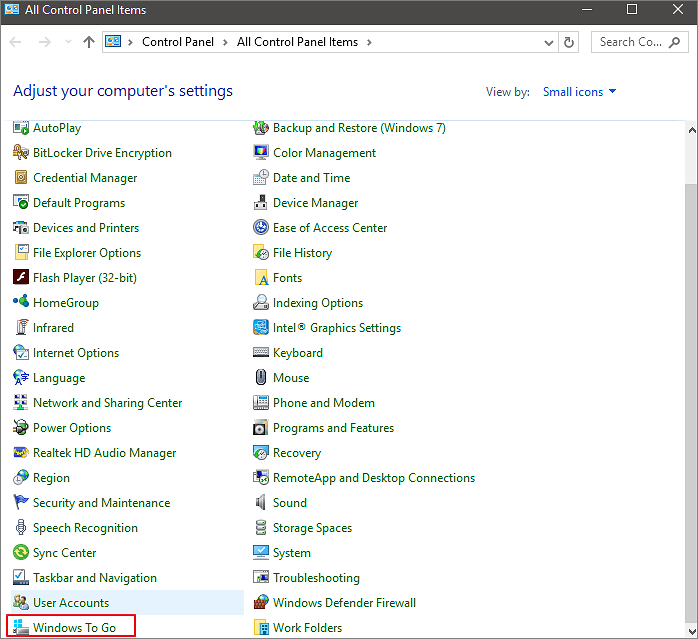
Step 2. Go to "Control Panel" and find "Windows To Go".
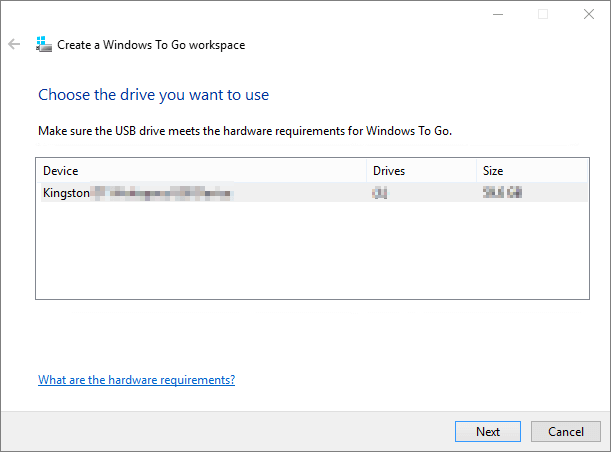
Step 3. Choose the external hard drive and click "Next".
Step 4. Click "Add search location" to search for the ISO file.
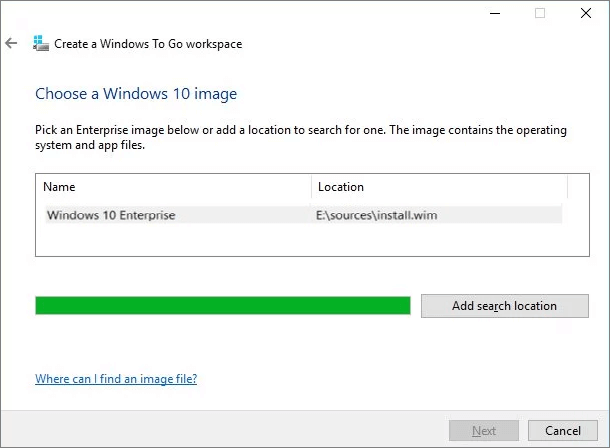
Step 5. Select the ISO file to make the external hard drive bootable.
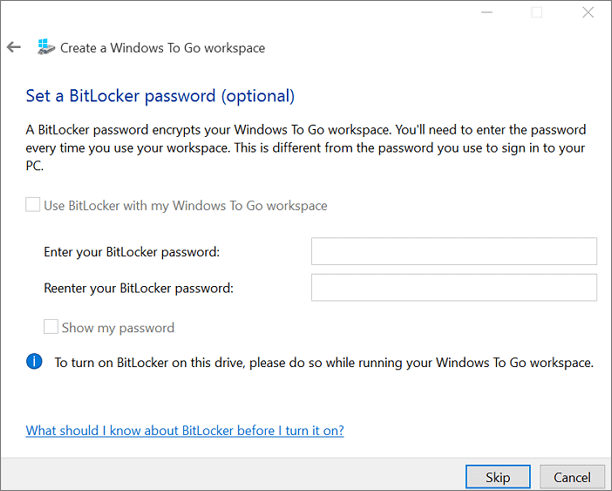
Step 6. Choose whether to use BitLocker or not. If you do, be sure you won't forget the password.
Step 7. Click "Create" to confirm. (Windows will format your external hard drive during the process. If there is any data you want to recover, learn how to recover data from the external hard drive here.)
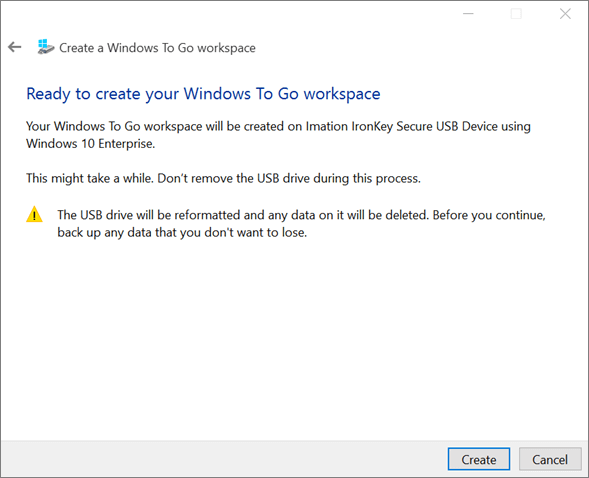
Step 8. Wait for the process to finish. When it's done, a bootable external hard drive is successfully created.
To Sum Up
Three methods have been used to make the external hard drive bootable, which offers you different choices. Method 1 clones the system to your external disk by means of system cloning. Method 2 copies the startup file on the CD to the external disk by means of the command line. Method 3 uses Windows 10 built-in features. But using Windows 10 built-in features not only has several limitations but also may cause data loss. So if you want a simple and safe solution, choose Method 1. If you have a good knowledge base, three methods are applicable. Br the way, if your drive fails to boot, you can always refer to the video in method 2 to fix the boot problem.
FAQ on Make External Hard Drive Bootable
1. Can you make a bootable external hard drive for Windows 10?
Three methods are available to make a bootable external hard drive for Windows 10. You can use a third-party tool, like EaseUS OS2Go, or use CMD, or install Windows 10/8 on an external hard drive. EaseUS OS2Go is the easiest way among them, you can use it to create a bootable hard drive with a few clicks.
2. How do I make my Seagate external hard drive bootable?
Seagate external hard drives can be made bootable by using a third-party tool or by using CMD. You can read the passage for detailed steps.
Was this page helpful? Your support is truly important to us!

EaseUS Todo Backup
EaseUS Todo Backup is a dependable and professional data backup solution capable of backing up files, folders, drives, APP data and creating a system image. It also makes it easy to clone HDD/SSD, transfer the system to different hardware, and create bootable WinPE bootable disks.
Secure Download
-
Updated by
![]()
Jerry
"I hope my articles can help solve your technical problems. If you are interested in other articles, you can check the articles at the bottom of this page, and you can also check my Facebook to get additional help."…Read full bio -
Written by
![]()
Jean
Jean is recognized as one of the most professional writers in EaseUS. She has kept improving her writing skills over the past 10 years and helped millions of her readers solve their tech problems on PC, Mac, and iOS devices. …Read full bio
Related Articles
![]() How to Solve Outlook Not Syncing with Gmail[2026 Tutorial]
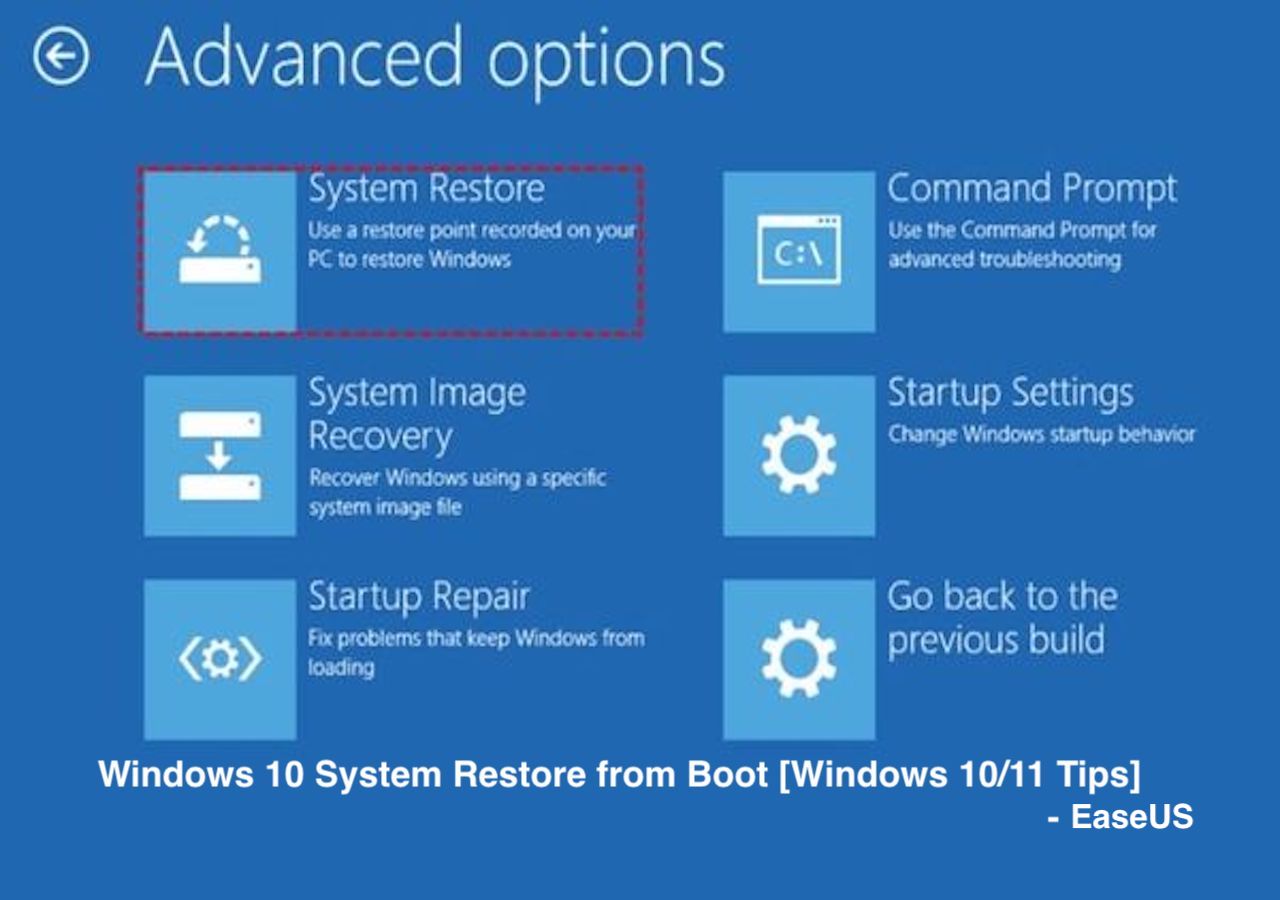
How to Solve Outlook Not Syncing with Gmail[2026 Tutorial]![]() Windows 10 System Restore from Boot [Windows Tips]
Windows 10 System Restore from Boot [Windows Tips]![]() EaseUS Todo Backup License Code 2026 (100% Official)
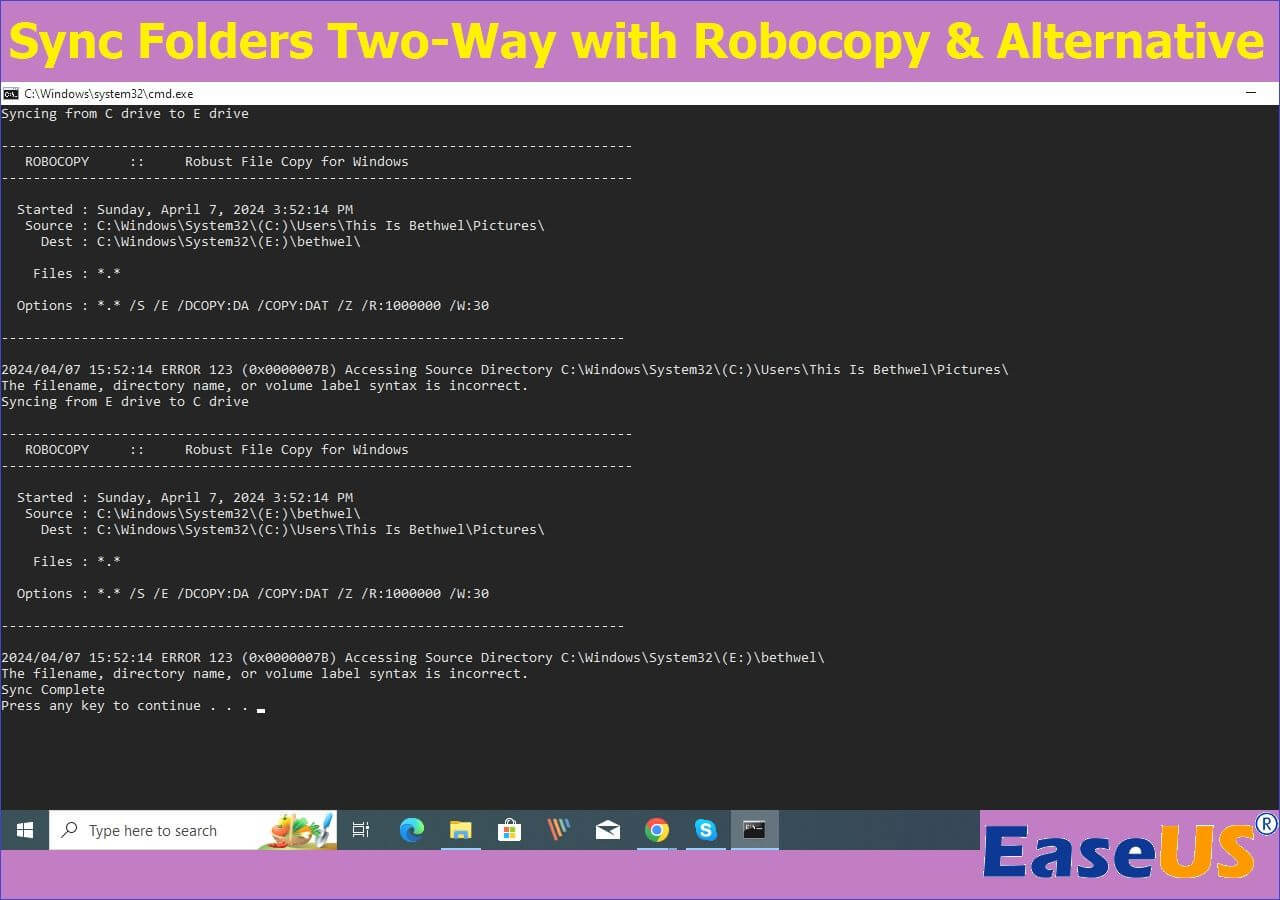
EaseUS Todo Backup License Code 2026 (100% Official)![]() Sync Folders Two-Way with Robocopy & Alternative🚩
Sync Folders Two-Way with Robocopy & Alternative🚩![]() How to Use ASUS EZ Update for ASUS BIOS Update on Windows
How to Use ASUS EZ Update for ASUS BIOS Update on Windows![]() 2026: How to Install Windows 11 on M.2 SSD (with Pictures)
2026: How to Install Windows 11 on M.2 SSD (with Pictures)

Topic Clusters


Interesting Topics