
Content
Page Table of Contents
About the Author
Hot Topics
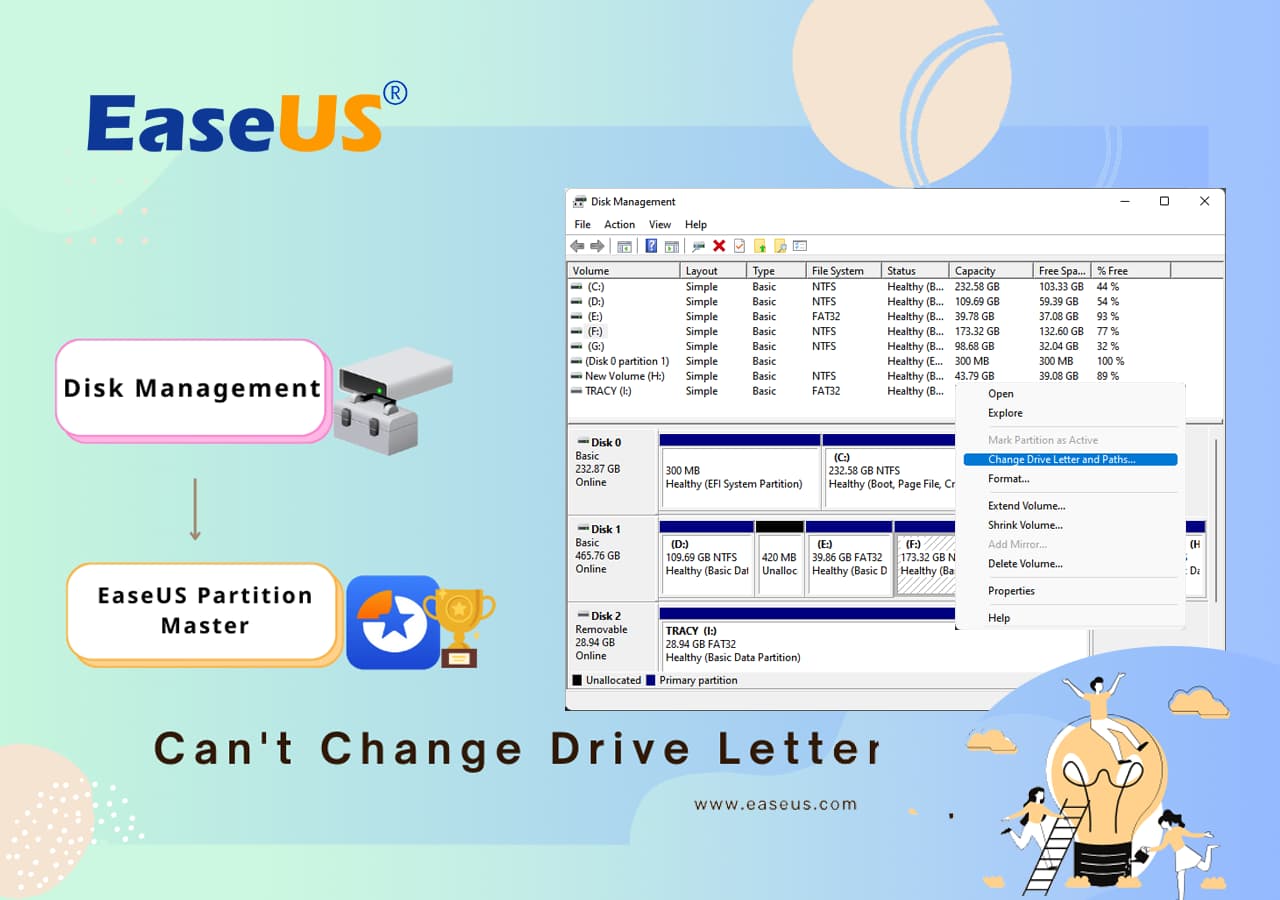
When you can't change the drive letter in Disk Management, stay here, and EaseUS will present you with a full guide on solving this issue efficiently. When you are unable to assign a drive letter in Disk Management, you can use Disk Management alternative software as introduced on this page to continue.
| Workable Solutions | Step-by-step Troubleshooting |
|---|---|
| Change A Drive Letter | It's supposed to be easy to change a drive letter to a needed one...Full steps |
| Fix Unable to Change Drive Letter and Paths | Besides the situation we mentioned that the option of changing a drive letter in Disk Management...Full steps |
Change A Drive Letter in Disk Management
When the drive letter not available, you can change the drive to fix it using Disk Management. It supports changing a drive letter to a needed one or assigning a new drive letter, except the default C: for system partition/boot partition. Theoretically, any letter among D, E, F, G, H... can be chosen and used for other primary partitions or logical partitions.
Here's how you change, add, or assign a letter of the alphabet to the desired drive in Windows Disk Management. Note that you must be logged on as an administrator to perform the following steps.
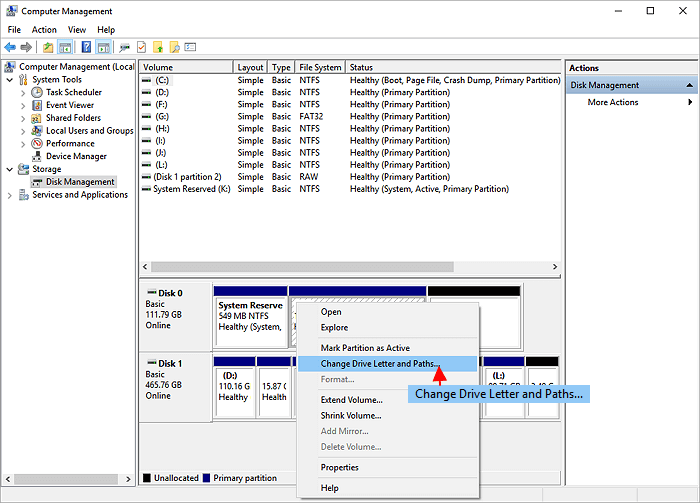
Step 1: Open "Disk Management" under Storage by right-clicking "Computer/This PC" > "Manage".
Step 2: Right-click the drive that you want to change, and then click "Change Drive Letter and Paths".
In the next step, you can do any one of the following:
- (1) To assign a drive letter, click "Add", click the letter that you want to use, and then click "OK".
- (2) To change a drive letter, click "Change", click "Assign the following drive letter", click the letter that you want to use, and then click OK.
- (3) To remove a drive letter, click "Remove", and then click "Yes" to confirm that you want to remove it.
- Important
- Don't change the drive letter of a system C drive or a volume with Windows or apps installed. Otherwise, it may bring up app or system boot failure issues as the computer doesn't know where to load the apps or OS.
Why Can't Change Drive Letter As Wanted
If you don't see the Change Drive Letter and Paths option or the Change drive letter and paths is grayed out in Disk Management, a high possible reason is that the target volume doesn't have a drive letter or it's an unallocated drive that needs to be initialized.
In this case, you can first initialize a hard drive and then create new simple volume with Disk Management.
However, if you are able to make a change to the existing hard drive letter, for example, change D to E, or assign a new drive letter as wanted to a newly created hard drive, follow to see what is causing the problem and learn how to get rid of it:
- The target drive is in use, and Windows disallows you to make any changes to it. Close the program or Window and try again.
- The drive is either a system partition or a boot partition. Windows doesn't allow any changes to it.
- Another volume takes the drive letter you want to use, or the letter has already been used by some external storage media connected to the computer.
Usually, the rule of the Windows drive letter assignment is like this. Click the buttons below, and you can share this article. Just let more people know the reasons.
If all the listed circumstances go against your case, e.g., the H letter is not being used by another internal or external drive, but it's still unavailable, then try to fix it with other capable partition manager software.
How to Fix Unable to Change Drive Letter and Paths in Windows 11/10/8/7
Besides the situation we mentioned that the option of changing a drive letter in Disk Management is greyed out, there are some other similar errors that will prevent you from completing the job as expected. For example:
- Logical Disk Manager says "Parameter is Incorrect"
- Drive letter missing from the list of available drive letters (Drive letter not available)
Whenever you're trying to change, add, or assign a drive letter to a local drive or external hard drive in Disk Management but fail somehow, you need an alternative tool that can fix the error and move on. EaseUS free partition manager works almost the same as Windows Disk Management in managing a hard drive or a removable/external hard disk, including changing a drive letter and paths.
Step 1. Run EaseUS Partition Master, right-click the target partition, and choose "Change Drive Letter".
Step 2. In the new window, click the down arrow and choose a drive letter for the partition from the drop-down menu, then click "OK".
Step 3. Click the "Execute 1 Task(s)" button in the top-left corner, check the changes, and click "Apply" to change the drive letter of the selected partition.
You May Also Like:
- How Windows Assign Drive Letters to Your Drive:
- Windows uses MountMgr to manage drive letters. MountMgr will assign the next available drive letter to each device added, regardless of type. With the system drive assigned the letter C, there may be other IDE, SATA or USB devices, such as a DVD ROM or a Flash drive assigned to letters D and E. When adding another drive, Windows will assign the next drive letter available, which in this case would be the drive letter H:
- So, if there are some external storage devices inserted into the computer, unplug it, and try it again.
Conclusion
To change a drive letter in Windows 11/10/8/7 for drive D/E/F/G or an external drive is a very elementary function we can find in Disk Management. However, this tiny modification sometimes would disappoint us, and we can't change drive letter there.
The reasons might be hard to tell, but with EaseUS Partition Master, the third-party comprehensive disk & partition manager, it can be very simple to solve the problem of not being able to change drive letter or assign a new one to a drive. As a matter of fact, it can replace 100% of the functions in Disk Management, in addition, offer many more practical functions that you can't enjoy in the default program. For example, copy partition, merge partitions, migrate OS to HDD/SSD, check partition errors, etc. Download the free partition manager and explore the massive features by yourself.
FAQs about How to Change a Drive Letter
This section also lists several relevant topics about how to change a drive letter. If you're interested, please check them out below.
1. Why can't I change the drive letter on my USB drive?
If you don't see the Change Drive Letter and Paths option or it's grayed out, the volume is either not ready to get a drive letter or is unallocated and requires initialization. It's also possible that the drive is inaccessible, as is the case with EFI system and recovery partitions.
2. How do I reset Windows drive letter assignments?
Here are the steps.
Step 1. Right-click the drive you would like to change > select Change Drive Letter and Paths > click Change.
Step 2. Click Assign the following drive letter > choose the letter you want to use > click OK.
Please share this post to help more users change a drive letter!

How Can We Help You
About the Author
Updated by Joey Albert
Joey is an enthusiast of science and technology. With a passion for uncovering the latest tech innovations, she creates clear, engaging how-to guides that make technology accessible and enjoyable for all.
Daisy is the Senior editor of the writing team for EaseUS. She has been working at EaseUS for over ten years, starting as a technical writer and moving on to being a team leader of the content group. As a professional author for over ten years, she writes a lot to help people overcome their tech troubles.
Product Reviews
-
I love that the changes you make with EaseUS Partition Master Free aren't immediately applied to the disks. It makes it way easier to play out what will happen after you've made all the changes. I also think the overall look and feel of EaseUS Partition Master Free makes whatever you're doing with your computer's partitions easy.
Read More -
Partition Master Free can Resize, Move, Merge, Migrate, and Copy disks or partitions; convert to local, change label, defragment, check and explore partition; and much more. A premium upgrade adds free tech support and the ability to resize dynamic volumes.
Read More -
It won't hot image your drives or align them, but since it's coupled with a partition manager, it allows you do perform many tasks at once, instead of just cloning drives. You can move partitions around, resize them, defragment, and more, along with the other tools you'd expect from a cloning tool.
Read More
Related Articles
-
How to Fix "Steam Not Enough Disk Space" Error [Updated]
![author icon]() Sherly/2026/06/17
Sherly/2026/06/17 -
How to Install Windows 11/10 on External Hard Drive [2 Ways]
![author icon]() Jean/2026/06/29
Jean/2026/06/29 -
Top 5 Best SSD Speed Test Software Recommend with Pros & Cons
![author icon]() Tracy King/2026/06/30
Tracy King/2026/06/30 -
How Much GB is Fortnite on Laptop/PC | Get More Storage
![author icon]() Oliver/2026/06/17
Oliver/2026/06/17


