
Content
Page Table of Contents
About the Author
Hot Topics
Do you want to learn how to list drives in Command Prompt (CMD) and PowerShell? This guide from EaseUS covers two methods: using Command Prompt (cmd) and PowerShell, Windows' built-in command-line tools.
Command Prompt and PowerShell are powerful interfaces in Windows. While the Command Prompt has long been used for executing commands, PowerShell offers advanced capabilities. Both tools let users interact with the system through text-based commands, making tasks efficient.
- Warning
- It's important to exercise caution when working on the command line. Typos or incorrect commands can lead to unintended consequences. If you're unsure about a command, research it further before proceeding. And always back up critical data before making system changes.
CMD List Drives
When it comes to listing drives using Command Prompt (CMD), you have two main methods: Diskpart and WMIC. Let's learn how to list drives via CMD.
#1. Diskpart
Diskpart is a powerful command-line utility specifically designed for managing disk drives and partitions. Here's how to list your drives using Diskpart:
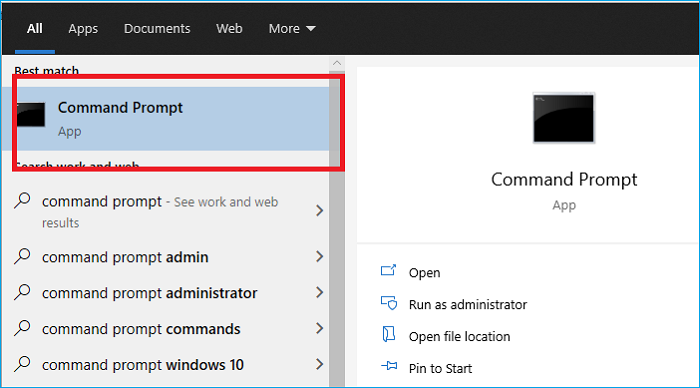
Step 1. Open Command Prompt, just type CMD in the Windows search box and click on it to open it.
Step 2. In the Command Prompt, type the following commands one by one and press "Enter" after each one.
diskpart
list disk
select disk X (Replace "X" with the disk number)
list volume/list partition
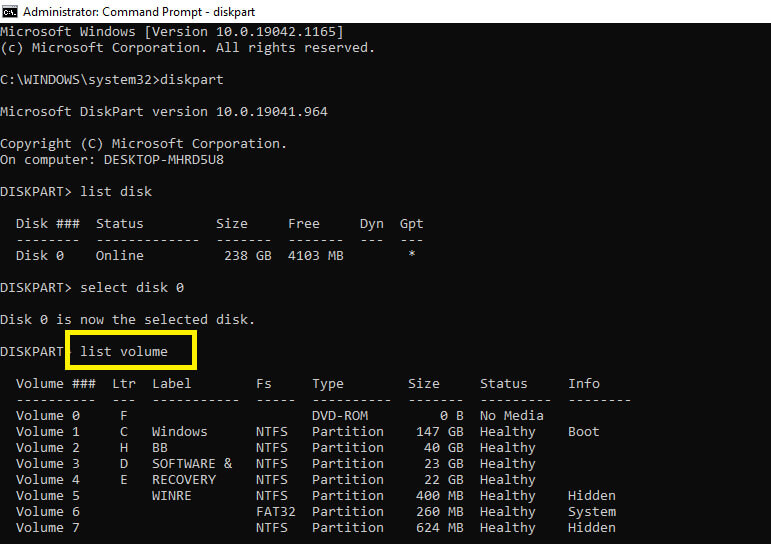
Now, you can see a list of drives on the disk, including partition/volume number, label, letter, file system, size, and status. After list drives via Diskpart, you can use this utility to perform more operations:
#2. WMIC
The WMIC (Windows Management Instrumentation for Management) is another versatile tool that allows you to query various system components, including disk drives. Here's how to list your drives using WMIC:
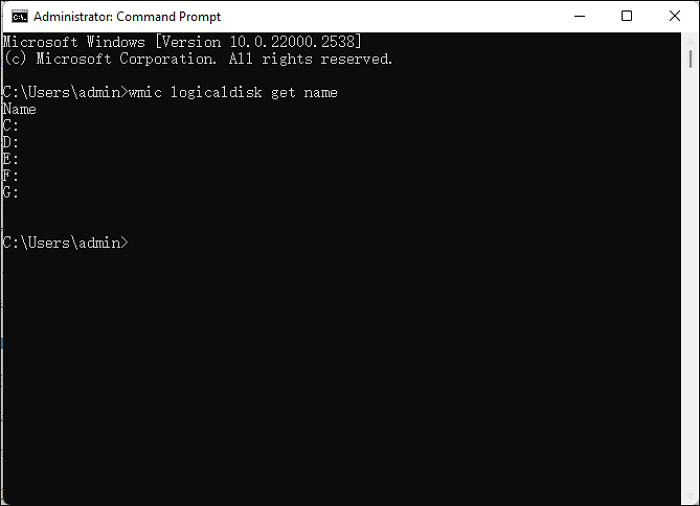
Step 1. Open Command Prompt, type one of the following commands and press the "Enter" button.
wmic logicaldisk get name
wmic logicaldisk get caption
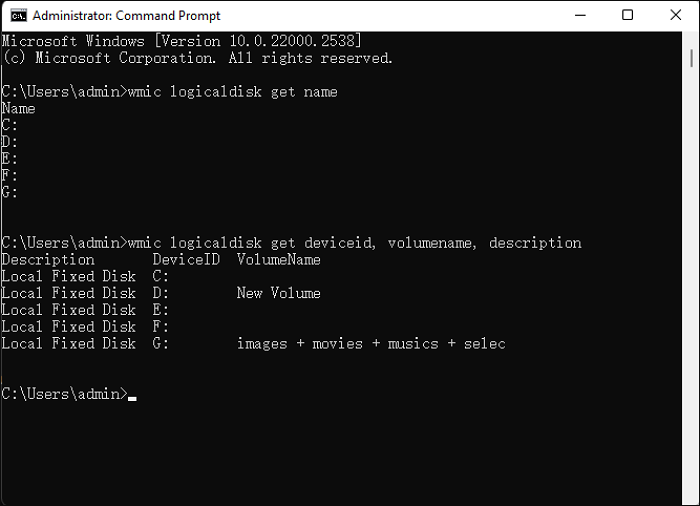
Step 2. If you want to see the Device ID and volume name, enter the following command and press "Enter." Alternatively, you can use the fsutil fsinfo drives command to list drives on your computer.
wmic logicaldisk get deviceid, volumename, description
PowerShell List Drives
Let's shift gears and see how PowerShell, another powerful command-line tool, works to list drives. PowerShell offers a more modern and object-oriented approach to system administration than CMD. Here's how to list your drives using PowerShell:
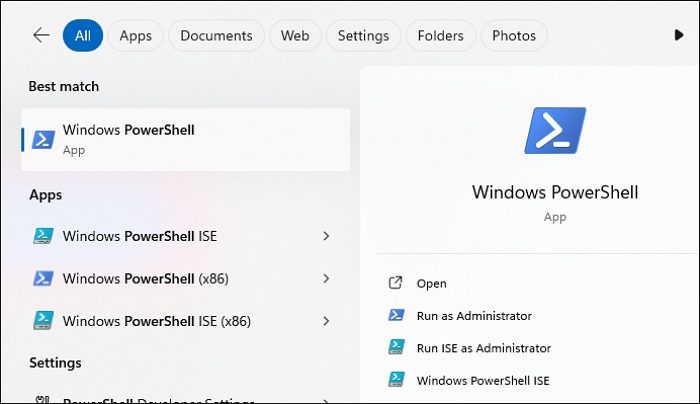
Step 1. Search PowerShell in the Windows search box and click on it to open it.
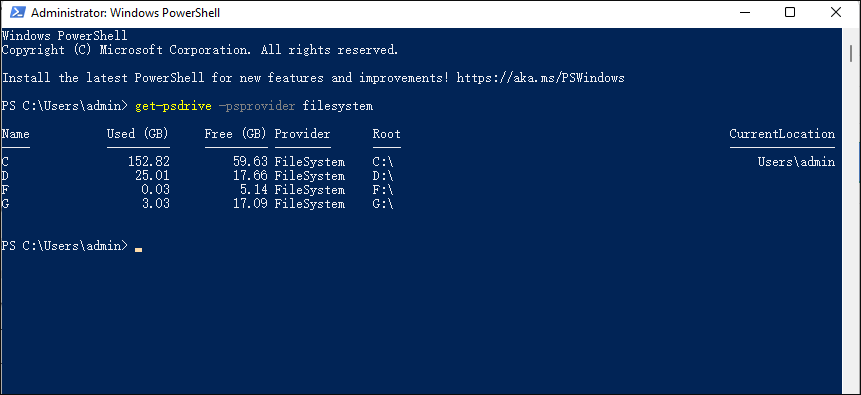
Step 2. Type the following command and press the "Enter" button.
get-psdrive -psprovider filesystem
Is the information in this article useful to you? Feel free to share it with other users.
Better Alternative Than CMD/PowerShell List Drives
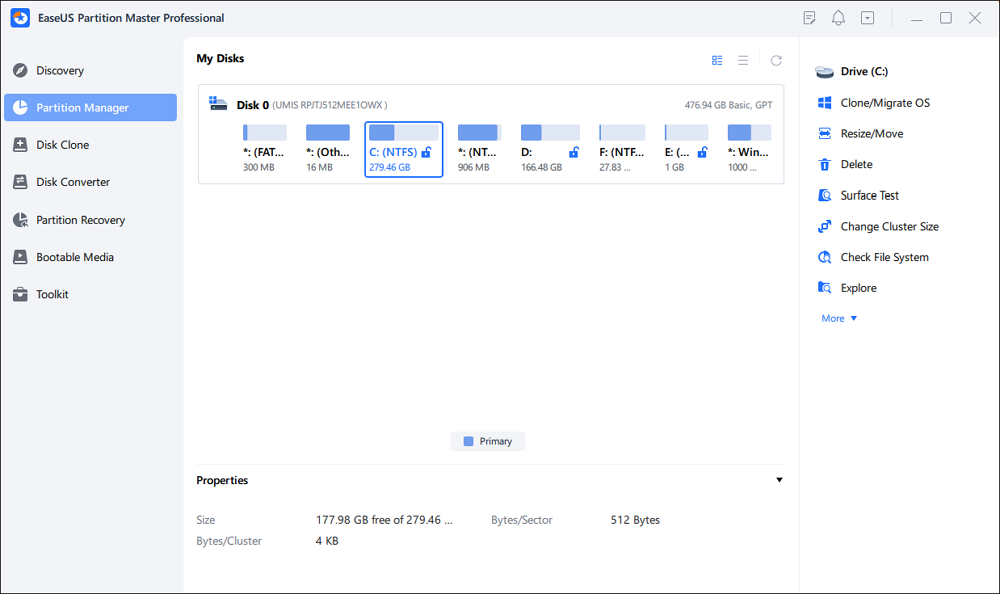
If you're seeking simpler alternatives to Command Prompt and PowerShell because of their intricate command lines, EaseUS Partition Master Professional is worth considering for streamlined drive management. With its user-friendly interface, managing your drives becomes effortless.
Here are some advantages of the tool:
- Convert FAT32 to NTFS without data loss.
- Support for NTFS, FAT32, exFAT, and EXT2/3/4 formats.
- Easily extend partitions with non-adjacent unallocated space.
- Securely wipe entire disks to prevent data recovery.
- Seamlessly transfer Windows system to new HDD/SSD.
- Convert disks between GPT and MBR partition styles without losing data.
Why struggle with complex command-line interfaces when you can accomplish disk management tasks easily with EaseUS Partition Master? Download this powerful tool today and experience its convenience and efficiency.
Conclusion
This guide explored two methods for listing drives in Windows: the tried-and-true Command Prompt (CMD) with its diskpart and WMIC utilities and the more modern PowerShell. While both offer powerful tools, navigating cryptic commands can be a barrier for some users.
EaseUS Partition Master simplifies drive management with a clear graphical interface. No more deciphering complex syntax! This software empowers you to not only view your drives but also perform various tasks such as formatting, extending partitions, migrating your OS, and even securely wiping disks.
Don't forget to share knowledge with others!
List Drives in Command Prompt and PowerShell FAQs
Have questions about how to list drives in Command Prompt and PowerShell? Follow these FAQs.
1. How to get a list of all drives in CMD?
There are two main methods for listing all drives in CMD:
- Using diskpart: This utility offers a comprehensive view, including details like disk size and partition style. Follow the steps outlined in the previous section on "CMD List Drives" to utilize diskpart for listing drives.
- Using WMIC: This versatile tool provides information about logical disks (partitions with drive letters). The commands wmic logicaldisk get name or wmic logicaldisk get caption will display a list of drive letters associated with your partitions.
2. How to get disk info from CMD?
You can get disk info from CMD via diskpart:
- Open Command Prompt, type the following commands one by one and press "Enter" after each one.
- diskpart
- list disk
- select disk (Type the disk number)
- list volume/list partition
3. Are PowerShell and CMD the same?
No. CMD is a classic text-based command prompt, while PowerShell is a newer, more object-oriented tool for system administration.
How Can We Help You
About the Author
Oliver is an EaseUS professional writer who dares explore new areas. With a passion for solving tech issues with straightforward guides for common users, Oliver keeps honing his writing craft by developing in-depth solutions for disk and partition management, computer boot-up issues, file transfer, etc.
Product Reviews
-
I love that the changes you make with EaseUS Partition Master Free aren't immediately applied to the disks. It makes it way easier to play out what will happen after you've made all the changes. I also think the overall look and feel of EaseUS Partition Master Free makes whatever you're doing with your computer's partitions easy.
Read More -
Partition Master Free can Resize, Move, Merge, Migrate, and Copy disks or partitions; convert to local, change label, defragment, check and explore partition; and much more. A premium upgrade adds free tech support and the ability to resize dynamic volumes.
Read More -
It won't hot image your drives or align them, but since it's coupled with a partition manager, it allows you do perform many tasks at once, instead of just cloning drives. You can move partitions around, resize them, defragment, and more, along with the other tools you'd expect from a cloning tool.
Read More
Related Articles
-
6 Best Hard Drive Disk Format Tool | Disk Format Tools
![author icon]() Tracy King/2026/07/01
Tracy King/2026/07/01 -
How to Repair MBR in Windows 11? Here Is Your Guide
![author icon]() Tracy King/2026/06/30
Tracy King/2026/06/30 -
Portable Partition Manager Download Free | With Guide
![author icon]() Sherly/2026/06/17
Sherly/2026/06/17 -
Fixed: The Computer Has Rebooted From A BugCheck [2026]
![author icon]() Cici/2026/06/29
Cici/2026/06/29


