Here is a quick navigation of everything you need to install Windows 11 on a new SSD, relax and feel chill if you are a Windows beginner. Follow this tutorial and you can accomplish the task like an expect:
| Duration:⏱️ | 5-8 minutes reading |
| Procedures:🔢 | |
| Supported OS:💻 |
Windows 11 Home Edition, Windows 11 Pro, Windows 11 Enterprise |
| Tools:🧰 | SSD, Disk Management, Windows 11 ISO files, OS migration software, BIOS settings |
Can I Install Windows 11 on M.2 SSD?
Yes, installing Windows 11 is not a technical procedure that can be done by anyone now. As long as you have a clear clue about what needs to be done for Windows 11 installation, you can enjoy the full features of Windows 11 on your PC now.
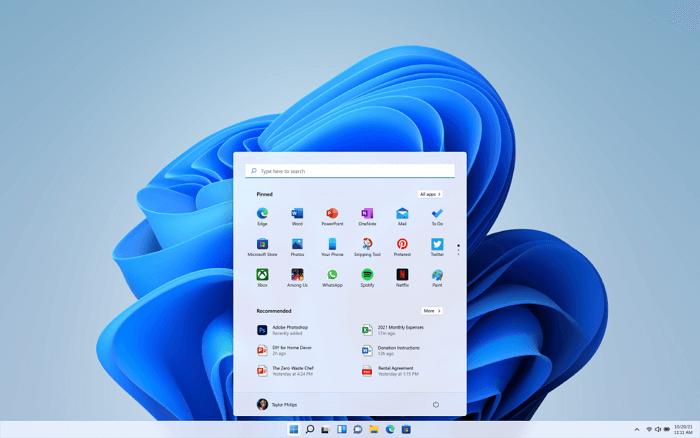
On June 24th, 2022, Microsoft released its first beta version of Windows 11, introducing its new features and new designs to worldwide Windows users. And on July 8th, the second beta version of Windows 11 is available for Windows Insider users to update. What's new in Windows 11?
Click to check and learn everything about Windows 11 here.
- Warning
- Window 11 is currently available for Windows 10 and partial Windows 8 users. If you are using Windows 7 or older computers and are worried about bugs and known issues in Windows 11, please stay with your current OS.
So how to install Windows 11 and enjoy its new features on your computer? Follow this guide, and you'll get a step-by-step tutorial to update and install Windows 11 on your computer safely. Let's get started.
Preparation: Get New SSD/M.2/NVMe SSD Ready for Windows 11
As Windows 11 has a higher requirement in hardware and software for installation, to make sure that the computer obtains a high performance, you must select a suitable SSD disk as the OS drive.
Follow the tips here to get your new SSD disk ready for Windows 11:
#1. Select a Suitable & New SSD - SATA, M.2, or NVMe SSD
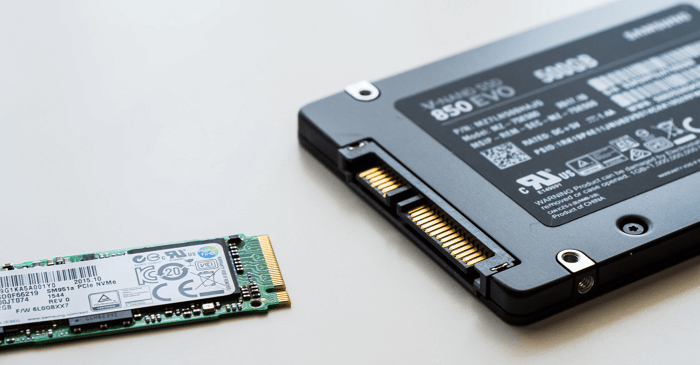
If you haven't got an SSD yet, here is a comparison table among SATA, M.2, NVMe SSD for you to decide which one works the best:
| Comparison | SATA SSD | M.2/NVMe SSD |
|---|---|---|
| Connector | SATA connector | SATA, PCI-Express (PCIe) |
| Reading & Writing Speed | 545~600MB/s | 3GB/s |
| Price | ~$.21/GB | ~$.50/GB |
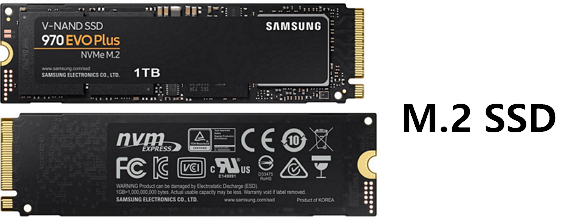
Editors' Pick: For a fast and endurable computer, the current M.2 SSD is ideal for installing Windows 11. And you can check M.2 SSD performance via professional benchmark tools.
#2. Set Up SSD
To make sure that your new SSD is suitable for Windows 11 installation, you must initialize the SSD as a GPT disk type. Here is how to do so:
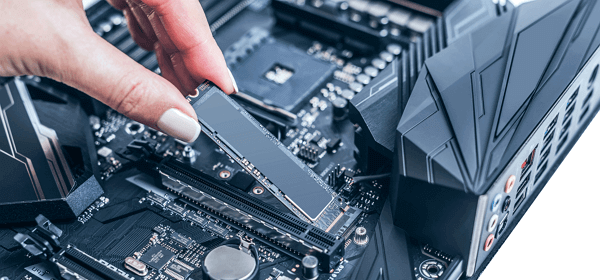
Step 1. Shut down the computer, open the computer case, connect, and insert the new SSD (M.2 or NVMe) into the SSD slot and fasten it with screws.
Step 2. Close the computer case and reboot the PC.
Step 3. Press Windows + R keys, type diskmgmt.msc, and hit Enter to open Disk Management.
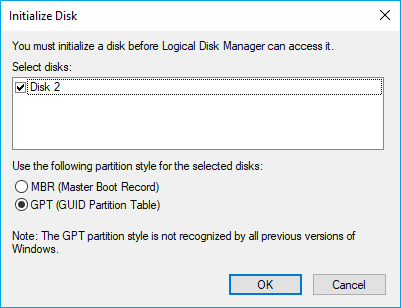
Step 4. Right-click on the new SSD, select Initialize Disk, and select GPT as the disk type.
As Windows 11 requires GPT UEFI and Secure Boot mode that is only available on a GPT disk, to ensure that you can install Windows 11 smoothly, select GPT as the target type.
How to Install Windows 11 on SSD (SATA/M.2/NVMe)? 2024 Tutorial
Basically, there are three ways that you currently can install Windows 11 on your PC:
- 1. Update to Windows 11 as Insider
- 2. Update to Windows 11 by Checking and Install Update on Windows 10
- 3. Download Windows 11 and Install It on SSD from USB
Note that the former two options are to free update Windows 11 on your original OS disk, which could be a hard disk drive.
So what are the exact steps? How to get Windows 11 installed on your target drive? Follow the next two methods for help. By the way, if the methods below do help you, don't hesitate to share this article to help more.
Method 1. Upgrade OS to Windows 11, and Transfer Windows 11 to SSD
First. Download and Update to Windows 11
#1. Get Windows 11 Update as an Insider:
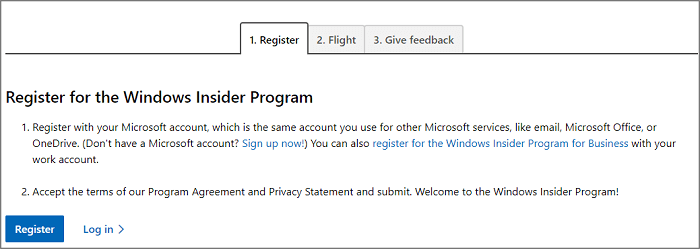
- Open Windows Insider Program page, sign in.
- Go to Settings > Update & Security > Windows Insider Program > Get Started.
- Select + to connect your account and select Dev channel.
- Confirm the Privacy Statement and program terms, select Restart Now or Restart Later.
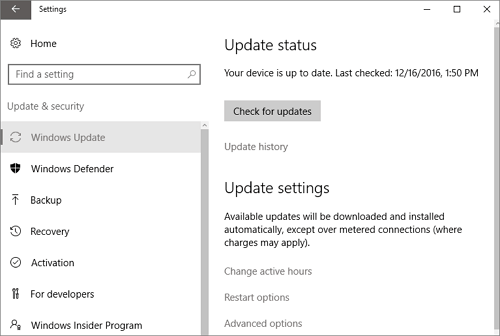
- After computer restart, go to Settings > Update & Security > Windows Update > Check for Updates.
#2. Check and Get Windows 11 Update on PC
- Go to Settings > Update & Security > Windows Update > Check for Updates.
Step 2. When the new update is available, click Download and install.
Step 3. Follow the on-screen guidelines and wait for Windows 11 to be installed on your computer.
Step 4. After installing Windows 11, you can now move or transfer the OS to a newly installed SSD.
Second, Migrate Windows 11 OS to SSD
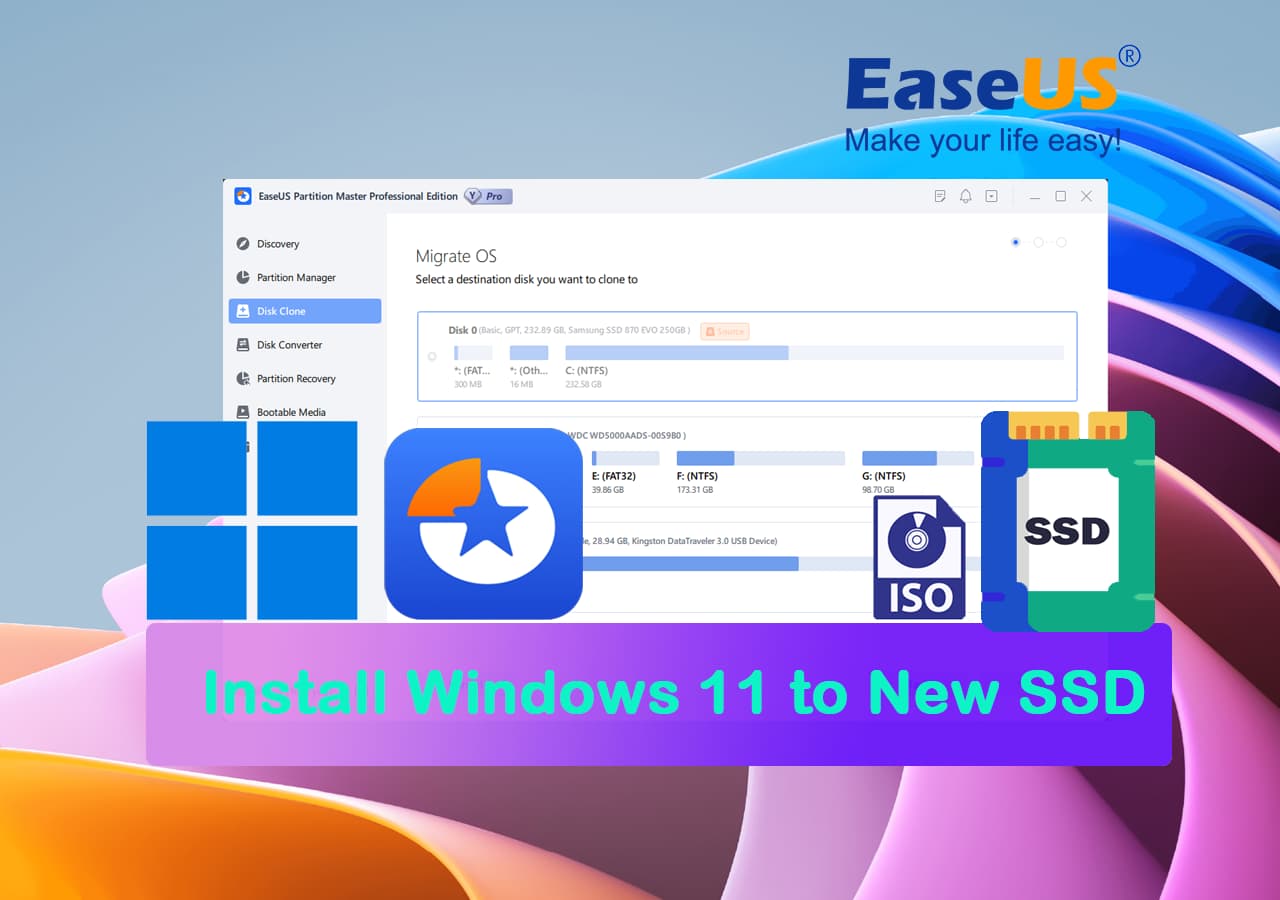
To do so, you'll need the help of professional partition manager software - EaseUS Partition Master. It allows you to transfer OS to a new SSD without reinstalling Windows 11. Here is how to do so:
Steps to migrate OS to HDD/SSD:
- Run EaseUS Partition Master, and select "Clone" from the left menu.
- Check "Migrate OS" and click "Next".
- Select the SSD or HDD as the destination disk and click "Next".
- Check Warning: the data and partitions on the target disk will be deleted. Make sure that you've backed up important data in advance. If not, do it now.
- Then click "Yes".
- Preview the layout of your target disk. Then click "Start" to start migrating your OS to a new disk.
- After this, click "Reboot Now" or "Done" to determine if you want to reboot the computer from the new disk immediately.
"Reboot Now" means to keep the changes instantly, while "Done" means you need to restart the computer later manually.

Note: The operation of migrating OS to SSD or HDD will delete and remove existing partitions and data on your target disk when there is not enough unallocated space on the target disk. If you saved important data there, back up them to an external hard drive in advance.
After this, you can jump to the next part (Stage 3) to set the new SSD as the boot drive in BIOS to make Windows 11 bootable. This tool can help you perform Windows setup without Internet:
How to Install and Set Up Windows 11 Without Network Connection
If you have a problem with connecting to an active network, you can learn how to install and set up Windows 11 without the Internet on your computer.
Method 2. How to Install Windows 11 on SSD from USB, Without Removing HDD
The other effective option is to install Windows 11 to SSD from a USB drive directly. Since Windows 11 is available for free download its ISO files now, go through the guidelines as listed below:
#1. Download Windows 11 ISO from Microsoft Official Site
#2. Then, burn the ISO file to USB as an installation media
#3. Install Windows 11 from USB
Step 1. Prepare an empty USB external drive that has up to 8GB or bigger space.
Step 2. Go to the Windows 11 page and download its ISO file to your computer.
Step 3. Burn the ISO file into your USB drive.
Or you can directly download the Windows 11 creation media and install it on your USB drive.
Step 4. Reboot PC and enter BIOS, setting the USB drive as the boot drive.
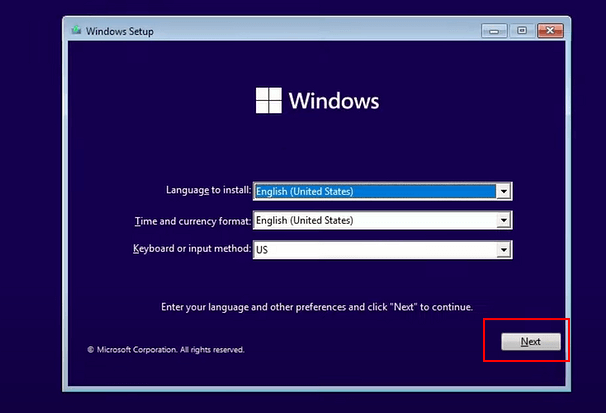
Step 5. Once the computer boots on the USB disk, follow the onscreen instructions to install the new OS.
Step 6. Set Language, Time and currency format, Keyboard or input method, and click Next to move one.
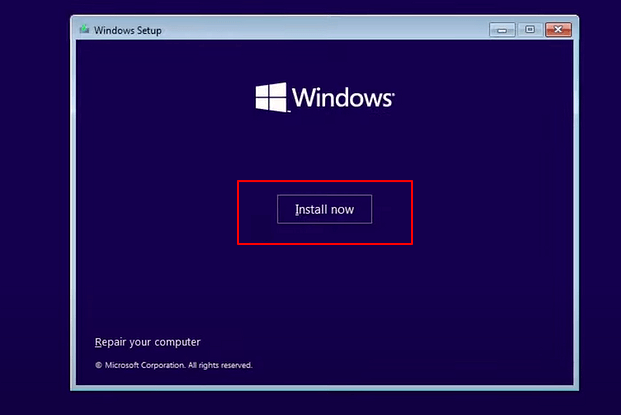
Step 7. Click Install Now to enter the next step.
Step 8. Click I don't have a product key to continue.
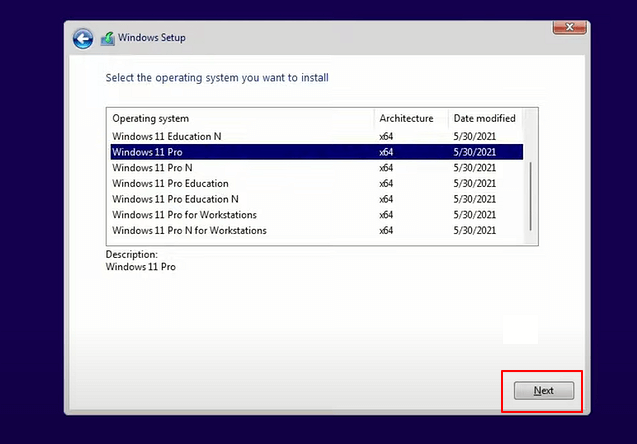
Step 9. Select Windows 11 edition that you want to install and click Next to continue.
Step 10. Click to accept the Microsoft License Term and click Next.
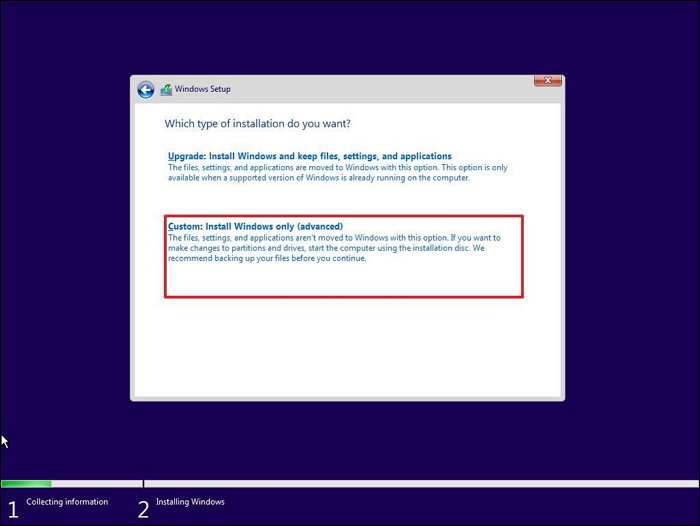
Step 11. Click Custome: Install Windows only on the new disk.

Step 12. Select the new SSD (SATA/M.2/NVMe) as the target disk and click Next to continue.
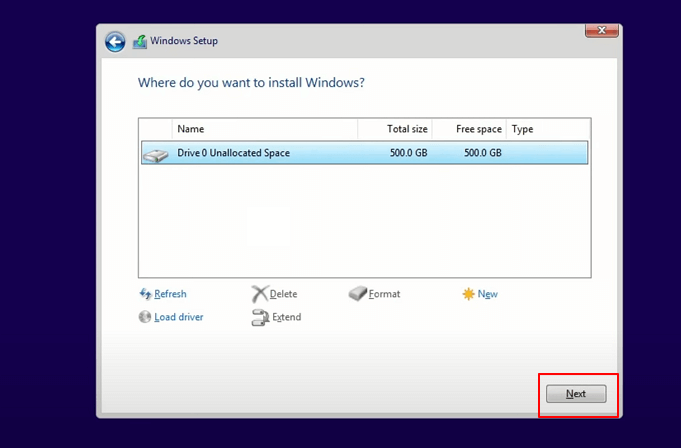
Or, if you create a single partition to install Windows 11 on the drive, click New to partition the SSD first.
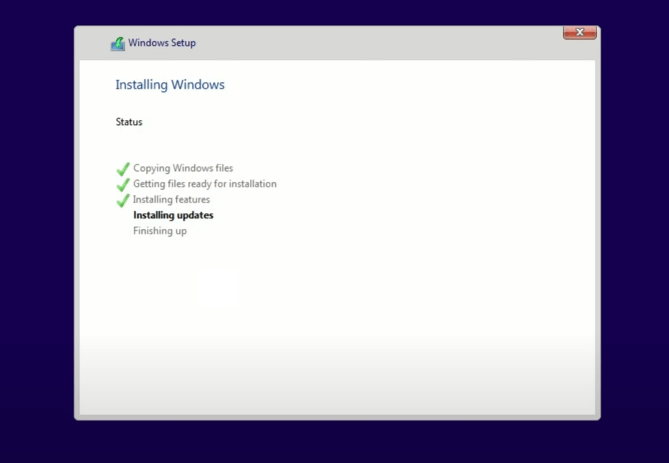
Step 13. Wait for the installing process to complete, the computer will restart automatically.
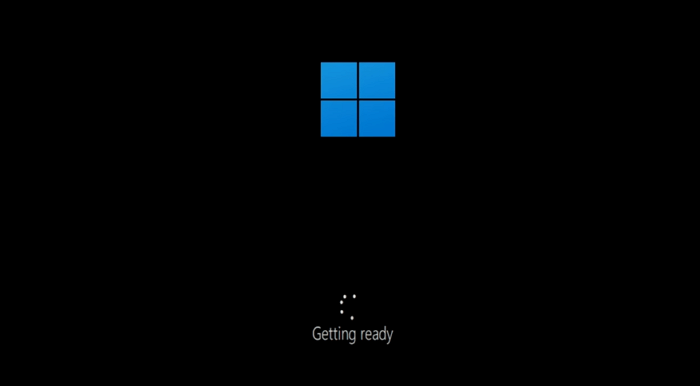
Then follow the on-screen guide to set up the computer. If your computer doesn't boot on the new drive, follow the next guide to enable it and set it to boot from the new SSD.
- Notice:
- No matter which method you decide to follow to install Windows 11 to a new SSD, the final operation is that you need to set the new SSD with Windows 11 as the boot disk. We have detailed steps for you in the next part.
How Do I Make My (SATA/M.2/NVMe) SSD Bootable After Windows 11 Installation
After installing Windows 11 on your new SSD, you need to take one more step, which is to set the new SSD disk as Boot Drive:
Step 1. Restart PC and press the F2/F10/Del key to enter BIOS settings.
Step 2. Go to the Boot Menu, and set the new SSD as Boot Drive.
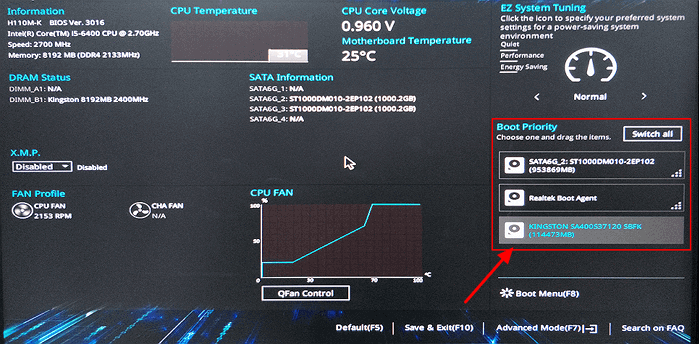
Step 3. Save the changes and exit to restart Windows 11 again.
If you need personalized assistance with these procedures, our support specialists are ready to offer their expertise.
EaseUS Windows Configuration Services
Click here to contact EaseUS Partition Master experts for free
EaseUS experts are available to provide you with 1-on-1 manual services (24*7) and help fix different Windows configuration issues. Our experts will offer you FREE evaluation services and efficiently diagnose and resolve Windows update errors, Windows installation, or daily OS issues using their decades of experience.
- 1. Fix Windows update errors, such as update failure, unable to upgrade Windows, etc.
- 2. Serve to download and install the latest Windows operating system on PC with success.
- 3. Provide fixes for daily Windows system errors with drivers, permission, account settings, etc., issues.
If you want to know how to install M.2 SSD on Windows 10, click the link:
How to Install Windows 10 on M.2 SSD
This guide will provide a comprehensive solution on how to install Windows 10 on M.2 SSD. You can get two effective solutions to install Windows 10 on M.2 without data loss.
Windows 11 Is New & Get Your New SSD Ready to Install the Update Now
On this page, we provided the whole process to help you select a new SSD, get it ready, and install Windows 11 on it.
- If you are new or know nothing technical to install Windows 11, follow this guide, you'll be able to install the new update on your computer.
- If your OS drive is HDD and you installed the OS on it, you can directly transfer the Windows 11 to a new SSD on your own with EaseUS Partition Master.
For now, Windows 11 is only available for download and installation in the Insider channel. It's new, and as long as you want it, get your new SSD ready and install it on your computer now.
Though Windows 11 still has known issues and bugs, Microsoft will update and fix all the bugs and issues for you.
FAQs About Install Windows 11 to a New SSD
If you have more questions about installing Windows 11 on a new SSD, follow and find answers from the listed tips below:
1. Which is easier, install Windows 11 to a new SSD via a USB or migrate Windows 11 to SSD?
It depends on your computing skill. If you are advanced in computing, directly installing Windows to a new SSD could be simple and fast for you. However, migrating Windows 11 to a new SSD could be easier and more practical if you are a Windows beginner.
2. Do I need to format a new SSD before installing Windows 11?
Not necessarily. As long as your new SSD is installed on your PC correctly and you've initialized it to the same disk partition style to GPT, you can directly install Windows 11 on the disk.
3. How do I get Windows 11 to recognize my new SSD?
- Case 1: If you install or migrate Windows 11 to a new SSD, you need to go to the BISO settings, set the new SSD as the first boot drive and enable UEFI boot mode.
- Case 2: If the new SSD is a data disk, remember to install it to PC and initialize the SSD. Then create partitions and format them to NTFS so to make Windows 11 recognize the SSD.
Was This Page Helpful?
Oliver is an EaseUS professional writer who dares explore new areas. With a passion for solving tech issues with straightforward guides for common users, Oliver keeps honing his writing craft by developing in-depth solutions for disk and partition management, computer boot-up issues, file transfer, etc.
Written by Tracy King
Tracy became a member of the EaseUS content team in 2013. Being a technical writer for over 10 years, she is enthusiastic about sharing tips to assist readers in resolving complex issues in disk management, file transfer, PC & Mac performance optimization, etc., like an expert.
Related Articles
-
How Do I Format SD Card for Raspberry Pi? Your Step-by-Step Guide Here
![author icon]() Tracy King/Jun 29, 2026
Tracy King/Jun 29, 2026 -
How to Merge Partitions in Windows 7 (32 and 64 bit)
![author icon]() Jean/Jul 01, 2026
Jean/Jul 01, 2026 -
How to Create EXT2/EXT3 Based Linux Partition from Windows
![author icon]() Daisy/Jun 17, 2026
Daisy/Jun 17, 2026 -
All Options Are Greyed Out in Disk Management Win 10/11
![author icon]() Sherly/Jul 01, 2026
Sherly/Jul 01, 2026