-
![]() Hard Drive Spinning but Not Detected? Here Are the Fixes
Hard Drive Spinning but Not Detected? Here Are the Fixes June 30,2026
 6 min read
 -
![]()
-
![]()
-
![]()
-
![]() Fix and Restore External Hard Drive Shows Only 32GB to Full CapacityJuly 02,20266 min read
Fix and Restore External Hard Drive Shows Only 32GB to Full CapacityJuly 02,20266 min read -
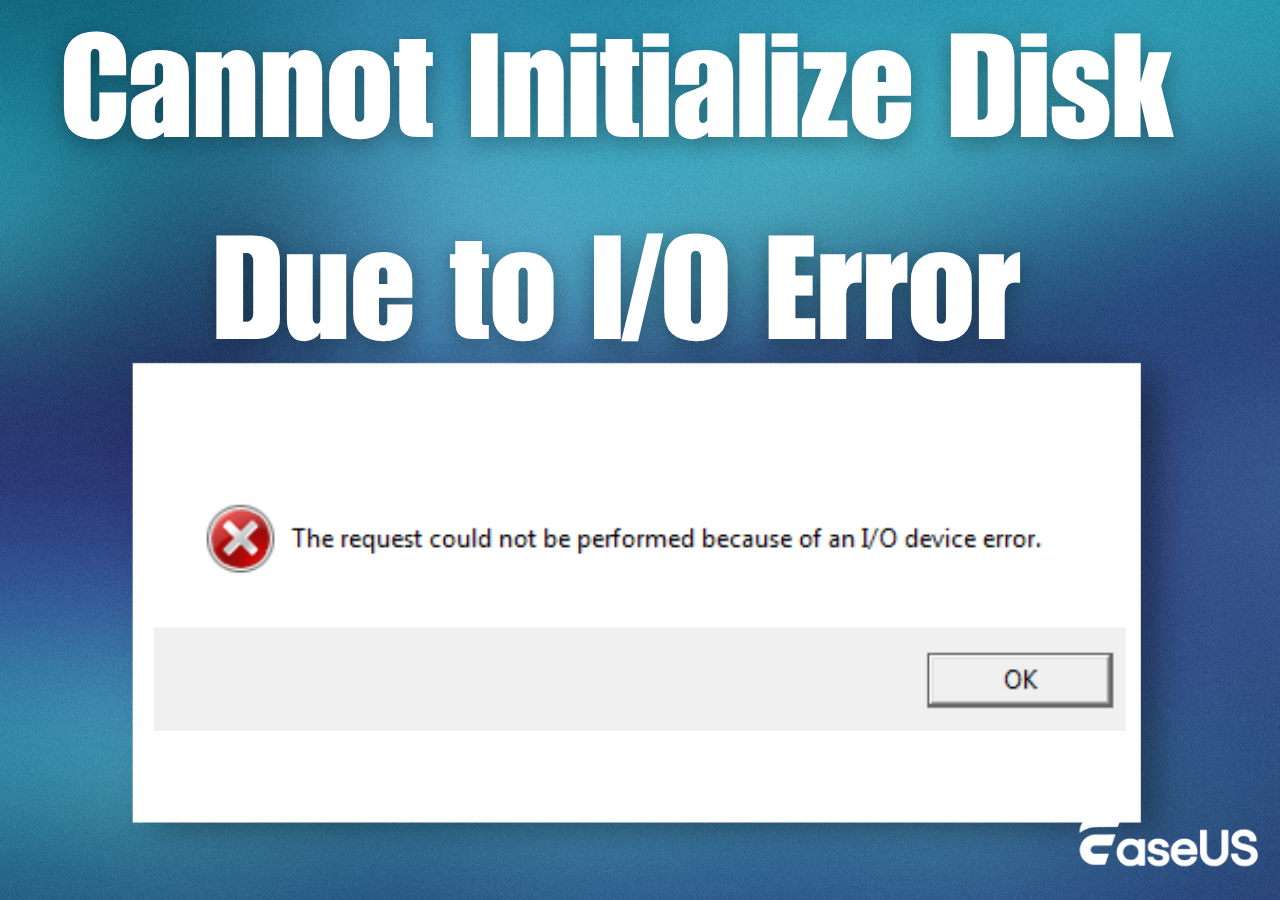
![]() Cannot Initialize Disk Due to I/O Error? 5 Proven Fixes to RepairJune 30,20266 min read
Cannot Initialize Disk Due to I/O Error? 5 Proven Fixes to RepairJune 30,20266 min read -
![]()
-
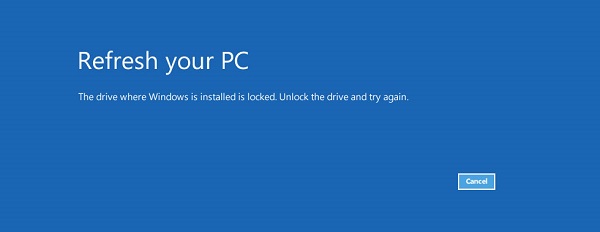
![]() 5 Ways to Fix the Drive Where Windows Installed Is LockedJune 30,20266 min read
5 Ways to Fix the Drive Where Windows Installed Is LockedJune 30,20266 min read -
![]() How to Recover Deleted Files from a G-Technology Hard DriveJune 30,20266 min read
How to Recover Deleted Files from a G-Technology Hard DriveJune 30,20266 min read -
![]() Fixed: Seagate external hard drive not showing up in Windows 10/11June 30,20266 min read
Fixed: Seagate external hard drive not showing up in Windows 10/11June 30,20266 min read
Page Table of Contents
Incorrect partition tables (such as MBR vs. GPT), hidden system files, decimal vs. binary computations, or incomplete formatting can all cause an external hard drive to display less space. These issues can be resolved by making sure the partition utilizes the entire disk, clearing temporary files, updating drivers, or reformatting the drive.
PAGE CONTENT:
"Why is my Seagate external HDD not showing the full capacity? I use a 4TB external hard drive to create a recovery drive and regular backups. Now with a new laptop, I decided to reformat the drive but Windows says it has only 32GB on it. What's going on with the rest free space?"
Have you ever encountered a situation where your external hard drive is not showing full capacity on your Windows PC or Mac? As investigated, this is a common problem for most hard drives made by Seagate, Lacie, Western Digital, or Sandisk, larger than 2TB. Yes, it is common to see your 2TB hard drive showing only 500GB, 200GB, 127GB, or 32GB when connected to a computer. But a hard drive that is under 2TB may also have the same problem. What's the reason? Can you reclaim the full capacity?
Why Does the External Hard Drive Not Show the Full Capacity
In most cases, it's because your hard drive has been initialized with the wrong partition table. As we know, the MBR (Master Boot Record) partition table cannot support disk volume space that exceeds 2TB. That's why owners of 3TB and 4TB hard drives are likely to see less complicated drive space than they should. To solve this type of problem, you need to convert MBR to GPT (GUID Partition Table).
However, hard drives with capacities less than 2TB are not affected by the MBR limitation, so why do they still display incorrect size information? In this situation, you should check the hard drive for errors.
Any driver and firmware issues would result in Windows improperly recognizing the drive. Also, computer viruses and hidden recovery partitions tend to cause similar problems.
Supplement:
File systems (e.g., NTFS, exFAT, APFS) reserve space for indexing, error-checking, and system metadata. For instance, NTFS creates a Master File Table (MFT) that consumes ≈0.1–1% of the drive's capacity.
Dynamic disks in Windows or encrypted volumes (e.g., BitLocker) can add further overhead, reducing visible space.
Modern drives often contain hidden partitions for recovery tools (e.g., Windows Recovery Partition) or firmware updates. These partitions, typically ranging from 100 to 500 MB each, are not accessible by default.
How to Fix Wrong Capacity Issues in Windows
Typically, when an external hard drive not showing full capacity on a Windows PC, the most likely cause of this issue is that the external hard drive driver or firmware is outdated. To regain the full capacity displayed on your computer, we highly recommend using Method 1 and Method 2 for updating the driver and firmware.
Fix 1. Convert MBR to GPT
We introduce two free-to-use methods for you: Windows Disk Management and EaseUS free partition manager. This video tutorial teaches you how to convert MBR to GPT with both tools.
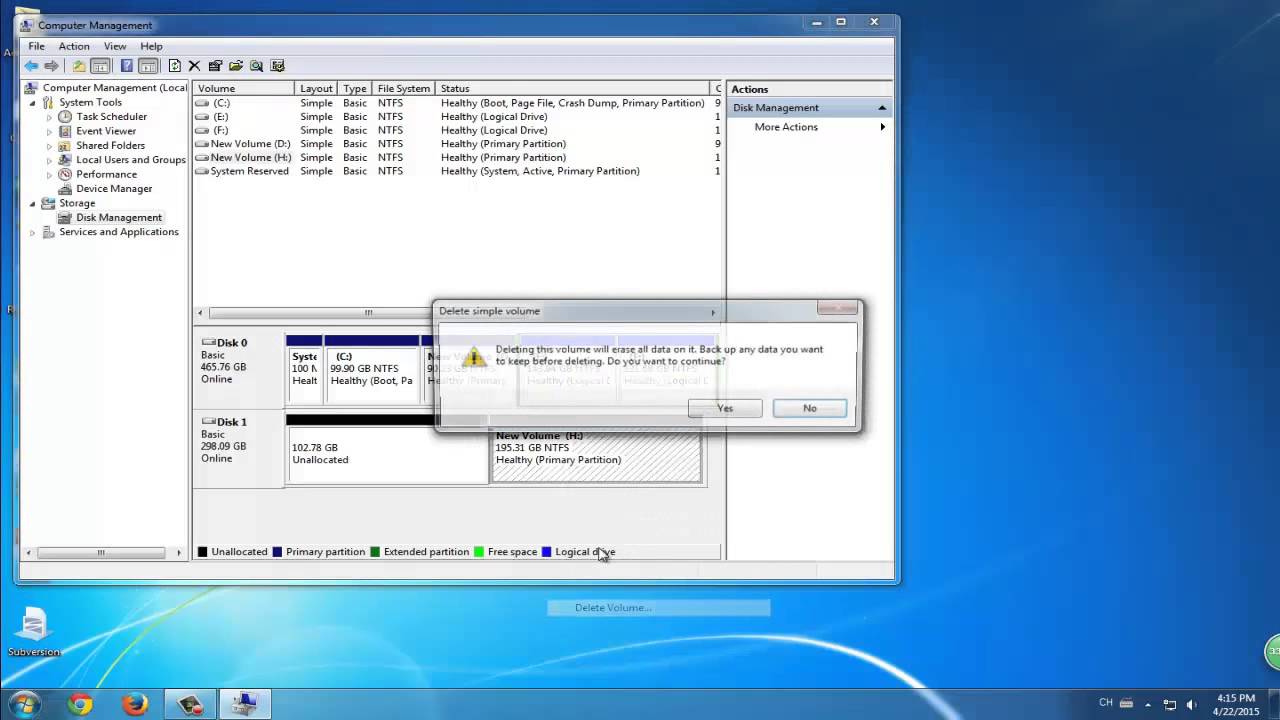
NOTE: You must first delete the partition and then initialize it as GPT in Windows Disk Management. EaseUS Partition Master can convert MBR to GPT without data loss, but this technique requires downloading and installing the tool in Windows 10/8.1/8/7.
Fix 2. Update the external hard drive driver
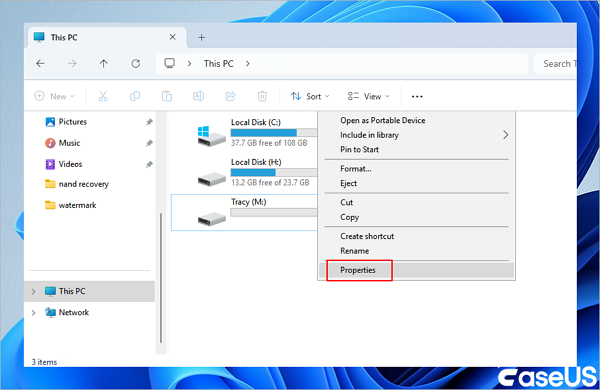
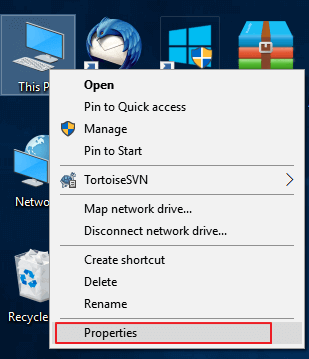
Step 1. Keep your external hard drive connected to your PC, right-click on the drive, and choose "Properties".
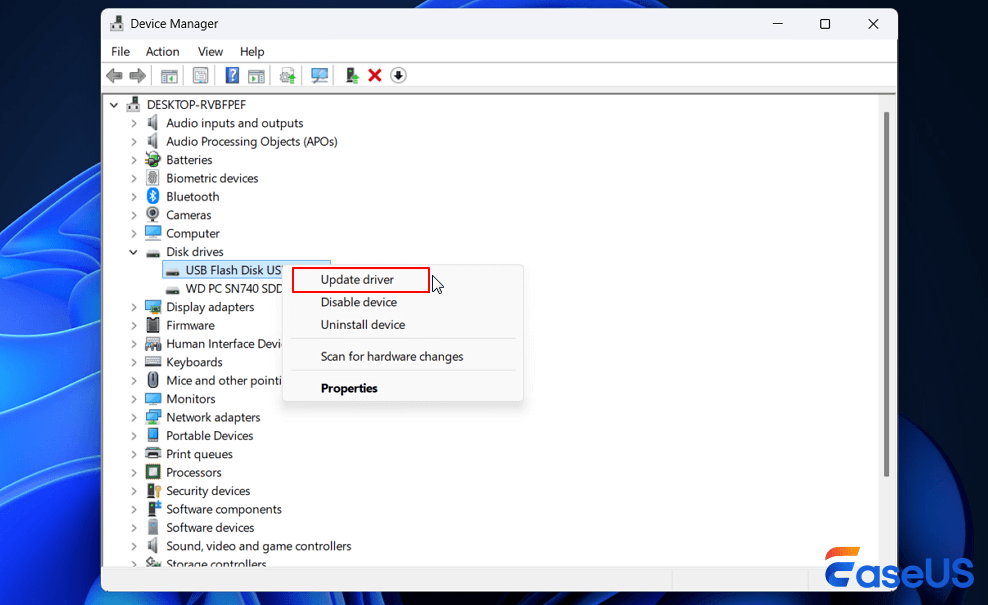
Step 2. Click "device manager" in the left pane and expand "Universal USB Serial Bus controllers".
Then you'll see a yellow exclamation mark next to the malfunctioning controller. Right-click on it and select "Update driver" or "Update driver software".
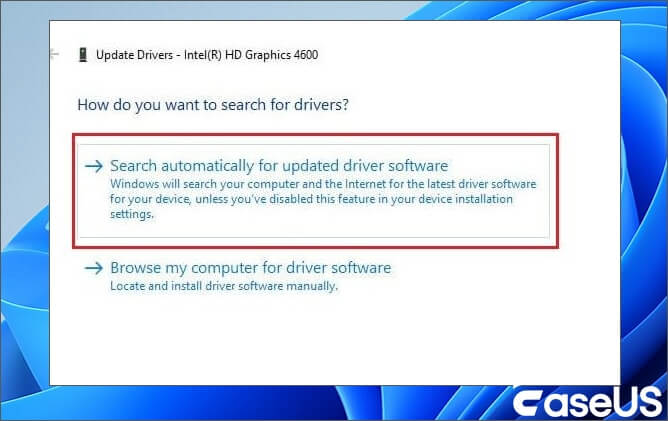
Step 3. Click "Search automatically for updated driver software".
Fix 3. Update the firmware of external hard drive
Step 1. Check the firmware version of your external hard drive
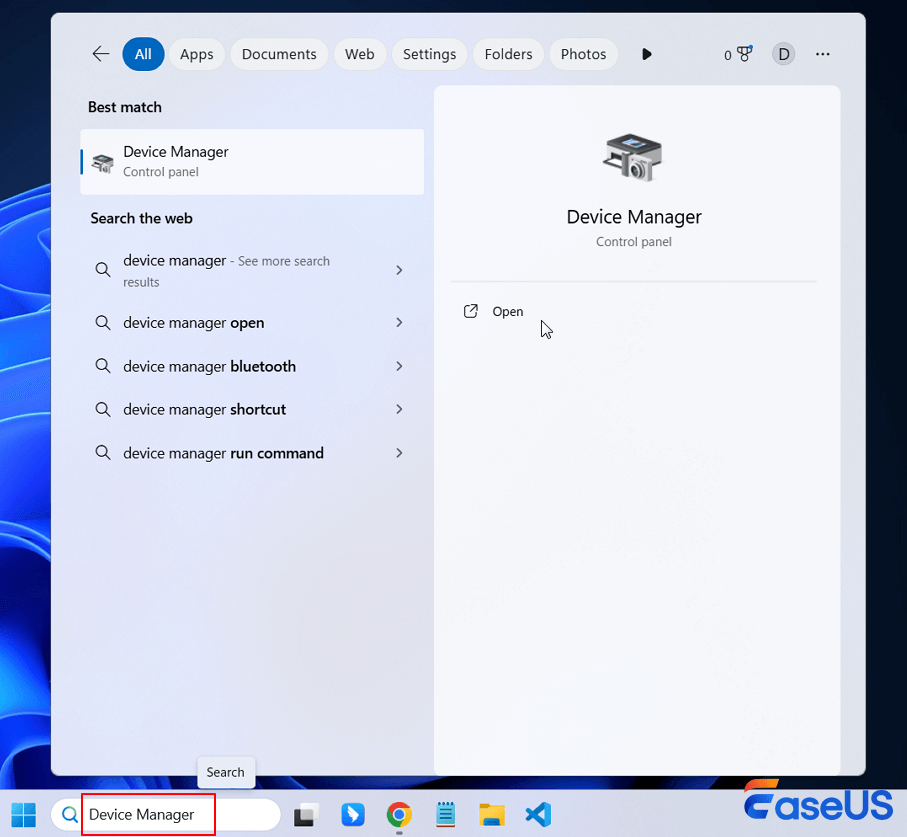
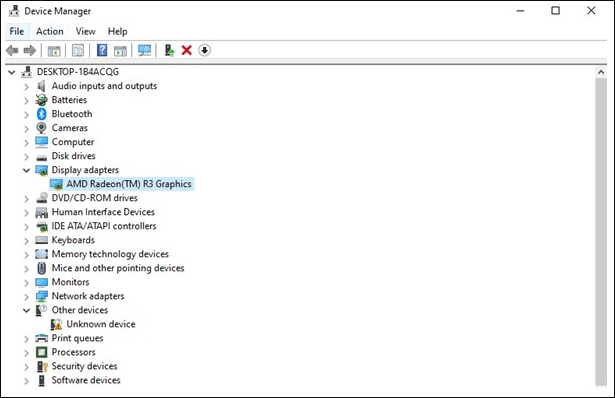
1. Connect your external hard drive to your PC, right-click on the Windows icon, and select "Device Manager".
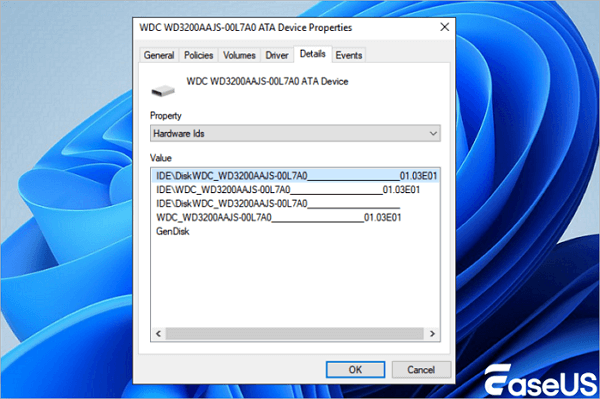
2. Select "Disk Drivers", expand it, then find and right-click on your external hard drive, and select "Properties".
3. Click "Details" and then select "Hardware IDs" from the Properties drop-down menu.
The manufacturer and firmware version information will appear in the Value box.
Step 2. Download the firmware update of your external hard drive
- 1. Go to the website of your external hard drive's manufacturer and open the support page of the company or search for driver downloads on the website.
- 2. Click on "Support", "Download" or "Drivers".
- 3. Then enter the model number of your external hard drive or hard drive in Search Knowledgebase, and search "Downloads" or "Model / Parts ID" to find the right one.
- 4. Check for firmware updates.
- If new firmware of your drive is available, click "Download", "Install" or "Download Firmware" to download and install it to a portable USB drive.
Step 3. Burn downloaded ISO and upgrade the firmware
- 1. Open the portable USB to which you want to save the firmware ISO of the external hard drive and right-click on the ISO file, then select "Burn Disk Image".
- 2. Insert a writable disk or USB to your PC, select the optical drive from the Drive Burner, and click Burn.
- 3. Restart your PC with the burned disk or USB drive, press F2, F10, F12, or Esc to bring up BIOS.
- 4. Select your optical or USB drive using the arrow keys and hit Enter.
- 5. Follow the firmware upgrade instructions, and when you complete the upgrade process you'll get a working external hard drive with full capacity. To further mitigate the damage from hardware bugs, you may also consider using reliable cloud storage on secure hosting for data backups.
Fix External Hard Drive Not Showing the Right Capacity on Mac
If your Mac isn't displaying the full hard drive capacity, it could be due to an unallocated volume, hidden files, corrupted system data, or a failing drive, which may require troubleshooting with Disk Utility's First Aid.
Step 1. Launch Disk Utility ("Applications" > "Utilities").
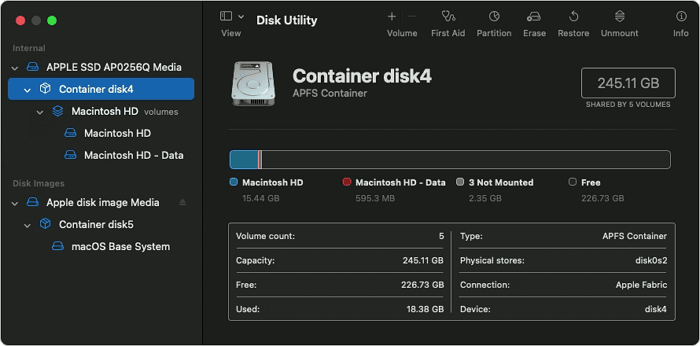
Step 2. Select your drive in the left sidebar.
Step 3. Check the "Size" and "Volume" info. If the total disk size matches the advertised capacity but the partition is smaller, click 'Partition' and drag the partition to use the entire disk space.
macOS may create Core Storage volumes that hide real capacity. Use diskutil cs list in Terminal to identify and unlock these partitions.
Recover Data After Restoring Hard Drive to Its Full Size
If you lose your data while fixing a problem and don't have a backup, download and install EaseUS Data Recovery Wizard to recover lost, deleted, or formatted data on your hard drive for free. The software is available in both Windows and macOS versions. Download the correct version depending on your device.
Step 1. Choose and scan the external hard drive
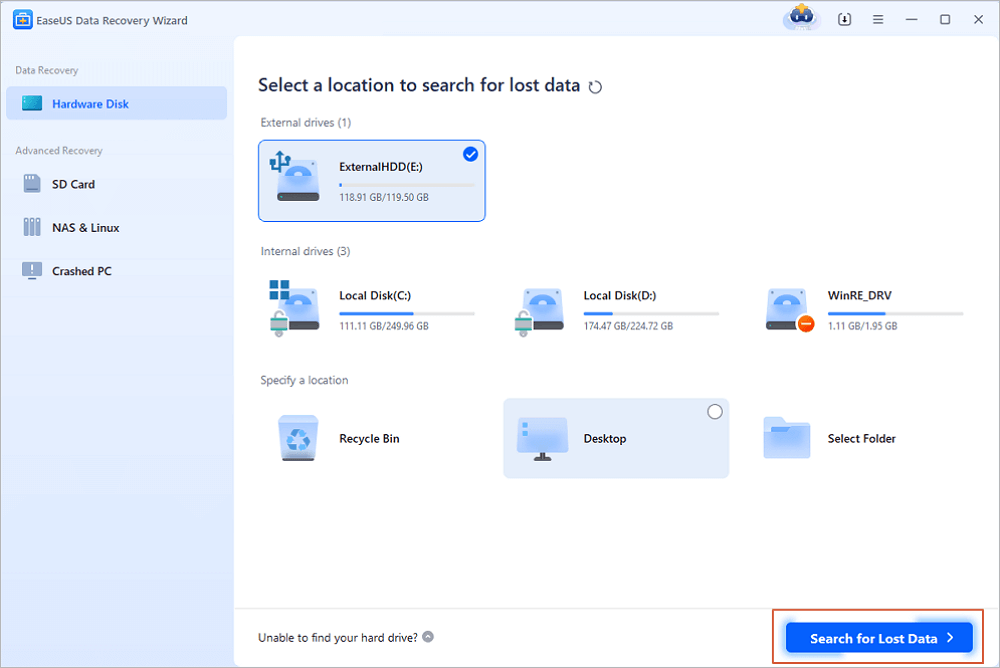
- Download and install EaseUS Data Recovery on your PC or laptop.
- Connect the external hard drive to your computer.
- Run EaseUS Data Recovery Wizard and choose the external drive from External drives list. Then, click "Search for Lost Data".
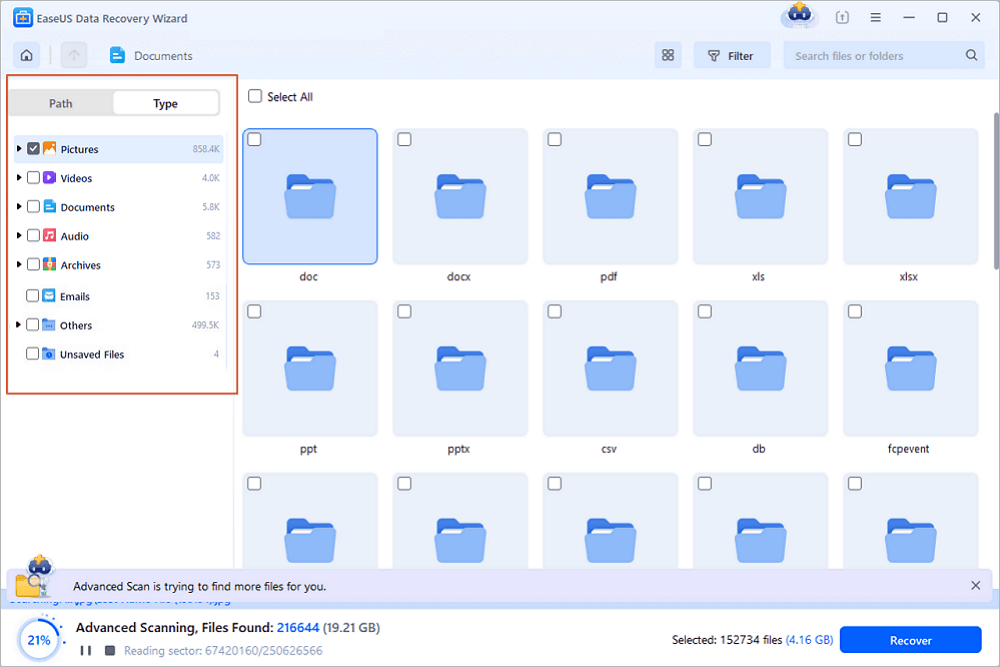
Step 2. Check the scan results
- EaseUS data recovery software will immediately scan the selected drive for all data, including deleted, corrupted, and existing data.
- You can use the Filter feature to quickly locate the files of one kind, such as Pictures, Word, Excel, PDF, videos, emails, etc.
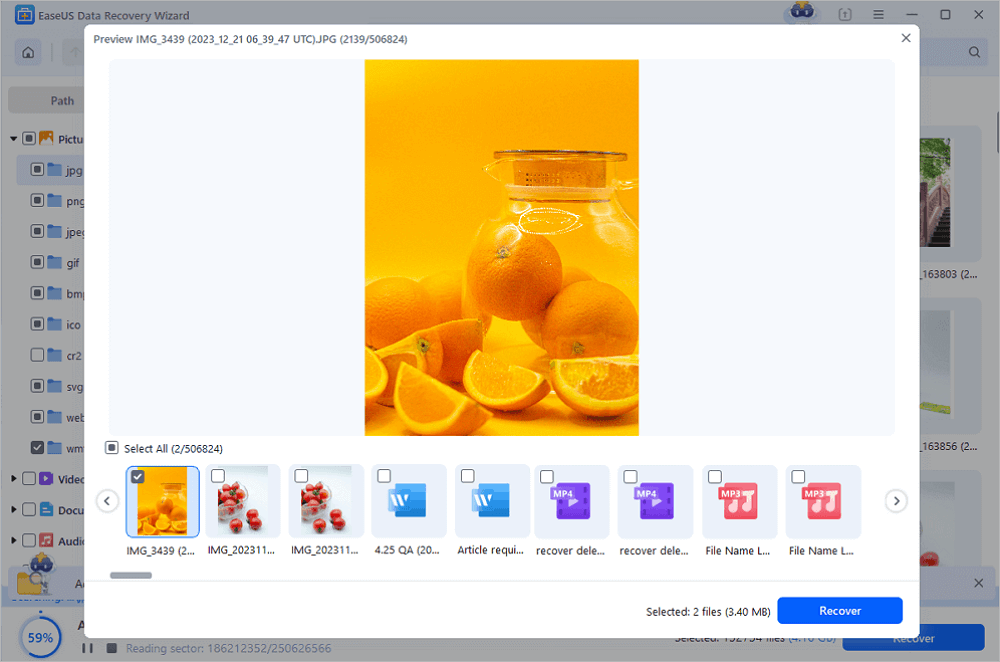
Step 3. Preview and recover data
- Double-clicking a file from the scanned results to preview.
- Choose the files you want and click "Recover".
- Select a different drive to save the recovered files instead of the original one.
💡Tip: You can restore data on the local disks, external hard drives, and also the cloud storage.
If you find this information helpful, please share it with others on social media to assist them in overcoming this common challenge.
Conclusion
A hard drive not showing full capacity is rarely a sign of failure. By understanding binary vs. decimal calculations, partition structures, and system overheads, you can recover lost space safely. Always prioritize data backup and utilize diagnostic tools to prevent irreversible data loss. If the issue persists after these steps, consider replacing the drive - especially if it's older than 5 years or shows frequent errors.
Was this page helpful?
-
![]()
Approved by
David Balaban is a computer security researcher with over 18 years of experience in malware analysis and antivirus software evaluation. He presents expert opinions on contemporary information security matters, including social engineering, penetration testing, threat intelligence, online privacy, and white hat hacking.…

20+
Years of experience

160+
Countries and regions

72 Million+
Downloads

4.9 +
Trustpilot Score


