
Content
Page Table of Contents
About the Author
Hot Topics
Updated on Jun 29, 2026
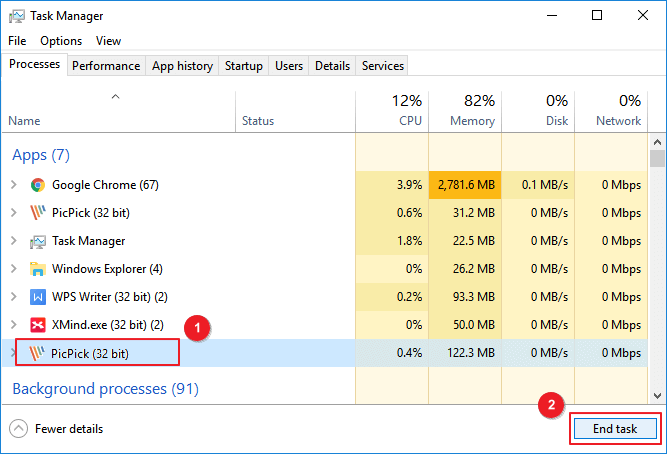
If you have upgraded to Windows 11 and found that your computer responds slow, you can check in the Task Manager to see what causes the problem. Task Manager provides you with information on how is every process currently running on your computer.
A common reason why your computer, or especially laptop, running slow is that the disk usage showing 100%. Generally, the disk usage would not go up for a long time. It will only reach a high level or close to 100% for a few moments, and then it should drop to a normal number, usually below 10%. If the disk usage of your computer continues at a high level. You need to find solutions to solve the issue. Here are 7 methods for you to try to optimize your computer.
- Fix 1. Update Your Device
- Fix 2. Reset Virtual Memory
- Fix 3. Change Power Options to High Performance
- Fix 4. Disable Antivirus Software temporarily
- Fix 5. Disable Windows Notifications
- Fix 6. Fix StorAHCI.sys Driver
- Fix 7. Perform a Disk Check
Read Also:
7 Ways to Fix 99% Disk Usage on Windows
Discover effective solutions to resolve 99% disk usage issues on Windows. Follow seven methods to optimize your system's performance efficiently.
Fix 1. Update Your Device
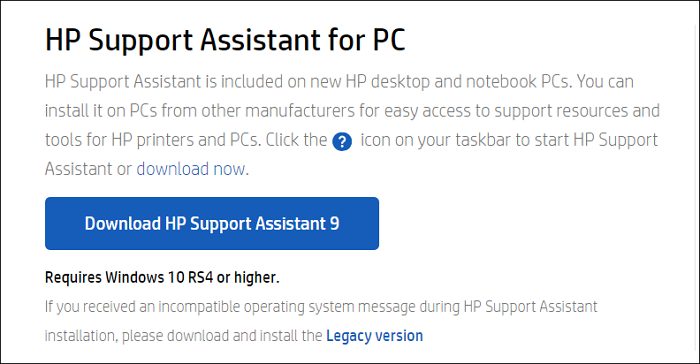
Sometimes the disk usage is highly related to your computer's disk. If you have installed an old HDD on the computer, maybe it's time to change to a new one. One great option is to upgrade to a solid-state drive (SSD). SSDs are faster and more stable than HDDs. Computers installed with an SSD will have a better performance.
Fix 2. Reset Virtual Memory
If your computer's hard drive is not outdated yet, you could reset the virtual memory to fix the problem. Virtual memory is an extension of your computer's physical memory, which combines RAM and a part of the hard drive. When the RAM is out of space, Windows will store files in virtual memory. Here are the steps of how to reset virtual memory.
Step 1. Type Control Panel in the search bar, click the best match.
Step 2. Find and click System, then choose Advanced system settings on the right panel.
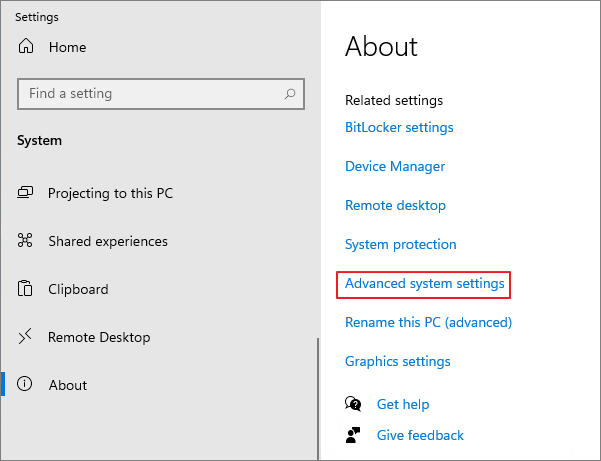
Step 3. It will open a new System Properties window. Switch to the Advanced tab, click Settings.
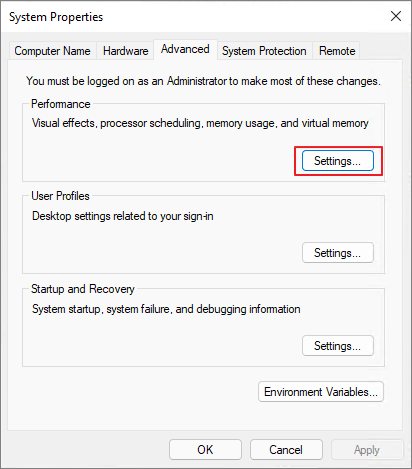
Step 4. In the newly-opened windows, under the Advanced tab, choose Change to adjust the virtual memory.

Step 5. Uncheck the Automatically manage paging file size for all drives option, then change the maximum size to a larger number. But don't set this value too high. It should be about 1.5 times the physical RAM.
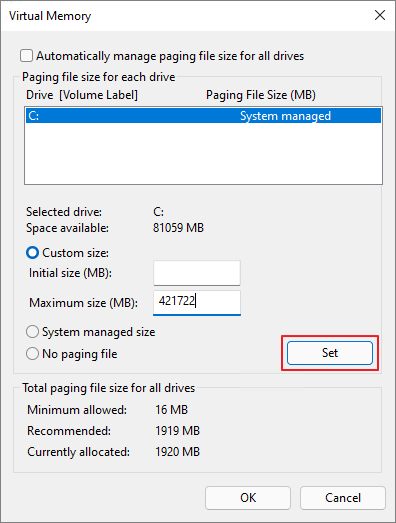
Step 6. Once set the virtual memory size, click Set and OK to confirm the change.
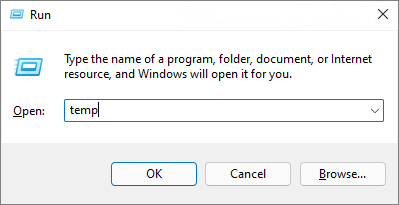
Step 7. Then you need to clear the computer's temp files. Press the Windows + R keys at the same time, type temp in the run box, and hit enter.
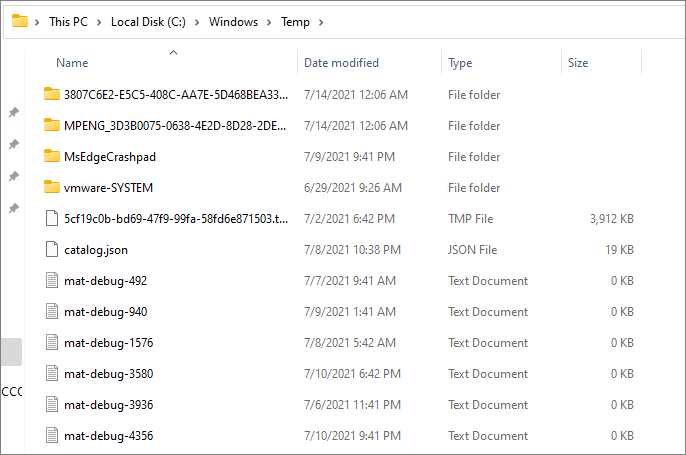
Step 8. It will list all the temp files on your computer. Select and delete all of them.
Step 9. You can now check if the disk usage is 100% or not.
Read Also:
How to Fix HP Stream Low Disk Space [100% Working]
This passage will address the common issue of 'HP Stream Low Disk Space.' Discover practical solutions and tips to manage and optimize your HP Stream's storage.
Fix 3. Change Power Options to High Performance
Some users said that change Power options to high performance will work. Here is how to do it.
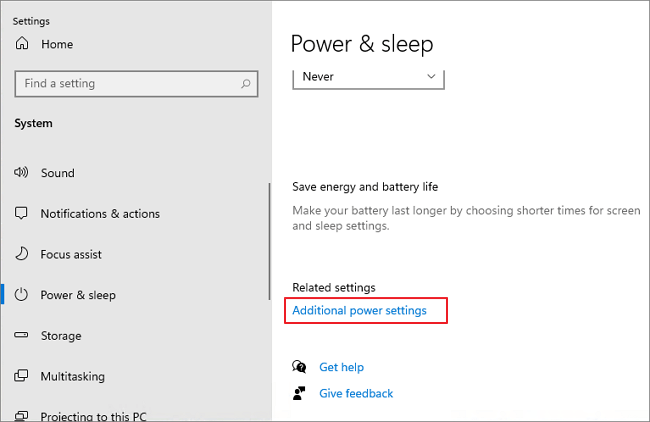
Step 1. Go to Control Panel > Power & sleep > Click Additional power settings.
Step 2. Click Change plan settings > Change advanced power settings.
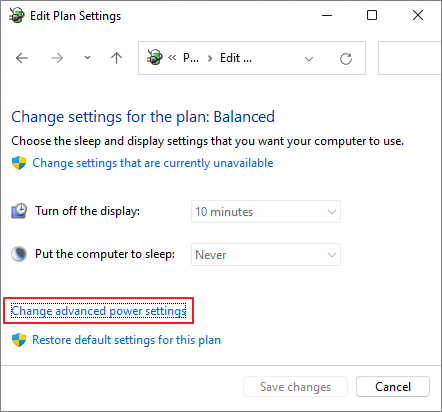
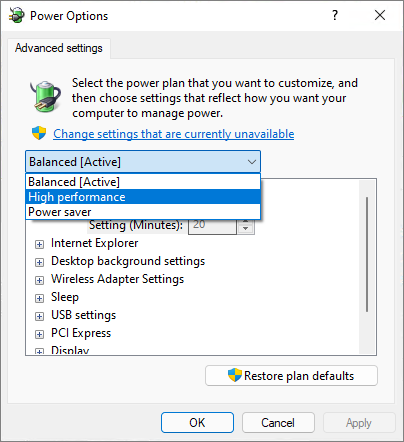
Step 3. Choose High performance from the drop-down menu and click Restore plan defaults.
Read Also: 100% Disk Usage Windows 10
Fix 4. Disable Antivirus Software temporarily
In some cases, the antivirus software will take too much disk usage. You can disable the software for a while to fix the issue.
Fix 5. Disable Windows Notifications
This is another method reported by users who experienced the same problem.
Go to Settings > System > Notifications & actions, turn off the Get tips, tricks, and suggestions as you use Windows.

Fix 6. Fix StorAHCI.sys Driver
Some AHCI PCIe (Advanced Host Controller Interface PCI-Express) can also cause the Windows 100 disk usage problem. You can fix the StorAHCI.sys driver to fix the problem.
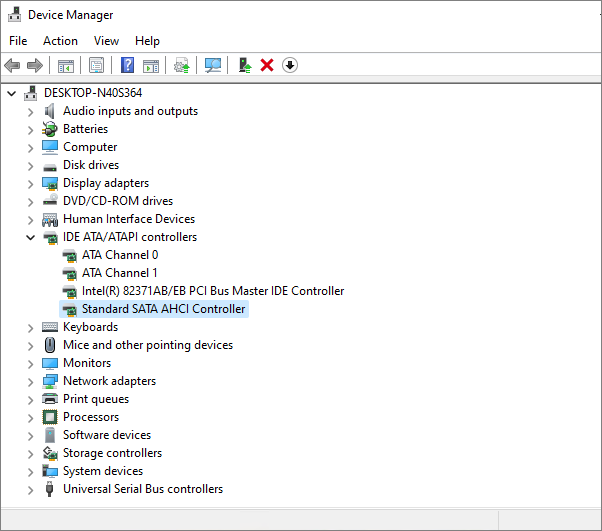
Step 1. Open Device Manager and find the IDE ATA/ATAPI Controllers.
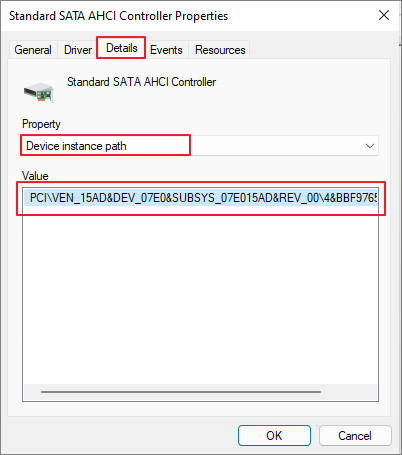
Step 2. Choose Standard SATA AHCI Controller.
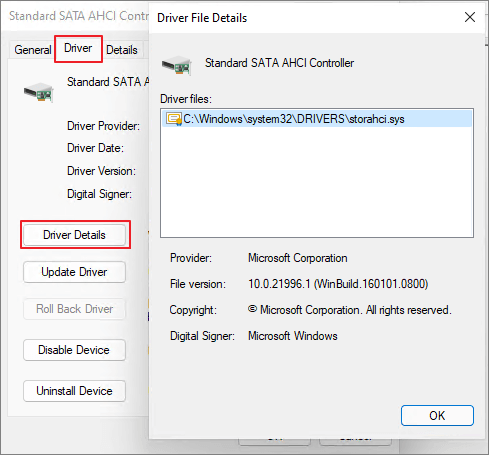
Step 3. Under the Driver tab, click Driver Details, check if there's a storahci.sys file.
Step 4. Close the Driver Details window and go to the Details tab, select Device Instance Path. Note the file that starts with VEN.
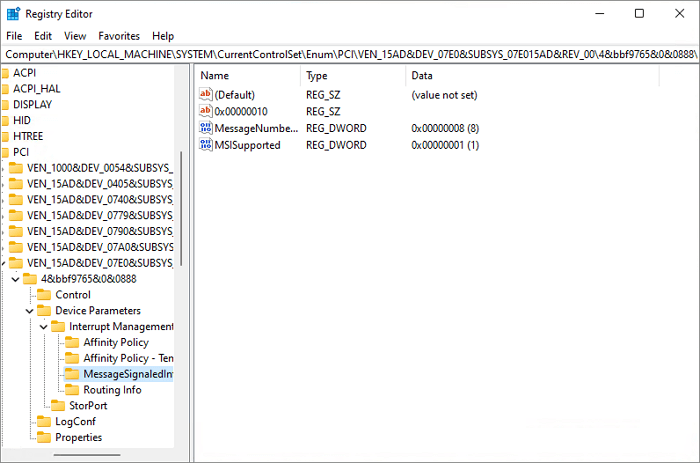
Step 5. Type regedit in the search box of the Start panel, then hit Enter on your keyboard to run Registry Editor. Then go to:
HKEY_LOCAL_MACHINE\System\CurrentControlSet\Enum\PCI\Device Parameters\Interrupt Management\MessageSignaledInterruptProperties
The here refers to the name you see from step 4.
The differs on different machines.
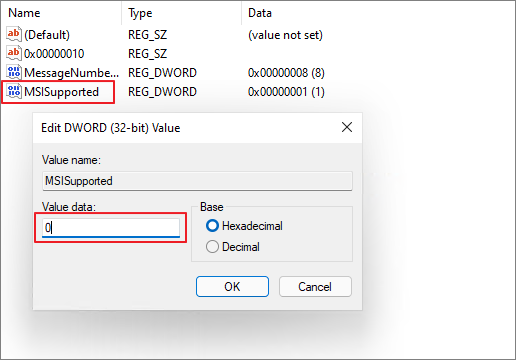
Step 6. Double click the MSISupported key and change the value to 0.
Fix 7. Perform a Disk Check
If none of the above methods can help you solve the problem, your last resort is to perform a disk check. You can run chkdsk in the Command Prompt to check and try to fix the problem.
But you should notice that the chkdsk command line could probably result in data loss. You should back up all the important data before checking disk.
You can also use EaseUS Partition Master to perform a disk check. Download this tool for free, and follow the guide to see how to check the file system with it.
How Can We Help You
About the Author
Updated by Tracy King
Tracy became a member of the EaseUS content team in 2013. Being a technical writer for over 10 years, she is enthusiastic about sharing tips to assist readers in resolving complex issues in disk management, file transfer, PC & Mac performance optimization, etc., like an expert.
Product Reviews
-
I love that the changes you make with EaseUS Partition Master Free aren't immediately applied to the disks. It makes it way easier to play out what will happen after you've made all the changes. I also think the overall look and feel of EaseUS Partition Master Free makes whatever you're doing with your computer's partitions easy.
Read More -
Partition Master Free can Resize, Move, Merge, Migrate, and Copy disks or partitions; convert to local, change label, defragment, check and explore partition; and much more. A premium upgrade adds free tech support and the ability to resize dynamic volumes.
Read More -
It won't hot image your drives or align them, but since it's coupled with a partition manager, it allows you do perform many tasks at once, instead of just cloning drives. You can move partitions around, resize them, defragment, and more, along with the other tools you'd expect from a cloning tool.
Read More
Related Articles
-
Migration Assistant Slow - How to Speed Up
![author icon]() Oliver/2026/06/30
Oliver/2026/06/30 -
USB Partition Tool/Manager: Partition USB or Create Portable USB Drive
![author icon]() Brithny/2026/06/30
Brithny/2026/06/30 -
Best Free PC Cache Cleaner: Top 7 [Proven Checklist]
![author icon]() Sherly/2026/06/17
Sherly/2026/06/17 -
FIX: SSD Not Showing up in BIOS Boot Priority
![author icon]() Oliver/2026/06/17
Oliver/2026/06/17


