-
![]()
-
![]()
-
![]()
-
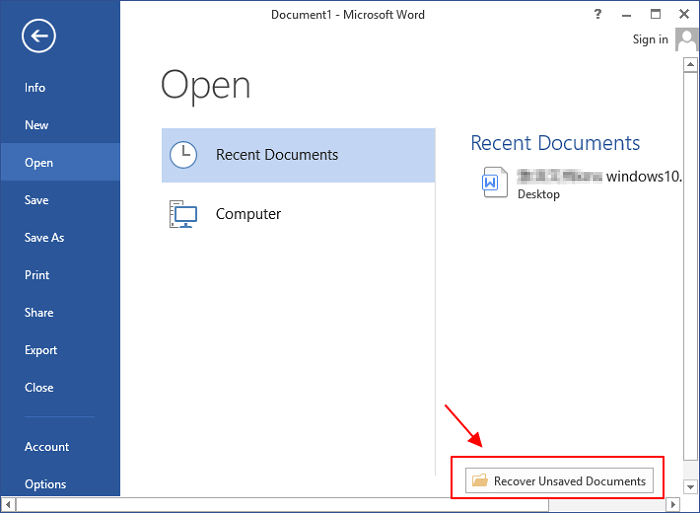
![]() Accidentally Closed Word Without Saving in MS Word 2003/2007/2010/2013/2016
Accidentally Closed Word Without Saving in MS Word 2003/2007/2010/2013/2016 July 23,2026
 6 min read
 -
![]()
-
![]()
-
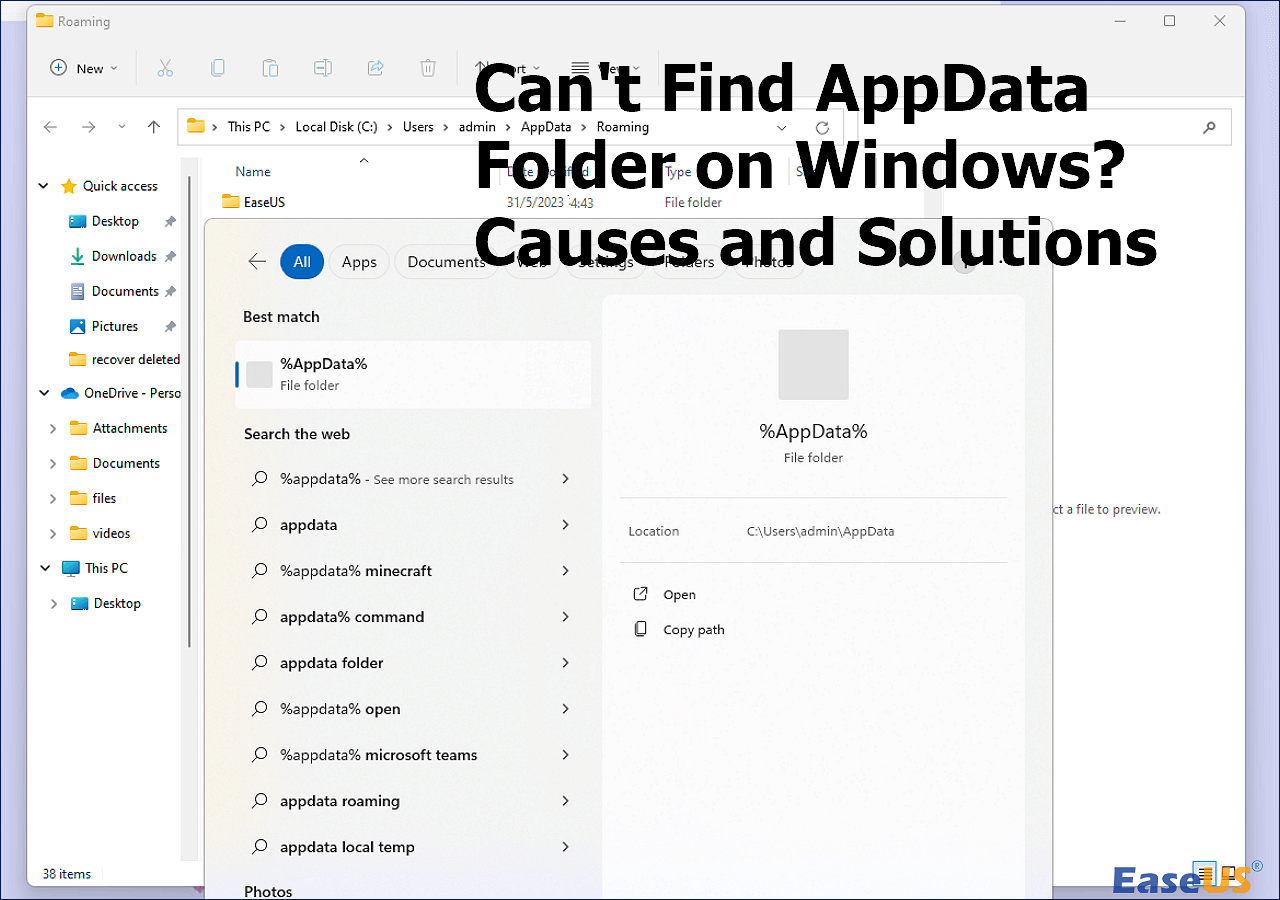
![]() Files Automatically Encrypted, How to Remove Encryption from FilesJuly 23,20266 min read
Files Automatically Encrypted, How to Remove Encryption from FilesJuly 23,20266 min read -
![]()
-
![]()
-
![]()
Page Table of Contents
| Workable Solutions | Step-by-step Troubleshooting |
|---|---|
| Fix 1. Restart Windows PC | Reboot PC and check out whether the fonts will show up or not...Full steps |
| Fix 2. Rebuild the font cache | Disable the font cache on the Services panel > rebuild Windows font cache...Full steps |
| Fix 3. Reinstall current fonts | Go to C:/Windows/Fonts > preview the not working font > reinstall the font...Full steps |
| Fix 4. Reinstall missing fonts | Download fonts installation files > apply and confirm the installation...Full steps |
Installed Fonts Are Missing After Windows 10 Creator update
"Do you know how to restore the missing fonts after the Windows system update? I couldn't find installed fonts nor use them after updating Windows 10 to Creator.
I can neither edit documents nor writing files with desired fonts. I tried to search on my PC, nothing was found. What can I do to get lost fonts back?"
When you couldn't find or edit files like documents with wanted fonts in Word or Excel on Windows PC, do you know where to find the missing fonts?
It's a common problem that fonts disappeared after upgrading the Windows system to a new version. So how to fix this problem? Quick fixes and solutions are available here to help.
Follow to restore the missing fonts after Windows 10 Creator update immediately.
Quick Fix: Restart Windows PC
When you find that fonts are missing Windows PC, try to reboot the PC and check out whether the fonts will show up or not.
If fonts show up on PC after reboot Windows 10 Creator or Windows system, you can use them to edit documents again.
If no fonts show up, try the provided solutions in the following passages and get rid of this issue on your PC immediately.
Solution 1. Disable or Rebuild Font Cache
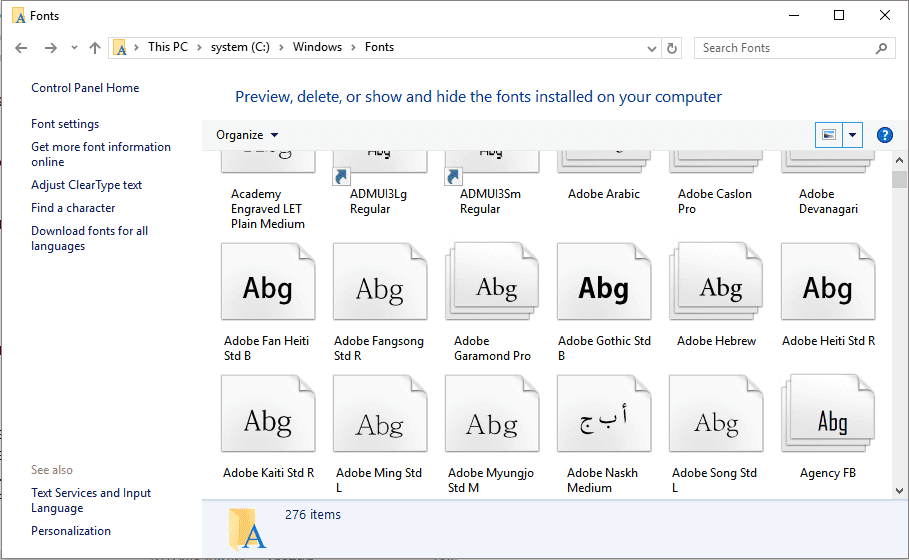
Usually, when the installed fonts stop working or missing, all the fond icons are available for you to view and check in the Font settings. You can't identify which font is missing and which one is still working.
So how to resolve this issue? Sometimes, disabling or rebuilding the font cache can help to resolve this issue, making fonts work again on your PC.
# 1. Disable the Font Cache
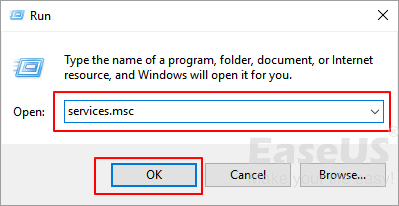
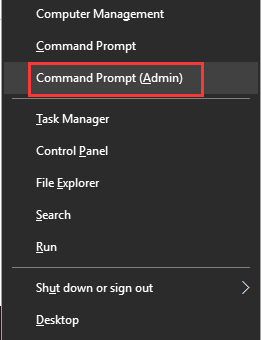
Step 1: Right-click on the Windows icon and select Search.
- Type services.msc and click "OK".
Step 2: On the Services panel, roll down to locate Windows Font Cache Service.
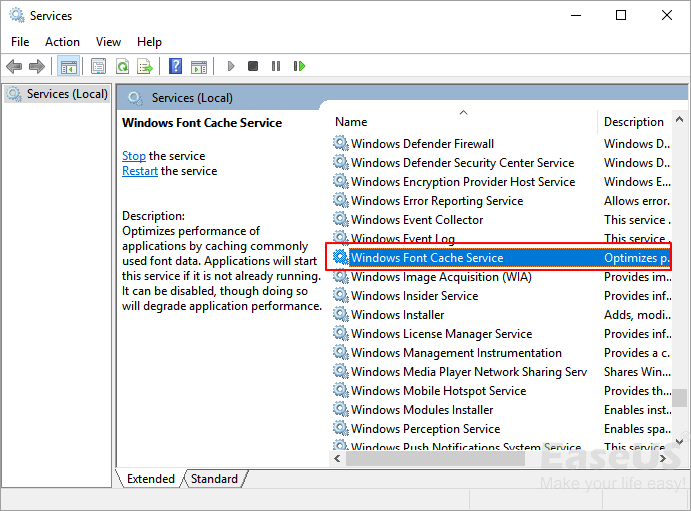
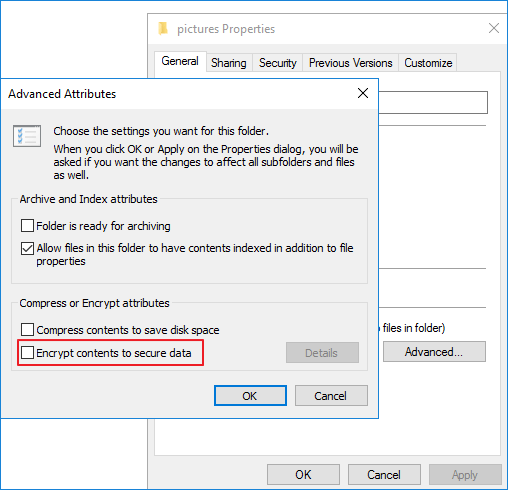
Step 3: Right-click on the Windows Cache Services and select "Properties".
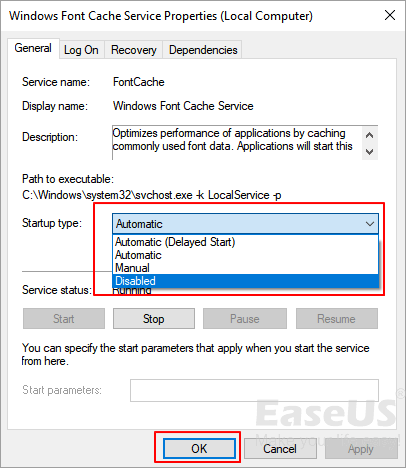
- On the General tab, change the Startup type from "Automatic" to "Disabled". Click "OK" to confirm.
After this, restart your PC to see if the missing fonts can work again. If not, try to rebuild the Font Cache.
# 2. Rebuild Windows Font Cache
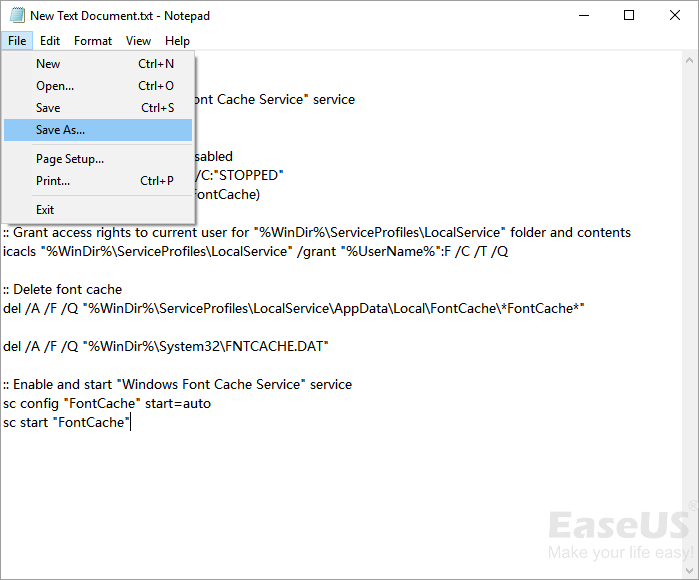
Step 1: Create a new Notepad document and copy the following content to the file:
@echo off
:: Stop and disable "Windows Font Cache Service" service
:FontCache
sc stop "FontCache"
sc config "FontCache" start=disabled
sc query FontCache | findstr /I /C:"STOPPED"
if not %errorlevel%==0 (goto FontCache)
:: Grant access rights to current user for "%WinDir%\ServiceProfiles\LocalService" folder and contents
icacls "%WinDir%\ServiceProfiles\LocalService" /grant "%UserName%":F /C /T /Q
:: Delete font cache
del /A /F /Q "%WinDir%\ServiceProfiles\LocalService\AppData\Local\FontCache\*FontCache*"
del /A /F /Q "%WinDir%\System32\FNTCACHE.DAT"
:: Enable and start "Windows Font Cache Service" service
sc config "FontCache" start=auto
sc start "FontCache"
Step 2: Click on "File" and click "Save AS".
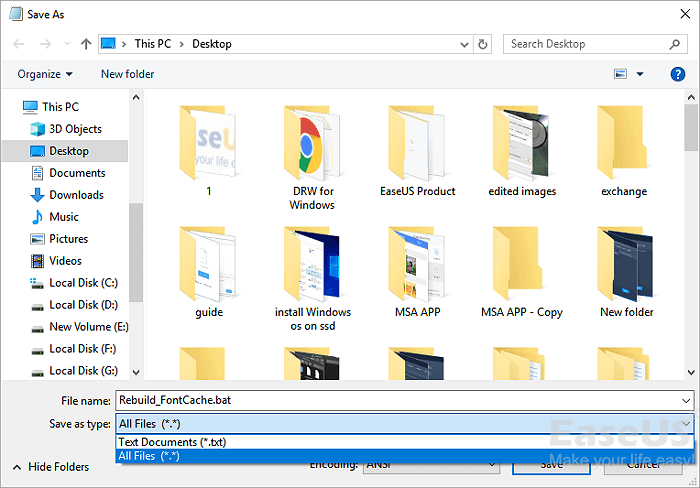
Step 3: Name the file as Rebuild_FontCache.bat and set the type as "All Files".
- Navigate to Desktop and click "Save".
Step 4: Double-click on Rebuild-FontCache.bat to run it.
- Reboot the computer once the process is done so to save all changes.

Solution 2. Manually Reinstall Fonts On Windows 10 Creator
The other solution is to reinstall Windows Fonts on Windows 10 Creator. It's a safe-an-sound process to execute the operation with the below process:
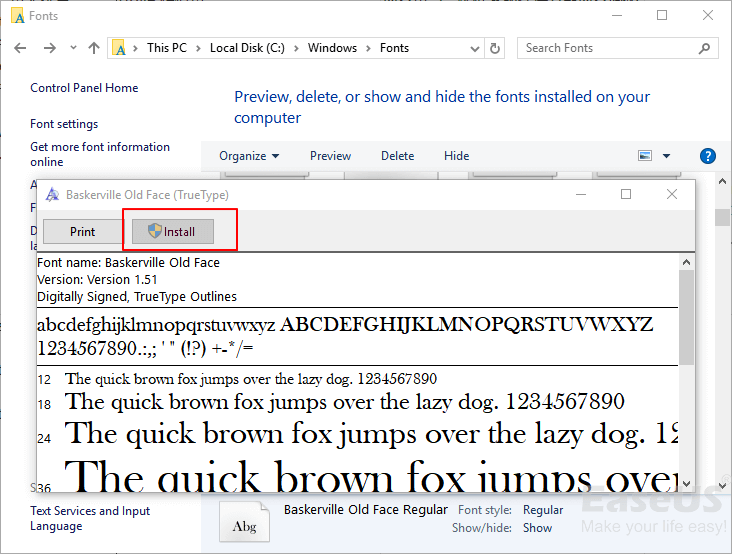
Method 1 - Reinstall Current Fonts
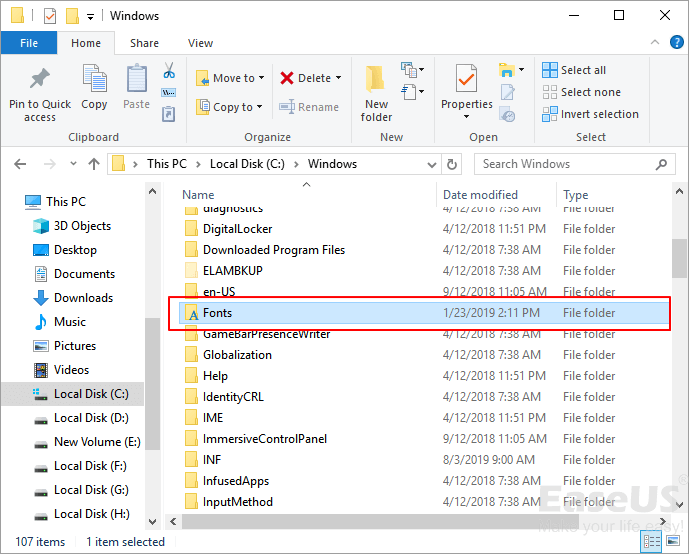
Step 1: Go to C:/Windows/Fonts on Windows PC.
Step 2: Check the font that is not working, right-click on it and select "Preview".
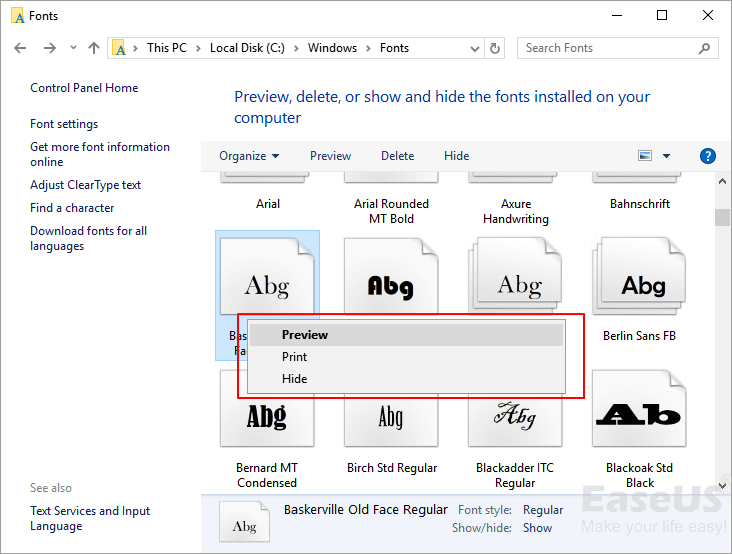
Step 3: Click "Install" on the top right corner, the font will be manually reinstalled.
Method 2 - Download or Copy to Reinstall Missing Fonts
If the font icons are missing, you can also download or copy them from another PC. After copying or downloading the fond, continue with the below steps:
Step 1: Copy or download fonts installation files to C:\Windows\Fonts folder.
Step 2: Double click the fonts installation files to apply the installation.
Step 3: If fonts already exist, replace them and confirm to install.
After this, reboot the PC to let Windows keep all changes, and then you'll be able to use fonts in Windows 10 Creator PC again.
Bonus Tip: Restore Lost Fonts Installation File and Data
If you lost or deleted the Windows Fonts installation file with other valuable data like Excel, Word, PowerPoint, etc. on Windows PC, don't worry.
ProfessionalEaseUS Data Recovery Wizard - EaseUS Data Recovery Wizard can help. It will assist you in restoring up to 2GB of files for free. For restoring single files that are lost due to deletion, formatting, and even virus infection, system crash, this tool is qualified to help.
You can download it and follow the steps below to restore your deleted files like images, documents, videos, even emails, including the Windows Fonts installation file immediately:
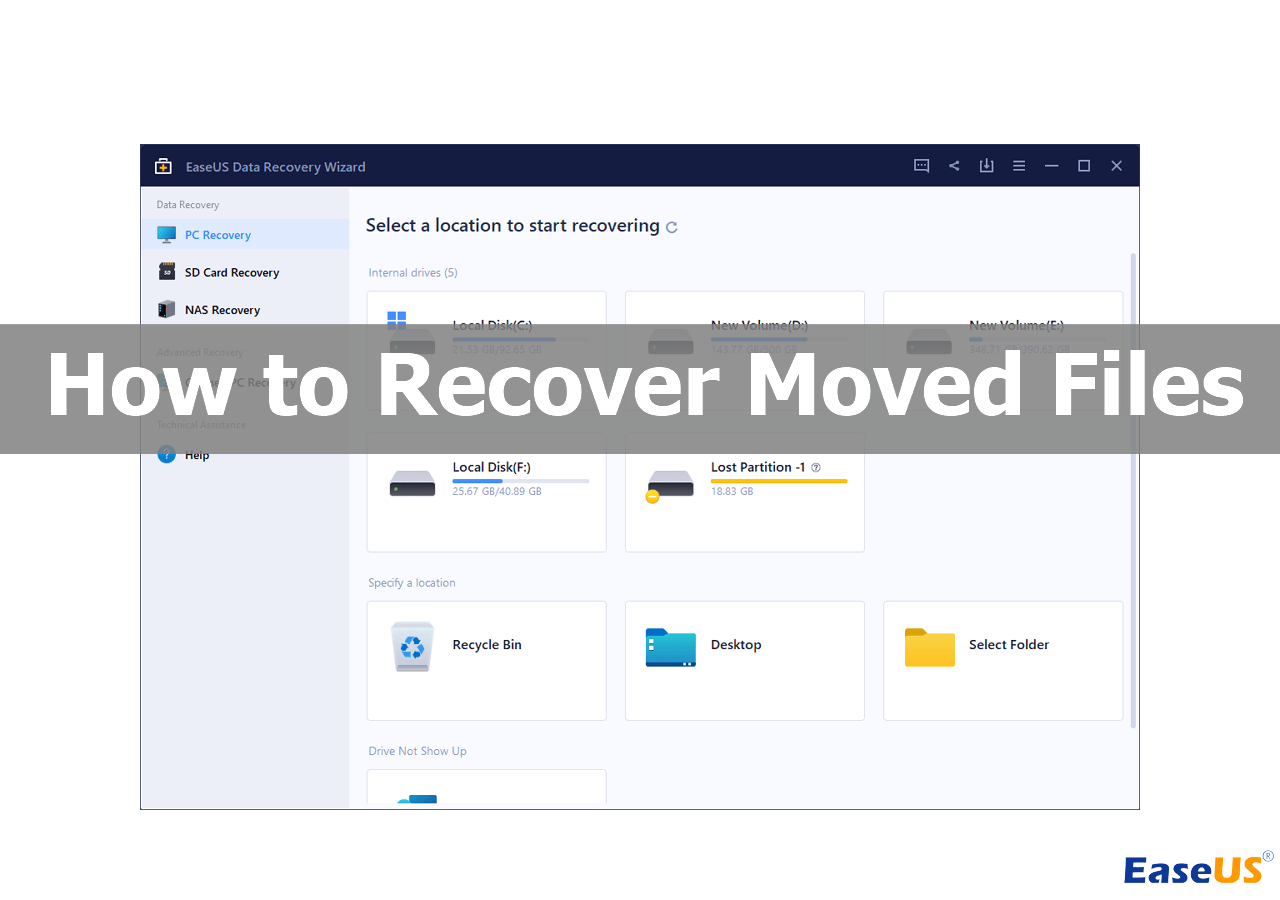
Step 1. Select a location and start scanning
Launch EaseUS Data Recovery Wizard and choose the partition where you lost data. Then, click "Search for Lost Data".

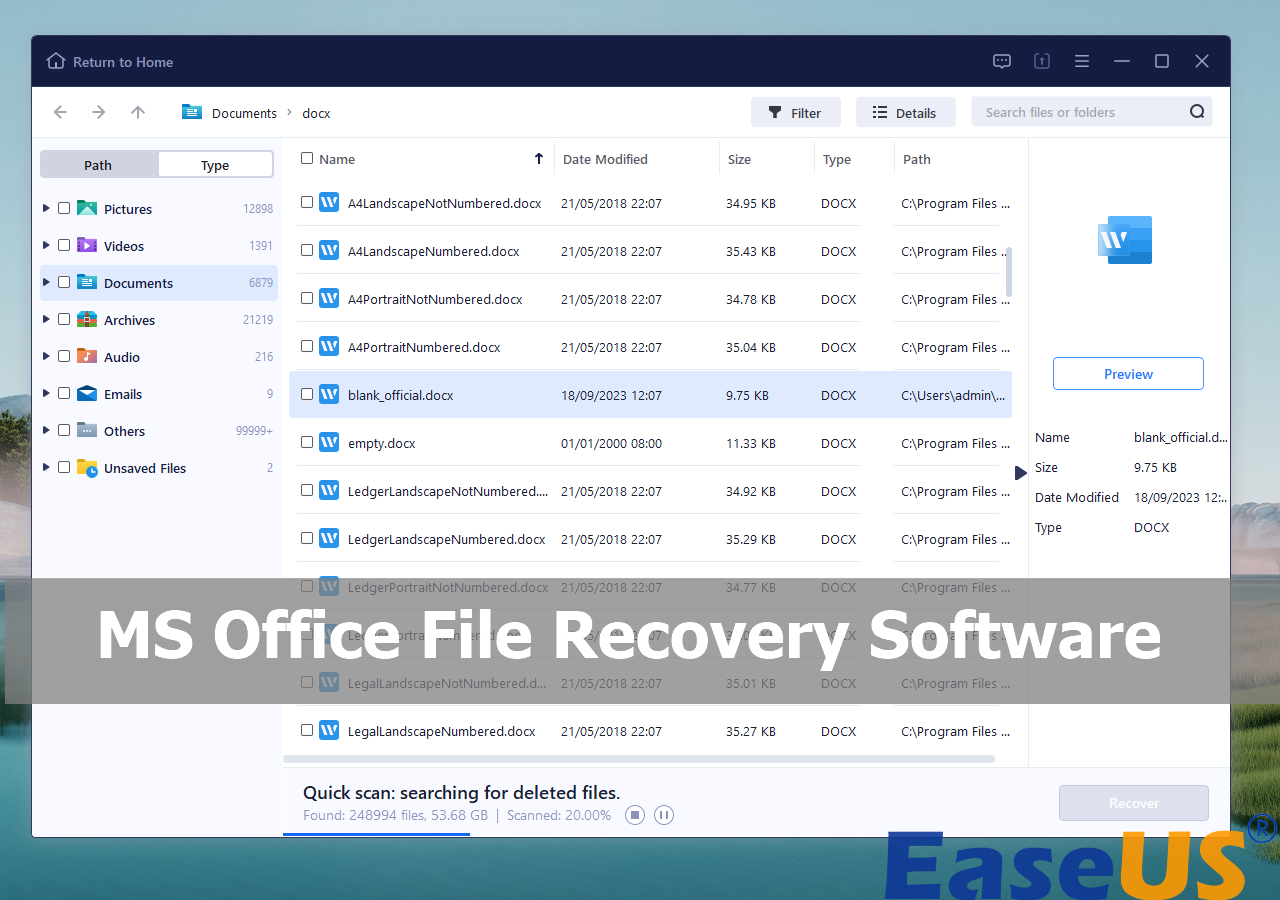
Step 2. Filter and preview files
Use the file format filter on the left or upper right corner to find the files you need. If you remember the file name, you can also search in the search box, which is the fastest way to find the target file. Then, you can click the "Preview" button or double-click a file to preview its content.

Step 3. Recover lost data or files
Click the checkbox next to the file and click "Recover" to restore the lost data to your local storage or Cloud drive.

After restoring the lost or deleted Windows Fonts installation file, you can go back to Method 2 to reinstall the missing fonts.
Was this page helpful?
-
![]()
Written by
Tracy became a member of the EaseUS content team in 2013. Being a technical writer for over 10 years, she is enthusiastic about sharing tips to assist readers in resolving complex issues in disk management, file transfer, PC & Mac performance optimization, etc., like an expert.…

20+
Years of experience

160+
Countries and regions

72 Million+
Downloads

4.9 +
Trustpilot Score


