Trash is Mac's way of giving you a recycle bin. But where is Trash on Mac exactly?
Macs or computers give you the opportunity to rethink your decision to delete something. It's the same in many technologies today, including mobile phones, browsers, emails, etc. There's a specific window before you can undo your action and recover your deleted files on Mac.
One such feature is the trash folder on Mac. But where exactly is it? How do you find it? In order to find out where Trash is on Mac and how you can restore it, we'll be exploring a few important things in this article, SO let's get started. By the way, you can share this tutorial to help more Mac users to find the Trash folder.
What Is Trash Folder in macOS and Mac OS X
The trash folder in macOS is one of its key features, and it allows you to delete the file and place them in the Trash lest you decide to recover them or remove them completely. The trash folder on Mac is exactly what you'd think a trash folder means.
It doesn't permanently delete files. Instead, it keeps them stored for recycling, restoring, or deleting. So, if you're looking to find where Trash is on Mac, it will be in this folder. It's a designated recycler for all macOS-based devices.
The primary benefit of a trash folder is that if you regret deleting something, you can simply recover it by using the trash folder on your Mac. That's why it's essential to find out where Trash is on Mac to recover or restore deleted files. By the way, if you cannot find files on Mac or need to recover files after emptying Trash on Mac, you can download EaseUS Data Recovery Wizard for Mac to recover deleted or lost files quickly.
Recover Deleted Files on Mac [Full Guide]
This guide covers how to recover deleted files from Mac devices - including HDDs, cards, and USBs - in various scenarios.
Where Is Trash on Mac (Beginner's Guide)
If the introduction to the trash folder on macOS makes you want to use it, you can use a few ways to access it. This section will explore the few viable ways many users can use the trash folder on their Mac devices. So, let's explore these methods.
You can first watch a video to get a basic idea of how to locate Trash on Mac and how to perform Mac Trash recovery:
- 00:00 - Introduction
- 00:30 - Part 1. How to Find Trash on Mac
- 01:22 - Part 2. How to Recover Files from Trash Bin on Mac
- 02:00 - Part 3. Recover Files from Emptied Trash

Method 1. Use the Terminal to Open Trash Folder
If you know about Terminal on Mac, you know what it can do. It's much like a command prompt in Windows-based computers. So, the first thing you'll have to do is open the Terminal. You can use the Terminal to open the trash folder and recover deleted files with Mac Terminal.
Once you open the Terminal on Mac, then follow these steps:
Step 1. Open the Terminal on Mac.
Step 2. Type in open ~/.Trash in your command line.
Step 3. Press enter.
Step 4. Check the trash folder.
Remember, this will only launch the trash folder in your Mac device. Other commands are required if you wish to delete files using the Terminal or restore them.
Method 2. Use the search functions to find the trash folder
The other method you can use is the search function to find the trash folder. This method is quite straightforward and doesn't require much work. In order to do this, you'll be required to take only a few steps, which are:
Step 1. Press Command + Shift + G on your keyboard.
Step 2. The search bar will open, so type Trash
Step 3. Click the icon with Recycle bin on it.
Step 4. Open the trash folder on your Mac and explore it.
This is a viable way to open your macOS and a much better alternative than using the terminal command line for doing so. That's why you should prefer this over the other option anyway.
How to Find and Restore the Trash Bin on a Mac
If you've lost the trash bin or need to find it on your desktop for quick recovery, you can put it back on your desktop. How can you do that? Here are a few steps that'll help you find and restore the trash bin on a Mac device:
Step 1. Open the Terminal on your macOS.
Step 2. Type the following command "ln -s ~/.Trash ~/Desktop/Trash" and press enter.
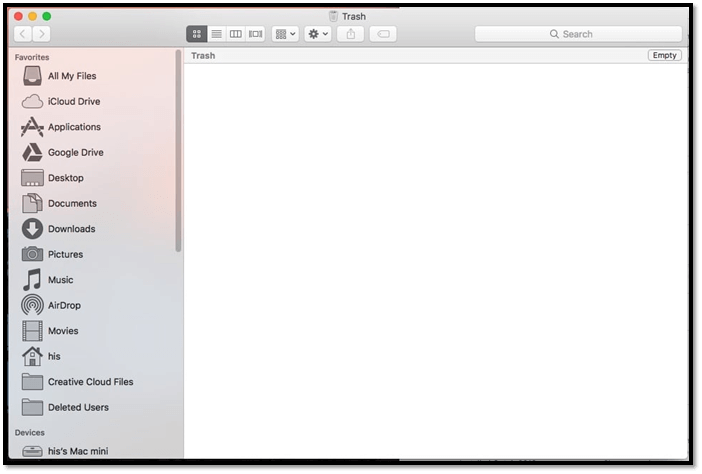
Step 3. After entering, you'll see the trash folder on your Mac desktop like this:
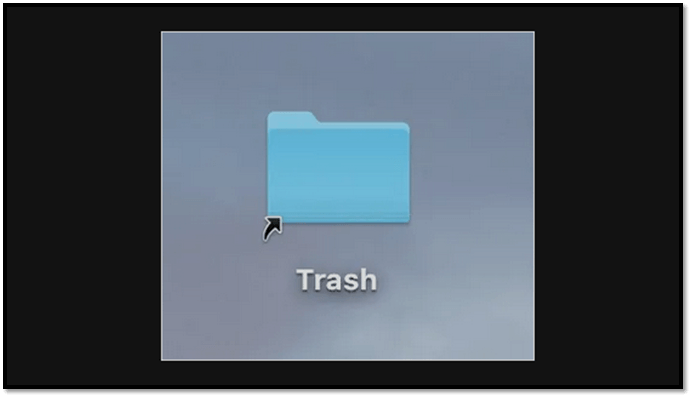
This will put the trash folder on your Mac's desktop, allowing you to access it easily.
How to Recover Files from Trash Bin on Mac
If either of these options is not doing it for you, then you can try other methods. Now, remember it's important to understand that recovering the files can be difficult once the files are gone from the trash folder. But if they still are there, you can use the aforementioned steps.
If that's not the case, then you can try other methods which might help you recover some of the lost data.
Method 1. How to Recover Files and Folders from Trash Bin
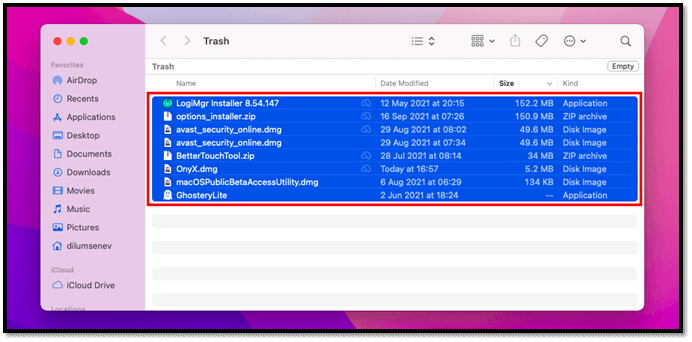
First, you can recover files from a MacBook or any Mac device by heading back into the trash folder. This is where you'll have to explore the other option to restore the files to their original or your desired location. So, how do you do that? Here's how:
Step 1. Open the trash folder using one of the two methods mentioned earlier.
Step 2. Right-click on the file(s) you wish to recover.
Step 3. Find and click on "Put back".
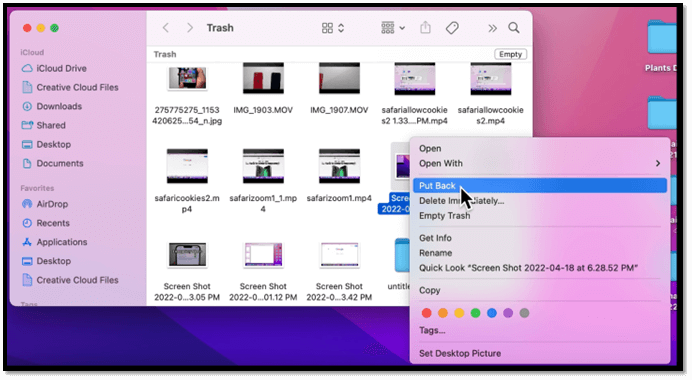
Step 4. Once you click on this option, the file will return to its original location.
Step 5. Select more than one file if you wish to recover multiple.
So, this is one of the better options to restore your files to their original location. Remember, the files will only remain in your trash folder for 30 days max. So, if you've deleted anything before that, it might not be found in this folder.
However, you can change that preference to be less than thirty days but not increase it. So, it's essential to find the preferences options by going into the Finder preference and looking for options related to Trash.
Method 2. How to Recover Files and Folders from Emptied Trash Bin with Recovery Software
The final and perhaps the best option to recover your files from emptied trash bin or recover permanently deleted files on Mac is the help of recovery software. It's important to understand that they cannot be recovered manually after the files are gone from the Trash.
So, you need a professional and viable tool like the EaseUS Data Recovery Wizard for Mac. You can easily restore Mac Trash data with this reliable tool.
Why this particular tool? Because it has many great options, such as recovering your files in cases like:
- Recovering files from an emptied trash folder on Mac.
- Recovering files from unwanted deletion.
- Recovering files from partition loss.
- Restoring files lost by a system crash.
- Recovering formatted files or folders.
- Recovering damaged hard drives or external hardware.
- Recovering files lost or deleted in a virus attack.
Besides these options, it has an excellent reputation for helping users recover files deleted after the 30-day limit in the macOS trash folder, and it can also help you restore your Mac from iCloud. That's one of the main reasons you can use this tool to recover your files lost in a deletion on a Mac device. The primary options that this tool is suitable for include:
- Video recovery.
- Photo recovery.
- Backup recovery, such as iTunes.
We believe EaseUS Data Recovery Wizard for Mac can make Mac Trash recovery possible and find back deleted files and folders easily with three steps:
Step 1. Select the drive to be scanned
In the main EaseUS Data Recovery Wizard window, there will be a list of the drives connected to your Mac. Select the drive you need to recover lost/deleted files from, and click the "Search for lost files" button.

Step 2. Select your lost data/files
EaseUS Data Recovery Wizard for Mac will immediately scan your selected disk volume and display the scanning results on the left pane. You can sort the results to find the wanted files if you are looking for certain files.

Step 3. Recover lost/deleted data
Once you have found the desired files, preview the files and then click "Recover" to begin the recovery of your deleted/lost Mac files.

Bottom Line
These are all the key aspects you need to know about where the trash folder on Mac is and how you can recover files from it. You can try key things, such as the ones mentioned in this article, by putting them on your desktop. And, if you need to recover files that aren't there, then use EaseUS Data Recovery for Mac to restore long-lost files. It also can help you recover unsaved word document on Mac and make Mac USB recovery easy and fast.
Where Is Trash Folder on Mac FAQs
If you got further questions, then look for the answer here:
How do I find the Trash folder on my Mac
In this article, we've mentioned two main ways you can find the trash folder. The one is through search, and the other is through the Terminal. So, go back and try to use the option that's more suitable for you to find the trash folder on your Mac.
Where do I find my Trash on macOS Ventura?
You can find it by using the strip on your Mac device, if you have one, or by using the search bar. If neither option works for you, then you can try to use the search bar or the Terminal to put it on your desktop.
Can't find Trash on Mac, how to fix it?
Use the terminal command mentioned in this article to bring the trash folder to your desktop. Make sure you know how to use the Terminal slightly before doing it.
Can I recover files after emptying recycle bin?
Yes, you can if the files are still there. However, suppose you deleted files more than 30 days ago. In that case, you'll need a tool like EaseUS Data Recovery for Mac to be able to restore them.
- 1. Select the disk location first.
- 2. Click "Scan".
- 3. Then EaseUS Data Recovery Wizard for Mac will scan the selected disk and list all the deleted data for you.
- 4. Select the files you want and click "Recover".
Was This Page Helpful?
Brithny is a technology enthusiast, aiming to make readers' tech lives easy and enjoyable. She loves exploring new technologies and writing technical how-to tips. In her spare time, she loves sharing things about her game experience on Facebook or Twitter.
Dany is an editor of EaseUS who lives and works in Chengdu, China. She focuses on writing articles about data recovery on Mac devices and PCs. She is devoted to improving her writing skills and enriching her professional knowledge. Dany also enjoys reading detective novels in her spare time.
-
EaseUS Data Recovery Wizard is a powerful system recovery software, designed to enable you to recover files you’ve deleted accidentally, potentially lost to malware or an entire hard drive partition.
Read More -
EaseUS Data Recovery Wizard is the best we have seen. It's far from perfect, partly because today's advanced disk technology makes data-recovery more difficult than it was with the simpler technology of the past.
Read More -
EaseUS Data Recovery Wizard Pro has a reputation as one of the best data recovery software programs on the market. It comes with a selection of advanced features, including partition recovery, formatted drive restoration, and corrupted file repair.
Read More
Related Articles
-
Does Emptying Trash Permanently Delete? Still Can Recover!
![author icon]() Jaden/Jun 16, 2026
Jaden/Jun 16, 2026 -
Need to Recover Deleted Ring Video? Follow This Guide
![author icon]() Jean/Feb 12, 2026
Jean/Feb 12, 2026 -
How to Recover iMessages from iCloud | Mac & iPhone Tutorials
![author icon]() Dany/Jun 12, 2026
Dany/Jun 12, 2026 -
Show Hidden Photos Mac [Free Ways & Tips]
![author icon]() Finley/May 03, 2026
Finley/May 03, 2026