Page Table of Contents
Upgrading to a new and larger SSD is a common way to improve your PC's performance, especially when your computer runs out of storage space and gets slower and slower. However, many users worry about losing data and are uncertain about how to transfer data from one SSD to another. As a Reddit user asked:
Transfer files/data from one SSD to another SSD help!
So I have never upgraded a hard drive before, and am curious about how to do it. Is it as simple as plugging the new SSD in and transferring the files over? Or is it more complicated?
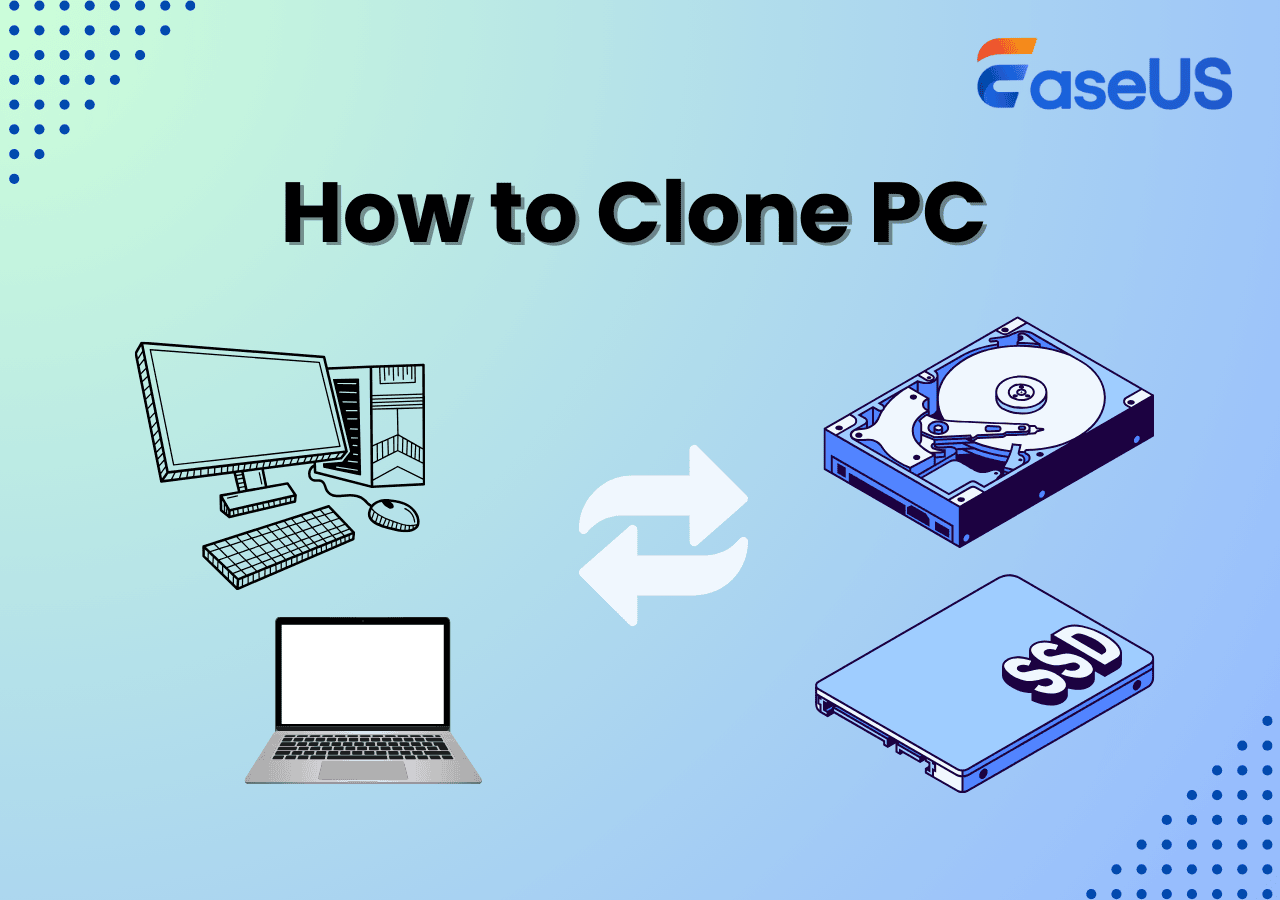
The easiest way to transfer data from one SSD to another is to clone the SSDs. Disk cloning copies the operating system, programs, and files to the new drive without reinstalling Windows. This post introduces 3 ways to transfer data from one SSD to another SSD. Whether you want to move Windows to new SSD or simply transfer files, this article covers you.
| Method | Best for | Difficulty |
| Manually Copy Files | Transferring personal files/folders only | ⭐ |
| Clone SSD | SSD upgrade, OS migration, and full SSD data transfer | ⭐ |
| Backup & Restore SSD | Restoring system & data to a previous good state | ⭐⭐⭐ |
Method 1. Manually Copy Files (for Files/Folders Only)
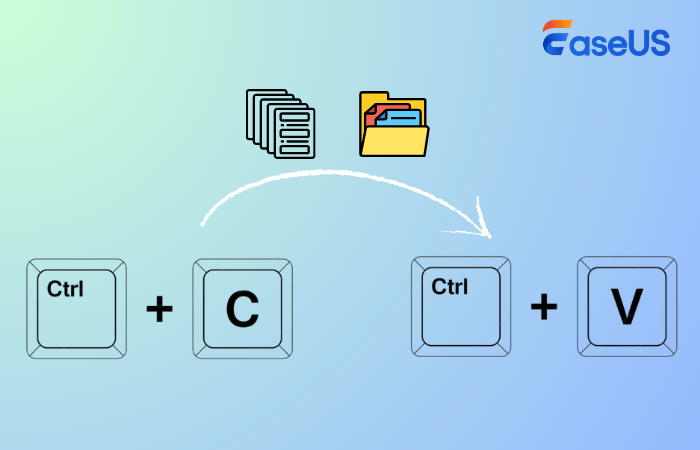
If you only need to transfer personal files, such as documents, photos, videos, but not system files or installed programs, manually copying files is a simple and effective method. With this method, no additional software is needed, and you can have more flexibility to copy files and folders you need.
You can simply copy and paste them (Ctrl + C and Ctrl + V) from one SSD to another. However, you can't copy installed programs or system files. The following are the detailed steps to transfer files from one SSD to another:
Step 1. Connect the new SSD
- Use a USB-to-SATA adapter if your PC has only one slot, or install it internally if it has more than one.
Step 2. Copy files from SSD to SSD
- Open File Explorer and go to the source SSD.
- Select the files and folders you want to transfer.
- Copy (Ctrl + C) and paste (Ctrl + V) them to the new SSD. (You can also use your mouse to select the files, right-click, and copy. Then, paste them to the target SSD.)
Repeat the process until you have moved all the files from the old SSD to the new SSD. Copying files is a simpler way to transfer specific data, but it is not suitable for system files. If you just want to move specific files with small scale, it really helps.
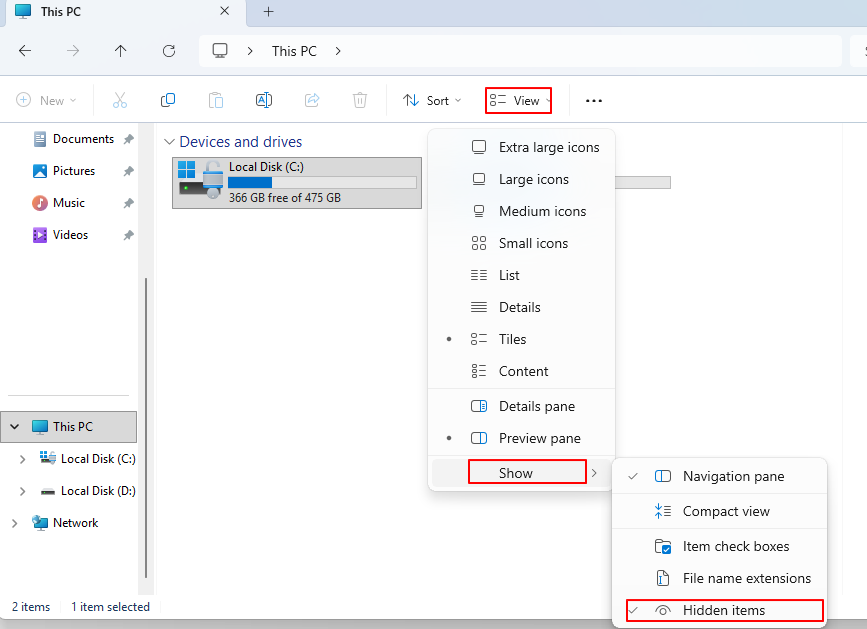
Note: Some folders, such as AppData and ProgramData, may be hidden. To reveal Hidden files: In File Explorer, go to the View tab and check Hidden items.
Is this post helpful? If so, share it on your social media to help others transfer SSD to SSD!
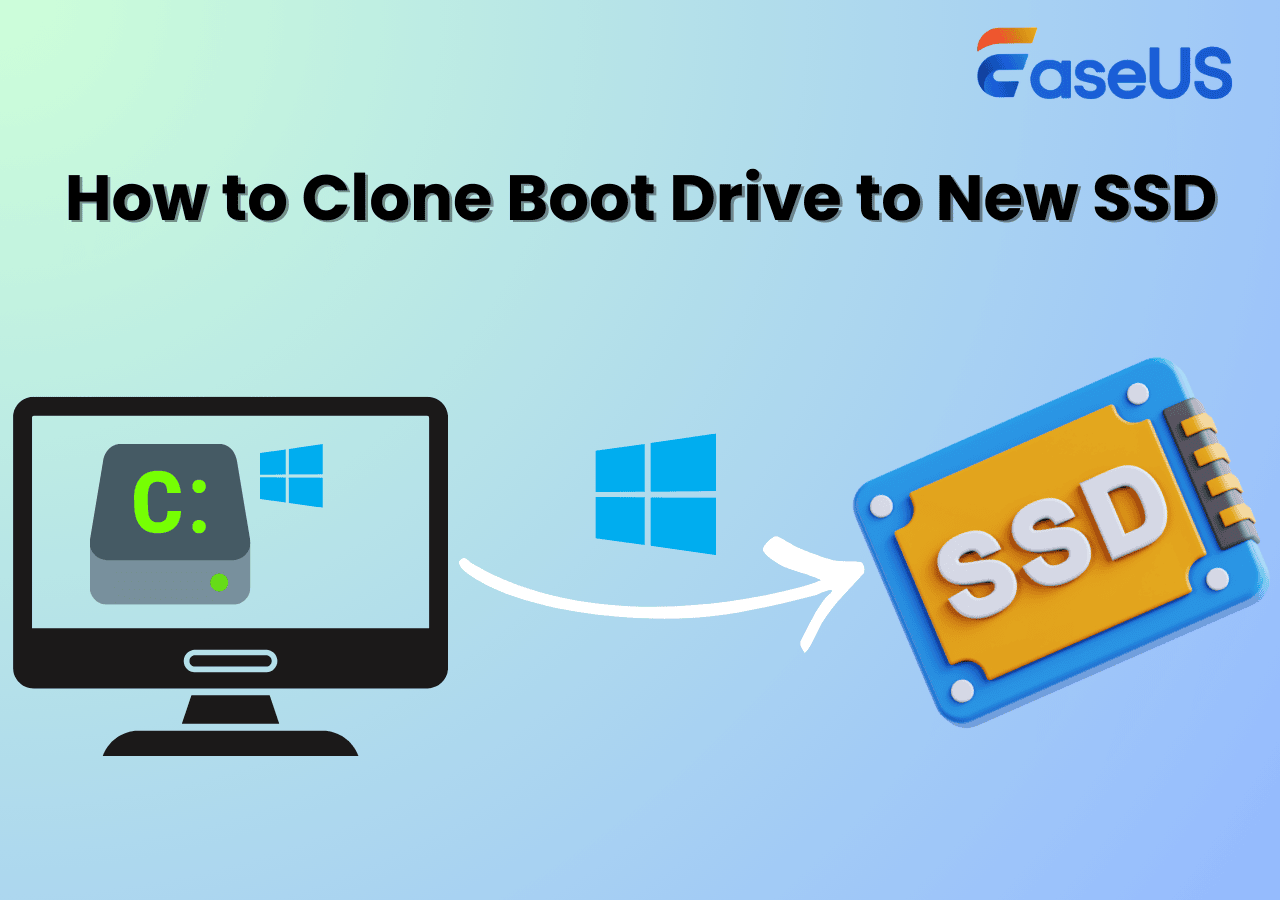
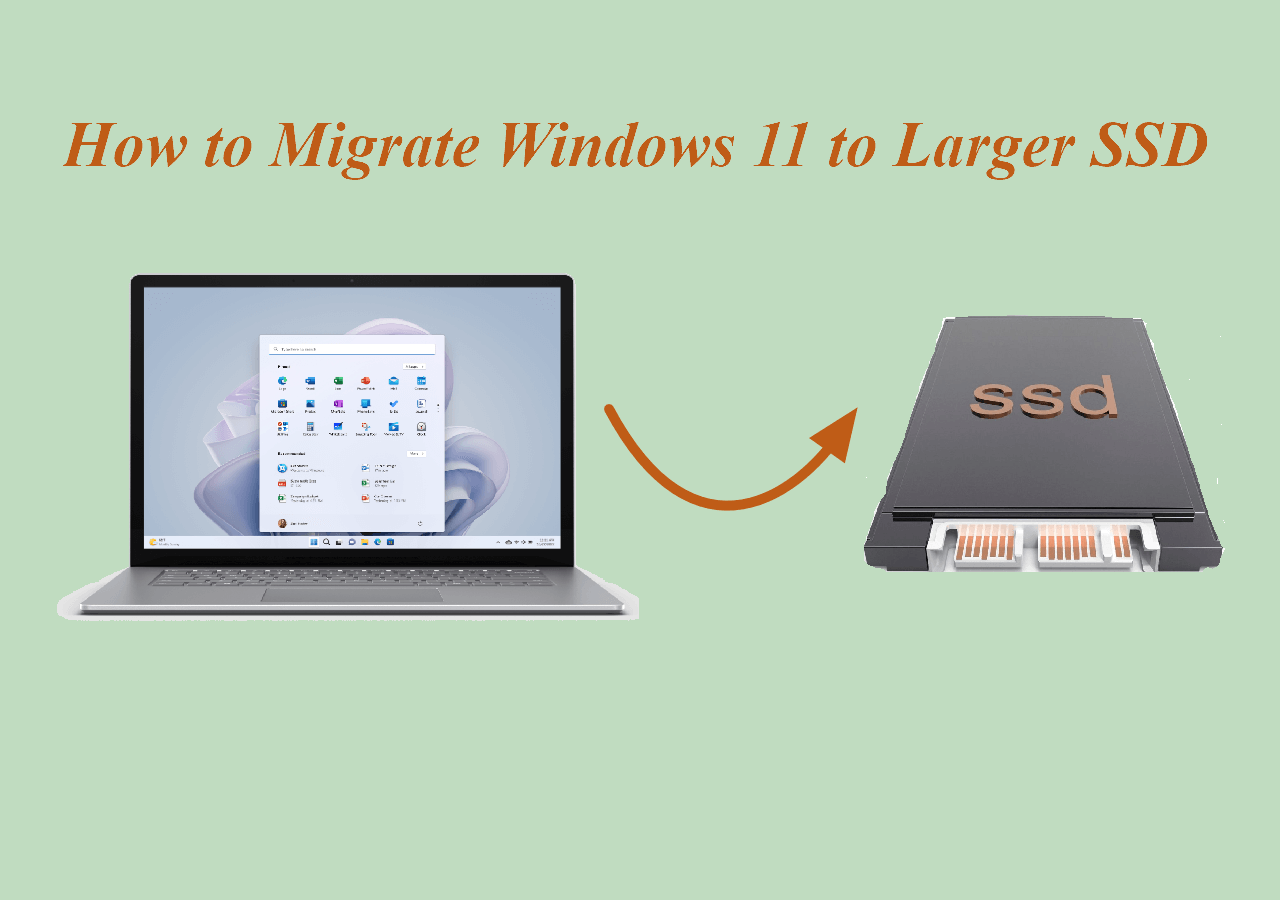
Method 2. Clone SSD (for OS and Apps)
If you want to upgrade SSD to a larger one and want to move everything from one SSD to another, including systems, applications, and personal files, disk cloning is the best way out. Cloning creates an exact copy of your old SSD on the new one, including the operating system and all files.
EaseUS Disk Copy is one of the best SSD cloning tools that helps you upgrade SSD without reinstalling Windows. Compatible with SSDs from all manufacturers, EaseUS cloning software can clone your entire disk, partition, and system.
🔥EaseUS Disk Copy: Best SSD Cloning Software
- Simple UI: Extremely user-friendly UI for upgrading SSD.
- Disk Mode: Clone SSD to another SSD for a full transfer.
- System Mode: Transfer OS to new SSD without reinstalling.
- 4K SSD Alignment: Auto-4K alignment for better performance.
- Clone SSDs of different sizes: Clone to a larger or smaller SSD.
Windows 11/10/8/7
Whether you want to upgrade to an NVMe or SATA SSD, EaseUS SSD cloning software can help you. It also enables you to perform bitLocker cloning without removing the bitlocker. Just get the best SSD cloning software to move boot drive from one SSD to another SSD for OS and data transfer.
Here is how to transfer all data from one SSD to another Using Disk Copy:
Step 1. Prepare SSD for Cloning
- Check the new SSD's capacity. Ensure the new SSD has enough space for your data.
- Ensure SSD compatibility. Confirm source and target SSDs share the same disk interface (SATA, PCIe, NVMe) and share the same form factor, such as 2.5'', M.2, etc.
- Connect the new SSD. Use a connector, such as a SATA-USB cable or SSD enclosure, to connect the new SSD to your computer if your laptop has only one slot, or install it internally if your PC has more than one slot.
- Backup important files: Always back up critical data before cloning. Also, if the target SSD contains data, back it up before cloning, as cloning will wipe all data on the target disk.
Step 2. Install and Launch EaseUS Disk Copy
- Download and install EaseUS Disk Copy, launch it, and select Disk Mode.
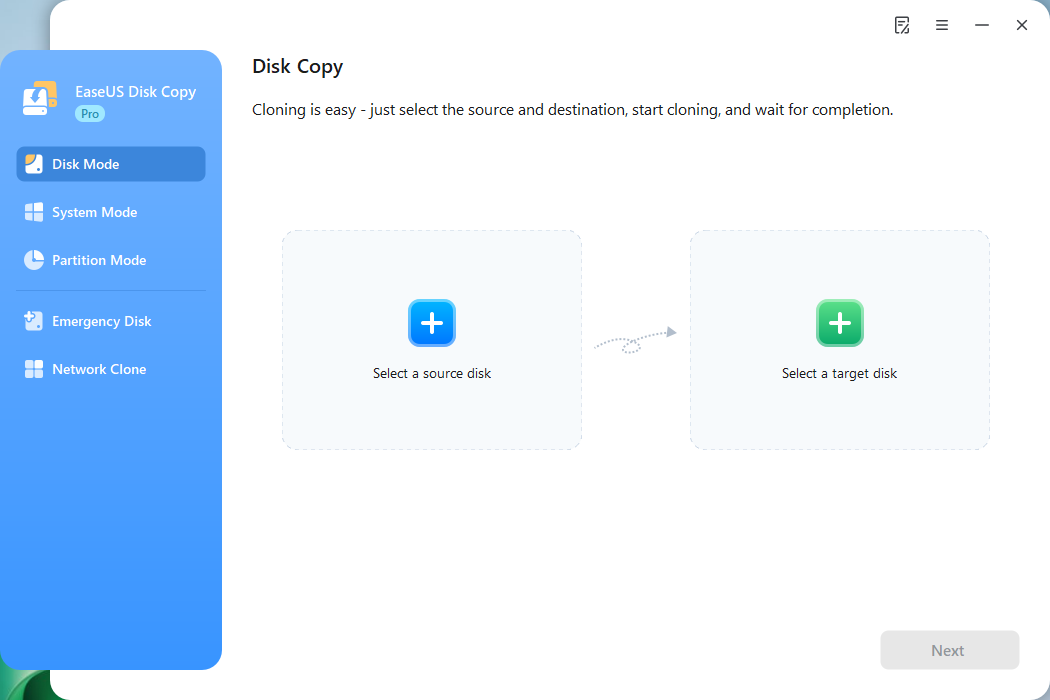
Step 3. Select Source and Target SSDs
- Select the source (old SSD) and target (new SSD).
- Enable "Preview partition layout" to access advanced cloning features, such as Sector-by-sector copy, and 4K SSD Alignment.
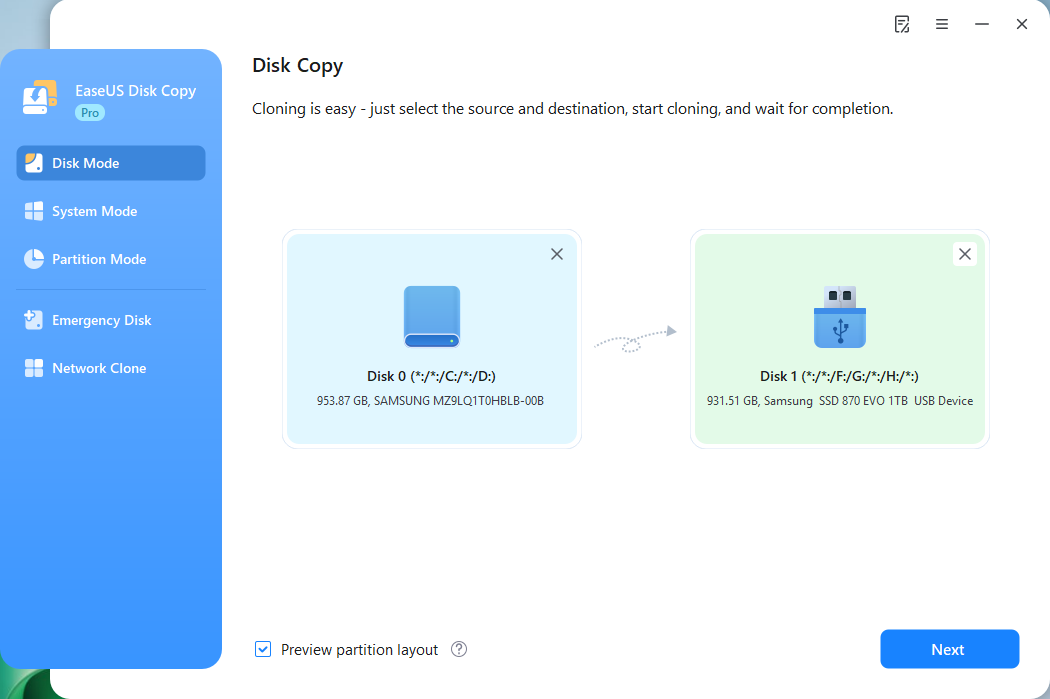
- Adjust the target SSD's layout if necessary. If your new NVMe or SATA SSD is larger, you can select "Auto-fit the disk" to automatically use the extra space.

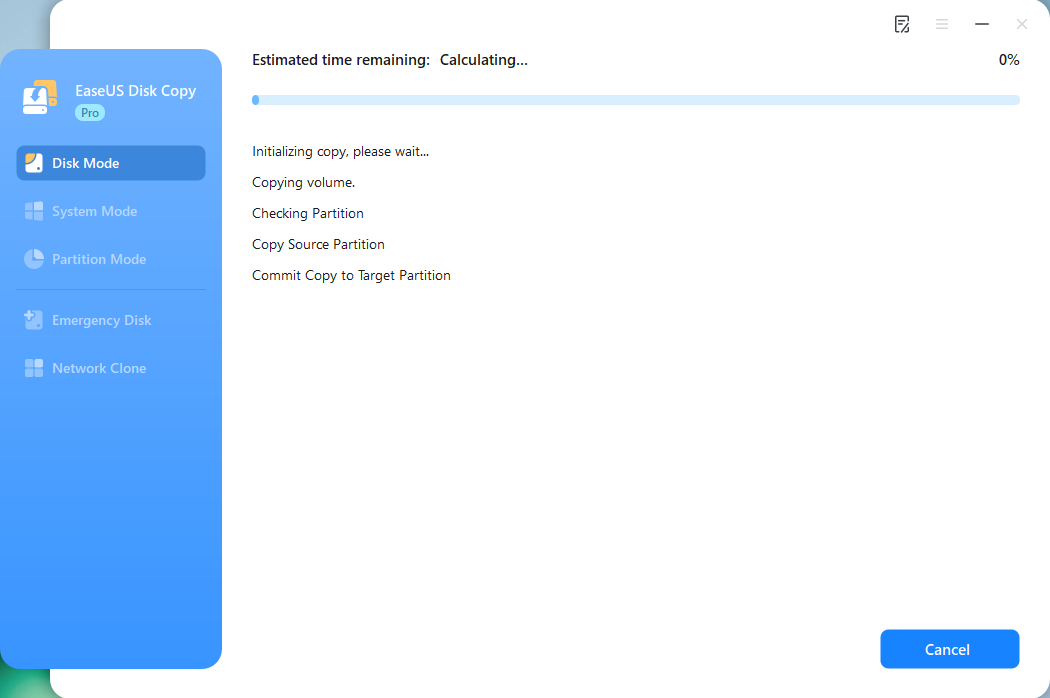
Step 4. Start Cloning SSD
- Click Proceed and wait for the process to complete.
Step 5. Replace SSD & Boot from New SSD
- Shut down your PC, open the back case with a screwdriver, find and remove the old SSD, and install the new one.
- Enter BIOS by pressing the BIOS key (F1, F2, Esc, Del) during startup and set the new SSD as the primary boot device.
This video demonstrates how to move data from one SSD to another:

Get this software to transfer all your data from one SSD to another!
Windows 11/10/8/7
Method 3. Backup & Restore (for Disaster Recovery)
You can also find a way out if you prefer a Windows tool to transfer your data and system from one SSD to another for free. This tool is Backup and Restore (Windows 7). You can use it to create a system image and restore it to another SSD via the System Image Recovery Tool.
Also, no additional software is needed, and this method is best for restoring the system to a previous good state, including the OS, settings, programs, and files.
Part 1. Create a System Image on an External Disk
- Connect the external disk via a USB-to-SATA adapter to your PC.
- Type Control Panel in the Windows search box, and click Open.
- Select Backup and Restore (Windows 7).
- Click Create a system image and select the external disk to save the system image.
- Choose the drives you want to back up. (By default, the system partition is selected.)
- Confirm backup settings, and press Start backup.
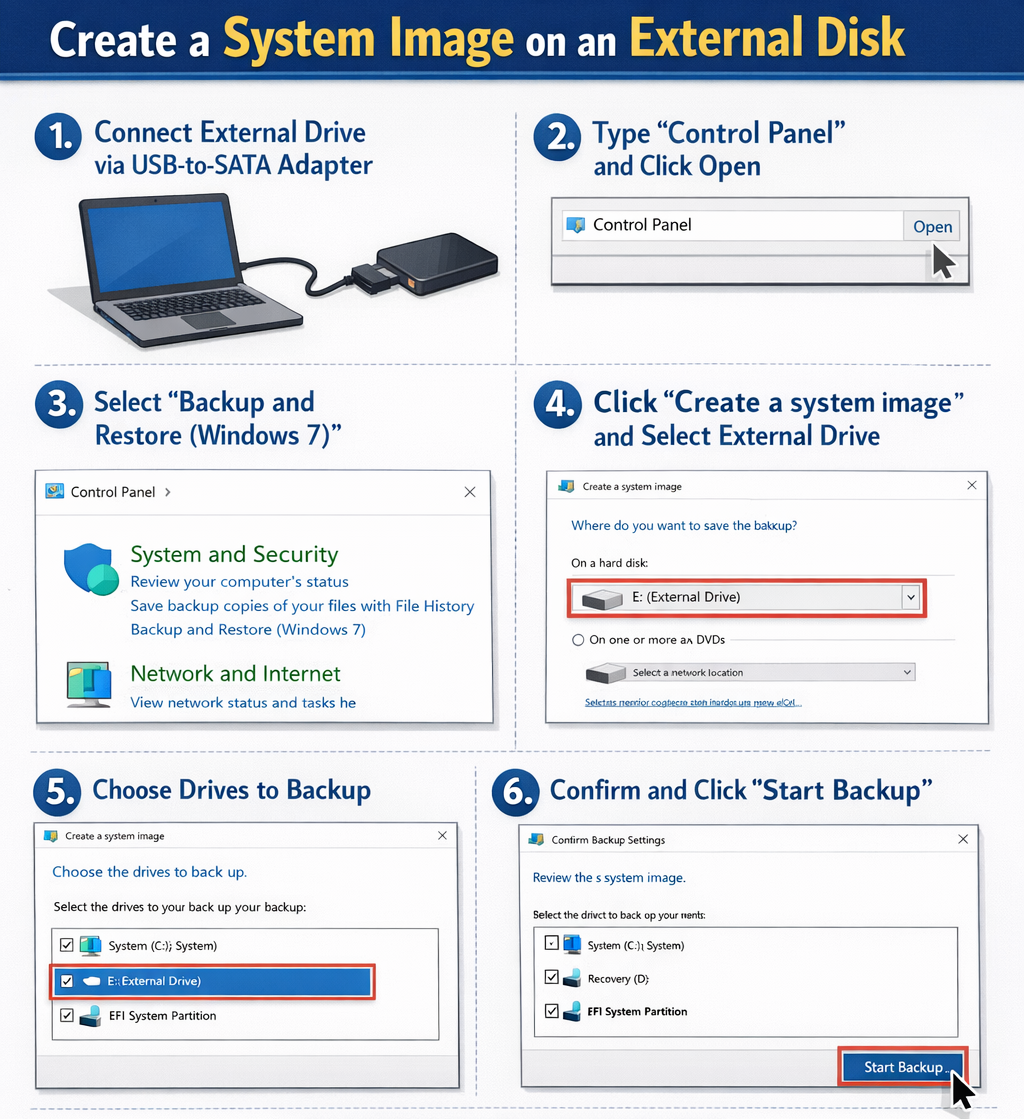
You will have your current system and data on the external disk when the backup process is complete.
- Notice:
- If Windows cannot boot, you need to create a Windows system repair disc or a recovery USB drive.
Part 2. Restore System and Data to New SSD
Step 1. Connect your external disk (the one containing the system image) and your new SSD to your PC.
Step 2. Restart PC to enter Windows Recovery Environment (WinRE) when your PC reboots.
- In Windows 10, navigate to Settings > Update and Security > Recovery and press Restart now under Advanced startup.
- In Windows 11, navigate to Settings > System > Recovery and press Restart now.
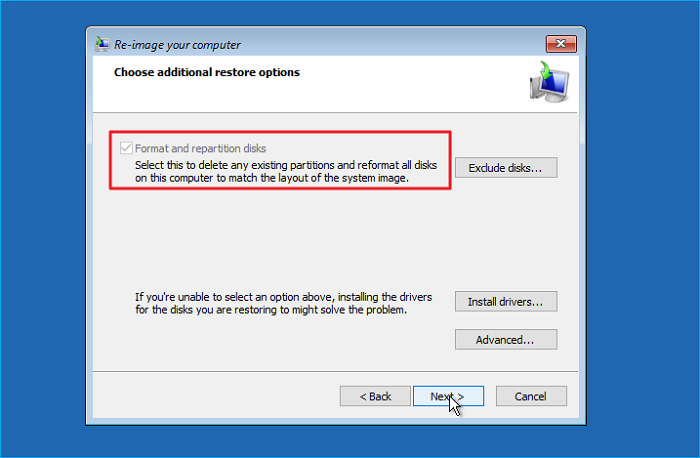
Step 3. Go to Troubleshoot > Advanced options > System Image Recovery > Select a system image > Use the latest available system image > Select Format and repartition disks (for restoring to a new SSD, enable this option) > Click Finish.
Then, follow the wizard to restore the system image and data to the new SSD. If your PC does not boot, boot it with a system repair disc. You will also be taken to the Choose an option window. Follow the same steps to restore Windows and data.
Step 4. Replace the Old SSD
- Turn off your PC, remove the old SSD, and install the new SSD there.
If you want to transfer SSD data to another computer, this method may not work as you expect because it cannot transfer system and data to another PC with dissimilar hardware. If you don't want to use the target SSD as the boot drive, directly back up data from the old SSD to the new SSD.
Is this post helpful? If so, share it on your social media to help others transfer SSD to SSD!
Common Problems When Transferring SSD Data
When transferring data from one SSD to another, you may occasionally encounter issues such as slow transfer speeds or boot problems. Below are some common problems and quick solutions.
1. Slow SSD Data Transfer
If the data transfer process is taking much longer than expected, several factors may be affecting the speed.
Possible causes
- The SSD is connected through a slow interface (USB 2.0 instead of USB 3.0)
- The SSD is nearly full
- Background programs are consuming system resources
- The destination SSD is slower than the source drive
Solutions
- Connect the SSD using a USB 3.0/3.2 port or SATA/NVMe slot
- Close unnecessary background programs
- Disable antivirus temporarily during cloning
- Ensure both SSDs support similar speeds (SATA vs NVMe)
2. SSD Not Detected
Sometimes the new SSD may not appear in the system during the transfer process.
Possible causes
- The SSD is not properly connected
- The drive has not been initialized
- The BIOS does not detect the drive
Solutions
- Reconnect the SSD or try another cable/port
- Open Disk Management in Windows and initialize the disk
- Check whether the SSD appears in BIOS/UEFI
- Update storage drivers if necessary
After cloning, the system may fail to boot from the new SSD.
Possible causes
- Incorrect boot order
- Missing system partitions
- BIOS boot mode mismatch (UEFI vs Legacy)
Solutions
- Enter BIOS/UEFI and set the cloned SSD as the first boot device
- Check whether the EFI/System Reserved partition was cloned
- Make sure the BIOS boot mode matches the disk type (GPT → UEFI, MBR → Legacy)
- Disconnect the old drive temporarily and try booting again
4. SSD Shows Wrong Capacity After Cloning
Sometimes the new SSD may show unused space after cloning.
Solutions
- Open Disk Management
- Right-click the system partition
- Select Extend Volume to use the remaining space
5. Laptop Has Only One SSD Slot
Many laptops only have a single SSD slot, which makes direct cloning difficult.
Solutions
- Use a USB-to-SATA or NVMe enclosure to connect the new SSD externally
- Clone the original drive to the external SSD
- Replace the old SSD with the new one after cloning
Is this post helpful? If so, share it on your social media to help others transfer SSD to SSD!
To Sum Up
Transferring data from one SSD to another can be easy with the right method. This article offers 3 ways to help you transfer data from one SSD drive to another.
- Manual copying and pasting is recommended for transferring individual files or folders, but not your operating system or installed programs.
- Cloning is recommended for is recommended for transferring your entire system, programs, and files, without reinstalling everything from scratch.
- Backup and Restore is recommended for restoring a PC to a previous state for disaster recovery when a PC is experiencing boot issues or critical errors.
EaseUS Disk Copy is a practical SSD cloning tool for all computer users, whether you are a professional or a beginner. It allows you to move data from one SSD to another or transfer storage from one SSD to another, whether you want to clone a drive to a smaller or larger SSD. Just download and try it!
Windows 11/10/8/7
FAQs on How to Transfer Data from SSD to SSD
1. How to transfer data from one SSD to another with only one slot?
If your PC has only one slot, you can use a USB to SATA cable or an external USB enclosure to connect the new SSD to your PC. Then, you can choose to clone SSD to SSD or manually copy files from one SSD to another. You can follow the guide above.
2. Can I clone SSD to smaller SSD?
Yes, you can clone a larger SSD to a smaller SSD, provided that the total amount of used data on the source drive is less than the capacity of the target (smaller) drive.
3. How do I transfer the operating system from one SSD to another?
To migrate OS to new SSD, the simplest way is to clone your OS instead of performing a clean installation. Cloning can help you effortlessly transfer everything, including the OS and data, from one hard drive to another.
4. How do I transfer data from one external SSD to a new one on a Mac?
Make a backup of your external SSD using Time Machine, then restore it to a new SSD. Alternatively, use Disk Utility to build an exact duplicate of your external SSD on the new SSD. Drag-and-drop is another option for basic file transfers.
➡️Use Disk Utility for Cloning (Best for Full Drive Copy)
- Connect both SSDs to your Mac.
- Open Disk Utility (Applications > Utilities).
- Select the source SSD (left sidebar).
- Click Restore (top toolbar).
- Drag the destination SSD into the "Restore to" field.
- Click Restore > Confirm.
➡️Use Time Machine (For Backups & Selective Restores)
- Connect the new SSD.
- Go to System Settings > General > Time Machine.
- Click Add Backup Disk > Select the new SSD.
- The first backup will copy all data automatically.
5. How long does it take to transfer data from one SSD to another?
The time to transfer data between SSDs depends on several key factors, such as SSD interface & generation, connection method, type and size of data, and method used. Dedicated tools (e.g., Robocopy, Clonezilla, Rescuezilla, and EaseUS Disk Copy) are often faster and more reliable than basic file copy. It generally ranges from a few minutes to a few hours.
-
Updated by
![]()
Jerry
"I hope my articles can help solve your technical problems. If you are interested in other articles, you can check the articles at the bottom of this page, and you can also check my Facebook to get additional help."…Read full bio