Cutting and pasting on Mac is a common function in the workplace. Learning more cut-and-paste skills can quickly improve your work efficiency. And in this article, we will introduce how to cut and paste files on Mac with or without a mouse.
Cutting files on Mac can move files or folders from one place to another. Unlike copying a file, cutting a file removes it from its original location. In this case, if you forget to paste the cut file or if you cut a new file, the unpasted file on the clipboard may be lost.
If the time is not too late, you can recover your cut files by undoing the new cut operation by pressing "Command + Z". However, if you can't undo the operation and the cut file you forgot to paste has been lost, don't worry; EaseUS Data Recovery Wizard for Mac can help you get back the lost file easily.
Read on to learn how to cut and paste files on Mac without a mouse.
How to Cut and Paste Files on Mac Using Shortcut
The quick way to cut and pastes files on Mac without a mouse is to use the keyboard shortcut, which is workable for a single file or a number of files. Follow the steps to cut and paste files on Mac using the shortcut:
Step 1. Go to the folder in which the targeted files are stored.
Step 2. Select the files by tapping the touchpad.
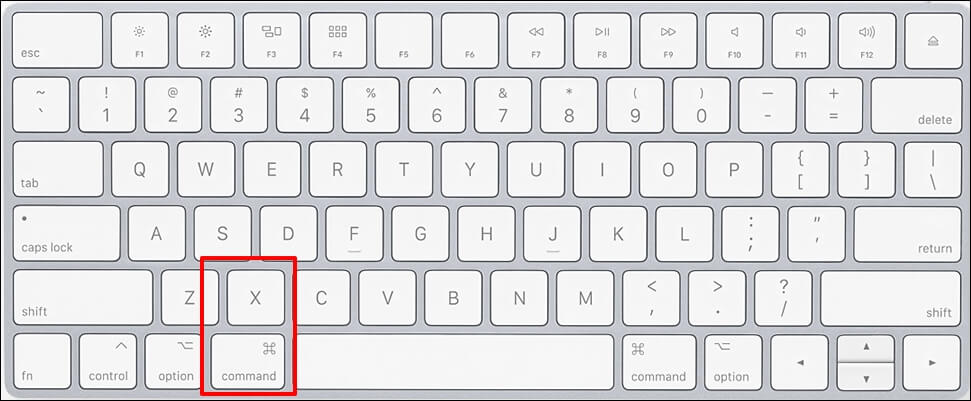
Step 3. Press "Command + X" on the Mac keyboard to cut the selected files.
Step 4. Go to the targeted folder and press "Command + V" to paste the cutting files.

In this case, the selected files will be removed from the original location and moved to the current location.
Using Finder and Spotlight but can't find a file on Mac? Don't worry! This article can help you restore the missing file effectively.
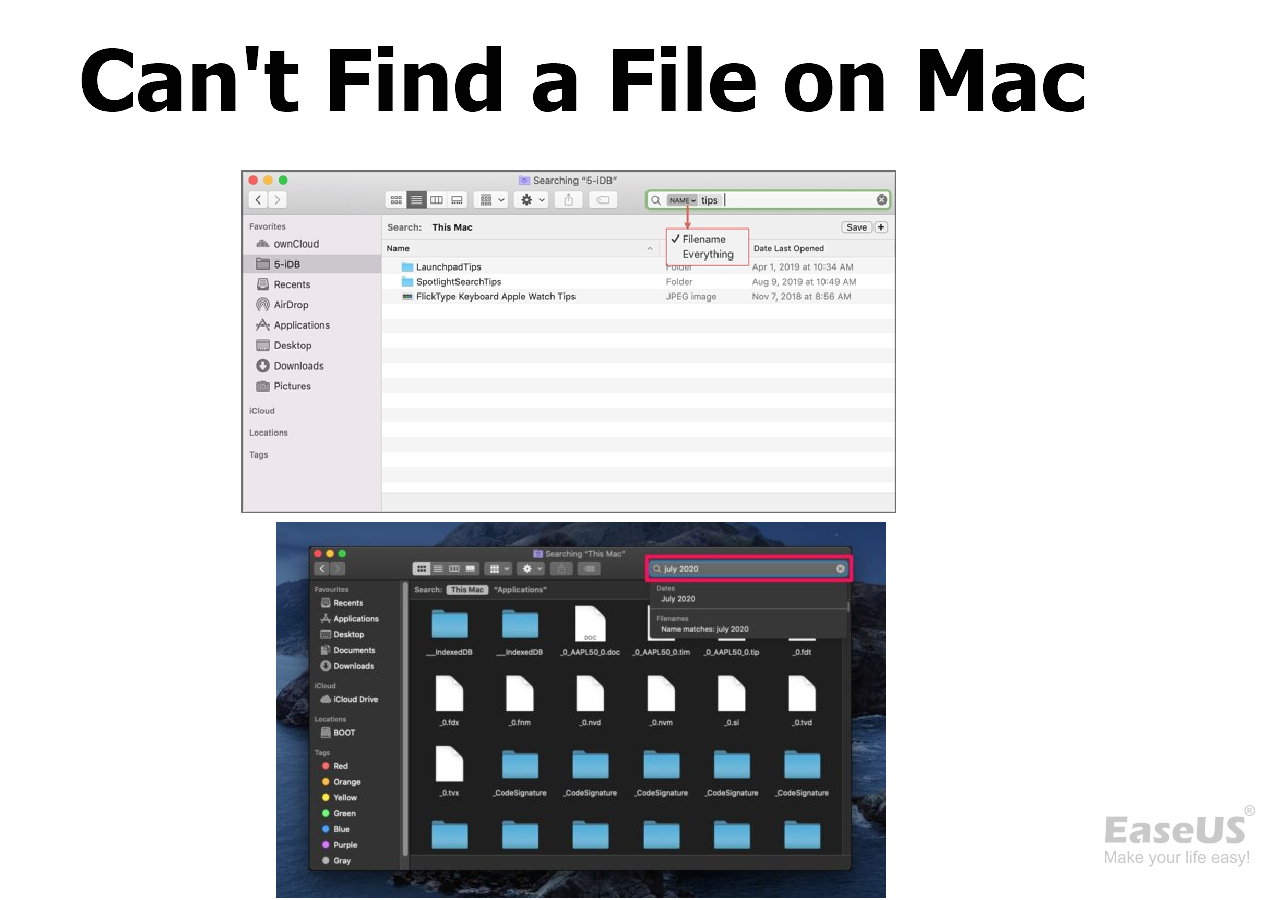
4 Solutions to Fix 'Can't Find a File on Mac' on macOS
This article discusses 4 practical solutions to fix the issue of missing files on Mac. Read more >>
Cut and Paste Files on Mac with Finder Menu
If you're uncomfortable using key combinations or your Mac keyboard is not working, you can perform the cut-and-paste operation on your Mac with the options provided by the Mac Finder. Check out the following steps:
Step 1. Open "Finder" by clicking the Finder icon in Mac Dock.

Step 2. Open the folder containing the files you want to cut and paste.
Step 3. Select the files, click the "Edit" option from the Finder menu bar, and click "Copy Items" or "Cut".
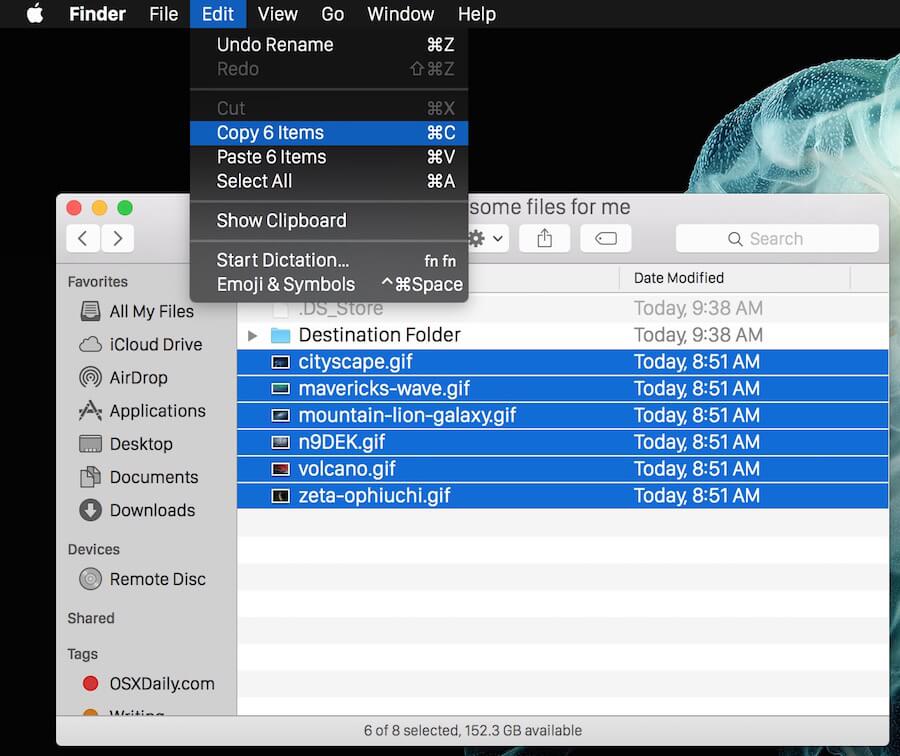
Note: Only if you turn on the "Cut and Paste" option in "Finder Preference > Taps> Features", then the "Cut" option will show in the menu.
Step 4. Navigate to the location you want, and select "Edit > Move Items Here" from the Finder menu bar.

Some Mac users have reported that the Dock disappeared. If your Dock disappears from your desktop, don't worry, this article will show you how to restore the Mac Dock.
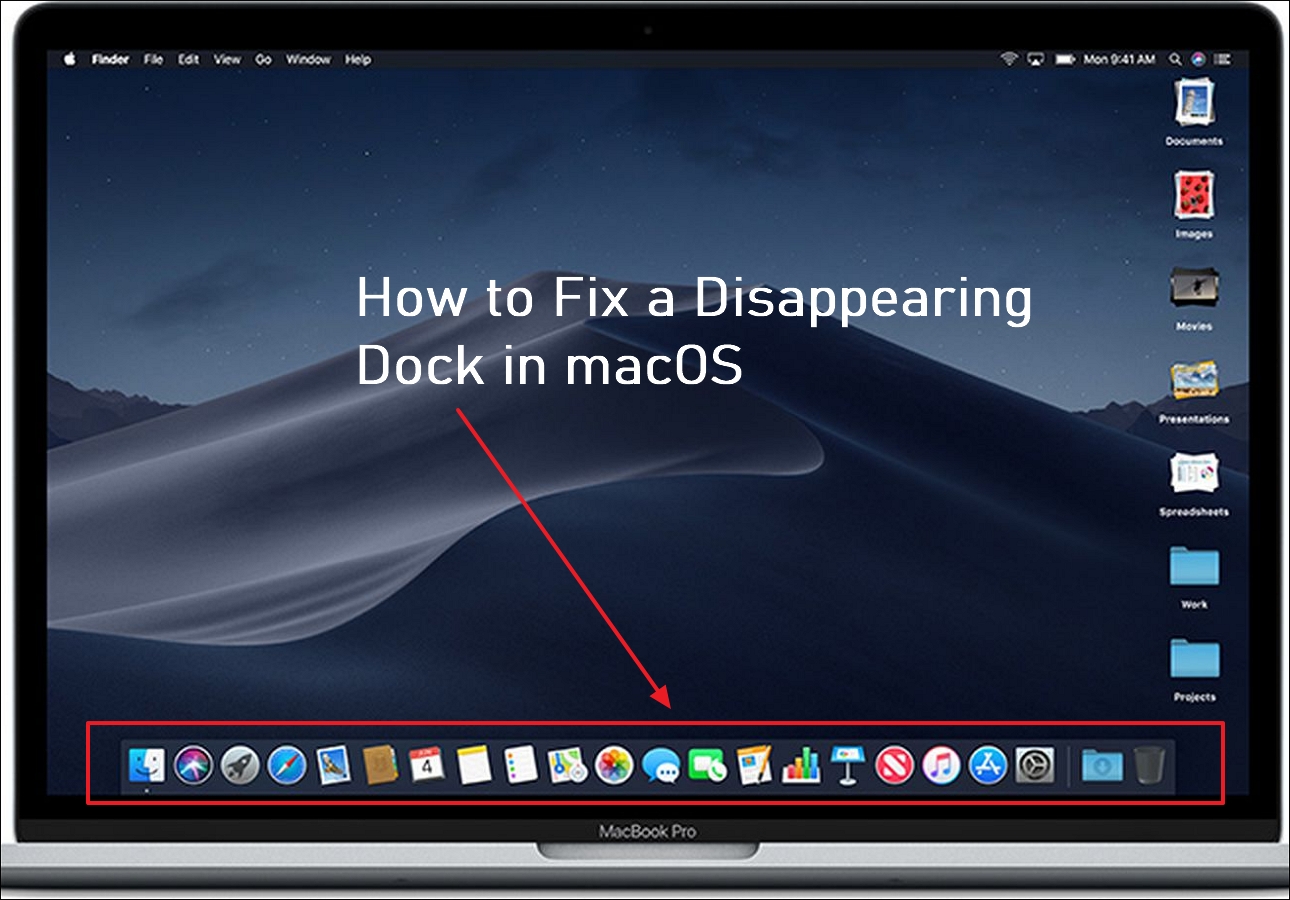
How to Fix a Disappearing Dock in macOS Ventura/Monterey/Big Sur
This article discusses how to fix a disappearing Dock on macOS Ventura and other OS versions. Read more >>
Use a Mouse to Cut and Paste Files on Mac
Cutting and pasting files is easy when you have a mouse. Here are two common ways to cut and paste:
Method 1. Drag the Files to Cut
Dragging files from one folder to the destination folder is the most convenient way to cut. Please check the following steps.
Step 1. Drag the file you want to cut.
Step 2. Move it to the destination folder.
Note: If the target folder is a subfolder, you need to hover your mouse over the parent folder for a few seconds, and the parent folder will open automatically. You can then proceed to drag the files to the destination folder. The mouse method may result in a long hover time when you select multiple files on Mac, e.g., thousands of files.
Share this article on social media to help others learn how to cut and paste on Mac.
Method 2. Right Click the files to Cut
To cut the files you want from the original folder to a new folder, you can follow the steps behind:
Step 1. Right-click on the selected files and choose "Copy".
Step 2. Open the new folder, press "Option", and right-click to open the options menu.
Step 3. Select "Move Items Here" to paste the cutting files.
Recover Files Lost in Cut and Paste on Mac
When a file cannot be pasted after being cut, and the operation cannot be undone. As a result, you may lose the cutting files permanently. In this case, you can't restore the cutting files from the Trash bin.
EaseUS Data Recovery Wizard for Mac can help you recover cut files quickly both on Windows and Mac. With its user-friendly interface, users without any computer experience can recover permanently deleted files on Mac. Follow the steps below to recover files lost in cut and paste:
Step 1. Search for lost files
Select the disk location to search for lost files (it can be an internal HDD/SSD or a removable storage device) on macOS Sierra, High Sierra, Mojave, Catalina, Big Sur, Monterey, Ventura, and the latest Sonoma. Click the "Search for lost files" button.

Step 2. Go through the scanning results
EaseUS Data Recovery Wizard for Mac will immediately scan your selected disk volume and display the scanning results.

Step 3. Select the file(s) and recover
In the scan results, select the file(s) to preview and click the "Recover" button to have them back.

Conclusion
You can perform cut and paste on Mac using a keyboard shortcut, via the Finder menu, or with a mouse. But they will get lost during the process if you forget to paste the cutting files. In this case, you can use the professional and trusted data recovery software, EaseUS Data Recovery Wizard for Mac, to get the missing cutting files back.
How to Cut and Paste Files on Mac FAQs
Here are some questions people frequently ask when they search for how to cut and paste files on Mac:
1. How do I enable cut and paste on a Mac?
To enable cut and paste on Mac, you should follow the steps below:
Step 1. Go to Finder, and click "Preference".
Step 2. Choose the "Cut & Paste" option in the "Features" tab.
2. Why can't I copy files on my Mac?
You should check the item's permission if you can't move or copy an item on Mac. Follow the steps below:
Step 1. Select the item, and choose "File > Get Info".
Step 2. Click the arrow icon next to Sharing & Permissions.
Step 3. Check the permission of the item and change it to "Read & Write".
3. How do you cut and paste a file on a Mac?
You can use the shortcut "Command + X" and "Command + V" to cut and paste files on Mac. Or you can drag the files to the destination folder with a mouse. Right-clicking can also help in cutting and pasting files on Mac.
Was This Page Helpful?
Brithny is a technology enthusiast, aiming to make readers' tech lives easy and enjoyable. She loves exploring new technologies and writing technical how-to tips. In her spare time, she loves sharing things about her game experience on Facebook or Twitter.
-
EaseUS Data Recovery Wizard is a powerful system recovery software, designed to enable you to recover files you’ve deleted accidentally, potentially lost to malware or an entire hard drive partition.
Read More -
EaseUS Data Recovery Wizard is the best we have seen. It's far from perfect, partly because today's advanced disk technology makes data-recovery more difficult than it was with the simpler technology of the past.
Read More -
EaseUS Data Recovery Wizard Pro has a reputation as one of the best data recovery software programs on the market. It comes with a selection of advanced features, including partition recovery, formatted drive restoration, and corrupted file repair.
Read More
Related Articles
-
Show Hidden Photos Mac [Free Ways & Tips]
![author icon]() Finley/May 03, 2026
Finley/May 03, 2026 -
Recover Unsaved PowerPoint Mac Is Not That Difficult [NEW]
![author icon]() Daisy/Jun 30, 2026
Daisy/Jun 30, 2026 -
How to Recover Data from Mac Hard Drive to Windows PC
![author icon]() Jaden/Jan 19, 2026
Jaden/Jan 19, 2026 -
Zsh: Permission Denied Mac? Try 5 Solutions Now
![author icon]() Jean/Jun 17, 2026
Jean/Jun 17, 2026