Featured Articles
Are you experiencing the external hard drive not powering up issue? Start to be aware then. It's time to find solutions here to fix this problem of the external hard drive not turning on or powering up normally, and try to rescue data as much as possible with EaseUS Data Recovery Wizard.
| Workable Solutions | Step-by-step Troubleshooting |
|---|---|
| Fix 1. Change Power Cable | Check the power cable on your computer. Ensure that the external hard drive or internal hard drive is...Full steps |
| Fix 2. Update HDD Drivers | In Windows 11/10/8.1/8/7, download EaseUS DriverHandy and update HDD drives...Full steps |
| Fix 3. Enable in BIOS | Keep your hard drive or the external hard drive connected to your PC, and restart your computer...Full steps |
| Fix 4. Send for Repair | We suggest you take the hard drive to a local disk repair center for a physical diagnostic...Full steps |
Warning: external hard drive not powering up!
When the hard drive won't power up, the computer won't turn on. In this case, people tend to face various unpleasant situations. For example:
- Data loss
- Overheating hard drive
- Hard drive not spinning, light blinking
- Critical system failure
4 methods to fix external hard drive won't power up
In this part, you're going to check, determine, and choose workarounds that work the best for your own case. Now you need to take action to manually check hard drive symptoms and do some manual fix.
Method 1. Change power cable
Step 1: Check the power cable on your computer. Ensure that the external hard drive or internal hard drive is plugged in stiffly on your PC.
Step 2: If not, switch the cable or remove the hard drive to another PC to see if it powers up or not.
Step 3: If the hard drive or external hard drive powers up and shows up on your PC or the new computer, you'll need to change a new hard drive cable on your computer.
Method 2. Update hard drive drivers
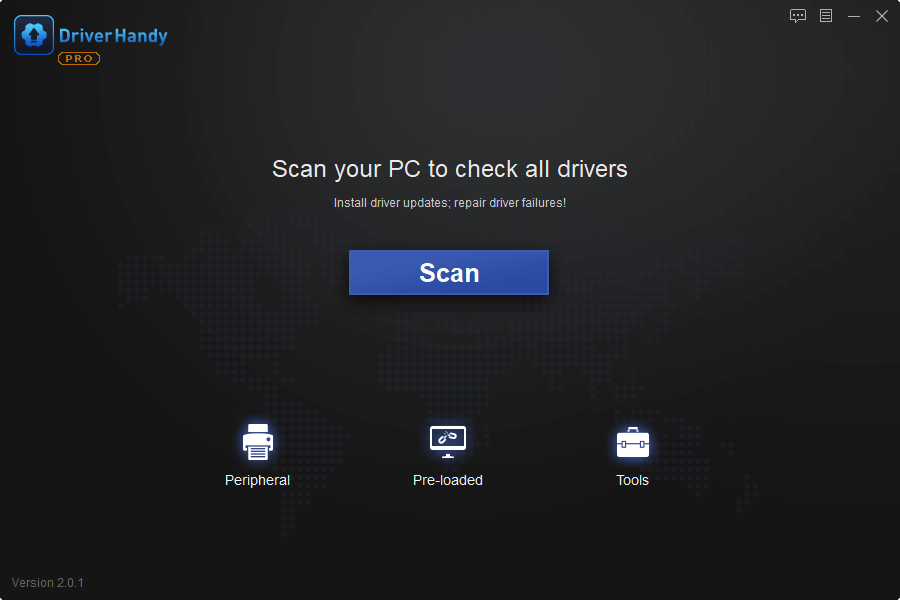
You can first update the hard drive drivers with the professional tool. EaseUS DriverHandy can easily scan, update, and fix the hard drive drives on your computer. It simplifies the process of checking outdated drivers. Download it and you can fix the problem quickly and easily.
Step 1. Open EaseUS DriverHandy.
Step 2. Click "Scan" to let the tool automatically scan for outdated drivers.
Step 3. Select the hard drive drivers and click "Update."
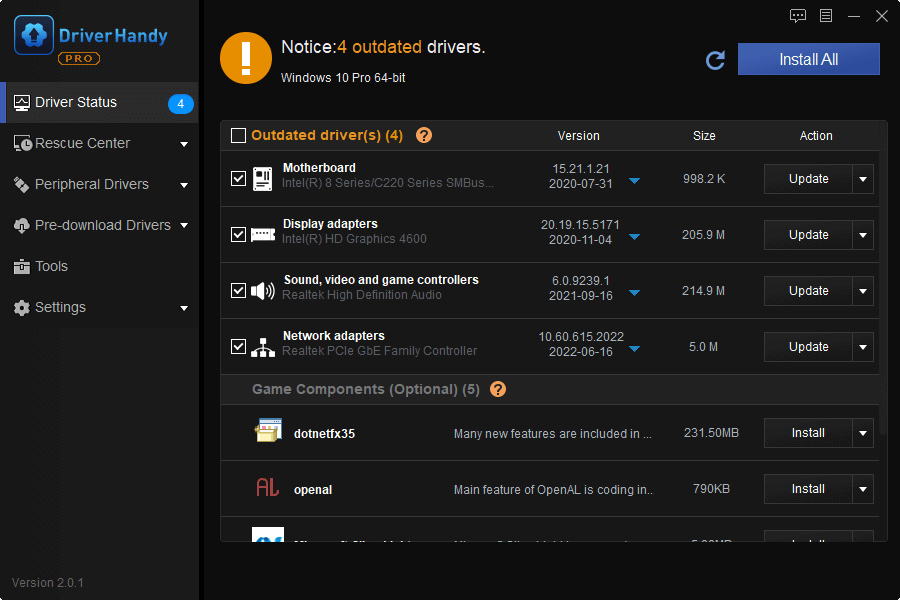
Then check out whether your external hard drive or internal hard drive spins up or not. If not, just follow to fix hard drive fails to spin up error without losing any data by referring to the second part.
Method 3: Enable hard drive/external hard drive in BIOS
Step 1. Keep your hard drive or the external hard drive connected to your PC, and restart your computer.
Step 2. Hold and long-press F2 to enter BIOS.
Step 3. Enter Setup and check the system documentation to see if the hard drive is Off or not. If it is Off, turn it ON in System Setup.
Step 4. Reboot PC to see if your hard drive powers up and comes back now.
Usually, after doing this, your hard drive should be able to boot up and show up on your PC again.
Method 4. Send it to repair
We suggest you take the hard drive to a local disk repair center for a physical diagnostic. Some hardware maintenance center provides manual data recovery service.
How to access data from not powering hard drive
If the hard drive keeps disconnecting or disappearing on your computer, something must go wrong with it. If you are under this issue, to keep your precious data safely, we'd like to recommend you clone failing/failed hard drive to the new disk or external storage device.
If you cannot access or find no tracks of your hard drive data on your PC, don’t worry. Powerful EaseUS Data Recovery Wizard can easily help you find your lost data within three simple steps. You can apply EaseUS Data Recovery Wizard to find your lost hard drive data with ease:
Step 1. Run EaseUS Data Recovery Wizard. Choose the drive where you lost files and start scanning by clicking "Search for Lost Data". This software allows you to recover lost data from all devices, including HDD, SSD, USB drive, SD card, pen drive, camera, etc.

Step 2. Browse the full scan results. You can choose the file type you need by clicking on the file type filter. EaseUS data recovery software supports 1000+ file types like photos, videos, documents, emails, audio files, and many more.

Step 3. Select the files you want to preview. Click "Recover" and set a storage location or Cloud drive to save the recovered data.

Was This Page Helpful?
Daisy is the Senior editor of the writing team for EaseUS. She has been working at EaseUS for over ten years, starting as a technical writer and moving on to being a team leader of the content group. As a professional author for over ten years, she writes a lot to help people overcome their tech troubles.
Written by Tracy King
Tracy became a member of the EaseUS content team in 2013. Being a technical writer for over 10 years, she is enthusiastic about sharing tips to assist readers in resolving complex issues in disk management, file transfer, PC & Mac performance optimization, etc., like an expert.
Related Articles
-
Checksum Error in WinRAR? How to Fix the Checksum Error (2025)
![author icon]() Jaden/Feb 12, 2026
Jaden/Feb 12, 2026 -
Task Manager Not Opening or Responding in Windows
![author icon]() Brithny/Jun 29, 2026
Brithny/Jun 29, 2026 -
Top 7 Ways To Fix A Disk Read Error Occurred in Windows 10/8/7
![author icon]() Tracy King/Jun 12, 2026
Tracy King/Jun 12, 2026 -
Second Monitor Lagging When Playing Games - What to Do?
![author icon]() Jerry/Jun 18, 2026
Jerry/Jun 18, 2026