-
![]() Word Found Unreadable Content, How to Fix (Windows/Android)
Word Found Unreadable Content, How to Fix (Windows/Android) July 23,2026
 6 min read
 -
![]()
-
![]()
-
![]() Text Recovery Converter Word | Recover Text from Any FileJuly 23,20266 min read
Text Recovery Converter Word | Recover Text from Any FileJuly 23,20266 min read -
![]()
-
![]() Seagate External Hard Drive Beeping and Not Recognized? [Solved]July 23,20266 min read
Seagate External Hard Drive Beeping and Not Recognized? [Solved]July 23,20266 min read -
![]() [Official & Latest] EaseUS Data Recovery Wizard License Code 18.1.0July 23,20266 min read
[Official & Latest] EaseUS Data Recovery Wizard License Code 18.1.0July 23,20266 min read -
![]()
-
![]()
-
![]() Perform TeskDisk Partition Recovery [with Alternative]July 23,20266 min read
Perform TeskDisk Partition Recovery [with Alternative]July 23,20266 min read
Page Table of Contents
PAGE CONTENT:
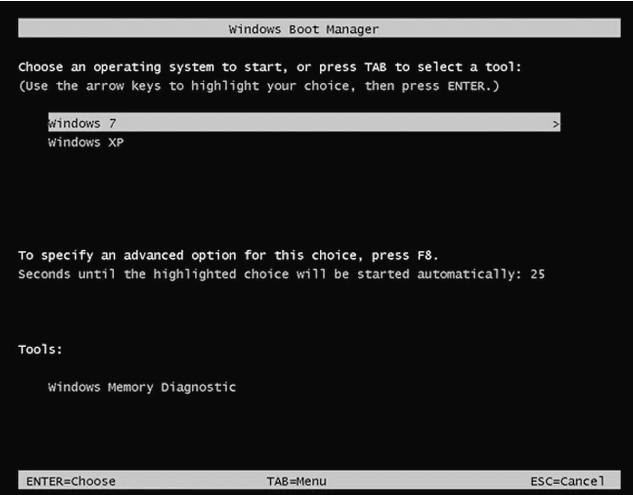
Help! Boot Manager Keeps Popping Up
"Hi, my boot manager keeps popping up every time I start my laptop. Is there any way to make it go back to normal so that it can just start automatically without going into the boot manager screen?"

What Is Windows Boot Manager (BOOTMGR Definition)
Windows Boot Manager (BOOTMGR) is a tool for booting the operating system. When our computer has multiple operating systems installed, it calls up the Boot Manager in Windows 10/8/7. When the computer starts, you can choose the system you want to start.
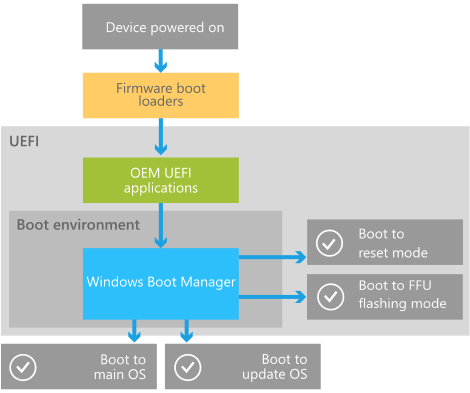
Inside the boot environment, individual boot applications started by the Boot Manager provide functionality for all customer-facing scenarios before the device boots. The following picture illustrates the process at a high level. (The picture is from Microsoft)
As mentioned at the beginning, Windows 10 always enters the Windows Boot Manager interface when booting. What should you do to fix it? You cannot remove the Windows Boot Manager. However, you can reduce the time that it waits for you to answer. Thus, you can use Command-Line to enable or disable Windows Boot Manager or use the System Configuration tool to modify the default behavior.
Solution 1. Enable or Disable Windows Boot Manager with CMD
You must run as administrator to disable or enable Windows Boot Manager with command prompt. Follow the steps below to enable or disable Windows Boot Manager.
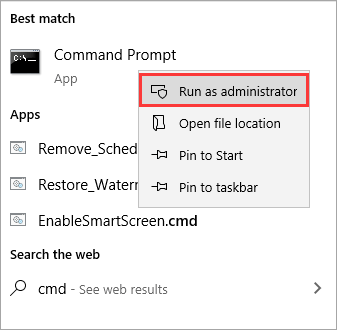
Step 1. Next to the Windows Start menu, in the "Search Windows" box, type cmd.
Step 2. On the search result, right-click on the "Command Prompt" and select "Run as administrator".
Step 3. Once the command prompt pops up, type in the following command and press "Enter" after you type each command.
- bcdedit /set {bootmgr} displaybootmenu yes
- bcdedit /set {bootmgr} timeout 30.
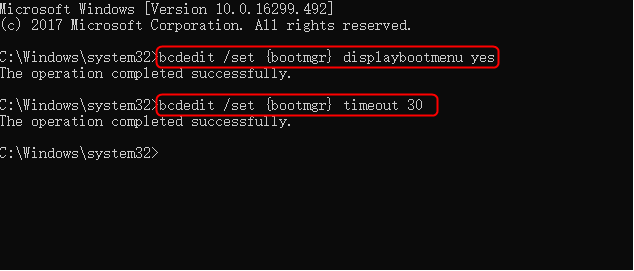
Timeout determines how long the boot manager is displayed. You can specify the timeout value in seconds according to your requirement.
Step 4. If you intend to disable Windows Boot Manager, type bcdedit / set {bootmgr} timeout 0 and hit "Enter".

Solution 2. Modify Windows Boot Manager with System Configuration
If you are not familiar with CMD, you can also open System Configuration to modify BOOTMGR. Here are the steps:
Step 1. Press Windows + R key, input msconfig, and hit "Enter" to open the System Configuration utility.
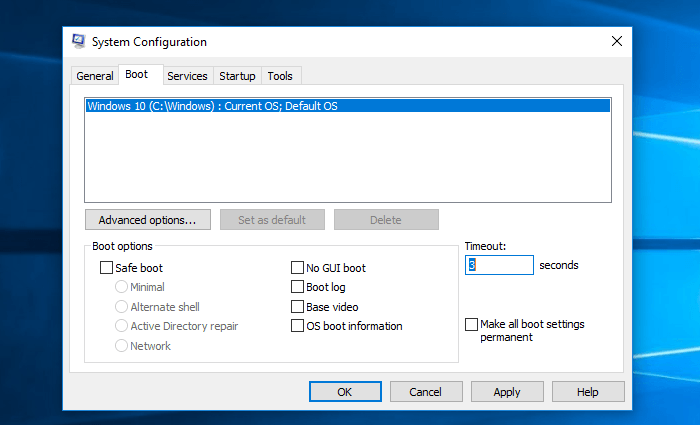
Step 2. Select the "Boot" tab on the System Configuration window that opens.
Step 3. Adjust the Timeout time to the lowest possible time, in seconds, which is probably 3.
Bonus Tip - How to Safeguard Your Data in Windows 10/8/7
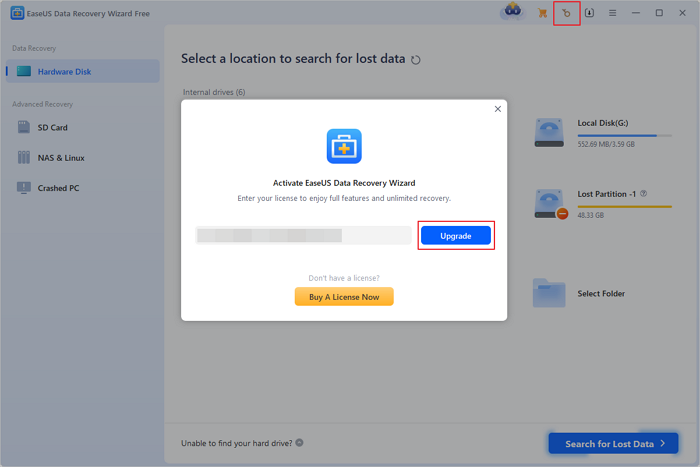
To avoid extra data loss problems during the process, you are advised to protect your data first. You can back up files with file backup software. If the data have gone forever, you can run EaseUS EaseUS Data Recovery Wizard to get them back. EaseUS Data Recovery Wizard recovers the essential data from any disaster.
Restore data with EaseUS data recovery software.
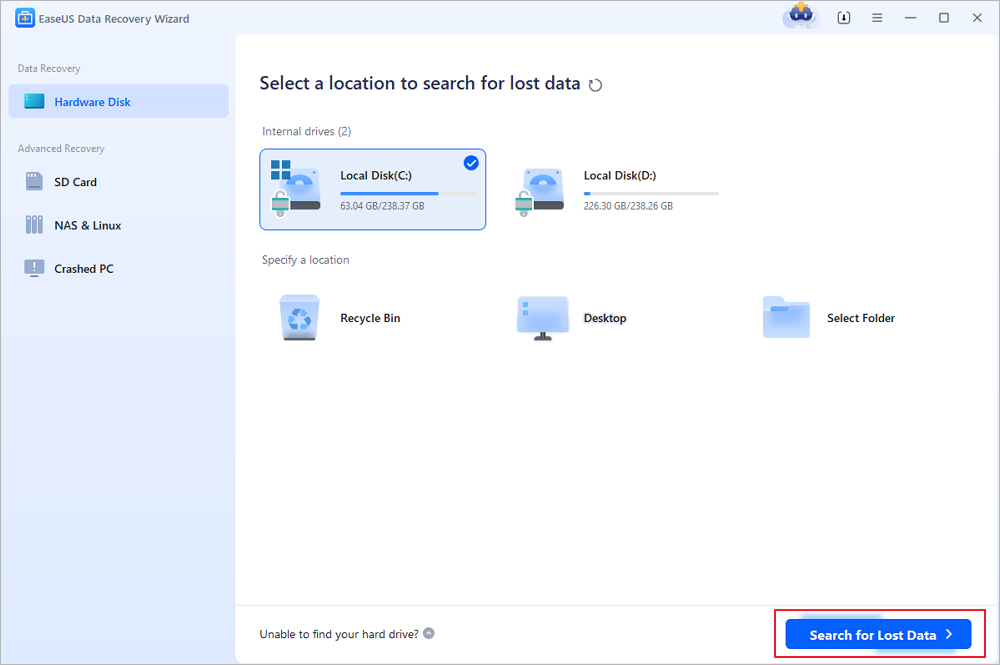
Step 1. Select a location and start scanning
Launch EaseUS Data Recovery Wizard, hover on the partition/drive where the deleted files were stored. Click "Search for Lost Data" to find lost files.
Step 2. Select the files you want to recover
When the scanning has finished, select the deleted files you want to recover. You can click on the filter to display only the file types you want. If you remember the file name, you can also search in the search box, which is the fastest way to find the target file.

Step 3. Preview and recover deleted files
Preview the recoverable files. Then, select files you want to restore and click "Recover" to store the files at a new storage locations instead of the disk where the data was previously lost. You can choose a cloud storage, such as OneDrive, Google Drive, etc., and click "Save" to save your recovered files.

Conclusion
If you encounter the Windows Boot Manager interface when booting up, you don't have to worry about it. The most likely reason is that the old system residual files are not deleted. You can refer to the above methods to delete them and the issue will be repaired.
Was this page helpful?


20+
Years of experience

160+
Countries and regions

72 Million+
Downloads

4.9 +
Trustpilot Score


