- 🙍♂️User Case
- "I recently got my hands on a WD SN850 1TB drive with Acronis software. I want to clone my previous SSD with 500MB capacity to a recent one. However, it gets stuck after showing a message, 'locking drive C' and then 'Preparing.' Even after leaving it in that condition for a whole night, I could not fetch anything. Can you help me resolve the issue?"
Like the case described above, are you also facing Acronis true image hangs when cloning issues? Do not worry; you are in the right place to get an instant solution. Find the following fixes for your reference.
Fixes to Solve Acronis True Image Hangs/Stuck When Cloning Disk
The cloning process can be tiring, and if you come across an Acronis clone disk Wizard stuck in a situation, it can include technical aspects too. It complicates the problem, and you require straightforward solutions to eradicate the issue. The following instant fixes can help you out; check these out in detail below.
Fix1. Clean Disk Before Cloning
If you are suffering from the Acronis clone disk Wizard stuck issue, you can opt to clean the disk before cloning. Though it is not a must step, it will ensure the problem subsides, and cloning can occur successfully.
Step 1: Start by tapping the Start button and opening Computer Management. Tap on the Control panel and then on the 'System and security' option. Make a double tap on 'Computer Management.'
Step 2: From the left pane, select 'Disk management' given under 'Storage.'
Step 3: Rightly tap on the volume you wish to format and tap on the 'Format' option.
Step 4: If you use default settings for formatting, tap on the 'OK' option in the Format dialog box. Then tap on 'Ok' again.
Fix 2. Installing the New Hard Drive to the Computer
With a variety of designs of laptops or desktops, there are multiple ways to install a new hard drive. However, the methods are similar, so they work with most hard drives, irrespective of brand. If Acronis true image hangs when cloning, try this fix to get things sorted.
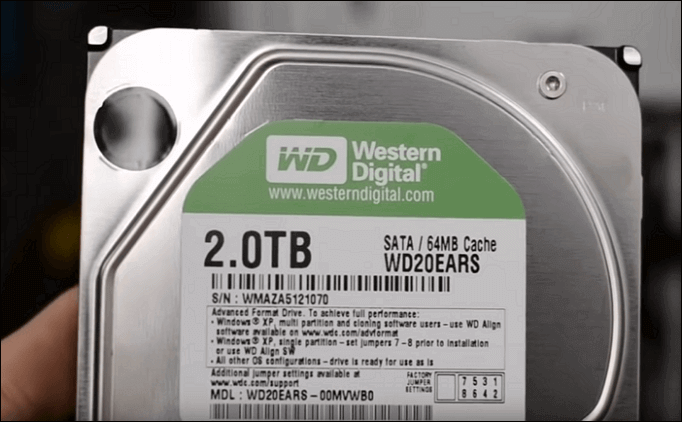
Suppose you have a 2TB hard drive and wish to install it on your computer.
Step 1: Start by shutting down your PC and removing the new drive.
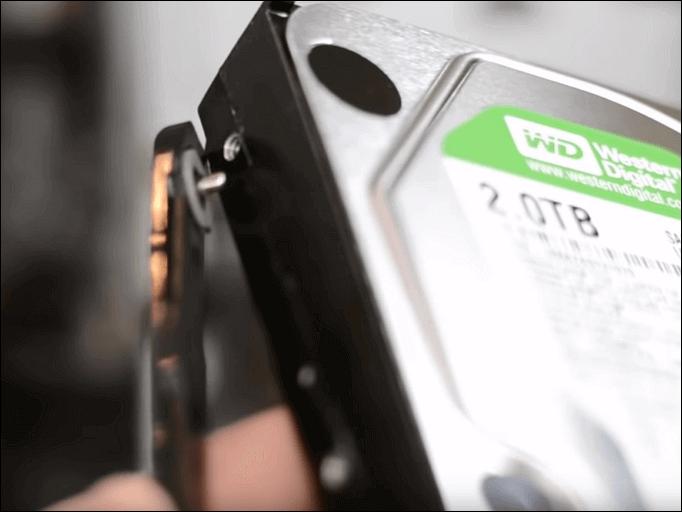
Step 2: Now opt for preparing the new drive by unscrewing the screws present on both sides of the disk.
Then move ahead by sliding the drive bays in the holes for screws on both sides of the recent drive.
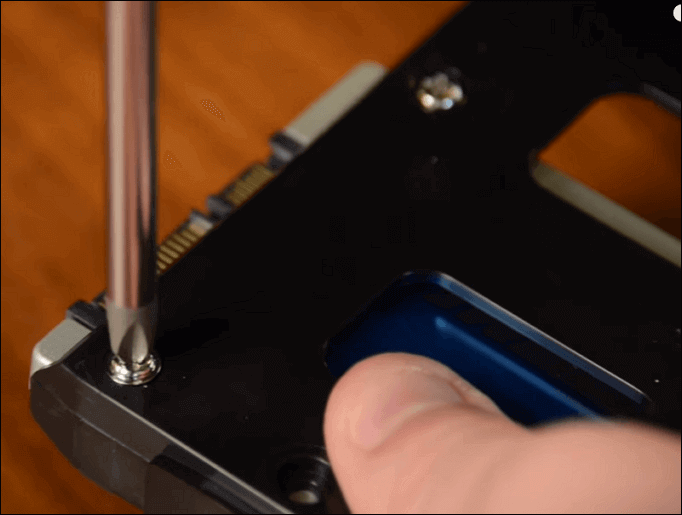
If you are using an SSD, you have to add a particular mounting slot so it can fit with screws in 3.5 places. Alternatively, you can also use a drive adapter for the purpose.
Step 3: Now go ahead with removing the desktop computer case.
If you find it locked by screws, use a screwdriver to remove them.
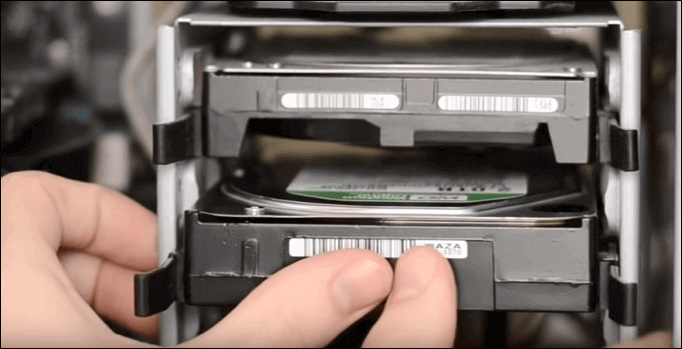
Step 4: Now, slide your new drive into the computer case. It is given next to your old drive.
Step 5: Connect the new drive and the computer's motherboard using the SATA cable and plug in the power cable.

Step 6: Reboot the computer after closing the computer case.
Fix 3. Create a Bootable Rescue Media to Boot
If you are struggling with the Acronis clone disk Wizard stuck, try this fix. Herein, you can use rescue media to recover if you have a PC with crucial and valuable data that is not booting up. Let us see how;
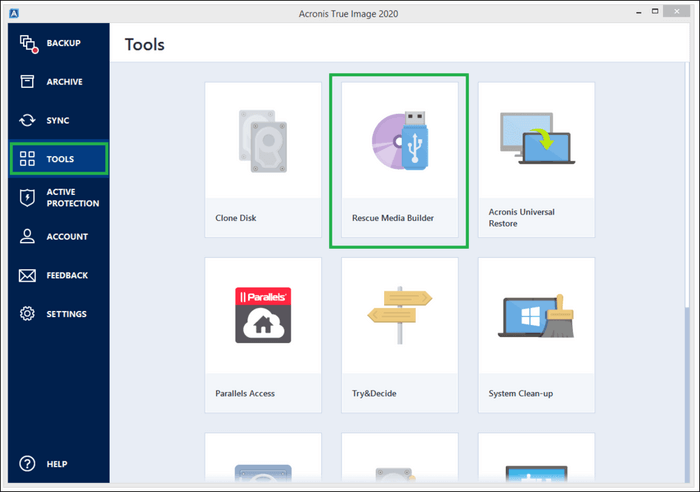
Step 1: Tap 'Rescue Media Builder' from the Tools option.
Step 2: Opt for methods including media creation. You can choose from Simple and Advanced options. Look what happens when you select any of the options.
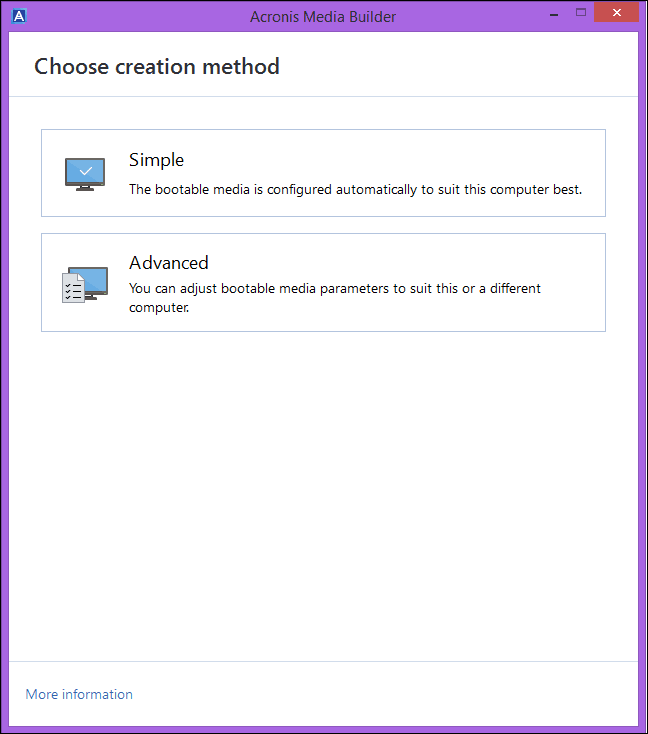
- Simple
It is one of the most straightforward options intended for primary users. Herein optimal media type is selected for your Pc by Acronis True Image. For a Windows 7 version or later, you will notice WinRE-based media being created, for the rest of Linux-based media gets created.
- Advanced
Herein, you can select a media type, which helps you create the rescue media for your PC and a PC running on a different Windows version.
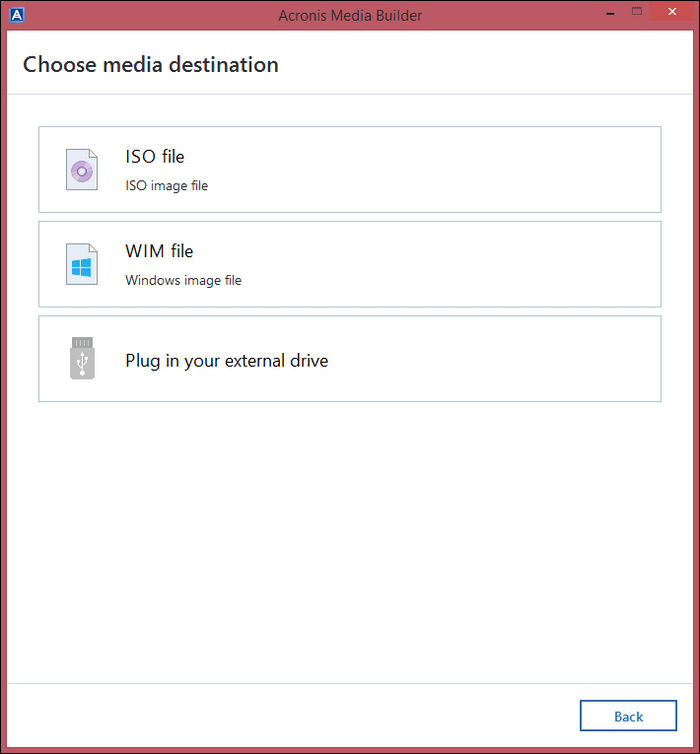
Step 3: Now, you have to select destinations for your media. You can opt for a USB flash drive, CD, DVD, ISO image file, etc., and tap the 'Proceed' option.
Fix 4. Turn Off and Restart Acronis True Image
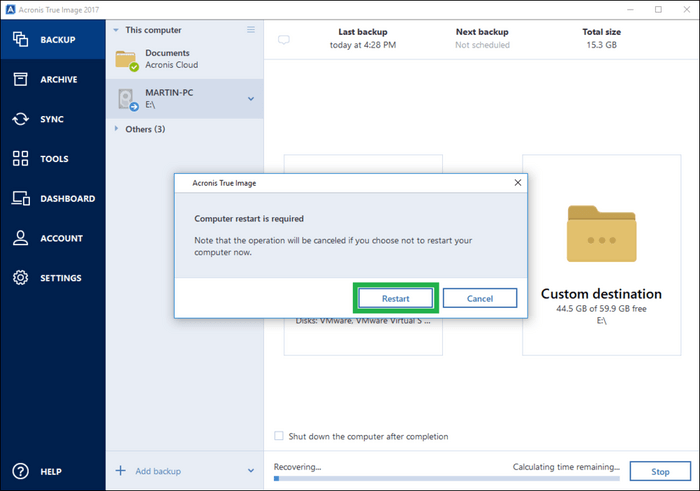
You will get into this situation mostly when you want to clone a WD SSD. As WD SSD is not equipped with software for disk cloning, you can replace the hard drive using Acronis True Image Wd edition. However, when you encounter the issue of Acronis true image hanging when cloning, you can switch off the option for Secure boot. For this purpose, Acronis computer start is needed.
Step 1: Once your PC starts, tap the Delete key to enter BIOS. Sometimes, you may have to tap on F2 or F12 keys to enter BIOS.
Step 2: Now, locate the 'Secure Boot' option using BIOS. You can find it under the 'Boot' or 'Security' option.
Step 3: Once 'Security Boot' is turned off, tap on F10 to save the settings and exit BIOS.
Fix 5. Try Acronis True Image Alternative - EaseUS Disk Copy
EaseUS Disk Copy can be an excellent alternative for Acronis True Image Alternative owing to its attractive user interface. Along with this, its ease of use and simplicity in carrying out cloning functionality works perfectly for essential to advanced users.
Windows 11/10/8/7
Check out its significant features below:
- Migrates Windows 10/11 to SSD without reinstallation.
- Upgrades hard drive without data loss.
- Fast and easy upgrade of hard drives along with SSDs.
- Rapid migration of data from one PC to another.
- Effectively backup hard drives.
Step 1. Prepare New Drive
- Backup data: If the target drive contains data, back it up before cloning because cloning will wipe all data on the target disk.
- Connect the disk to your PC: For desktops or laptops with more than one slot, install it internally. For laptops with only one slot, use an external disk enclosure or a SATA-to-USB adapter to connect the disk externally to the PC.
Step 2. Run Disk Cloning Software
- Download, install, and open EaseUS Disk Copy.
- Choose Disk Mode.

Step 3. Select Source and Target Drives
- Select the old disk as the source.
- Select the new disk as the destination.
- Check whether enabling the "Preview partition layout" box for the advanced feature.
Note: Adjust disk layout if necessary.
- Select "Autofit the disk" to make full use of the larger capacity on the destination disk.
- Select "Copy as the source" to use "Sector-by-sector copy" feature.
- Select "Edit disk layout" to manually resize the disk layout on destination drive.
Step 4. Start Cloning
- Confirm the warning message (data on the destination drive will be erased) and start cloning.
- Wait for the cloning process to be complete.
Comparative Analysis of EaseUS Disk Copy and Acronis
- Functionality: EaseUS Disk Copy offers better functionality when the Acronis clone disk wizard fails to fix the issue of the Acronis clone disk Wizard stuck even after reinstallation.
- Performance: Unlike Acronis, EaseUS Disk Copy supports sector-by-sector cloning and helps adjust the disk layout per your need.
- Price: EaseUS Disk Copy has a variety of affordable price options for different users. On the other hand, Acronis clone disk wizard has premium plans for its users, which are not that budgeted.
- Technical Support: EaseUS Disk Copy supports prompt tech support compared to the Acronis clone disk wizard.
So, our recommendation vote goes with EaseUS Disk Copy, as it is a better option for cloning your hard drive.
[Tips] How to Ensure a Smooth Disk Cloning
After a comparative analysis of two brilliant software, let us know some quick tips to ensure you get a smooth disk cloning experience. Here are some tips you can follow;
- Reliable disk cloning software: Ensure to opt for disk cloning software that is reliable and maintains the privacy of your data while cloning it.
- Initialize the disk before cloning: Ensure you remove all the programs or temporary files you do not require anymore before cloning.
- Shrink source drive partition: For cloning the original disk to a smaller source disk, you must reduce the source disk partition to operate smoothly.
- Recheck the drive's capacity: Ensure that the targeted disk to which data is being transferred has a larger space than the source drive.
The Bottom Line
Being an Acronis user, you will likely face issues related to the hanging of Acronis True Image. There can be multiple reasons, as mentioned leading to the issue. However, distinct solutions may work as per the situation, and finding apt solutions for every situation can take time and effort. So to resolve Acronis true image hangs when cloning issue, we suggested some fixes to sort the problem.
However, we hold a strong opinion for EaseUS Disk Copy as it serves to clone in multiple disks without any difficulty. Moreover, as a robust and powerful software for disk cloning, you can also utilize it for synchronization, backup, or recovery.
Windows 11/10/8/7
Acronis Clone Disk Wizard Stuck FAQs
After going through the write-up, we are sure your query will get resolved. For anything else on your mind, check the following FAQs.
1. Why is Acronis taking so long?
Acronis may take a long time due to a faulty external drive. It may happen because of improperly, old, or corrupted connected disks, which hampers the reading operation. In addition, it affects the UI performance of Acronis.
2. How long does Acronis usually take to clone a disk?
If you have 500GB of disk capacity, it may take 1.5 hours to clone the disk with the 100MBPS speed of Acronis.
3. How to clone HDD to SSD using Acronis?
You can clone HDD to SSD using Acronis by following the given steps;
- Start by connecting your SSD to your PC. Now tap on 'Tools' and then 'Clone Disk.'
- Opt for recommended 'Automatic' mode for transfer.
- Select a drive you want to clone and tap the 'Next' option.
- Now choose SSD as the destination drive and tap the 'Next' option. Once you see a prompt, tap 'Ok' to give confirmation.
- Tap on 'Proceed' and wait for the process to complete.
4. How to migrate Windows 10 to SSD with Acronis?
You can migrate Windows 10 to SSD by using Acronis in the steps as;
- Start by launching the Acronis True Image OEM app and tap 'Tools' and then 'Clone Disk.'
- Tap on 'Automatic method' and then tap' Next.'
- Make a selection of the source disk and tap on 'Next.'
- Now make a selection of the destination disk and tap on 'Next.'
- Opt for a cloning method.
- Tap on 'Proceed.'
- Once the cloning process starts, you will see a notification.
- Once the process completes, remove the SSD safely.
Was This Page Helpful?
Updated by Jerry
"I hope my articles can help solve your technical problems. If you are interested in other articles, you can check the articles at the bottom of this page, and you can also check my Facebook to get additional help."
Written by Larissa
Larissa has rich experience in writing technical articles and is now a professional editor at EaseUS. She is good at writing articles about data recovery, disk cloning, disk partitioning, data backup, and other related knowledge. Her detailed and ultimate guides help users find effective solutions to their problems. She is fond of traveling, reading, and riding in her spare time.
Related Articles
-
How to Fix SD Card Unexpectedly Removed Error on Your Phone
![author icon]() Jean/2026-05-21
Jean/2026-05-21 -
Guide on Diskpart Create FAT32 Partition | How to Create FAT32 Partition with Diskpart
![author icon]() Cici/2025-07-06
Cici/2025-07-06 -
How to Upload Files to Google Drive Automatically
![author icon]() Brithny/2025-07-04
Brithny/2025-07-04 -
SD Card Keeps Disconnecting or Disappearing
![author icon]() Tracy King/2025-07-04
Tracy King/2025-07-04
EaseUS Data Recovery Services
EaseUS data recovery experts have uneaqualed expertise to repair disks/systems and salvage data from all devices like RAID, HDD, SSD, USB, etc.