Page Table of Contents
PAGE CONTENT:
Upgrading to an NVMe SSD can bring significant speed improvements to your computer, but if you're still running Windows 7, you may wonder how to make it work. And because Windows 7 has been around for a decade, it doesn't have native support for the more recent NVMe drives. But that doesn't mean it's impossible.
With a few extra steps, you can install Windows 7 on an NVMe SSD for your laptop and PC and enjoy the benefits of faster boot times and improved performance. This article from EaseUS will describe how to install Windows 7 on an NVMe SSD for your laptop or PC.
- 👍👍👍Editor's Recommendation
- We'll offer three available methods to install Windows 7 on NVMe SSD with stepwise instructions, which includes cloning Windows 7 to NVMe, adding NVMe driveto Windows 7 ISO, and manually load NVMe SSD at Windows setup. Among them, cloning Windows 7 to NVMe is the easiest way to get it done, which can be seamlessly achieved by a professional disk cloning too, EaseUS Disk Copy. If you want to save time and get the problem solved quickly, click here to skip to the cloning section.
Download the EaseUS disk cloning here with confidence and migrate Windows OS to NVMe SSD smoothly.
Windows 11/10/8/7
Preparations for Windows 7 Installation on NVMe SSD
Before you begin the installation process, there are a few important things you'll need to do to prepare your computer for Windows 7 on an NVMe SSD or Windows 7 NVMe driver install:
- Ensure your computer meets the system requirements before installing. This includes firmware with UEFI 2.3.1, 4GB RAM, recommended processor, display, and graphics card, among others.
- Create a backup for all your files on another drive or device if you have any on your SSD.
- Check your computer's BIOS settings. You'll need to ensure your computer's BIOS settings are configured correctly to boot from the USB drive and properly detect the NVMe SSD.
These steps will prepare you for the installation, ensuring a smooth process.
How to Connect NVMe SSD to Laptop or PC
Connecting an NVMe SSD to your laptop or PC is a straightforward process, but there are a few key differences to remember depending on whether you're working with a desktop or a laptop.
🖥️For desktop PC connection:
First, power down and unplug your PC.
- Open the case of your desktop PC and locate the PCIe slots where you'll install the NVMe SSD.
- Carefully align the NVMe SSD with the PCIe slots and secure it with the screws provided.
- Connect the power and data (SATA) cables to the NVMe SSD and SATA port on your motherboard.
- Close the case and plug your PC back in.
💻For laptop connection:
- Start by turning off and unplugging your laptop.
- Remove the battery and locate the NVMe SSD slot on the bottom of the laptop.
- Carefully insert the NVMe SSD into the slot, ensuring it's securely connected.
- Replace the battery and power your laptop.
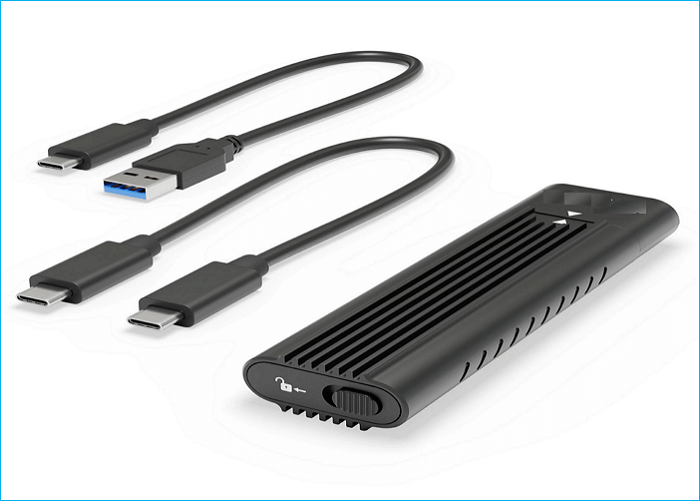
If your laptop doesn't have an NVMe SSD slot, you can consider using a USB drive by following these steps:
- Get a USB to NVMe SSD adapter like Inateck FE3001.
- Connect the NVMe SSD USB cable to the adapter.
- Plug another end of the USB cable into your laptop.
With that, your laptop will detect the NVMe SSD as an external drive.
You can now install Windows 7 with your NVMe SSD connected. Remember to set the NVMe SSD as the primary boot disk in BIOS.
Post this article on your social media if you find it useful.
3 Ways to Install Windows 7 on an NVMe SSD
Installing Windows 7 on an NVMe SSD can be tricky, as the operating system doesn't have native support for NVMe drives. But there are still a few ways to work around this and get Windows 7 up and running on your NVMe SSD. Here are three we recommend:
| Workable Solutions | Step-by-step Troubleshooting |
|---|---|
| Way 1. Clone Windows 7 to NVMe SSD | Cloning your Windows 7 installation onto an NVMe SSD is a simple and effective...Full steps |
| Way 2. Add NVMe Driver to Windows 7 ISO | Including an NVMe driver in the Windows 7 installation ISO is another option...Full steps |
| Way 3. Manually Load NVMe Driver at Windows Setup | Some might find this method easier than the last or more complicated...Full steps |
Way 1. Clone Windows 7 to NVMe SSD👍👍👍
Cloning your Windows 7 installation onto an NVMe SSD is a simple and effective way to get it done. This method requires third-party disk cloning software, and the best one for the job is EaseUS Disk Copy.
Windows 11/10/8/7
EaseUS Disk Copy is a practical and professional cloning tool for Windows 11/10/8/7. It allows you to clone your system to another drive and clone a hard drive with bad sectors. It also supports back-and-forth cloning from MBR to GPT while being compatible with any Windows version from 7 to 11.
In addition, it allows you to copy data from one hard drive to another and allows for full disk and partition-level cloning. It can also enable you to create a WinPE bootable disk, resize a partition when cloning disks, and transfer Windows from HDD to SSD without losing data.
Here's how EaseUS Disk Copy can help you clone Windows 7 to an NVMe SSD in a few easy steps:
Before cloning:
- If your computer has only one slot, connect the target disk to your machine via a USB-to-SATA/NVMe adapter.
- If your computer has an extra slot, install the target disk into the empty slot properly, and make sure it is compatible.
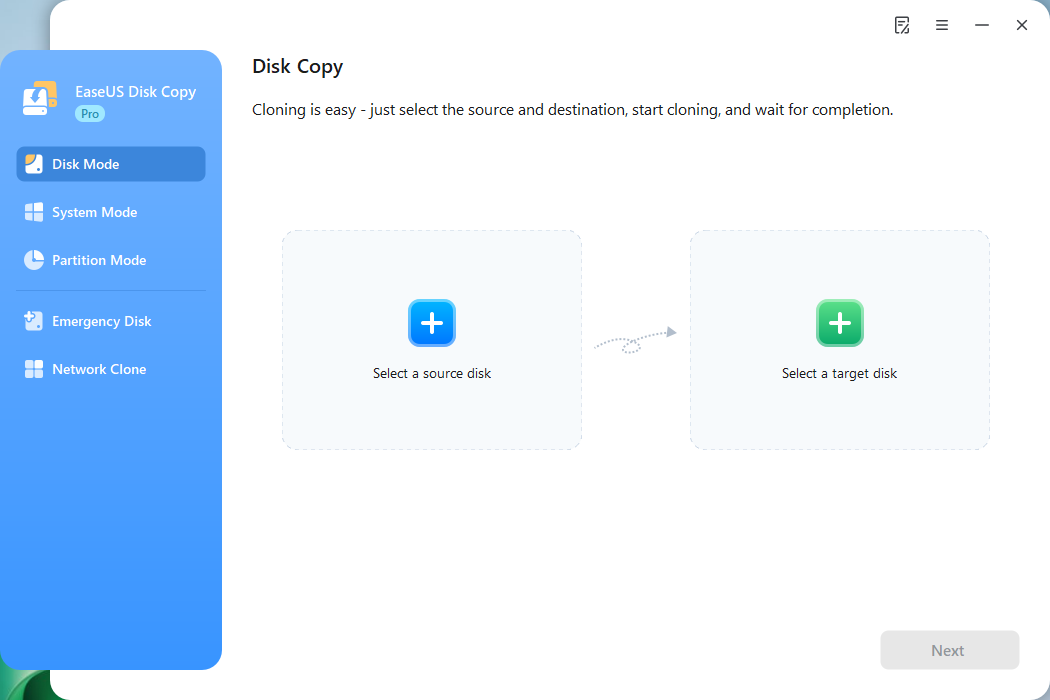
Step 1. Launch EaseUS Disk Copy and choose Disk Mode.
Install EaseUS Disk Copy cloning software on your Windows computer, then launch it and select Disk Mode from the left panel.
Step 2. Select the source drive.
Select the drive you want to copy, then click Select.
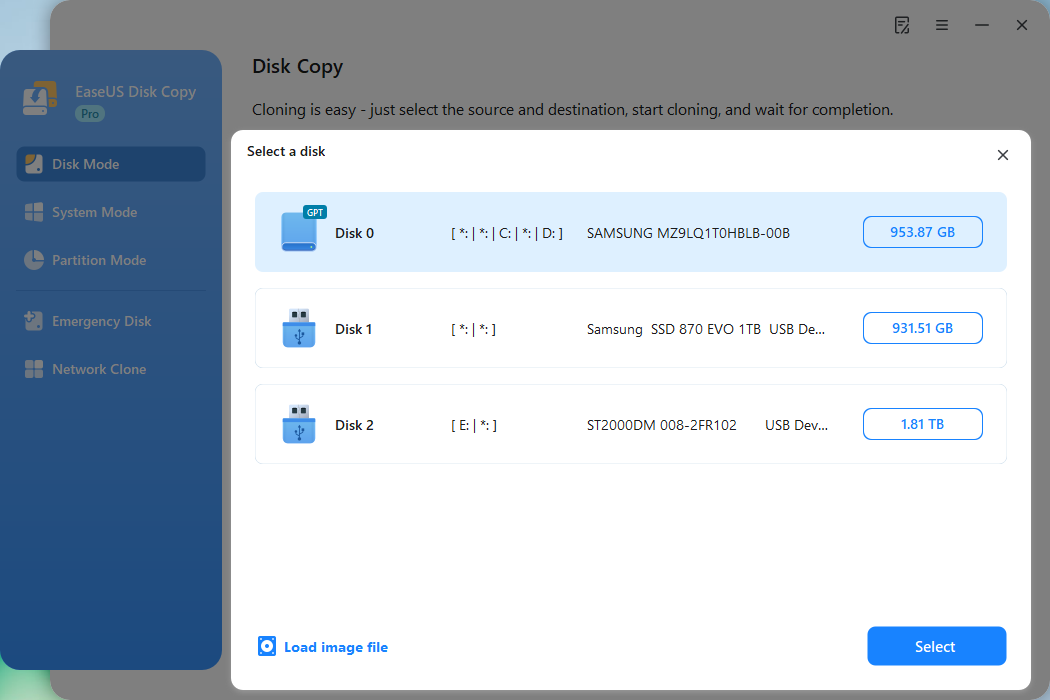
Step 3. Choose the target disk.
Choose the disk that you want to clone data to, and click Select. Note that the used space of the source disk should be less than the target disk capacity.
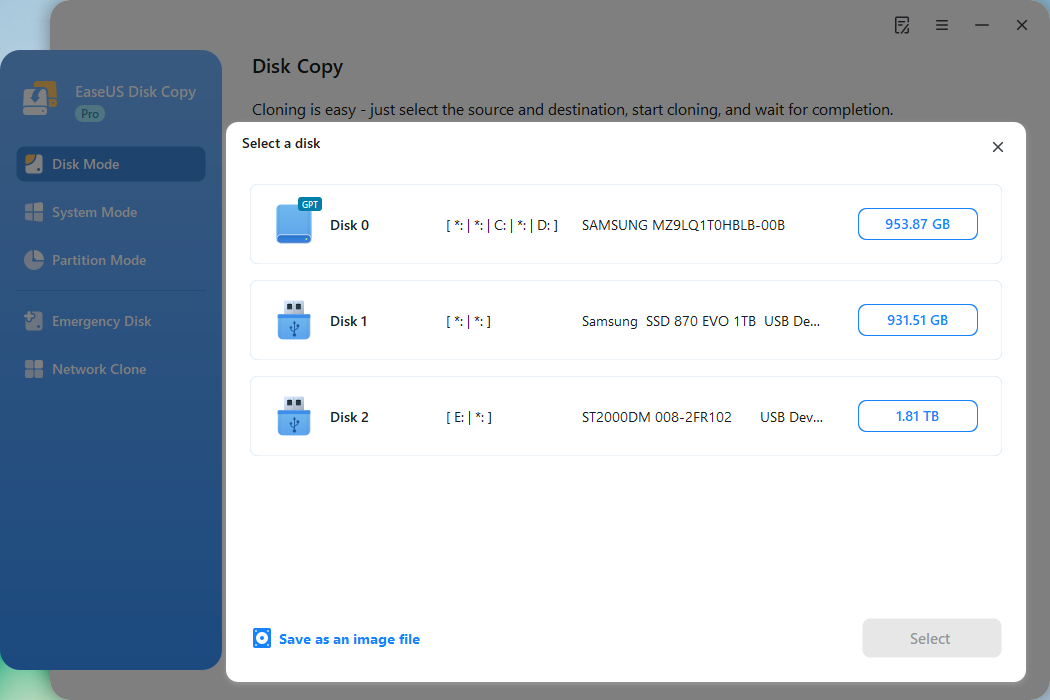
*At this step, you can also click the option "Save as an image file" to store your disk as a compressed image file, which can be restored without any data loss.
Step 4. Adjust disk layout.
Specify the target disk layout as your preference. You can choose among:
- Autofit the disk: makes some changes by default on the destination disk layout so that it can work at its best.
- Copy as the source: create a 1-to-1 copy of your source disk; the layout is the same as the source disk.
- Edit disk layout: allows you to manually resize/move the partition layout on this destination disk.
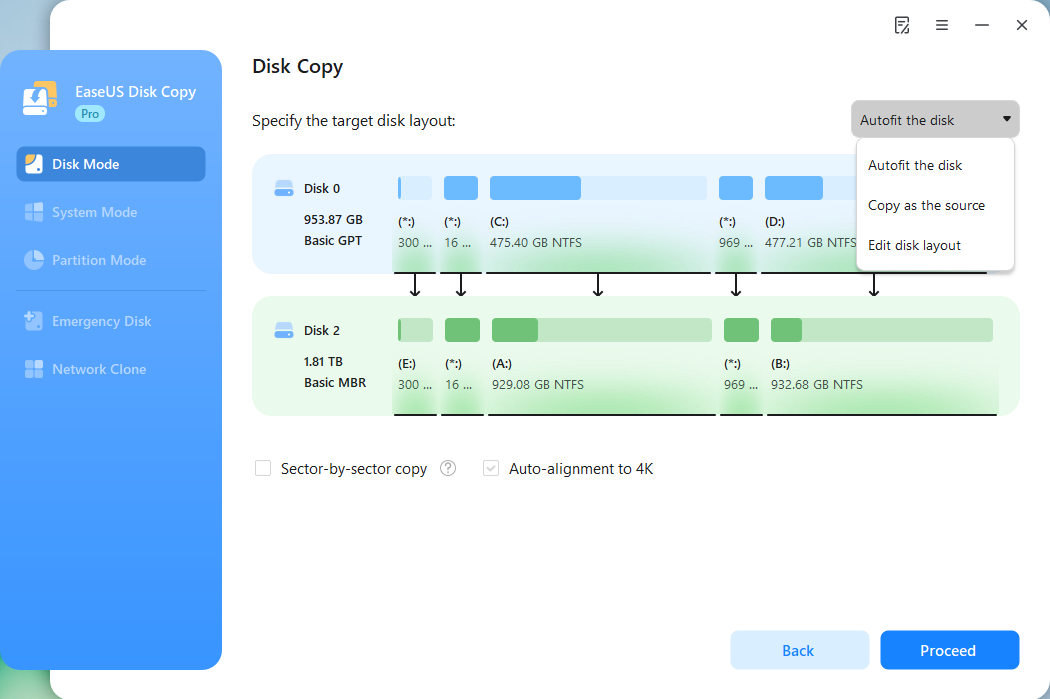
*If the target disk is an SSD, the option "Auto-alignment to 4K" will be checked automatically to optimize the performance of your SSD.
Step 5. Start cloning.
Click Proceed, and a message will appear, warning you that data will be lost. Confirm the message by clicking Continue.
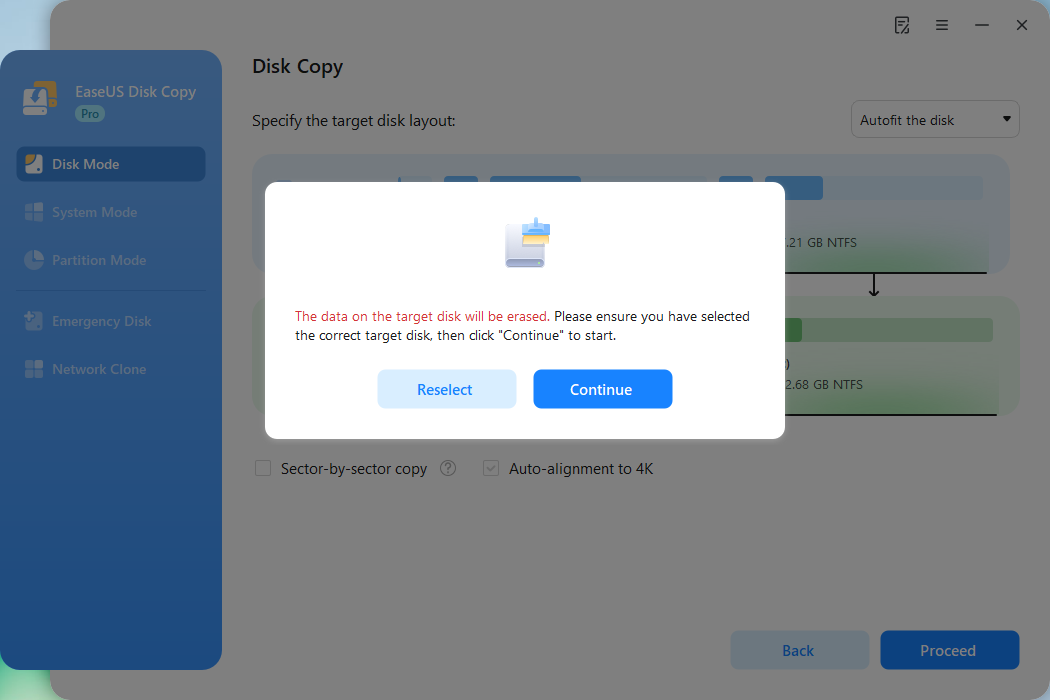
Now, it will start executing the cloning task.
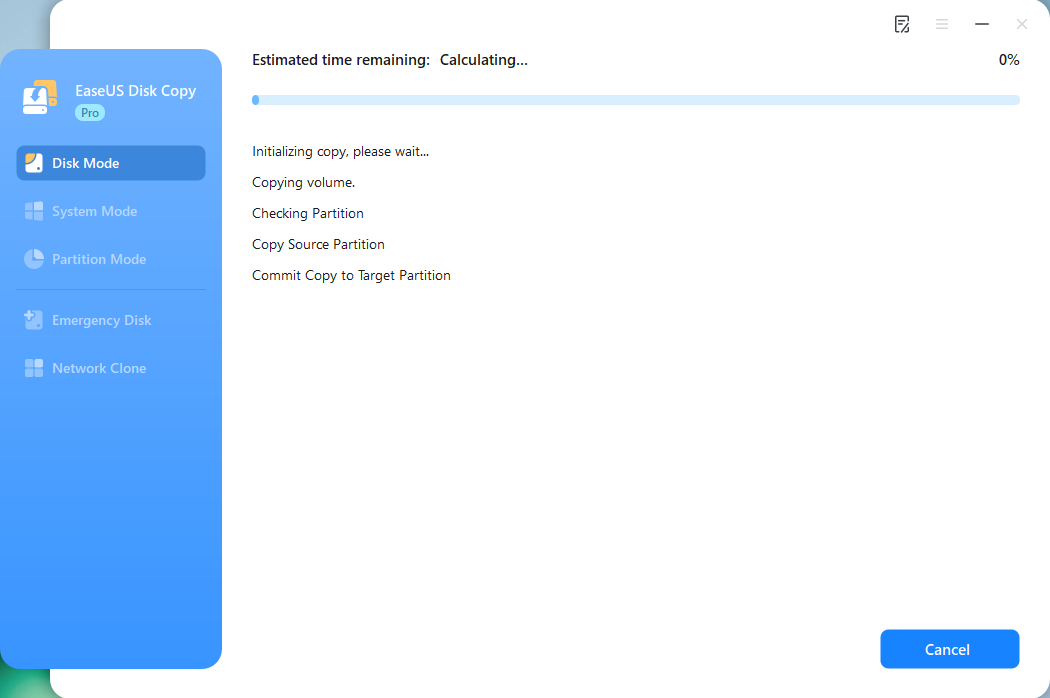
*The time it takes to clone a hard drive depends on how much data is on the source disk, and it will also be affected by the disk types, USB connection, etc.
Way 2. Add NVMe Driver to Windows 7 ISO
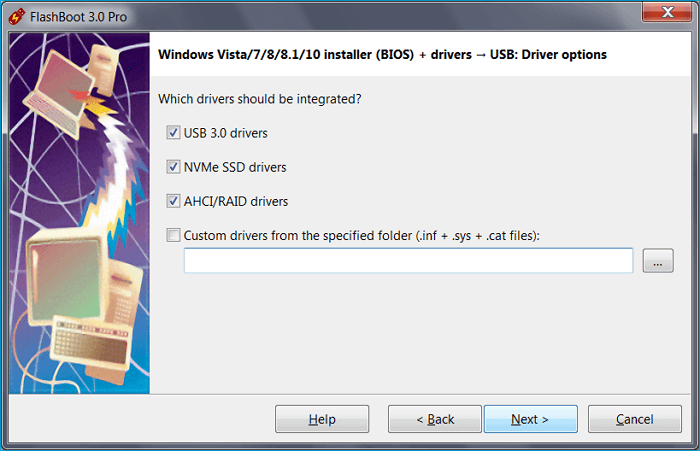
To add NVMe driver in the Windows 7 installation ISO or to add NVMe driver to Windows 7 ISO is another option for installing the operating system on an NVMe SSD. This method is more complicated, but it lets you install Windows 7 on NVMe M.2 SSD if you don't want to go through our most recommended method - cloning. Here are the steps to follow:
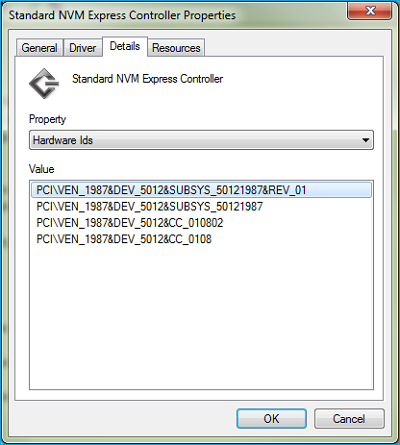
Step 1. Download the NVMe driver for your specific SSD model from the manufacturer's website.
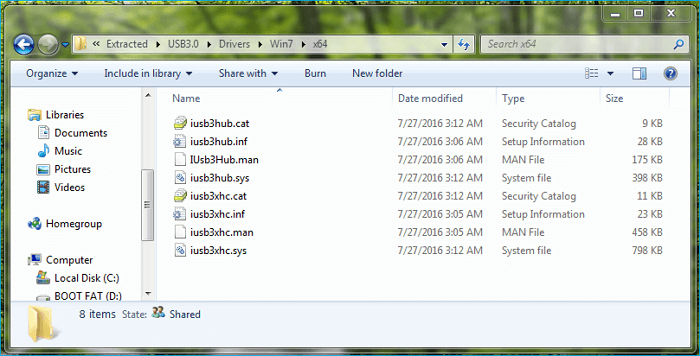
Step 2. Extract the driver files to a folder on your computer.
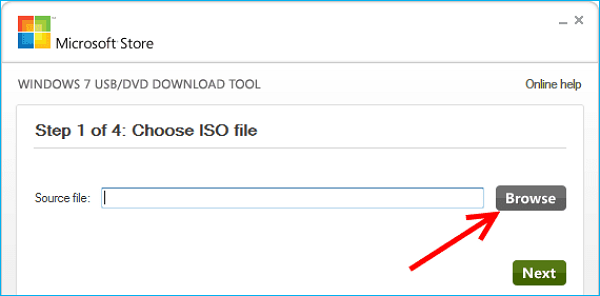
Step 3. Download the Windows 7 USB/DVD Download Tool and create a bootable USB drive with the Windows 7 installation ISO
Step 4. Mount the bootable USB drive, and copy the extracted NVMe driver files to the USB drive.
Step 5. Use the newly created bootable USB drive to install Windows 7 on the NVMe SSD; the NVMe driver will automatically be installed during the setup process.
Way 3. Manually Load NVMe Driver at Windows Setup
Some might find this method easier than the last or more complicated to install Windows 7 on SSD. But there are more steps to take. Here's how you can do it manually:
Step 1. Create a bootable USB drive with the Windows 7 installation files and connect your NVMe SSD as a secondary drive.
Step 2. Locate the driver and copy it to the USB bootable drive that you created.
Step 3. Restart your PC.
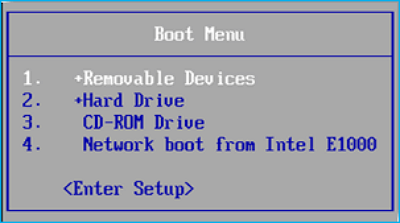
Step 4. Enter the BIOS or UEFI setup, look for the option to change the boot order, and set the USB drive as the first boot device.
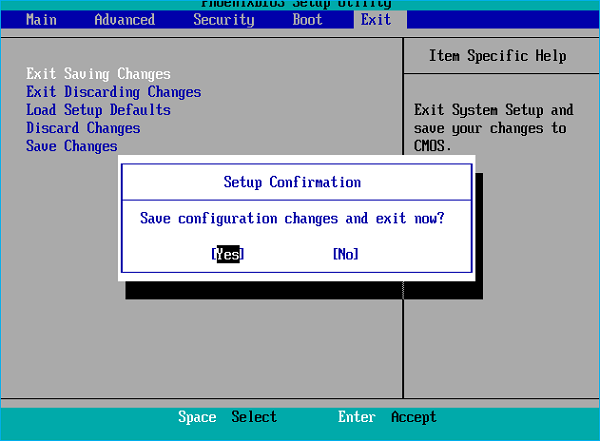
Step 5. Press the F10 key to save and exit, and Windows setup will begin.
Step 6. Prepare NVMe for installation by manually loading the driver.
Step 7. Point the installation to the driver location during the setup process.
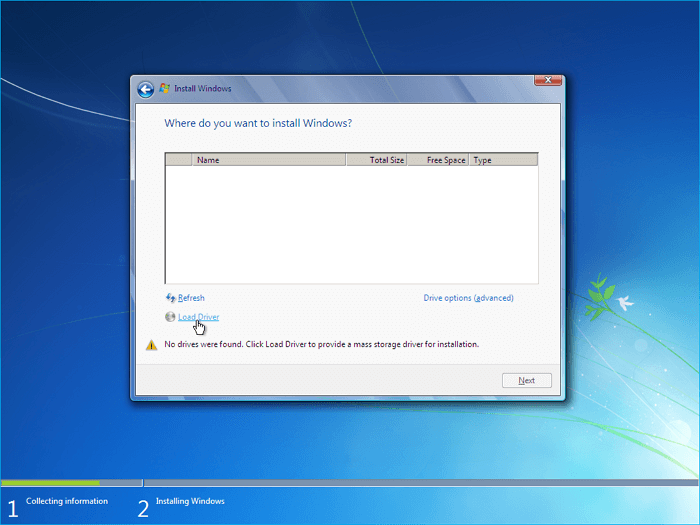
Step 8. Continue with the setup process, and you should be able to select NVMe SSD to install Windows 7
Post this article on your social media if you find it useful.
Final Words
That is all about how to install Windows 7 on NVMe SSD. Installing Windows 7 on an NVMe SSD can be done easily through the abovementioned 3 methods: cloning, adding an NVMe driver to the ISO, and manual loading. Each method has its steps, which in this guide have been well explained to help you successfully install Windows 7 on an NVMe SSD.
Among the three ways, using EaseUS Disk Copy may be the easiest and simplest one. Its user-friendly interface and relatively fast cloning speed can help you clone Windows 7 to an SSD easily and quickly. In addition, it can help you clone M.2 SSD with only one slot and clone Windows 10 to an external hard drive.
Windows 11/10/8/7
FAQs About Installing Windows 7 to NVMe SSD
1. Can I install Windows on an NVMe SSD?
Yes, Windows can be installed on an NVMe SSD. The process is a bit more complex than installing it on a traditional hard drive, but it can be done with the right tools and instructions.
2. Does Windows 7 support NVMe?
Yes, any version of Windows with support for UEFI will support booting from NVMe. This is true for Windows 7 through 11.
3. How do I know if Windows is installed on NVMe?
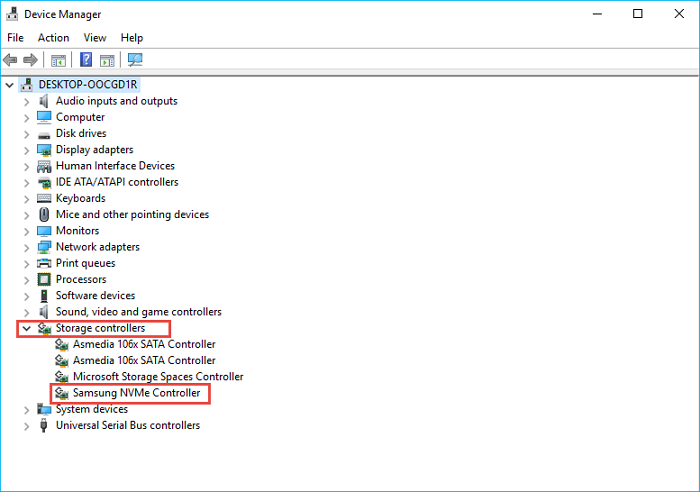
To confirm if Windows is installed on an NVMe SSD, you can check the BIOS or Disk Management to see the SSD type. You can also use the Windows key + X to open the Device Manager and look for the NVMe controller.
4. How can I use an old PC with NVMe?
To use an old PC with an NVMe SSD, you will need to install an NVMe driver, clone your Windows to it, or reinstall Windows on the NVMe SSD. This will let your old PC use the faster speeds and better performance NVMe technology offers.
-
Updated by
![]()
Jerry
"I hope my articles can help solve your technical problems. If you are interested in other articles, you can check the articles at the bottom of this page, and you can also check my Facebook to get additional help."…Read full bio