"My Nikon D5200 is using a 16GB SD card. This morning I got the error message saying [this memory card cannot be used, card may be damaged, insert another card]. I put the card in the card reader and connected to the computer, it didn't show up, either. Great, what am I supposed to do now?"
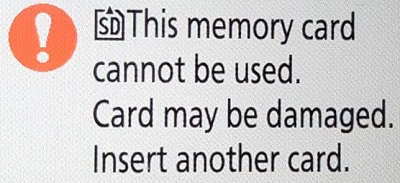
Why can't this memory card be used all of a sudden? Usually, when a memory card is no longer usable on a device like a digital camera, Android phone, or a game console, it's probably because it has been locked, corrupted, damaged, or broken.
How to Fix This Memory Card Cannot Be Used
If you got the error message on your Nikon camera, try the following methods first to try to solve the problem.
Method 1. Confirm the Card is Correctly Inserted
Take the SD card out of your camera and put it back again. Make sure the insert direction is corrected. You can hear a click sound with some cameras when the memory card is correctly inserted (usually SD cards).
Method 2. Ensure the Card is Approved
Check the approved memory card compatibility charts of Nikon, make sure Nikon approves the SD card you use.
Method 3. Check the Memory Card Contacts
Take the card out and gently clean the contacts using a soft dry cloth (not applicable to the CF-type cards). Make sure no dust is left on the contacts from the cloth. Re-insert the memory card.
Tried the above methods, but the problem still exists? Then the memory card probably gets corrupted/damaged. Under this condition, to fix a damaged SD card, you have two ways to try. Keep reading and check more details.
Repair Damaged/Corrupted Memory Card
Like Canon's 'card cannot be accessed' error, there are fixes available for Nikon this memory card cannot be used problems. Now you can troubleshoot the problem with two useful solutions.
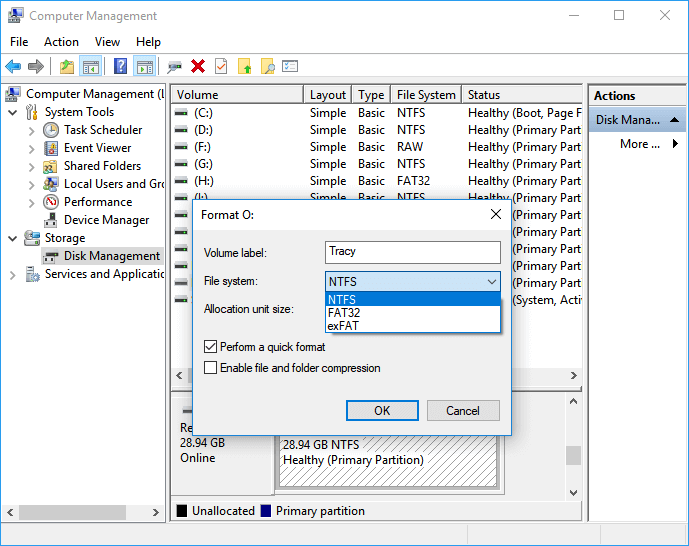
Fix 1. Format a damaged SD card
- On your PC, right-click "My Computer" or "This PC" (Windows 10) > Manage > Disk Management.
- Right-click the SD card and select Format.
- Choose a file system like NTFS, FAT, FAT32, and perform a quick format.
Fix 2. Repair a damaged SD card using cmd
- Press Windows + X hotkeys, click "Command Prompt (Admin)".
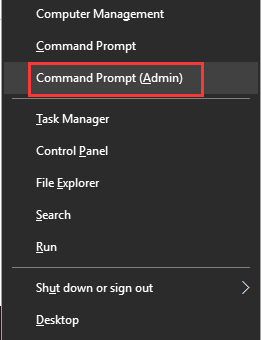
- Enter the command: chkdsk [sd card drive letter]: /r, and hit enter. For example:
Fix Device with CHKDSK Alternative
Download EaseUS CleanGenius and install it on your computer. Let's start checking and refixing file system error on your device now.
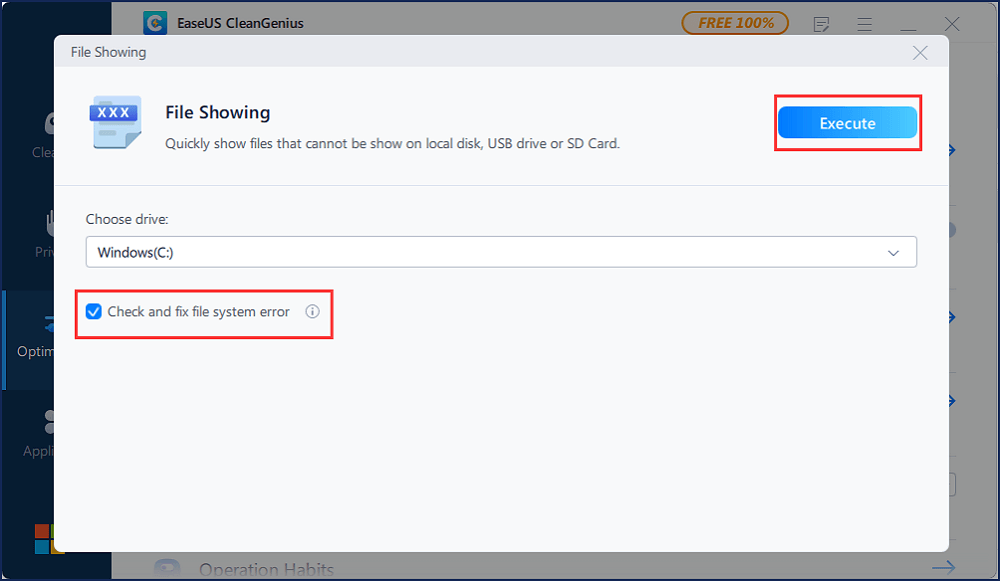
Step 1. Click "File Showing" to enter the next step.
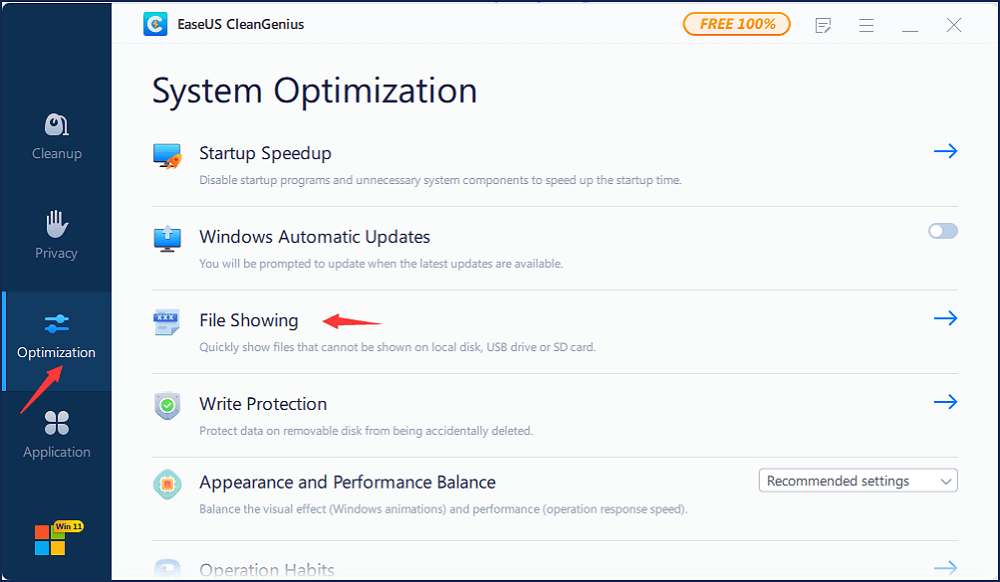
Step 2. Choose the target device and tick the box of "Check and fix file system error". Click "Execute" to start fixing the problematic device.
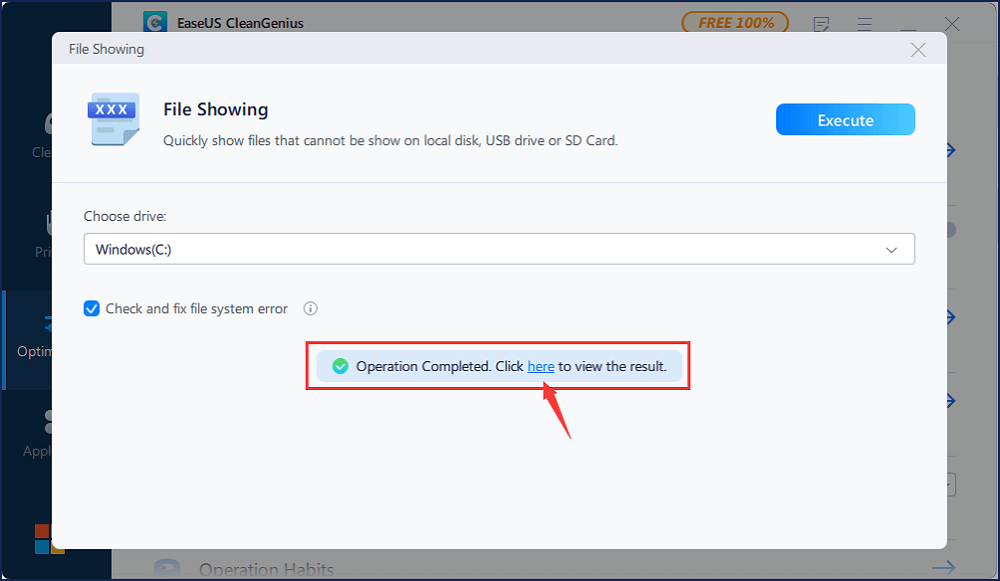
Step 3. When the fixing process completes, click "here" to open and use your device.
Recover Memory Card Data after Formatting
After you have formatted the memory card, all the pictures on it will be erased. If there is no overwriting, you can still recover the lost files with a professional data recovery tool. Here we recommend EaseUS Data Recovery Wizard.
Let's check some fantastic features of this tool first:
- Recover lost or deleted files after formatting, partition loss, OS crash, virus attack, etc.
- Provides both quick scan and deep scan to cover all your recovery needs.
- Enables users to preview lost files before recovery.
- Supports to repair damaged or corrupt JPEG/JPG photos during the recovering process.
- Tip
- If the micro SD memory card is not showing up on your computer, you can go to Windows Disk Management to assign a drive letter to the card. Then it will appear.
Was This Page Helpful?
Cedric Grantham is a senior editor and data recovery specialist of EaseUS. He mainly writes articles and how-to tips about data recovery on PC and Mac. He has handled 10,000+ data recovery cases and is good at data recovery of NTFS, FAT (FAT32 and ExFAT) file systems, and RAID structure reorganization.
Jean is recognized as one of the most professional writers in EaseUS. She has kept improving her writing skills over the past 10 years and helped millions of her readers solve their tech problems on PC, Mac, and iOS devices.
Related Articles
-
How to Reset Windows 7 Password Using CMD - 2025 Tutorial
![author icon]() Cici/2026-04-15
Cici/2026-04-15 -
Time Machine Not Working on Mac: Possible Causes and Proven Solutions
![author icon]() Brithny/2026-06-17
Brithny/2026-06-17 -
Dragon's Dogma 2: How to Locate and Backup Game Save Files🔥
![author icon]() Larissa/2025-07-04
Larissa/2025-07-04 -
How to Reset PS5 Without Losing Data [2 Tested Methods]
![author icon]() Dany/2025-12-12
Dany/2025-12-12
EaseUS Data Recovery Services
EaseUS data recovery experts have uneaqualed expertise to repair disks/systems and salvage data from all devices like RAID, HDD, SSD, USB, etc.