If you get the error message that says, "The recovery server could not be contacted" on your MacBook, don't worry. This article will explain the meaning, possible causes, and solutions to fix the error "the recovery server could not be contacted" with practical methods.
| Workable Solutions | Step-by-step Troubleshooting |
|---|---|
| Fix 1. Check Mac Internet Connection | Check your network's status to ensure that the network is workable and stable...Full steps |
| Fix 2. Check Apple Server's Status | Go to Apple's System Status website to check the System Status of the Apple Server...Full steps |
| Fix 3. Synchronize Date and Time | Go to the Apple menu, and select System Settings or Preferences on earlier versions...Full steps |
| Fix 4. Erase Mac | Boot Mac into Recovery Mode, choose Disk Utility, and click Continue. Click View...Full steps |
| Other Practical Fixes | Install from App Store, use Terminal command, and create USB bootable installer...Full steps |
The recovery server could not be contacted problem may occur when you are updating or installing macOS on your MacBook Pro/Air.
What does this mean? I''m trying to reinstall macOS High Sierra! Can't get past this error message "The recovery server could not be contacted". from Apple Community
From what I've heard so far, this problem has occurred on several macOS versions, including macOS Ventura, Monterey, Big Sur, and earlier. Since this problem is still occurring, we assume that it may also be encountered in the latest release of macOS Sonoma.
What Does the Recovery Server Could Not Be Contacted Mean
If your Mac says, "The recovery server could not be contacted", which means your Mac failed to connect to the Apple server. This message may happen in the following situations:
- Update, install, or reinstall macOS
- Start Mac in Recovery Mode
- Use Internet Recovery Mac
Why does it happen? The above actions all require contacting the Apple recovery server to download or update macOS on the Mac Recovery partition, so you will see the system prompt "The recovery server could not be contacted" when your Mac can't contact the Apple server.
How to Fix the Recovery Server Could Not Be Contacted
To fix the issue, we provide a video here, and you can refer to the video to fix the recovery server could not be contacted on your Mac.
- 00:15 - Make sure WiFi is on
- 00:41 - Check Date & Time
- 00:52 - How to update the date on your Mac
Once the error happens, don't worry, we provide 8 practical fixes to solve this problem; read on to find the suitable one for you!
🌐Fix 1. Check Mac Internet Connection
This is the easiest way to fix the recovery server could not be contacted issue, as the problem is sometimes caused by a faulty network connection that prevents the Mac from connecting to Apple serve. So you need to check your network's status to ensure that the network is workable and stable.
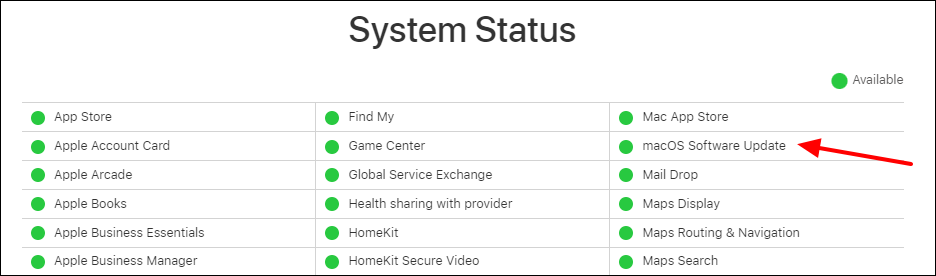
😊Fix 2. Check Apple Server's Status
Sometimes this error is not your problem but a temporary outage of Apple's system, which you can check on Apple's System Status website.
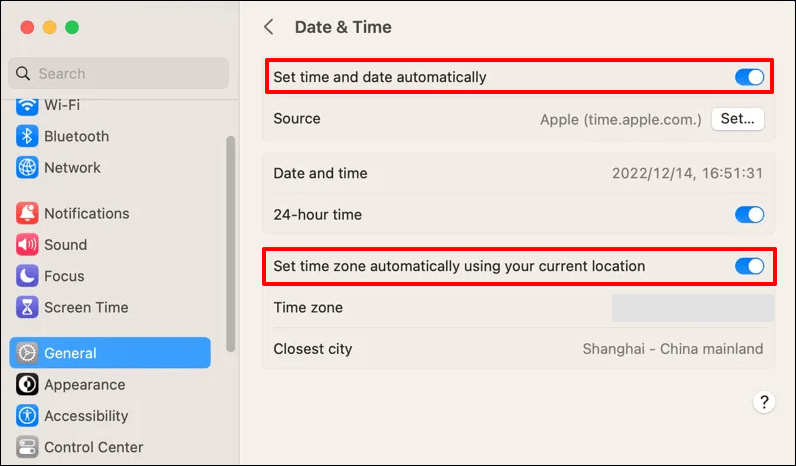
⏱️Fix 3. Synchronize Date and Time
Contacting the Apple server requires data and time synchronization. For example, the macOS Sonoma installation failed, and the system will tell you the error "The recovery server could not be contacted". In this case, follow the steps below:
Step 1. Go to the Apple menu, and select "System Settings" or "System Preferences" on macOS Monterey or earlier.
Step 2. Click "General > Date & Time".
Step 3. Turn on the option "Set date and time automatically" and "Set time zone automatically using your current location".
💾Fix 4. Erase Mac
Erasing all content settings Mac startup disk and clean installing macOS can fix the error "The recovery serve could not be contacted". It's worth noting that this will delete all data on your Mac. So make sure to back up your essential data before erasing your Mac.
Follow the steps below:
Step 1. Boot Mac into Disk Utility.
Step 2. Click "View > Show All Devices".
Step 3. Select the first disk, which is named similar to Apple SSD, and click "Erase" to continue.
Step 4. Refer to the instruction: give a name, choose a format (APFS vs. Mac OS Extended), and set the scheme to GUID Partition Map.
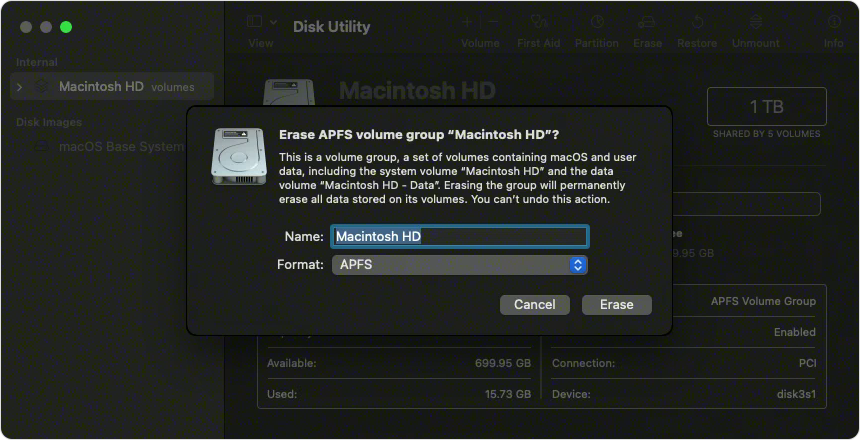
Step 5. Click "Erase" again and wait for the process to end. Quit "Disk Utility" and reinstall macOS.
You can restore from Time Machine backup after erasing your Mac and fixing the Recovery serve uncontacted error.
If, unfortunately, you don't have a backup or the backup is lost, you can choose an effective and trusted data recovery tool to retrieve your data. EaseUS Data Recovery Wizard for Mac is professional at data recovery; no matter what data loss scenario, it can recover lost or deleted data with a few clicks.
It can recover permanently deleted files Mac. With the EaseUS Mac recovery software, you can recover lost data after erasing the disk in a few clicks:
Step 1. Scan for lost data on the fusion drive
Select the Fusion Drive partition where you lost data and files. Click the "Search for lost files" button. If you don't know which partition is the fusion drive, click the "search from your disk" anchor text to check the partition name.

Step 2. Find lost files after the scan
EaseUS Data Recovery Wizard for Mac will immediately scan your Fusion disk partition and display the scanning results. You can filter the files through the file type and path.

Step 3. Recover files on the fusion drive
In the scan results, select the file(s) to preview. Then, click the "Recover" button to get them back.

Share this article on social media to help others learn how to fix the error "The recovery serve could not be contacted" on Mac.
🍏Fix 5. Install from App Store
When the error message "The recovery serve could not be contacted" occurs when you are updating macOS, you can install it from App Store. It's worth noting that the first failed installation may leave a residual installer, which you'll need to remove before going to the App Store to install the latest macOS version.
Step 1. Find the installer in the Applications folder if you downloaded it. If not, go to step 3.
Step 2. Right-click the downloaded installer, and choose "Move to Trash". Or you can press the moving to Trash shortcut "Command + Delete".

Step 3. Go to App Store, and install the macOS version.
Apple released the latest version of macOS, macOS Sonoma, at WWDC 2023. If you can't install macOS Sonoma, read the following article to solve the problem.
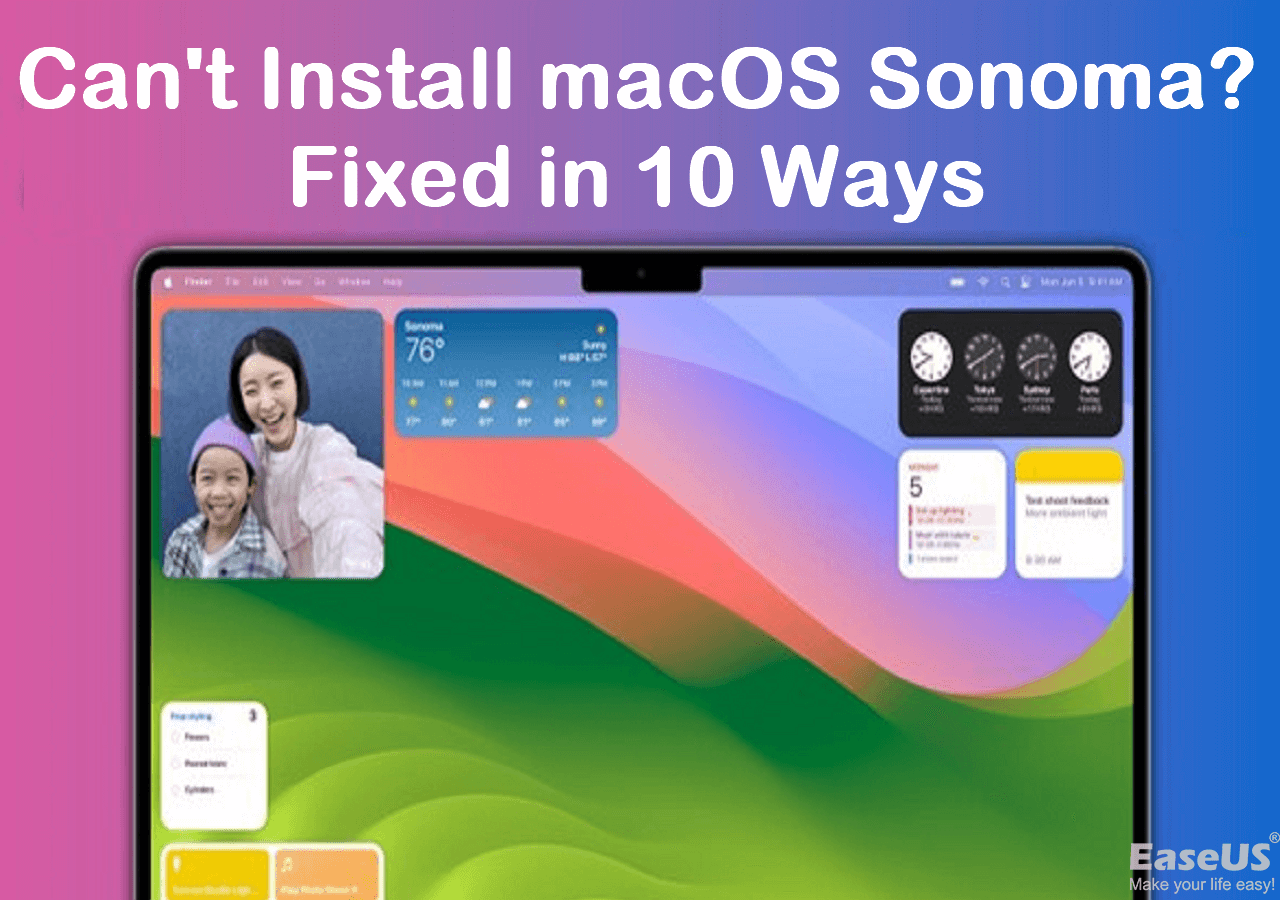
Can't Install macOS Sonoma? Fixed in 10 Proven Ways (2023)
This article discusses possible causes and solutions to fix the can't install macOS Sonoma issue. Read more >>
⚠️Fix 6. Use Terminal Command
This method may not work for everyone, but if you're familiar with Terminal, it's very easy to understand. Check out the steps here:
Step 1. Open Terminal in the Utilities folder.
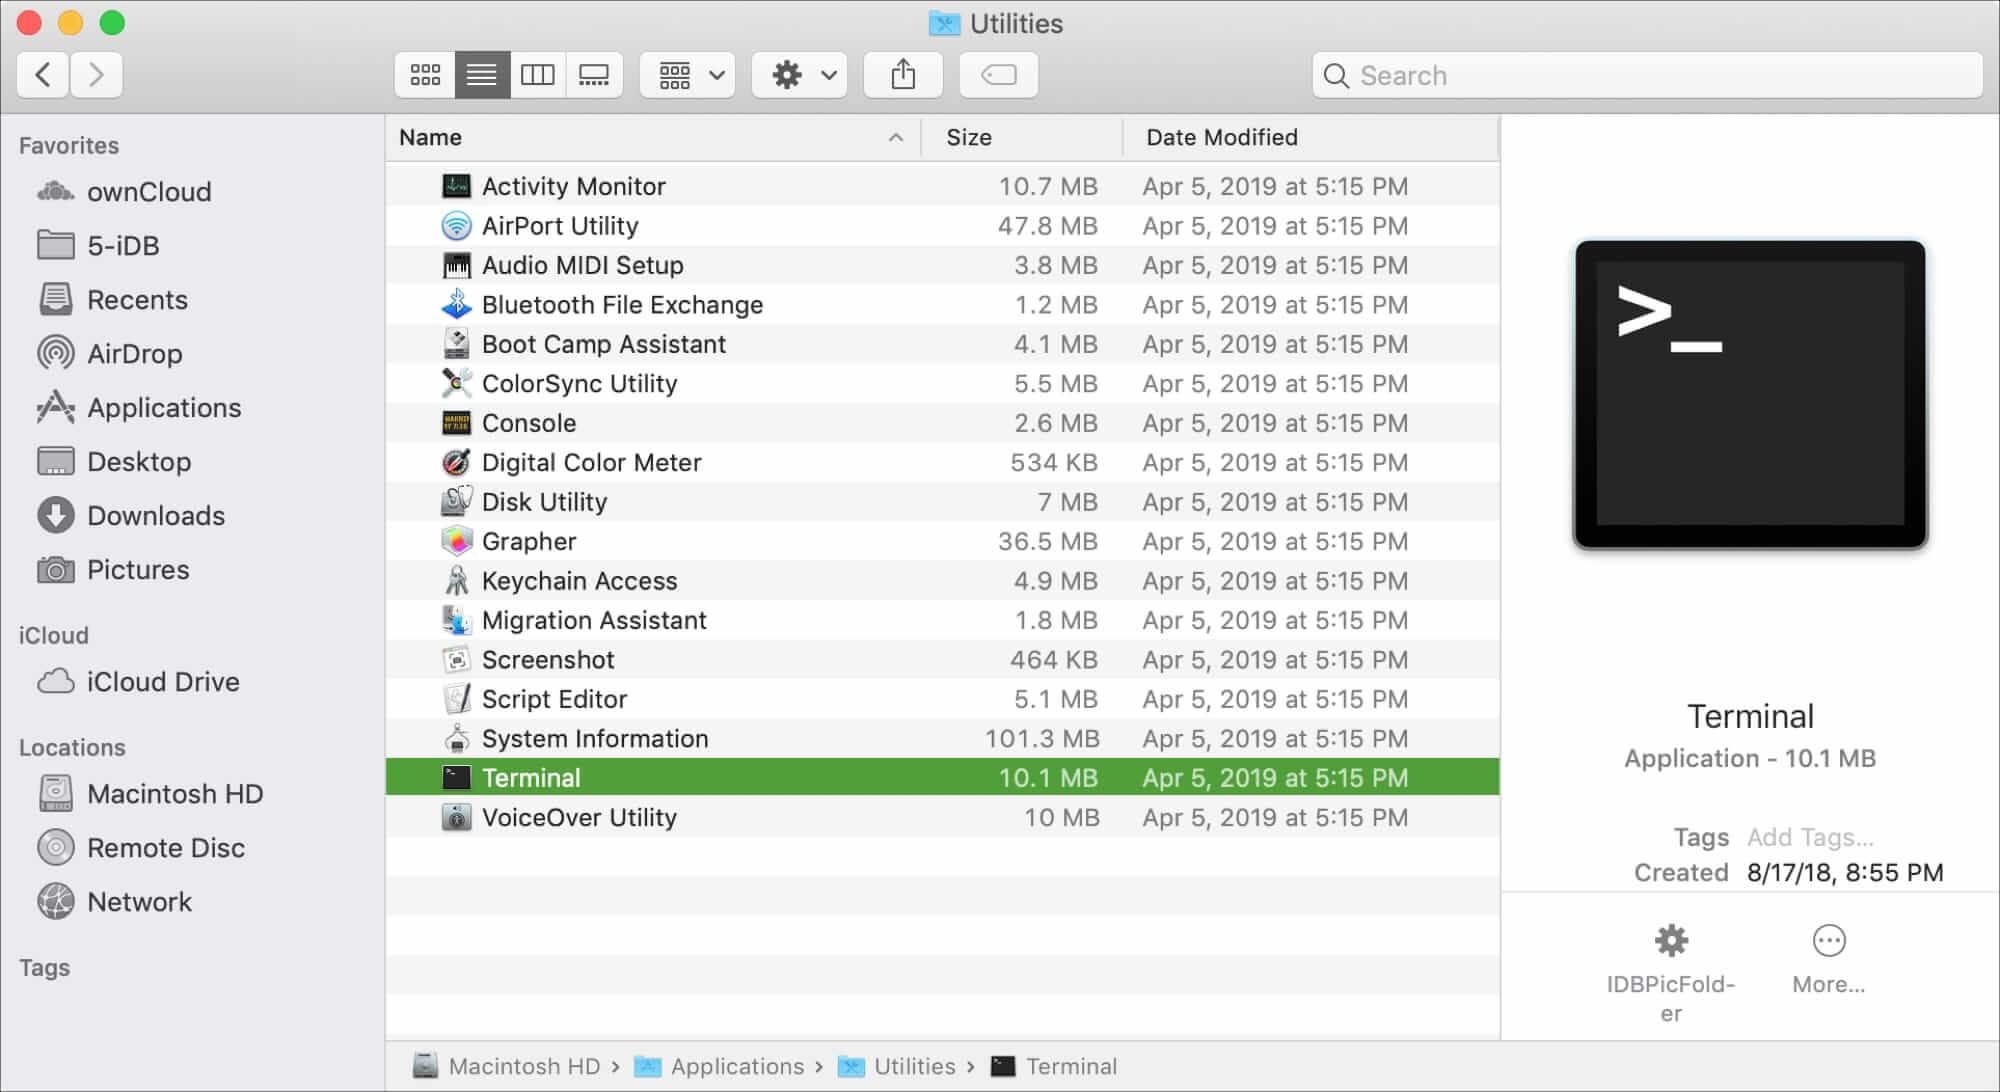
Step 2. Type the command softwareupdate -l, and hit "Enter".
Step 3. Run the command softwareupdate --install 'label'. Replace 'label' with a specific update. For instance, softwareupdate --install 'macOS Sonoma'.
🧩Fix 7. Create USB Bootable Installer
Before creating a USB bootable installer, you should format USB flash drive to FAT32 on Mac, or other file system formats. And then follow the steps below:
Step 1. Download the macOS version resource for the bootable USB drive.
Step 2. Create a bootable USB installer.
Step 3. Install the macOS version with a USB bootable installer.
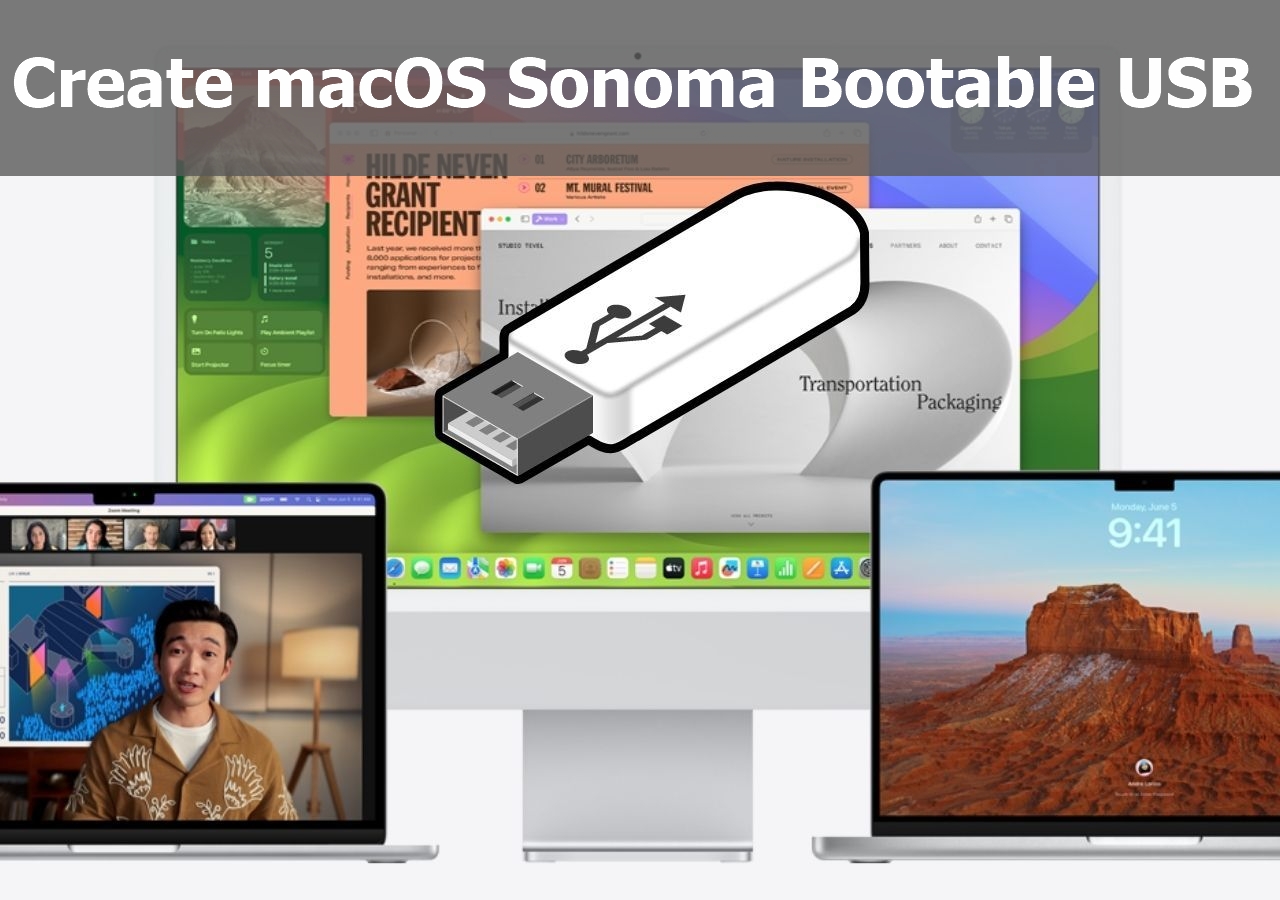
Create macOS Sonoma Bootable USB Installer [Create macOS 14 Installer]
This article discusses how to create macOS Sonoma bootable USB installer with step-by-step tutorials. Read more >>
💻Fix 8. Install in Internet Recovery [Intel-based Mac Only]
If your Mac is an Intel-based Mac, you can install the lasted macOS version that is compatible with your Mac. Check out the steps:
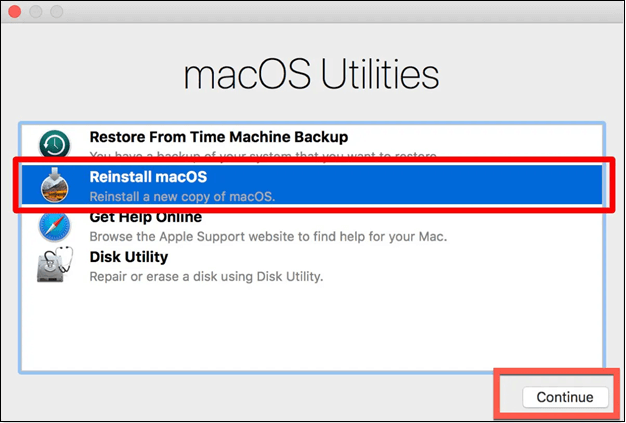
Step 1. Close your Mac, press the power button, and hold "Option + Command + R" immediately.
Step 2. Release the keys once you see the logo.
Step 3. Click "Reinstall macOS" and follow the instruction on the screen. Ensure your network is workable and stable.
Conclusion
The recovery server could not be contacted error occurs on Mac when your Mac can't contact the Apple server. In this case, you should check the internet connection and the Apple server status first and ensure the time and date are the same as the Apple server.
If the error still happens, try the effective methods and find the suitable one to solve it. Pay attention to protect your data in the process. If, unfortunately, your data is lost or deleted by mistake, EaseUS Data Recovery Wizard for Mac can recover lost and deleted data quickly.
The Recovery Server Could Not Be Contacted FAQs
Here are questions people frequently ask when they search for the recovery server could not be contacted on Mac:
1. Why can my Mac recovery server not be contacted?
Many causes can lead to the error "The recovery server could not be contacted" on Mac, including an unconnected or unstable network, Apple Server out of service, time not aligned, etc.
2. What to do when the recovery server cannot be contacted?
Solve the recovery server cannot be contacted error using 8 practical methods:
- Fix 1. Check Mac internet connection
- Fix 2. Check the Apple server's status
- Fix 3. Synchronize the date and time
- Fix 4. Erase Mac
- Fix 5. Install from App Store
- Fix 6. Use Terminal command
- Fix 7. Create a USB bootable installer
- Fix 8. Install in Internet Recovery [Intel-based Mac only]
3. How do I reinstall the macOS Mojave recovery server could not be contacted?
Follow the steps below to reinstall macOS Mojave when the error occurs:
Step 1. Find the installer in the Applications folder if you downloaded it. If not, go to step 3.
Step 2. Right-click the downloaded installer, and choose "Move to Trash". Or you can press the moving to Trash shortcut "Command + Delete".
Step 3. Go to App Store, and install the macOS version.
Was This Page Helpful?
Brithny is a technology enthusiast, aiming to make readers' tech lives easy and enjoyable. She loves exploring new technologies and writing technical how-to tips. In her spare time, she loves sharing things about her game experience on Facebook or Twitter.
Related Articles
-
[5 Ways] How to Change Product Key in Windows 11/10
![author icon]() Daisy/2025-07-04
Daisy/2025-07-04 -
Valorant Not Opening Windows 11 [SOLVED]
![author icon]() Dany/2026-02-12
Dany/2026-02-12 -
(All Methods to Fix) Computer Keeps Booting to BIOS
![author icon]() Jerry/2026-06-30
Jerry/2026-06-30 -
5 Solutions on Samsung 990 Pro SSD Health Drops Issue
![author icon]() Cici/2026-06-30
Cici/2026-06-30
EaseUS Data Recovery Services
EaseUS data recovery experts have uneaqualed expertise to repair disks/systems and salvage data from all devices like RAID, HDD, SSD, USB, etc.