
Erase All Data on iPhone 7/8/X/XS/XS Max/11/12/13
Summary
If you're experiencing issues with your iPhone, like if it's freezing or glitching, erasing all data or resetting the device to its factory settings may solve the problem. Here we will offer you three easy ways to erase all data on your iPhone.
3 Ways to Erase All Data on iPhone 7/8/X/XS/XS Max/11/12
Apple's iPhones have become one of the most popular modern technology products. Unmatched cameras, stellar UI, and astounding visuals are some of the common traits associated with these phones. But, sometimes, an abundance of data can slow them down too.

Reduced performance because of low storage is a common issue that a lot of iPhone users face - especially the one with limited storage. So, if you're looking to understand how to erase all data on an iPhone, then follow along. If you have one of these phones: iPhone 7/8/X/XS/XS Max/11/12, you might be looking for a safe way to remove data. As mentioned before, low storage can cause a cascade of issues, such as slowed-down performance.
On top of that, Apple is known to roll out updates that make phones slower because of their bulky nature. But, by erasing or factory-resetting an iPhone, users can gain their performance and keep the updated iOS version. Today, we'll be exploring how to erase all data on iPhone devices safely and securely. So, let's get started and explore the prerequisites and the three main ways of erasing data on your iPhone.
Tips: Backup iPhone to iCloud
Before you start wiping your data from your phone, it's imperative that you back up first. Without a backup, you won't be able to recover messages or log-in details. That's why you'll be backing up your data first, and this is how to do it:
Step 1. Tap on the "Settings" icon on your home screen
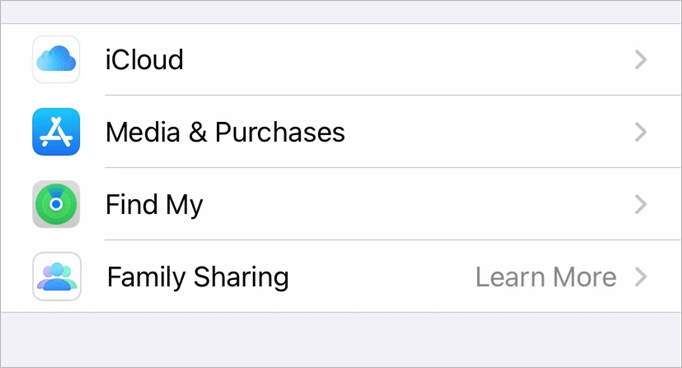
Step 2. Tap your Apple ID on top of all options
Step 3. Navigate down, find and tap "iCloud"
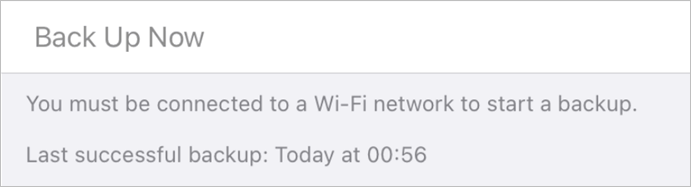
Step 4. Scroll all the way down and tap Back Up Now
This will ensure that your data is safe and secure and that you can proceed to erase your phone properly. But, before you do, you also need to log out of your Apple account so you're not stuck on Apple ID requirements upon reentering. Here's how:
Step 1. Open the "Settings app" again
Step 2. Tap on your name at the top of the options
Step 3. Scroll all the way down
Step 4. Find and click "Sign Out"

This will secure your data and ready your iPhone for any data erasing.
The 3 Ways to Erase All Data on iPhone
There are three different ways to wipe data on your iPhone. Each one can be done, but one of them is easier but unsafe. Whereas one of them is not easier but safer. Now, without further ado, let's explore how to erase all data on iPhone devices:
Method 1. Erase All Content and Settings via iPhone (Not Safe)
The first way to do it is by using your iPhone's setting app. All you need to do is this:
Step 1. Go to the "Settings app".
Step 2. Scroll down and tap "General".

Step 3. Tap "Transfer" or Rest iPhone.

Step 4. Find "Erase All Content And Settings" at the bottom and tap it.

Step 5. Your phone will give a warning; tap "Continue" once you see Erase This iPhone.

This will erase all data on your iPhone, but it's not safe unless you have backed up your data beforehand and signed out of your Apple ID.
Method 2. Reset iPhone to Factory Settings with iTunes
The second method is to use iTunes to erase all data on your iPhone. In order to do this, you need to have iTunes installed on your PC or Mac. So, make sure you do that before you proceed with these steps:
Step 1. Open "iTunes" on your PC or Mac.
Step 2. Connect iPhone to your PC or Mac using the USB cable.
Step 3. Allow the PC to access iPhone by picking the "Trust This Computer" option.
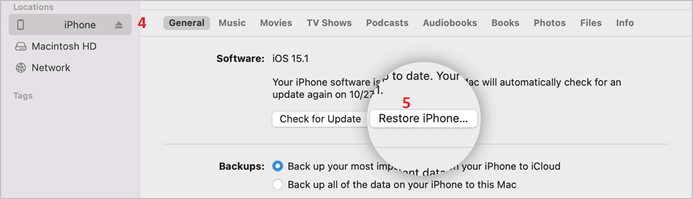
Step 4. Click on the "iPhone" icon on iTunes' sidebar.
Step 5. Click on "Restore" iPhone.
Step 6. Click on "Restore" once more when prompted to confirm erasure.
This will safely remove all of your data from your iPhone. It will also upgrade your iOS to the latest one available. You just have to ensure your computer isn't running any other apps while this operation finishes.
Method 3. Wipe Your iPhone Remotely via iCloud
You can remotely wipe your phone with the help of iCloud. Here's how to erase all data on iPhone devices using iCloud:
Step 1. Open a browser on your PC or Mac.
Step 2. Head to iCloud.com.
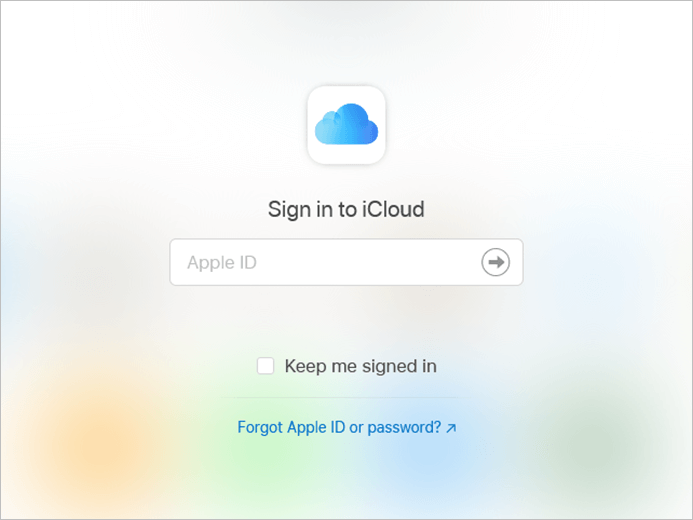
Step 3. Sign in to your Apple ID, and find then click on "Find iPhone"
Step 4. Click on "Your iPhone" > "Erase iPhone". Then, follow on-screen instructions
This will remotely remove all the data from your iPhone devices, including those you've lost. Therefore, this technique is ideal for those who have lost or got their iPhones stolen. However, it's not recommended for users who still have their iPhones with them.
Recover Lost Data on iPhone After Erasing
Now that you've erased your data, what happens if you lost important messages or files, such as:
- WhatsApp Messages
- Photos
- Videos
- Documents
- Kik Messages
- Facebook & Messenger messages
- Line messages and data

In this case, you can use EaseUS MobiSaver to save your files or recover them. This is a professional iPhone/iPad data recovery tool that allows you to recover all of the aforementioned possible data losses after a factory reset. The common causes in which you can use EaseUS MobiSaver to recover data are:
- Virus Attacks
- Accidental deletions
- Bad factory reset
- Water or physical damage to the device
Since the tool supports up to the latest iPhone 13, including its Pro and Max versions, you can easily recover your files from an older phone as well. That's why we recommend this tool to anyone who is looking to save their files after an awry factor reset or if they forgot to back up their data.
How to Recover Deleted/Erased Data on iPhone
To recover your files using this program, you will need the latest iTunes on your PC or Mac. Once done, you can download the program here. From there, follow the steps below to recover your lost data. Using these steps will help you recover your data seamlessly. All you need to do is ensure you have the latest iTunes and a working USB cable.
Step 1. Connect iPhone to Your PC
Launch EaseUS MobiSaver. Click "Recover from iOS device" on the left and click "Start".

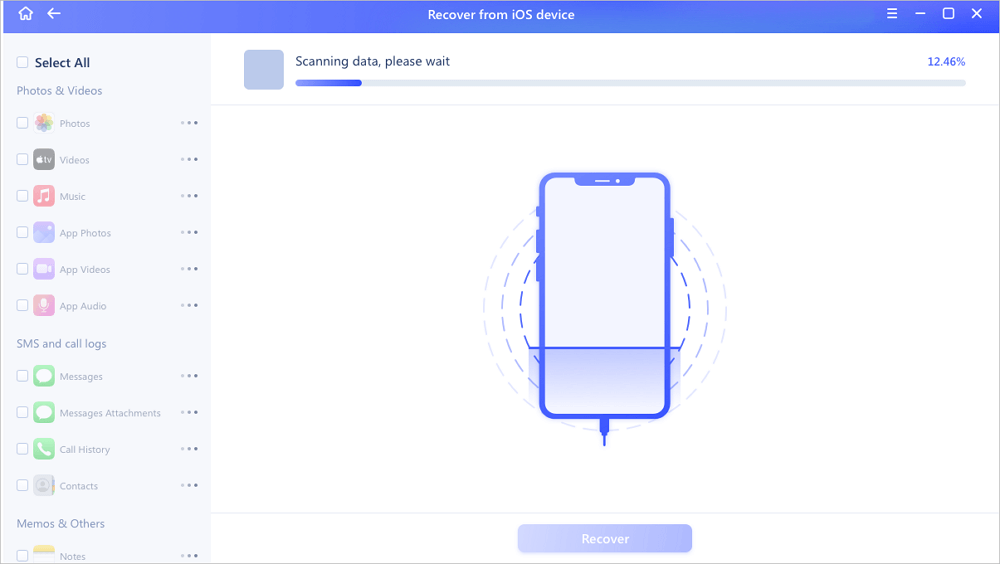
Step 2. Scan for Lost iPhone Data
EaseUS MobiSaver will automatically scan iPhone/iPad/iPod, and find present data and even some lost data for you. Just wait for the scan to complete.
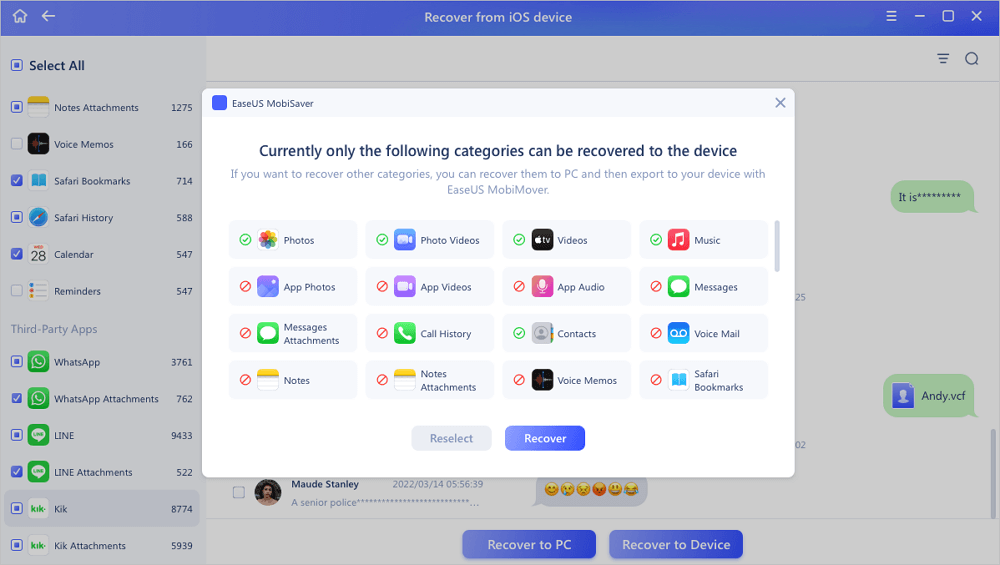
Step 3. Click the "Recover" Button
You can choose the lost data such as your photos, videos, contacts, SMS, notes, voice mails, and other files you want to recover and save those data to another location.
Summary
Before you set out to reset your iPhone, make sure you back up your data. Furthermore, you need to remove your Apple ID to avoid any problems upon setting up your iPhone again. If you follow the steps carefully, then you should be golden. But, in case something does go awry, then you can rely on EaseUS MobiSaver to recover your data. So, once again, follow the steps above, and don't forget to back up.
Erase All Data FAQs
If all these steps generated questions in your mind, then look for your answers below in these frequently asked questions:
Is erasing all content and settings the same as factory reset?
Yes, it is. It's Apple's way of saying Factory Reset, as it does erase all of your content and settings. Therefore, it resets your phone back to the factory settings and wipes all your data clean.
How to factory reset your iPhone?
Follow the three major steps mentioned throughout this article. Make sure you back up your data before proceeding and sign out from your Apple ID before you Erase All Content and Settings.
Was This Page Helpful?
Related Articles
-
LINE not Receiving/Sending Messages on iPhone/Android
![]() Brithny/2023-07-20
Brithny/2023-07-20 -
Where Do AirDrop Files (Including Photos) Go on iPhone/Mac [Solved]
![]() Brithny/2024-06-05
Brithny/2024-06-05 -
How to Restore Old & Deleted Voice Memos on iPhone
![]() Jean/2023-07-20
Jean/2023-07-20 -
3 Ways to Recover Lost Data on iPhone 7
![]() Tracy King/2023-10-10
Tracy King/2023-10-10