Windows could not complete the installation. To install Windows on this computer, restart the installation.
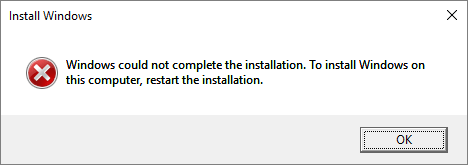
If you happen to receive the persistent "Windows could not complete the installation" error and system reboot loop over and over, you're probably trying to install Windows 7/Windows 10 x64 operating system, or perhaps the fresh Windows installation is interrupted before a user account is created. Nevertheless, take it easy, you're definitely not alone. On this page, we provided you with three simple solutions, all of which are tested with good results by real users.
Fix 1. Automatic Repair
If click OK does not help resume the system installation, let the Windows Automatic Repair work on this problem intelligently.
Step 1. Power on and off your computer three times.
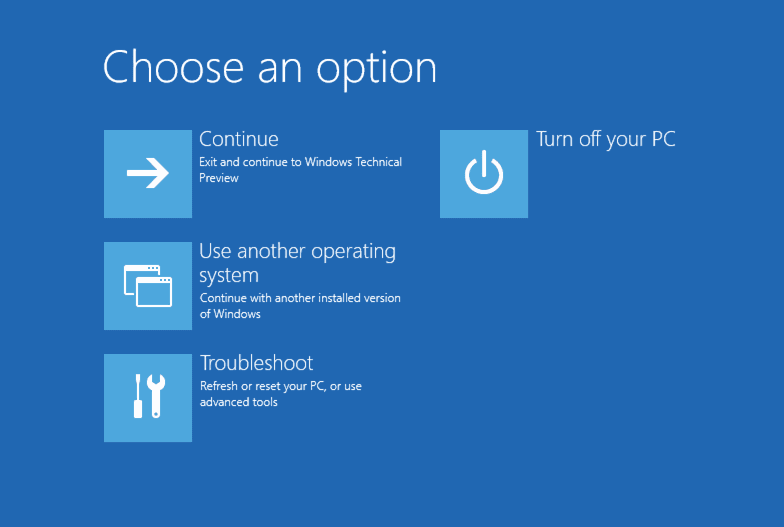
Step 2. On the third time, your computer will prompt "Preparing Automatic Repair" and boot into the "Advanced Recovery" environment.
Step 3. Click "Advanced Options".
Step 4. Click "Troubleshoot".
Step 5. Click "Reset this PC".
Step 6. Click "Keep my files" and then click "Cancel" because you don't need to reset your computer.
Step 7. Choose your account, enter your password and finally click Continue.
Step 8. Click Reset.
Over 60% of the victims resolved the "Windows could not complete the installation" issue perfectly by running the Automatic Repair and successfully finished the installation. Some were got stuck at another problem of Windows Automatic Repair loop, but this linking post finally helps them overcome the trouble in the middle of troubleshooting.
How to Fix Windows 11 Update Stuck at 100% | Full Guide
The Windows 11 update downloading process may get stuck at 100% when you upgrade to Windows 11. Luckily, in this guide, you will get efficient and quick solutions to fix the Windows 11 stuck at 100% error.
Fix 2. Shift + F10 Repair
As we've explained in the second paragraph, one of the causes of the incomplete Windows installation is from an interrupted Windows installation before a user account is created. So, you need to run the account creation wizard to make it all right.
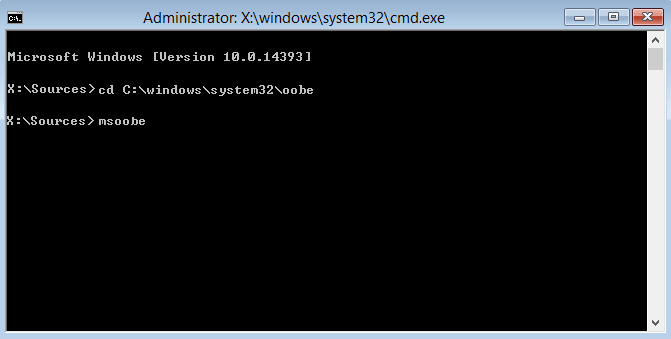
Step 1. On the error screen, press Shift + F10 to display the command prompt.
Step 2. Type the command "cd %windir%/system32/oobe/" (without quotes) and press Enter.
Step 3. Type "msoobe" next and press Enter.
Step 4. Set up an account and decent password there on the user account creation wizard that appears.
Step 5. Restart your computer.
Files would be very likely to lose after changing the user account, if there are files on the drive you want to recover, download EaseUS free data recovery software and try an instant recovery.

Fix 3. System Transfer
Things would be much easier if you have a system backup at hand. Try to restore the previous version of Windows which doesn't necessarily ask you for a troublesome fresh install. However, unfortunately, most people don't have one. In this regard, you got two ways to head on.
1. Go to a working computer, download official Windows 10 ISO files, create a bootable creation media and perform a clean install from the scratch.
2. Go to a working computer, create a system image and transfer the system image to your own computer which cannot currently complete the installation.
Now, we pick up an easier solution for you. Download EaseUS Todo Backup and transfer system to dissimilar hardware.
Secure Download
Step 1. Create an emergency disk on a healthy computer
To save your time and energy, we'd like to suggest you create an emergency disk to a USB or external hard drive rather on a healthy computer with EaseUS Todo Backup.
1. Connect an empty USB flash drive or external hard drive with over than 100GB space to your PC.
2. Run EaseUS Todo Backup and click "Tools > Create Emergency Disk".

3. Choose USB as the disk location to create the emergency disk which will help you boot computer when it fails to boot or restore the system to dissimilar new PC.
4. Click "Create".

Step 2. Create a Windows system image backup for restoring to dissimilar hardware
1. Run EaseUS Todo Backup on the healthy computer and click "OS" on the main page to back it up.
2. Choose the Windows OS and specify the USB flash drive which contains the emergency disk as the destination disk to save system image.
If you are worried about data loss issue by saving the system image to the emergency disk drive, you may also save system backup to another empty external hard drive with over 100GB free space.

This will help you create a full backup of the whole Windows system and all installed programs, applications on your C drive to the selected device.
3. Click "Backup Now" to start creating a system backup image to the target device.
Step 3. Boot the dissimilar hardware/computer from EaseUS Todo Backup emergency disk
1. Connect the USB flash drive or external hard drive with emergency disk and system backup image to the new computer.
2. Restart PC and press F2/F8 to boot into BIOS.
3. Change boot drive and set the computer to boot from the EaseUS Todo Backup emergency disk.
Then you'll enter EaseUS Todo Backup main interface.
Step 4. Transfer and recover the system to dissimilar hardware or new computer
1. On EaseUS Todo Backup main window, click "Tools" > "System Transfer".
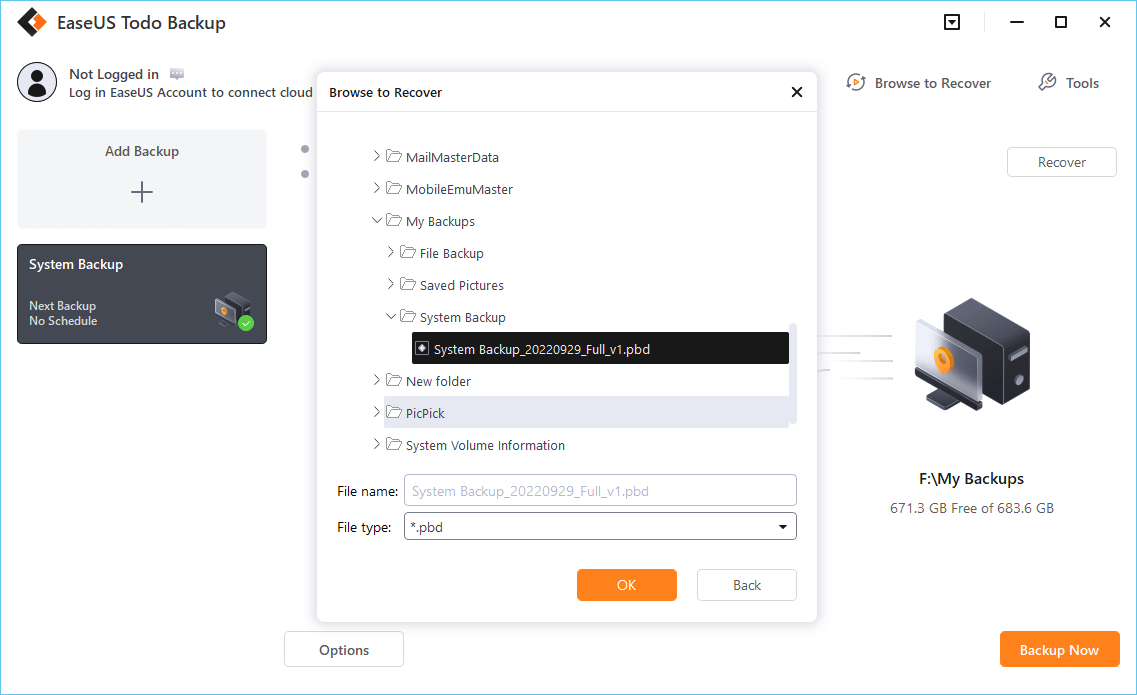
2. Select the system image on your drive and click "OK" to continue.
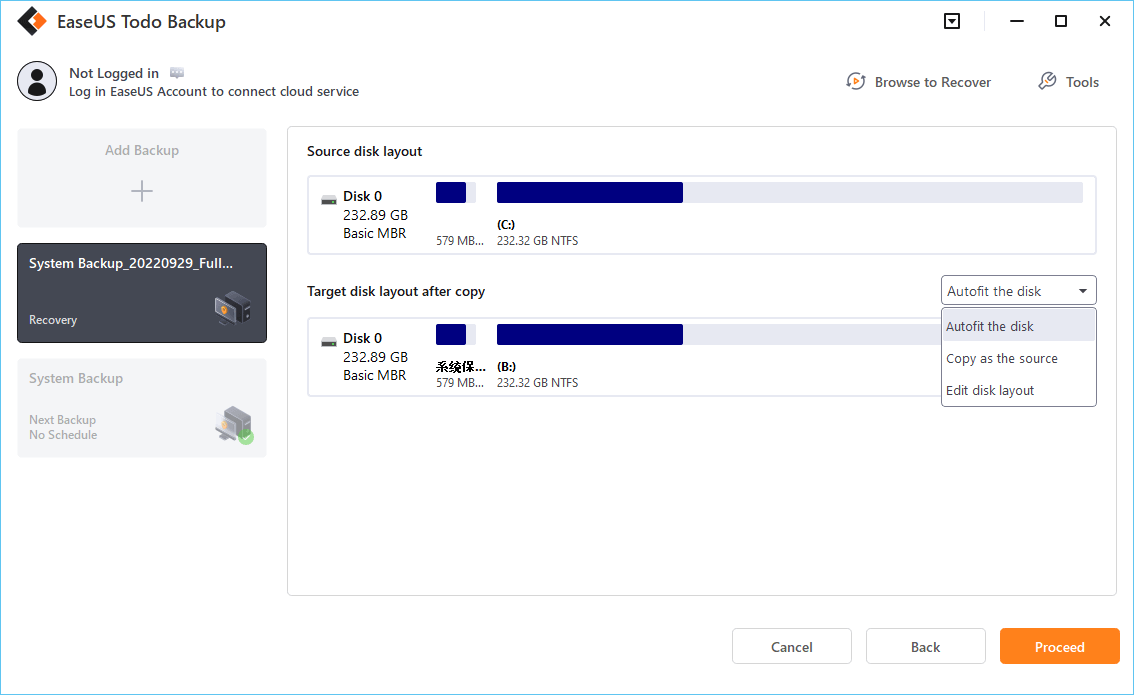
3. Then click "Proceed" to start transferring system and even some installed programs on system C: drive to the new hardware computer now.
Step 5. Restart PC with transferred system
1. Change boot sequence in BIOS to set the computer to boot up from the drive with the transferred system.
2. Save all changes and restart your computer.
3. Update all drive drivers and programs to ensure all things will work just fine on the new computer.
By system transfer, you will no longer receive the "Windows could not complete the installation. To install Windows on this computer, restart the installation." error message after restarting your computer. You need to use your own product key to activate Windows if asked.
Was This Page Helpful?
Cici is the junior editor of the writing team of EaseUS. She accepted the systematic training on computers at EaseUS for over one year. Now, she wrote a lot of professional articles to help people resolve the issues of hard drive corruption, computer boot errors, and disk partition problems.
Jean is recognized as one of the most professional writers in EaseUS. She has kept improving her writing skills over the past 10 years and helped millions of her readers solve their tech problems on PC, Mac, and iOS devices.
Related Articles
-
Why Is Xbox One Running Slow? 6 Effective Ways
![author icon]() Cici/2025-07-04
Cici/2025-07-04 -
[FIXED] Could Not Initialize Graphics System on Windows 10 Computer
![author icon]() Daisy/2026-06-22
Daisy/2026-06-22 -
Games Crashing After Installing New RAM | 6 Methods to Fix
![author icon]() Jerry/2025-07-04
Jerry/2025-07-04 -
Access Denied When Copying Files Windows 10/8/7
![author icon]() Brithny/2026-05-27
Brithny/2026-05-27
EaseUS Data Recovery Services
EaseUS data recovery experts have uneaqualed expertise to repair disks/systems and salvage data from all devices like RAID, HDD, SSD, USB, etc.