
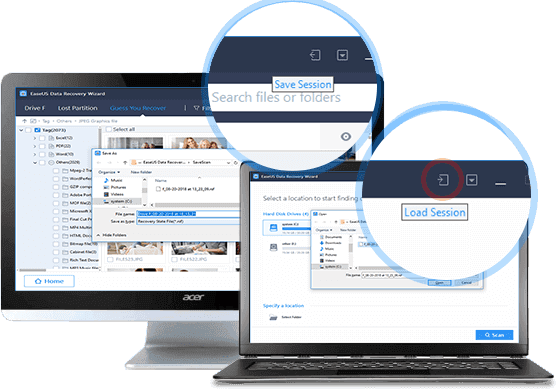
Export and Import Scanning Results
You can export the scan results by clicking Export Scan Status. You can later import these saved scan results, by clicking Import Scan Status, to continue the data recovery process right where you left off.
Data Recovery Wizard for Windows
Recover lost data from HDD, SSD, SD cards, USB drives on Windows PC.
Data Recovery Wizard For Mac
Recover lost files from Mac SSD, Time Machine backups, memory cards, Trash, and external storage devices.
MobiSaver
Recover Lost iPhone/Android Data – Photos, Messages, Contacts & More in 3 Clicks.
Partition Master
Windows partition manager: create, resize, clone partitions and upgrade HDDs/SSDs safely.
Disk Copy
Hard drive cloning software: one-click clone, sector copy, boot guaranteed.
Todo Backup
Windows Backup Freeware - One-click system, disk, and file backup with reliable recovery for peace of mind.
Todo PCTrans
PC data transfer software: transfer data, apps, user account and personal files to new PCs and disks.
Vocal Remover(Online) HOT
Remove vocals from songs and separate vocal and instrumental tracks from audio or video with AI.
Channel Partnerships
Affiliate Earn commissions when you drive sales through your affiliate links. Resellers Sell EaseUS products as a distributor. Creators & Influencers Partner with us on YouTube, TikTok, Twitch to earn commissions. OEM & Outsourcing Service Put your brand on EaseUS software, or get custom solutions.Self-Service
Manage your products, licenses, and subscriptions in one place. Find guides and resources for quick self-service.
Call Our Support Team
Speak directly to a specialist for urgent matters.
Premium Human Services
Human-led solutions for complex system & data emergencies.
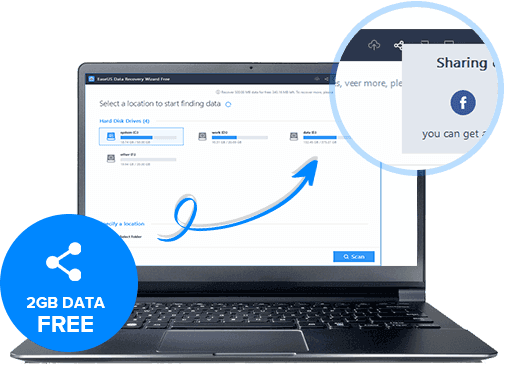
Launch EaseUS® Data Recovery Wizard®, please select a location where you lost data from and start to scan. You may specify a file location such as Desktop, Libraries, or Documents or you may select a hard drive, partition, or external storage device to scan.

The initial scan will be very quick. EaseUS® Data Recovery Wizard® will quickly scan and list all files in the selected location that were simply deleted or emptied from the Recycle Bin.
Then it will begin another scan automatically. It will find many more lost files by thoroughly searching the entire data area of your storage device instead of just scanning the file directory. It will, however, take a longer time to complete.
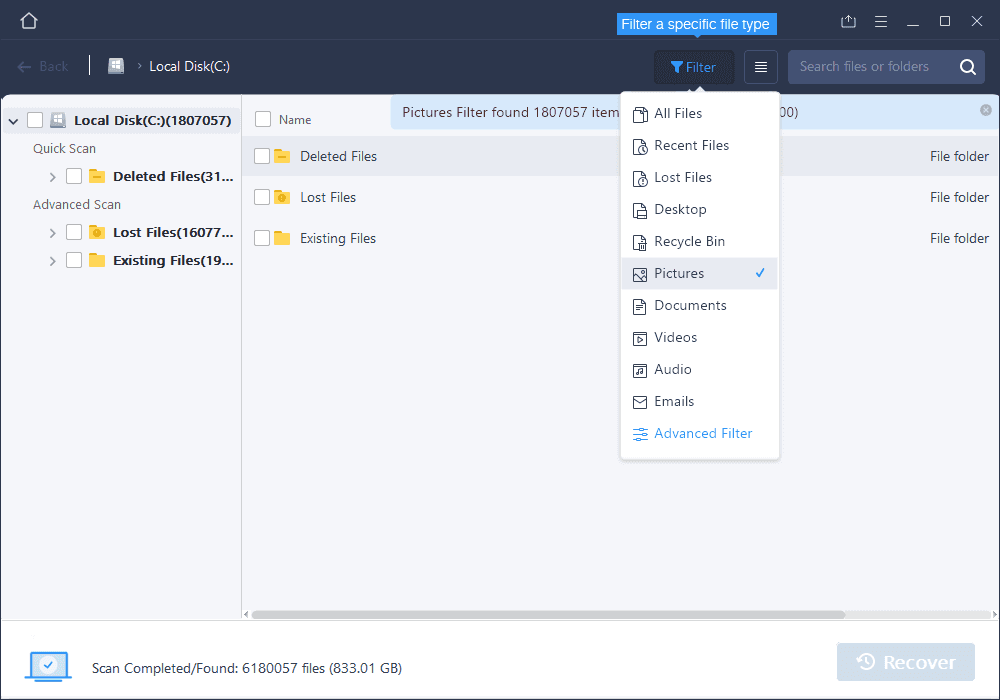
Try to use the filter, it will be much easier to find the data.
![]() Extra Files: The files found by RAW recovery. These files will no longer have their original names/directories and will instead be given an assigned name. So you will need to check these files manually to rename and organize them.
Extra Files: The files found by RAW recovery. These files will no longer have their original names/directories and will instead be given an assigned name. So you will need to check these files manually to rename and organize them.
![]() Tag: Although the found RAW files do not retain their original name/path, the product will extract other tag information to make them easier to identify. These tags include author of documents, artist of music, camera information of photos/videos, and so on. Photos, videos, music, PDF, and MS Office files will be included in this section.
Tag: Although the found RAW files do not retain their original name/path, the product will extract other tag information to make them easier to identify. These tags include author of documents, artist of music, camera information of photos/videos, and so on. Photos, videos, music, PDF, and MS Office files will be included in this section.
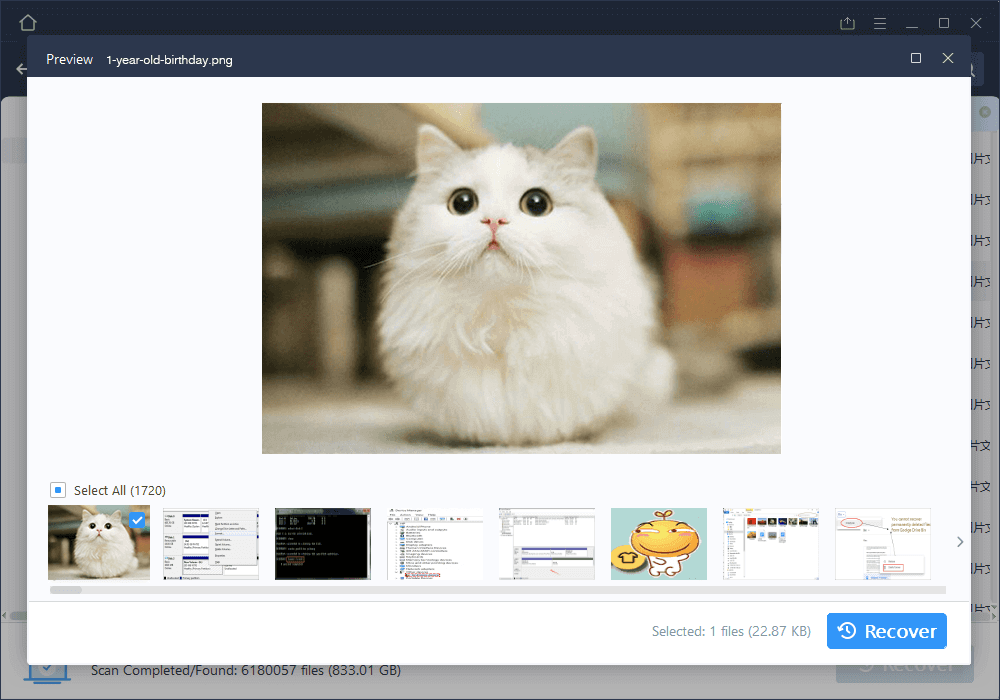
EaseUS® Data Recovery Wizard® allows you to preview all recoverable files following a scan. You may filter by file type or by location. After file filtering, previewing, and selecting all of the important files that you wish to recover, press the ‘Recover’ button to immediately get your data back.
(Please note: DO NOT save the files back onto the same hard drive partition or external device where you lost the data from)
END
Other Important Features
Export and Import Scanning Results
You can export the scan results by clicking Export Scan Status. You can later import these saved scan results, by clicking Import Scan Status, to continue the data recovery process right where you left off.
Copyright © EaseUS. All rights reserved.