Why Photos Keep Appearing on Your Mac Desktop
"is there any way to remove items from desktop without deleting them? i know this question was asked already, but that was 10 years ago and i hope there is a better answer now than "don't put THINGS on the desktop," which might be good advice but of no use for items already put on the desktop by people such as myself who thought they could be "parked" there for convenience, unaware that they cannot be removed later." – from Apple Community
You may find photos and screenshots always show up on your desktop, because "save screenshots on the desktop" is the default setting on macOS. When macOS tools work, they drop images right there without asking.
Files gather over time, even if you do not notice. Knowing why photos are appearing on the desktop helps make sense of the clutter before cleaning up your Mac desktop.
- Screenshots saved to the desktop. A fresh screenshot shows up on your desk each time you snap a shot using keys like Command + Shift +3 or Command + Shift + 4. If you snap too many screenshots, all the photos will pile up on the desktop without warning.
- Images downloaded from the internet. Certain web tools drop files right onto the Mac desktop when that spot is picked for saving.
- AirDrop photos saved to the desktop. When you try to transfer photos from an iPad, iPhone, or another Mac, they may save to the desktop by default.
- Files dragged accidentally in Finder. Sometimes users drag images from folders into the desktop area unintentionally while organizing files in Finder.
- iCloud Desktop sync. When iCloud sync is turned on, and it handles your Desktop and Documents, stuff from different storage devices might land there without asking. When you suddenly turn it off, you may encounter files that have suddenly disappeared from your Mac.
All these facts can cause photos to appear on the Mac desktop, and you can learn some solutions to clean up and organize image files on the desktop.
Method 1. Move Photos from Desktop to Another Folder (Best Way)
Clearing pictures from your Mac desktop safely starts by sliding them into a different folder. Files stay safe that way. Your desktop gets cleaner too. Instead of deleting images, you simply change their storage location.
Step 1. Open Finder on your Mac by clicking the Finder icon from Dock.
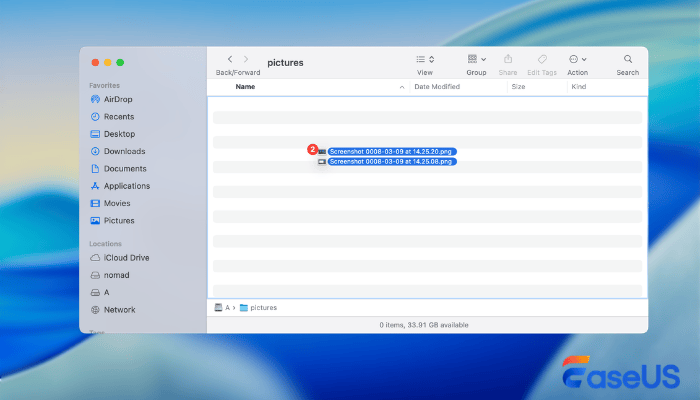
Step 2. Then, create a folder to specially store all the photos; you can name the folder yourself.
Step 3. Select the photos on your desktop and drag them into the newly created folder.
You can share this simple method on social media to help more readers organize desktop photos.

Method 2. Store Desktop Photos in the Pictures Folder
Is there an available folder for image organization on macOS? That's what the Pictures folder offers. Moving photos out of view keeps them safe, just off the desktop. This Pictures folder is workable for:
- downloaded images
- personal photos
- screenshots
- camera imports
Here's how to find the Pictures folder on a Mac:
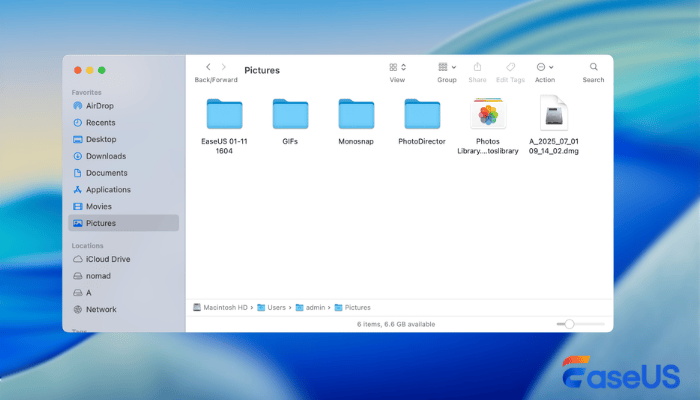
Step 1. Open Finder on your Mac, and check the sidebar.
Step 2. Click "Pictures" to open this folder.
Step 3. Create subfolders if necessary (for example: Screenshots, Downloads, Work Images).
Step 4. Drag photos from the desktop into the appropriate folder.
Method 3. Use Stacks to Clean Up Desktop Without Removing Files
Folders pile up fast when you like saving things right on the desktop. Yet a quiet fix hides inside macOS - it's named Stacks. Click once, watch clutter snap into neat piles.
Piles grow on their own, sorting pictures, papers, or snapshots without asking. Each cluster opens when you need it.
How to use this feature on macOS? Check the following steps to learn the details:
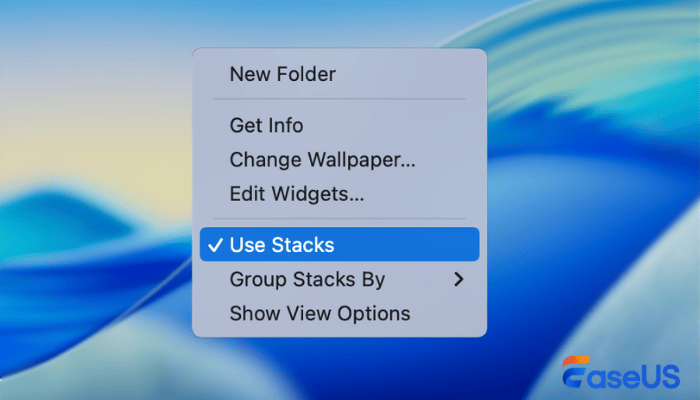
Step 1. Right-click anywhere on the desktop.
Step 2. Select "Use Stacks" from the menu. macOS will instantly group files by type.
Step 3. By using Stacks on the desktop. All image files will appear under an Images stack, screenshots may group together automatically, and documents & PDFs will be grouped separately.
Accidentally Deleted Desktop Photos? Recover Them Now
One wrong click while organizing your desktop might wipe out precious pictures from your Mac. Only once the Trash is emptied do people notice what's gone. Don't worry! If something goes wrong, those files might come back - thanks to professional Mac data recovery tools such as EaseUS Data Recovery Wizard for Mac, made for retrieving lost data.
This tool is designed to help users recover deleted photos on Mac from common scenarios such as:
- accidentally deleting desktop photos
- emptying the Trash on Mac
- formatting a storage drive
- system crashes or unexpected data loss
Follow these steps below to recover lost photos from the desktop on your Mac:
Step 1. Scan for lost photos
Select the location where your valuable photos were lost and click the "Search for lost files" button.

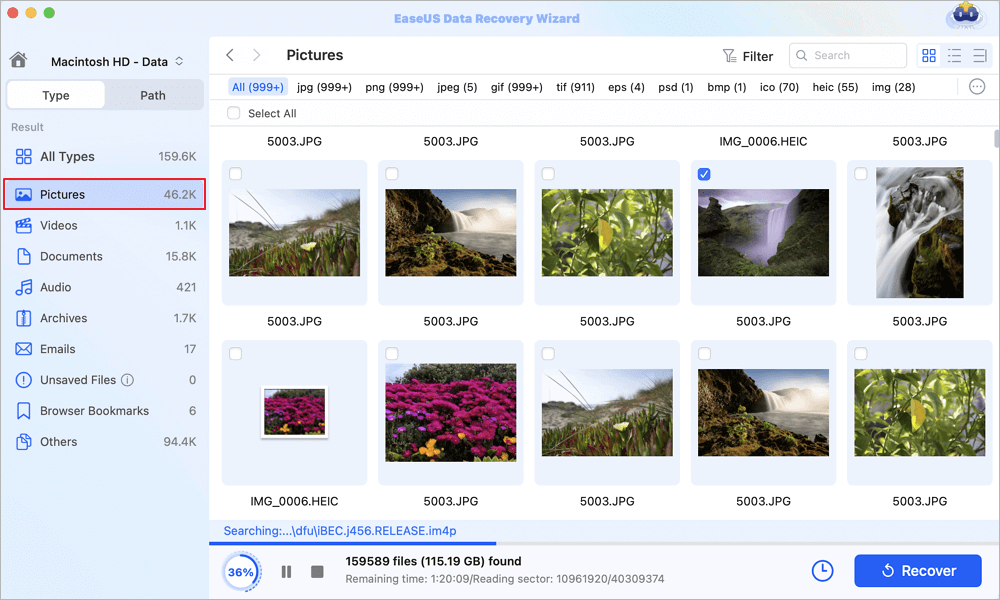
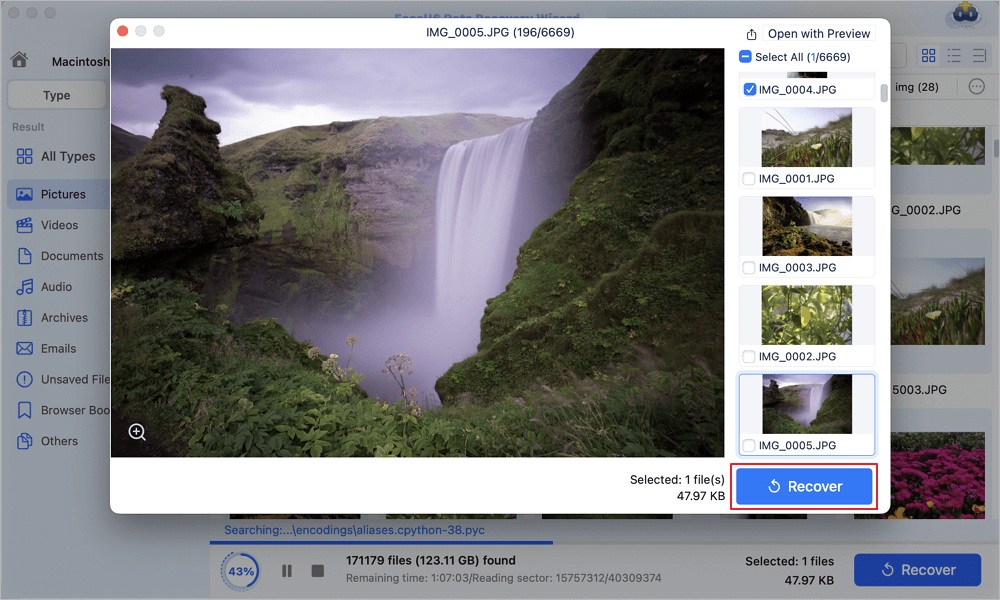
Step 2. Select wanted photos
EaseUS Data Recovery Wizard for Mac will immediately start a scan on your selected disk volume. Meanwhile, the scanning results will be presented in the left pane. By Path and Type, you can quickly filter the photos you've lost earlier.
Step 3. Recover lost photos
Select the target photos and click the "Recover" button to get them back at once.
Don't forget to share this photo recovery method on social media in case others have lost important photos during cleaning up.
Conclusion
A cluttered desktop can slow down your workflow and make it harder to locate important files. Fortunately, removing photos from your Mac desktop does not require deleting them.
You can easily keep your files safe by:
- moving photos to another folder
- organizing images in the Pictures folder
- using macOS Stacks to group files automatically
These simple strategies help maintain a clean and efficient workspace.
Remove Photos from Desktop Mac Not Deleting FAQs
Here are some frequently asked questions about this topic:
1. How to remove photos from Mac but not phone?
If you turn on iCloud sync on your Mac, when removing photos from may also delete photos on your iPhone. To avoid this, you can disable iCloud sync and delete just the local copy from your Mac.
2. Why do screenshots keep appearing on the Mac desktop?
Screenshots appear on the Mac desktop because macOS saves them there by default. When you press Command + Shift + 3 or Command + Shift + 4, the captured image is automatically stored on the desktop unless you change the screenshot save location.
3. How to remove photos from the MacBook screen?
Dragging pictures from the desktop to other locations, like the Pictures folder, hides them from view but keeps them saved. It's the best way to remove photos from the MacBook screen without deleting them.
Was This Page Helpful?
Dany is an editor of EaseUS who lives and works in Chengdu, China. She focuses on writing articles about data recovery on Mac devices and PCs. She is devoted to improving her writing skills and enriching her professional knowledge. Dany also enjoys reading detective novels in her spare time.
-
EaseUS Data Recovery Wizard is a powerful system recovery software, designed to enable you to recover files you’ve deleted accidentally, potentially lost to malware or an entire hard drive partition.
Read More -
EaseUS Data Recovery Wizard is the best we have seen. It's far from perfect, partly because today's advanced disk technology makes data-recovery more difficult than it was with the simpler technology of the past.
Read More -
EaseUS Data Recovery Wizard Pro has a reputation as one of the best data recovery software programs on the market. It comes with a selection of advanced features, including partition recovery, formatted drive restoration, and corrupted file repair.
Read More
Related Articles
-
How to Recover Deleted/Lost TurboTax Files on Mac
![author icon]() Jaden/Jun 30, 2026
Jaden/Jun 30, 2026 -
Mac Deleted Files Not in Trash, Recover Now!
![author icon]() Dany/Jun 30, 2026
Dany/Jun 30, 2026 -
How to Recover Deleted X3F File in 2026
![author icon]() Brithny/Jun 16, 2026
Brithny/Jun 16, 2026 -
Is MacPaw CleanMyMac Really Legit and Safe?
![author icon]() Cedric/May 20, 2025
Cedric/May 20, 2025