7 Days to Die is one of the highest-rated survival horror games on Steam. While the game is almost 9 years old, it has always kept a hefty user base. One of the major reasons behind that is its outstanding gameplay and unique setting.
But one of the things that a lot of people struggle with is finding the game's save file location. So, where exactly does this game store the save file? How can you find it and create a backup of it? In this article, you'll find that out and more. So, let's get started.
7 Days to Die is a survival horror game from 2013. But it has a saved file that eludes a lot of people. Simply because of a variety of installation methods. In other words, sometimes it's because people install it through Steam.
Other times because the installation file might have originated from another game provider. Because of all this, the save file for different game types is placed in different locations. This article will help you find it on your Mac, Linux, and Windows PC. So, let's keep digging.
Where to Find 7 Days to Die Save File Location
Finding the 7 Days to Die's save file location is straightforward if you've downloaded it from Steam. Considering most of the game's updates follow the same save file location path, you can easily find it on Windows PC.
However, other platforms like Linux and macOS have it in different places. So, let's see where you can find the 7 Days to Die's save file location.
Windows:
In Windows PC, it's a straightforward process. Simply follow these steps:
Step 1. Press "Windows + R" on your keyboard.
Step 2. Type %AppData% and press the "enter" key.
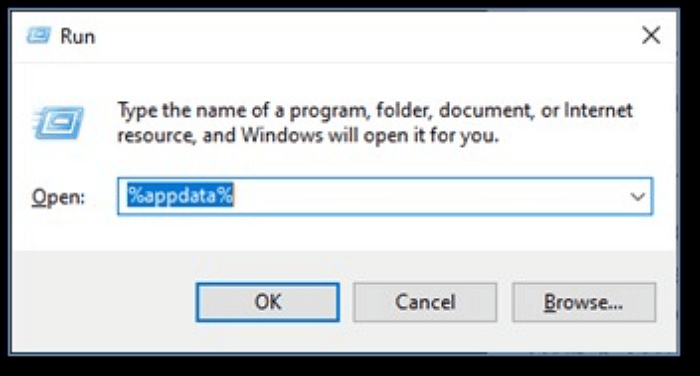
Step 3. Locate 7daystodiesaves in the Roaming folder.
Step 4. Then head into the folder 7DaysToDie > SavePREGEN01.
Step 5. In the PREGEN01 folder, you'll find all the saved files.
This is where you find the save files for this game on Windows computers.
macOS:
In macOS, you might find it difficult to get to the folder. So, it's suggested that you use this method:
Step 1. Press "Command + Shift + G" on your keyboard.
Step 2. Then copy and paste the following address: ~/Library/Application Support/7DaysToDie.
Step 3. Press the "return" key.

Step 4. Head into the folder and copy the files to your desired location.
This will allow you to copy your files from the macOS system folder into a location of your choosing.
Linux:
In Linux, you can find this location even more easily. All you have to do is follow these steps:
Step 1. Open a File Manager on your Linux
Step 2. Head into the local library, or copy and paste the following in the address bar:
~/.local/share/7DaysToDie.
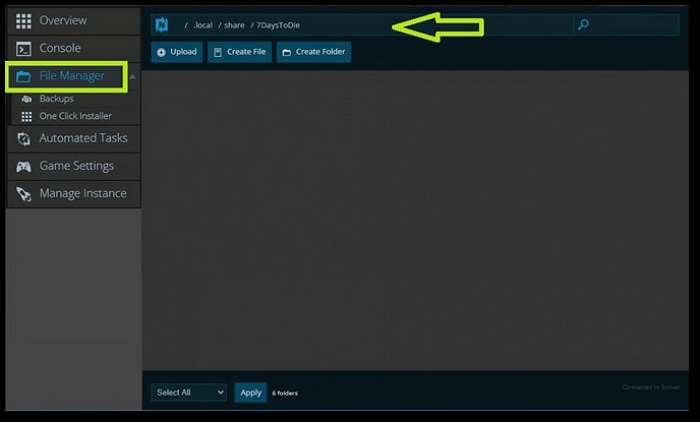
Step 3. Head into the "Saves" folder and copy everything. From there, you can paste your saved files to a location of your choosing.
How to Backup and Restore 7 Days to Die Save File
Now that you know the location of the file, how do you go about backing it up? There are times when users get annoyed because the game shows a save file error. This means you'll have to either restart the game from the beginning or use another save file.
That's why you must back up your saved game files through various methods. Today, we're going to give you two primary methods that you can use to back up your save files for 7 Days to Die. The two methods are:
Both of these options can help you secure your file to a location where it's easy to access and use. So, here's how you can do that:
Steam Backup
Let's talk about the steps first:
Step 1. Click on "Steam" in the top-left corner.
Step 2. Navigate down and click on "Backup and Restore Games."

Step 3. Click "Backup currently installed programs."
Step 4. Navigate the list and find and select "7 Days to Die," then click "next."
Step 5. Pick the backup destination.
Step 6. Wait for the backup to finish.
This will back up your files and ensure that your save remains safe.
Advantages:
- Easy for those who already have Steam
- Doesn't require a lot of steps
- Easy to restore
Disadvantages:
- Not exactly safe
- Takes a lot of time
- Difficult for slow internet users
Backup with EaseUS Todo Backup
EaseUS Todo Backup is a remarkable backup tool. This tool allows you to create outstanding backups in no time. That's why you must use this amazing tool to back up your 7 Days to Die Save files.
Not only is it a quick option, but it's also easier compared to other ones. And it can directly copy your files. Moreover, you can create a scheduled backup to save your files automatically. Making it an ideal tool for creating save game files backup.
Secure Download
Advantages:
- Very quick
- Easier to use
- Quick restoration
- System backup
- Free cloud storage
Disadvantages:
- None so far
Here are the steps to use it:
Step 1. To begin the backup process, click the Select backup contents button.

Step 2. Four data backup categories are listed: File, Disk, OS, and Mail.

Step 3. Lists of both local and network files are shown on the left-hand side of the screen. Expanding the directory so that you can choose the files to back up.

Step 4. Follow the guidance on the screen and choose the place where you want to store the back up.
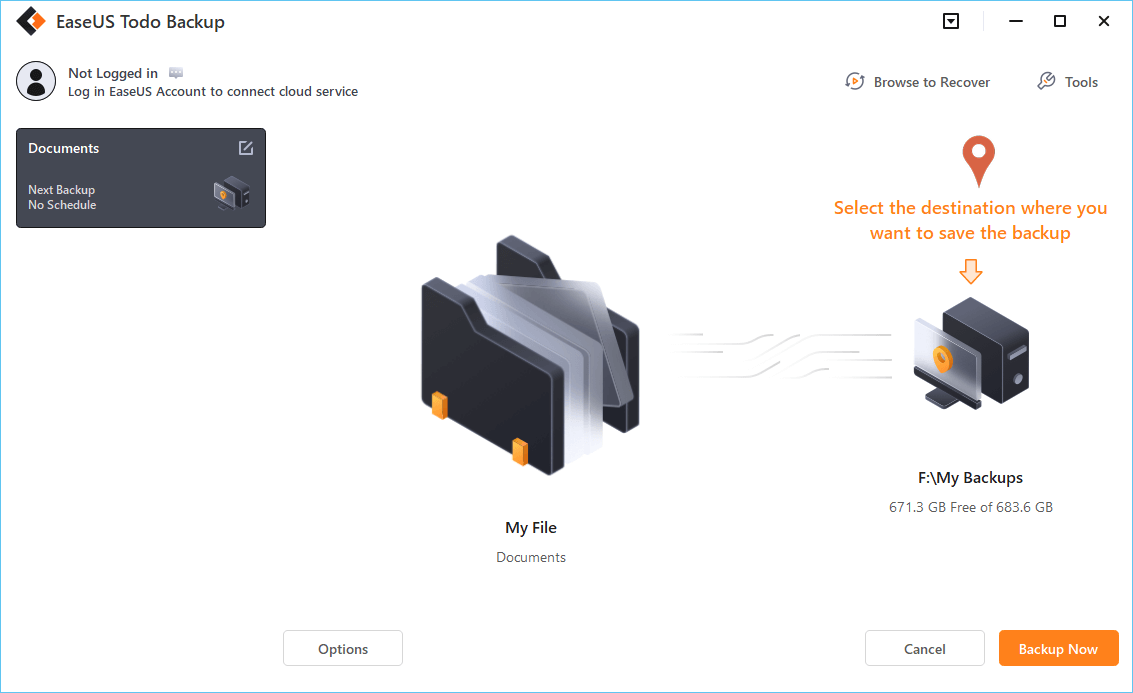
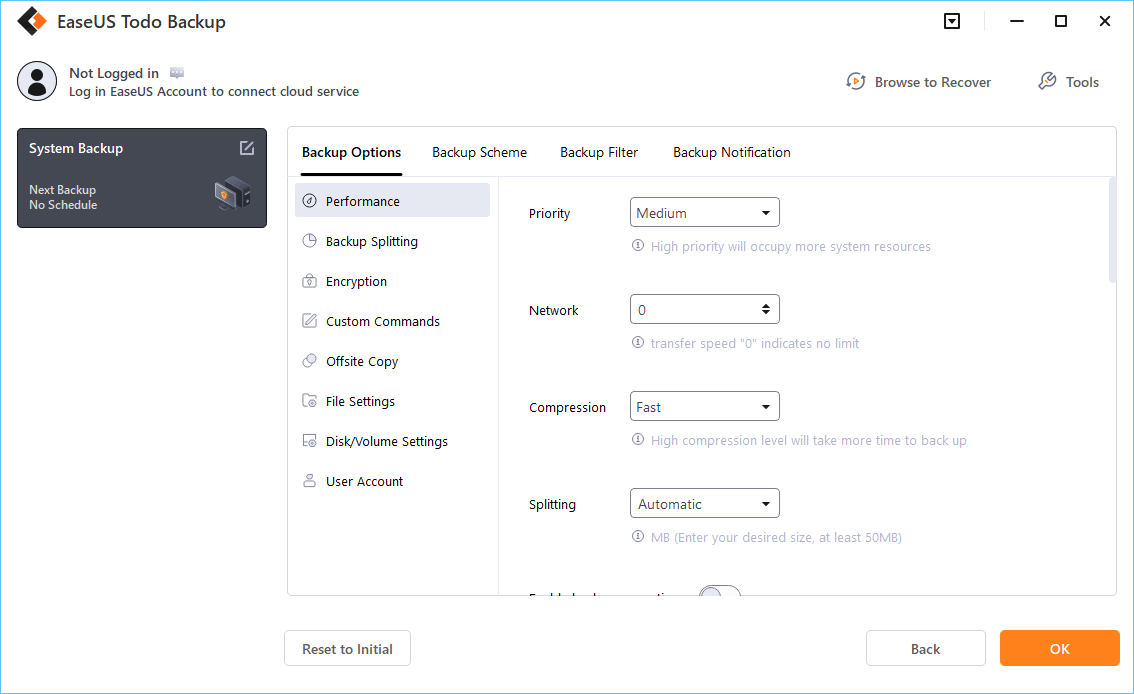
Make sure that the backup is encrypted and set the backup schedule by clicking Options in Backup Options. You can also choose to start the backup at a certain time in Backup Scheme by clicking Options. There are many other customizable options that you can look into.
Step 5. You can store the backup file either on your computer, in EaseUS's cloud service, or on a network-attached storage device (NAS).

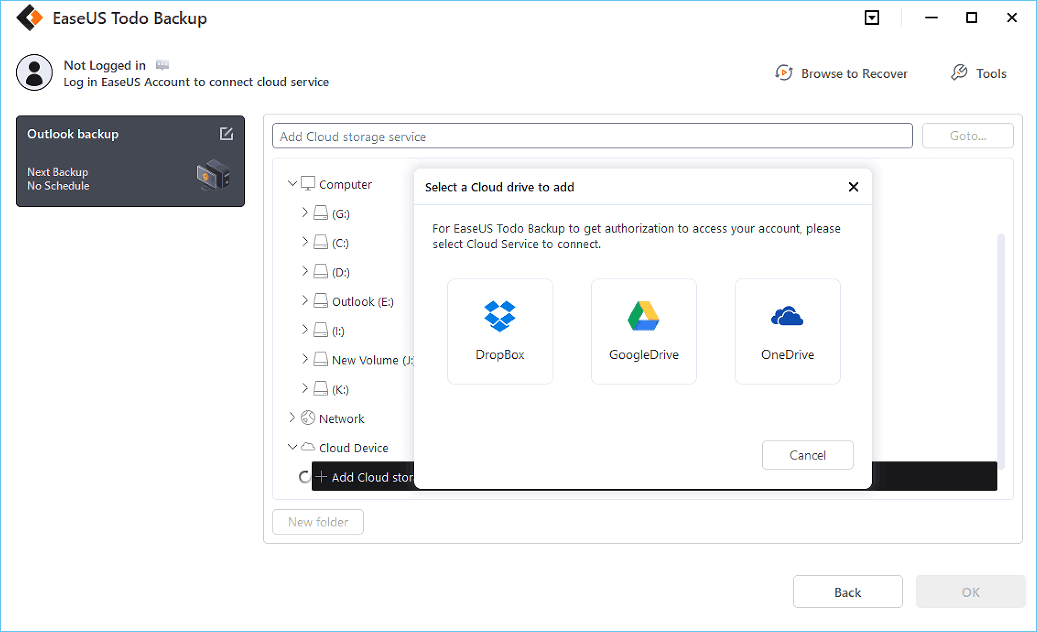
Step 6. EaseUS Todo Backup enables customers store backup copies of their files on a third-party cloud drive or on the company's own cloud storage.
If you want to back up your data on a third-party cloud drive, select Local Drive and scroll down to add Cloud Device. Then fill in your account information.
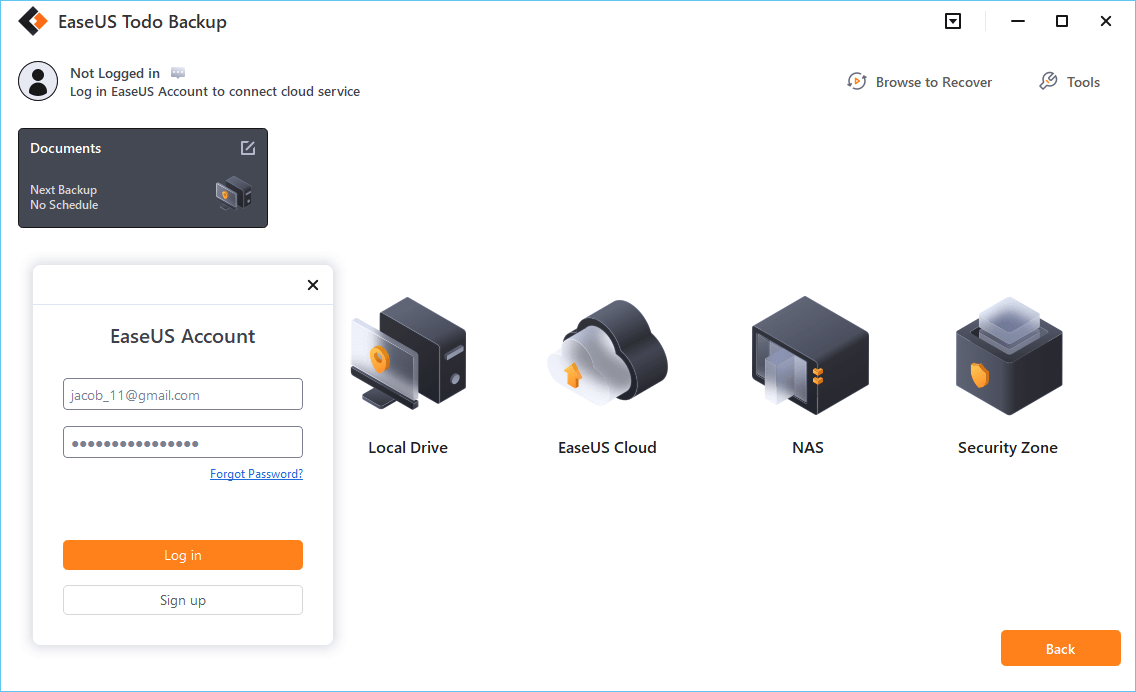
Click EaseUS Cloud, then sign up and log in with your EaseUS account if you wish to store backup files to EaseUS' own cloud storage service.
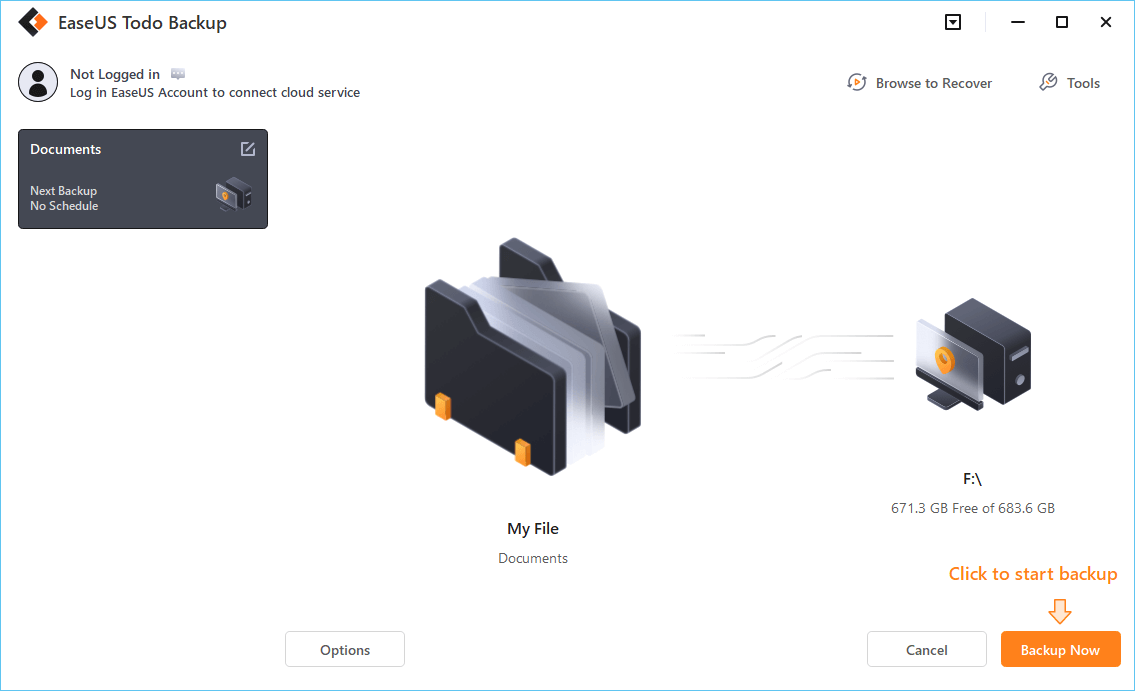
Step 7. Click on Backup Now to start a backup. When the backup process is done, it will display as a card on the left-hand side of the screen. A right-click will let you see more about how to handle the backup job in more depth.
How to Change 7 Days to Die Save File Location
Changing the save file location isn't that difficult on 7 Days To Die. To do that, you'll have to head into the game's primary folder. From there, you're going to tweak a particular file from the game to ensure it changes the save location. Here's how:
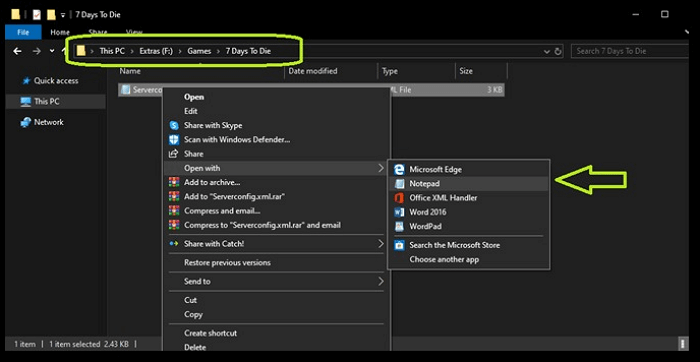
Step 1. Open the game 7 Days to Die's main folder.
Step 2. Locate Serverconfig.xml.
Step 3. Right-click on the file and open it with Notepad.
Step 4. Press "CTRL + F" to find Save Game and press "enter."
Step 5. Change the address in the following setting.
Step 6. Change the save game location according to your liking such as D:\Saves\My Games.
Step 7. Save the file.
After you save the file and start your game, it'll start saving the savegame files in that location. However, you must copy and paste the file's location into the new address before launching the game.
Concluding Thoughts
There you have it, folks, all you need to know about the 7 Days to Die's savegame file location. Once you find it, you must back it up to avoid any future data losses. You can try Steam's way of creating the backup. However, we suggest using a quality third-party tool like EaseUS Todo Backup.
Secure Download
FAQ on 7 Days to Die Save File Location
If you have any questions, you'll find their answers here:
1. Where are my 7 Days to Die saves located?
They are saved in the Roaming folder in your User's App Data. To find the folder, open the Run command on your PC, then type %AppData% and press "enter." After that, find the 7 Days to Die folder and head into it to find your game's saved files.
2. How do I transfer a saved file in 7 Days to Die?
Once you locate the save game, you can choose to copy it to another location. Or, you can replace the existing save files with other files that you might already have.
3. Does 7 Days to Die have a cloud save?
You can cloud save 7 Days to Die's save files by making the game save game files to another location. Once it's in that location, use EaseUS Todo Backup to create scheduled backups to your cloud storage.
Was This Page Helpful?
Daisy is the Senior editor of the writing team for EaseUS. She has been working at EaseUS for over ten years, starting as a technical writer and moving on to being a team leader of the content group. As a professional author for over ten years, she writes a lot to help people overcome their tech troubles.
Written by Larissa
Larissa has rich experience in writing technical articles and is now a professional editor at EaseUS. She is good at writing articles about data recovery, disk cloning, disk partitioning, data backup, and other related knowledge. Her detailed and ultimate guides help users find effective solutions to their problems. She is fond of traveling, reading, and riding in her spare time.
Related Articles
-
Fix: Operation Failed with Error 0x0000011b (Windows 10/11)
 Daisy/2025-06-30
 -
Windows 11 24h2 Update: System/Hardware/CPU/LSTC Requirements
 Cici/2025-07-10
 -
What Is Toshiba Boot Menu | Get Clear Ideas Here!🏆
 Jerry/2025-06-30
 -
USB Splitter vs. USB Hub – Which Is Better[ a Thorough Guide]
 Larissa/2025-06-30