Offline files in Windows 10 provide great utility to the end-users. You can access, edit, and update them on the go - even without internet availability. But do you know how to enable and disable offline files? This article will describe three practical ways to enable and disable offline files in Windows 10. After reading this post, you can select any method on your own. But, before jumping into practical ways, here is a brief introduction of what exactly they are.
What Are Offline Files
Previously, files stored on a computer network were only accessible when there was an established connection with the network. However, the phenomena have changed now, thanks to the Sync Center in Windows 10 that keeps a copy of the files stored on a network. These copies are offline files, which you can access and edit without connecting to the network.
Having offline copies of the files stored on a network is a great utility, but there are some prerequisites of enabling and disabling them. Let's have a detailed look at them.
Prerequisites of Enabling and Disabling Offline Files
There are some prerequisites for enabling and disabling offline files. First, having any edition of the Windows 10 operating system (OS) is better. Offline files work best with the Windows 10 OS, but millions of people still use Windows 7, 8, and 8.1.
If you have Windows 8 or 8.1, you can use the features of the offline file to work on the go. However, suppose you're still on the Windows 7 OS. In that case, you need to confirm which edition you're using, as offline files are only available on a few Windows 7 editions, such as Professional, Ultimate, and Enterprise.
To check which edition of Windows 7 you're using, click the Start button, type Computer in the Search Box, and press Enter. Now, right-click on the Computer and open Properties. Here, you can see the edition installed on your PC.
3 Ways to Enable or Disable Offline Files in Windows 10
This article will specifically discuss how to enable and disable offline files only in Windows 10. If you're a Windows 10 user, here are the three practical ways to perform this operation within a couple of steps.
Way 1. Enable/Disable Offline Files by Sync Center
Sync Center is your official gateway to enable and disable offline files in Windows 10. It's a built-in tool that creates copies of the files stored on your connected network or server. Below is the step-by-step process to use Sync Center.
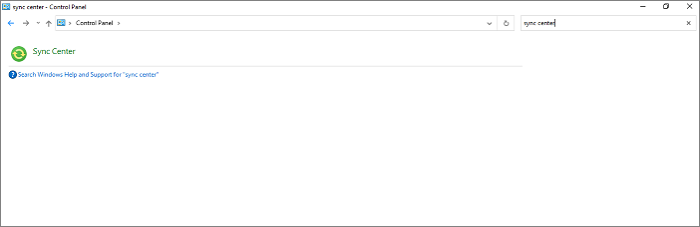
Step 1. Click the Windows 10 Search Bar, type Control Panel, and then open it. Here, you'll find Sync Center if it's already set up. Otherwise, you can also search for it in Control Panel. Click on the Sync Center icon.
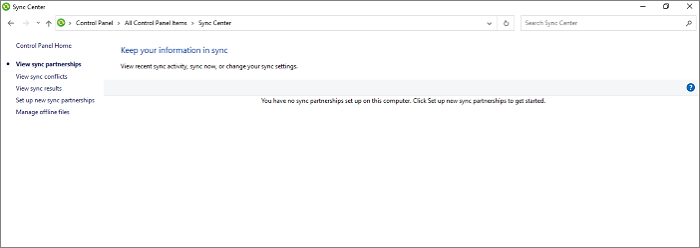
Step 2. On the left side, you'll see the Manage offline files option - click on it to proceed further.
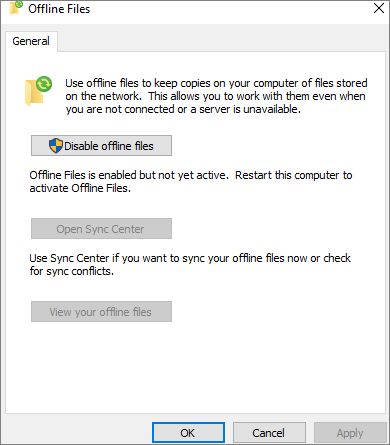
Step 3. First, click on the Enable offline files option and then click the OK button at the bottom.

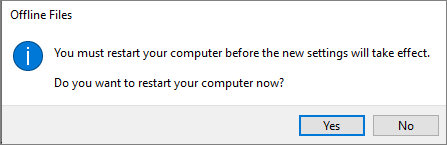
Step 4. A pop-up Window will ask you to restart your computer to apply the new settings. Click on the Yes button to successfully enable offline files.
Step 5. To disable offline files, open the Manage offline files again; now, click on the Disable offline files option and then click on the OK button.
Step 6. Restart your computer pop-window will appear again. Click on the Yes button to successfully disable offline files.
Related article to Sync Center not working on Windows 10:
Way 2. Enable and Disable Offline Files via Group Policy Editor
Another way to enable and disable offline files in Windows 10 is via the local group policy editor. It is a Windows administration tool to manage and configure different key settings. Here's how you can use this editor to enable or disable offline files.
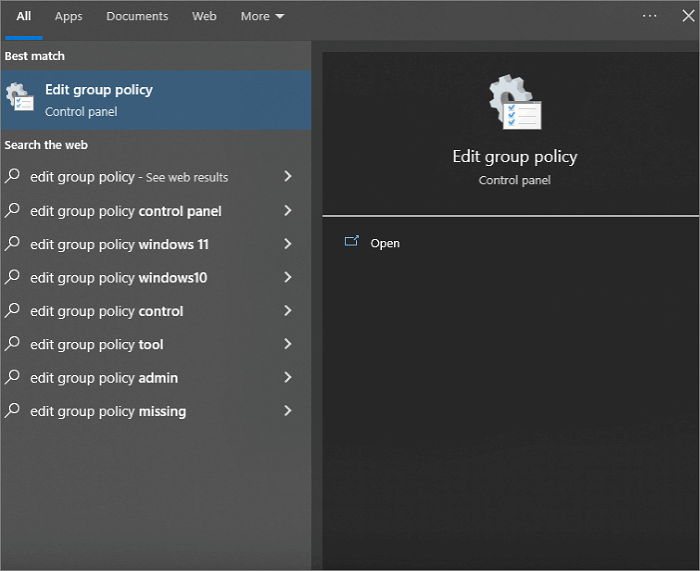
Step 1. Open the Local Group Policy Editor by typing "Edit group policy" in the Search Bar.
Step 2. Follow the below-given navigation pattern in the left pane of Local Group Policy Editor.
Computer Configuration > Administrative Templates > Network > Offline Files
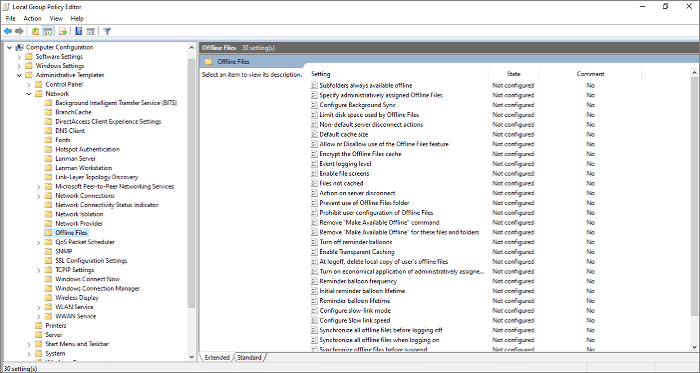
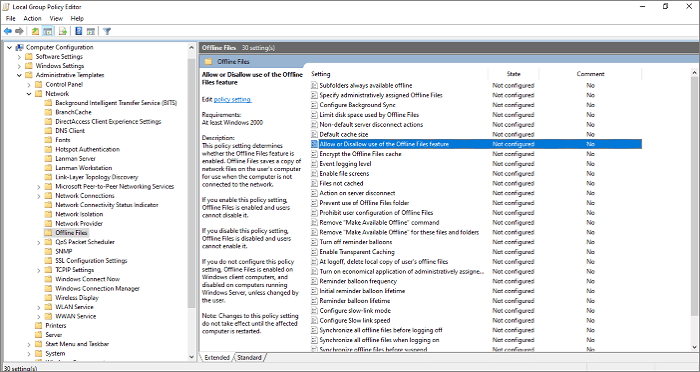
Step 3. Find the Allow or Disallow use of the Offline Files feature in the right pane of Local Group Policy Editor and double-click on it.
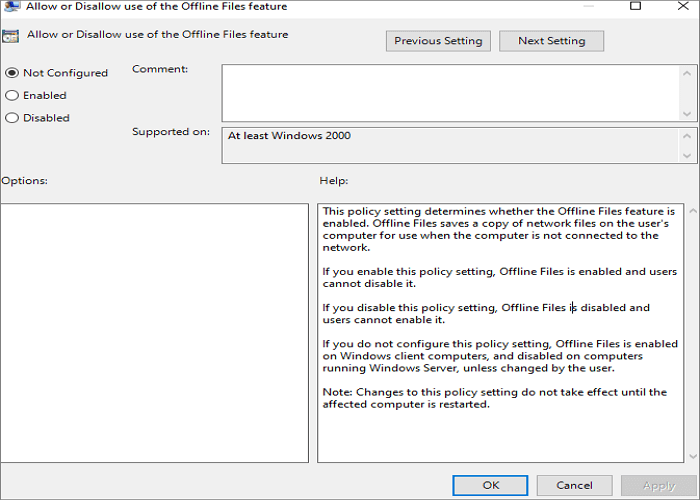
Step 4. A new window will open with three different options, i.e., Not Configured, Enabled, and Disabled. Select Enabled or Disable according to your requirement and click OK to finish the process.
Way 3. Enable/Disable Offline Files Using Registry
Windows 10 lets you enable or disable offline files using the Windows Registry, which contains all the settings files of applications stored on the operating system. Just follow the below given step-by-step process to use this way.
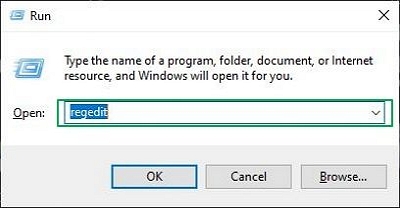
Step 1. Press the Win + R keys to open the run command.
Step 2. Type regedit and press Enter to open the Registry Editor. Click Yes if the system asks you to allow this application to make changes.
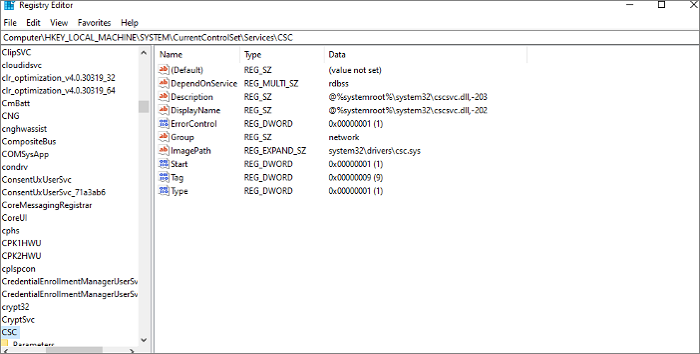
Step 3. Follow the below-given navigation pattern in the left pane of the Registry Editor.
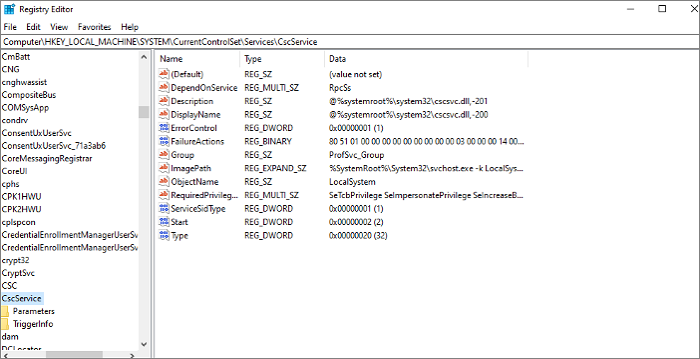
Computer\HKEY_LOCAL_MACHINE\SYSTEM\CurrentControlSet\Services\CSC
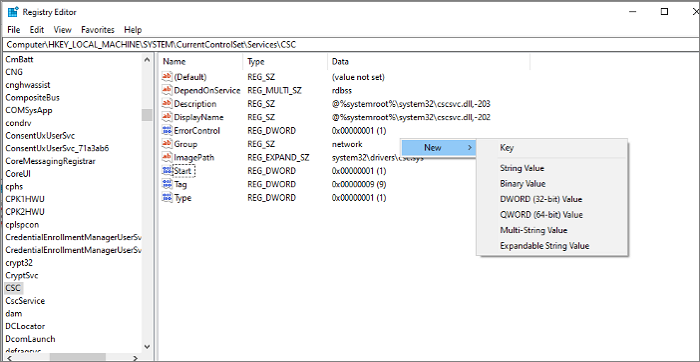
Step 4. Right-click in the right pane of the Registry Editor, and select DWORD (32-bit) Value.
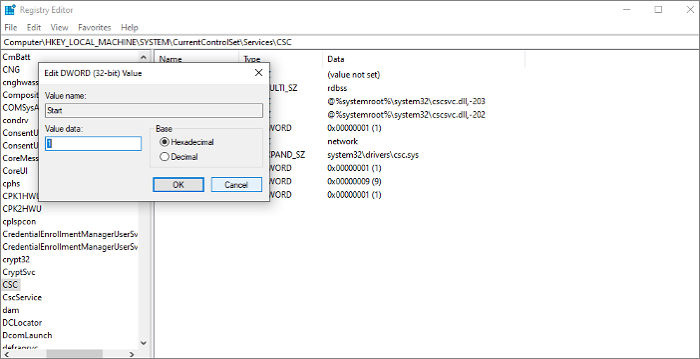
Step 5. Rename its value as Start and change it from 20 to 1 in the value data box.
Step 6. Now, open the Cscservice folder, present below the CSC. Create another Start DWORD value, and set the value data to 2 this time. It will enable offline files on your computer.
Step 7. Change the value data to 4 for both the Start values you created in CSC and Cscservice to disable offline files in Windows 10.
Bonus Tip: Backup your Files with Cloud Backup Software
As time goes by, your computer may have many vital files. And storing them on your computer will take up storage space and is prone to computer viruses. At this time, you can use professional backup software to back up your files. EaseUS Todo Backup, a practical file backup software, comes to help.
Secure Download
EaseUS Todo Backup Home is a multi-functional backup tool for Windows 11/10/8/7. It can help you to back up systems, disks, partitions, etc. It lets you automatically back up files to an external hard disk and creates scheduled backups and full, incremental, and differential backups. You can easily migrate Windows 10 from HDD to SSD and clone a hard drive. Most importantly, it can offer you 250G of free cloud storage to meet your diverse storage needs.
The following are the steps to back up your files on your computer.
Step 1. To initiate a backup, click the Select backup contents option.

Step 2. There are four data backup categories, File, Disk, OS, and Mail, click File.

Step 3. On the left, both local and network files will be shown. You may extend the directory to pick the backup files.

Step 4. Follow the on-screen instructions and choose a location to store the backup.

Click Options to encrypt the backup with a password in Backup Options, then click Backup Scheme to specify the backup schedule and start the backup at a certain event. There are also other additional choices you may choose to tailor the backup process to your requirements.

Step 5. The backup may be stored on a local disk, EaseUS' online service, or NAS.

Step 6. EaseUS Todo Backup enables customers to back up data to a third-party cloud drive as well as its own cloud drive.
If you want to back up data to a cloud drive provided by a third party, choose Local Drive, scroll down to add Cloud Device, and then add and log in to your account.

You can also choose the EaseUS cloud drive. Sign up for an EaseUS Account, then click EaseUS Cloud and log in.

Step 7. Click Backup Now to begin the backup process. The backup job will be presented as a card on the left side of the panel after it has been finished. Right-click the backup job to handle it further.

The Bottom Line
The newly adapted hybrid working environment has doubled the need for offline files. The availability to access, edit, and update files shared on a network while you're working remotely has become eminent. Windows 10 offers the functionality to create offline files. Also, it's pretty easy to enable and disable offline files within a couple of steps. This article has presented three practical ways to do the job with ease.
Secure Download
FAQs
1. What happens if I disable offline files?
If you disable the offline files, the Windows Sync Center will no longer create copies available on the connected server or network.
2. How do I get my folder back online?
Open File Explorer and click on the drop-down ribbon tab. Click on the Easy Access drop-down ribbon to open Map as drive. You can get back online from here.
3. How do I change offline files to online?
Open Sync Center from the Control Panel, and then choose to Manage offline files from the left side. Under the General tab, select Enable offline files and then click OK.
4. How do I know if Offline files are enabled?
Open Sync Center and see under the General tab. If you see Enable offline files, the files are currently disabled. Contrary to this, seeing Disable offline files indicates that files are now enabled.
Was This Page Helpful?
Updated by Jerry
"I hope my articles can help solve your technical problems. If you are interested in other articles, you can check the articles at the bottom of this page, and you can also check my Facebook to get additional help."
Related Articles
-
4 Ways to Open Microsoft Management Console [2024 Step-by-Step Guide]
![author icon]() Brithny/2024-10-25
Brithny/2024-10-25 -
How to Find BitLocker Recovery Key [Top 4 Solutions Without Data Loss]
![author icon]() Brithny/2024-11-14
Brithny/2024-11-14 -
How to Connect HP Printer to WiFi? Follow A Full Guide
![author icon]() Daisy/2024-01-11
Daisy/2024-01-11 -
How to Stop If Windows 11 Automatically Update BIOS
![author icon]() Jerry/2024-11-25
Jerry/2024-11-25

EaseUS Data Recovery Services
EaseUS data recovery experts have uneaqualed expertise to repair disks/systems and salvage data from all devices like RAID, HDD, SSD, USB, etc.