
Stuck on 'This device was reset' screen? Here's how to bypass the error
Summary
This tutorial aims to solve the Google Account Verification issue which stops you from accessing your phone due to the error message [This device was reset. To continue, sign in with a Google Account that was previously synced on this device]. If you are stuck on the screen with the same error, this page could mean a lot to you.
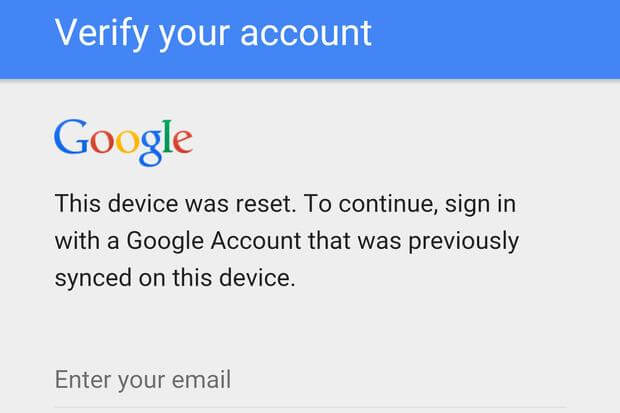
Verify your account
This device was reset. To continue, sign in with a Google Account that was previously synced on this device.
"I had lent one of my Samsung phones to someone who returned back but when I turned on, the error message appeared. I used my account to log in and it didn't work. Now I'm unable to go beyond the screen and access the phone. Can you help?"
Are you one of the victims who get stuck on the same error screen? It's a really tricky problem to solve, and we've made a great effort to find solutions for you. So make sure that you read this page very carefully. Try your best to overcome the problem.
Basic understanding of the prompt message
This message is a security feature provided by Google when you set a screen lock, link the phone to your Google Account, and reset the phone outside of the Settings app. So, if you got the "This device was reset" prompt, it could tell you that this device has had its Factory Reset Protection (FRP) activated by an improper factory reset.
It seems that you can only bypass the error by signing in the Google account that was signed in when you reset the phone. However, what if you forgot the account or it's the account of the original owner? You must know some additional fixes.
How to get rid of "This device was reset" error?
Source link: https://android.stackexchange.com/questions/127739/how-to-bypass-verify-your-account-factory-reset-protection
On the page of the given source link, we collect the most applicable solution for you. The recommended method works on most major brands like Samsung, LG, Huawei, OnePlus, Sony, Nexus, Motorola, etc. Depending on your own brand, you can paste the link and find the corresponding solution for yourself.
A useful tip:
Do not forget to download EaseUS MobiSaver for Android to recover data after doing the following attempts to get past the Google Account Verification error.
- Perform Factory Reset on your Android.
- Ask professionals flashing the ROM.
Download the app version if you prefer to recover Android data without using a computer.
A complete guide for you to solve "This device was reset" and use the phone properly
Step 1. Reboot into Recovery mode (hold Home, Volume Up, and Power, releasing Power when you see the device turn on/reboot).
Step 2. Perform a Factory Reset (press Volume Down until wipe data/factory reset is selected, press Power, scroll down to Yes -- delete all user data and press Power again).
Step 3. Proceed through the device Setup Wizard until it prompts you for the Google account credentials.
>> For a Samsung device, save this RootJunky APK onto a USB flash drive and connect it to the device via OTG.
>> For LG:
- Back up, connect to Wi-Fi, then back up again and hit Accessibility (Yes to the prompt that follows).
- Turn "Switch Access" on, then enter its Settings and set a key for Overview, such as Volume Down.
- Back out to Accessibility again, go to Vision → Talkback → Settings → Privacy Policy to open the browser, and download the APK linked above (rootjunkysdl.com → Apps).
Step 4. Press the key you set up for Overview, hit Dual Window, and select the file browser.
Step 5. When the File Explorer launches, browse to and tap the APK to install it. When you get the prompt about unknown sources, choose the Settings option and enable the Unknown Sources option.
Step 6. Complete the install and choose to Open the application, which will open Settings.
>> For LG:
Add a new user account under Users, switch to it and add your own Google account via Setup, then switch back to the main user (Owner) from Settings → Users, and back out from there to the main Settings.
Go to Backup and Reset and do a Factory Data Reset. As per my other answer, this will remove FRP from the device.
Step 7. The APK in (4) is very simple and just opens Settings, you could use any other that does the same if you don't want to trust that source.
Again, in case that your device is not mentioned here, copy and paste the given link and search answers there.
Was This Page Helpful?
Related Articles
-
How to Recover Photos After Formatting Android
![]() Tracy King/2025-07-21
Tracy King/2025-07-21 -
Remove 'Your Device Has Been Blocked' Virus from Android Phone/Tablet and Restore All Android Data
![]() Tracy King/2025-07-21
Tracy King/2025-07-21 -
Free Download Android Data Recovery Pro License Key
![]() Tracy King/2025-07-21
Tracy King/2025-07-21 -
How to Get Deleted Snapchat Photos, Videos, and Messages Back
![]() Brithny/2025-07-21
Brithny/2025-07-21