-
Data Recovery
![]()
Data Recovery Wizard for Windows
Recover lost data from HDD, SSD, SD cards, USB drives on Windows PC.
![]()
Recover lost files from Mac SSD, Time Machine backups, memory cards, Trash, and external storage devices.
![]()
Recover Lost iPhone/Android Data – Photos, Messages, Contacts & More in 3 Clicks.
![]()
-
Partition Manager
![]()
Windows partition manager: create, resize, clone partitions and upgrade HDDs/SSDs safely.
-
![]()
Windows Backup Freeware - One-click system, disk, and file backup with reliable recovery for peace of mind.
![]()
PC data transfer software: transfer data, apps, user account and personal files to new PCs and disks.
-
![]()
Remove vocals from songs and separate vocal and instrumental tracks from audio or video with AI.
![]()
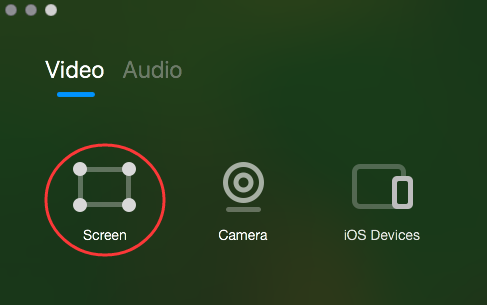
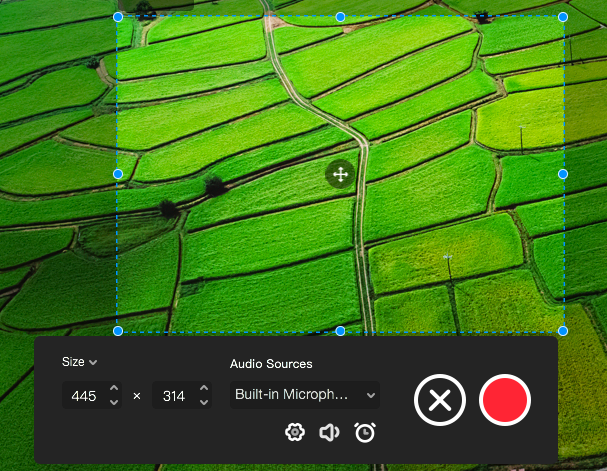
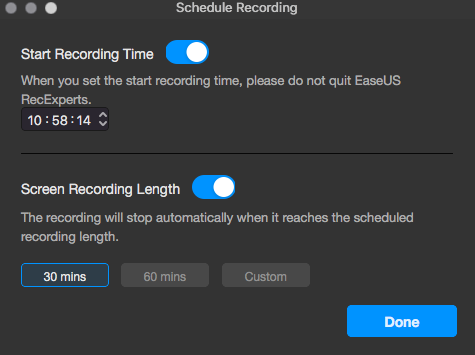
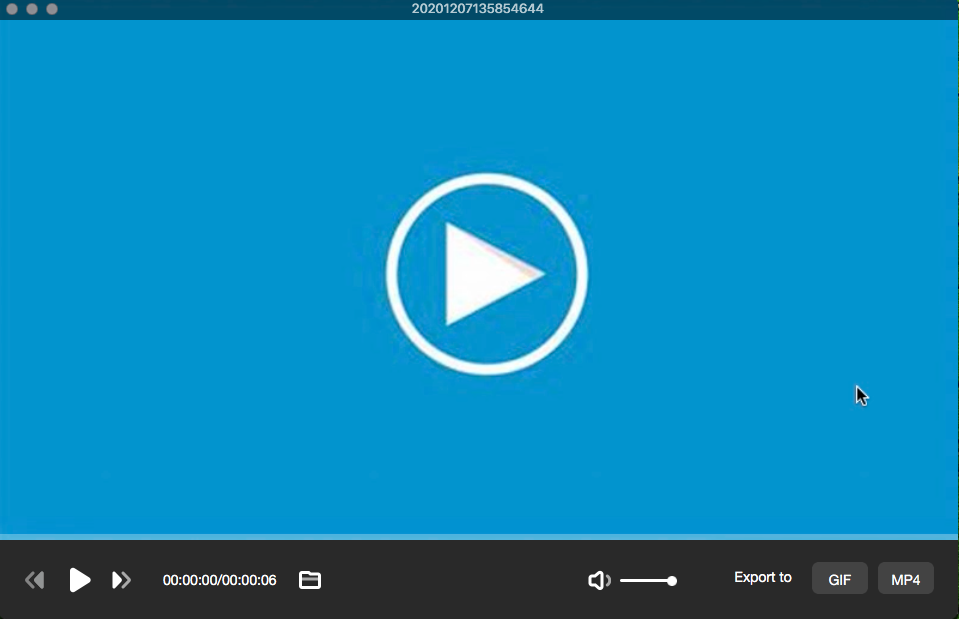
Capture any area of your screen with customizable settings and record video/audio/webcam.
-
Channel Partnerships
Affiliate Earn commissions when you drive sales through your affiliate links. Resellers Sell EaseUS products as a distributor. Creators & Influencers Partner with us on YouTube, TikTok, Twitch to earn commissions. OEM & Outsourcing Service Put your brand on EaseUS software, or get custom solutions. -
![]()
Self-Service
Manage your products, licenses, and subscriptions in one place. Find guides and resources for quick self-service.
![]()
Live Chat Support
Get real-time answers from our experts.
![]()
Premium Human Services
Human-led solutions for complex system & data emergencies.