A cache partition is a section of a device's storage set aside specifically for storing temporary files that the device's operating system or applications can use to improve performance.
The idea behind a cache partition is to provide a place where frequently accessed data gets stored for quick retrieval when needed without having to be read from slower storage media such as a hard disk drive or networked storage.
On a smartphone or tablet, the cache partition is typically used to store temporary data such as app installation files, app data, and system updates. This can help speed up the device's performance by allowing it to access the data it needs quickly.
The cache partition may store web browser cache files, game data, and system updates on computers and game consoles.
Why Would You Want to Wipe the Cache Partition?
Why might you want to wipe the cache partition on your device? There are several benefits to this simple process, including the following:
Improving device performance
In some cases, clearing the cache partition can fix performance issues and slowness on a device. The cache could store outdated or corrupted data, triggering unexpected behavior.
Freeing up storage space
Over time, the cache partition can become filled with temporary data no longer needed. Wiping the cache partition can help free up your device's storage space.
Fixing app crashes or other problems
If you're having issues with a specific app, such as crashes or error messages, clearing the cache partition may help. App data sometimes becomes corrupted and can only be quickly fixed by wiping the cache partition.
Installing a system update:
Some system updates may require you to wipe the cache partition before installing them. This is because the cache might have data incompatible with the most recent update.
Resolving boot issues
On rare occasions, your cache may become so bloated with corrupted data that your device will be unable to boot or encounter other problems while attempting to boot. Wiping the cache partition might solve these problems.
How to Wipe the Cache Partition
To wipe the cache partition on a computer, you will need to follow these steps:
- Restart your computer and immediately begin tapping the key that opens the boot menu for your computer. This key will vary depending on the make and model of your computer, but it is usually either of the function keys (F1, F2, F3, etc.), the Esc key, or the Delete key.

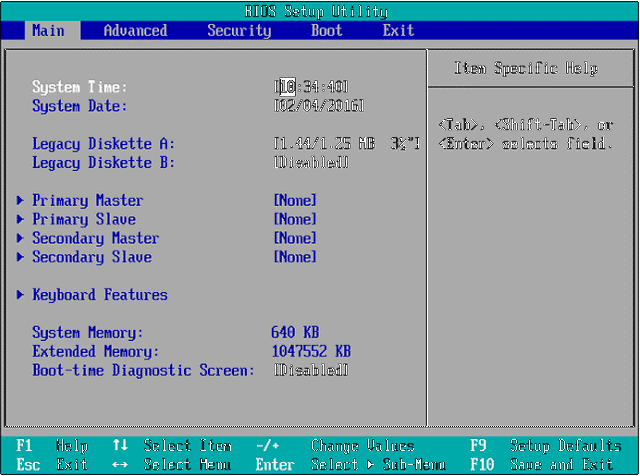
- Once the boot menu appears, use the arrow keys to select the option to enter the BIOS or UEFI setup.

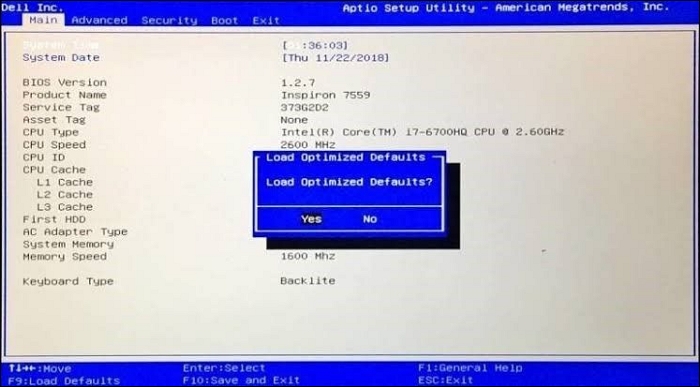
- In the BIOS or UEFI setup, go to the "Boot" or "Advanced" tab and look for "Reset to default" or "Restore default settings." This option will reset your BIOS or UEFI settings to their defaults, which should clear the cache partition.

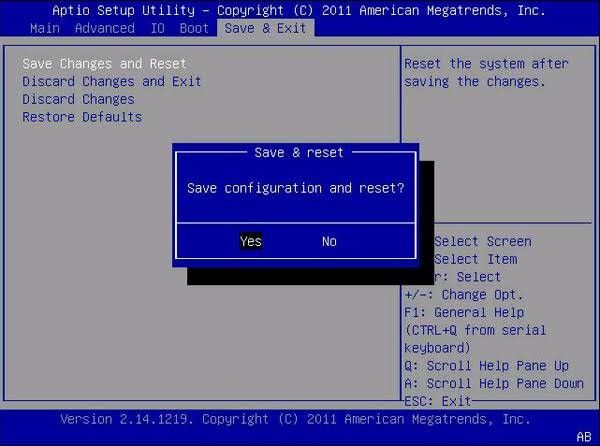
- Save your changes, leave the BIOS or UEFI setup, and let your computer boot up usually.

Remember that clearing the cache partition will not delete your files or programs. It will only reset the BIOS or UEFI settings to their default values, which may help to fix some problems with your computer.
Conclusion
In the end, wiping the cache partition on a computer can be an excellent way to fix problems or free up valuable storage space. By purging temporary system files from the cache, you can boost the performance of your computer and resolve issues with applications or services that aren't performing up to par. However, it is always a bright idea to back up any critical data before proceeding with this process, just to be safe.
It's also crucial to understand when and how to wipe the cache partition on a computer. Since the cache stores frequently accessed data or speeds up processes, clearing it too often could hurt performance. If you clear the cache, avoid accidentally removing any essential files or information.
By taking the time to understand and use the process correctly, you can help keep your computer running smoothly and efficiently.
Was This Page Helpful?
Jaden is one of the editors of EaseUS, who focuses on topics concerning PCs and Mac data recovery. Jaden is committed to enhancing professional IT knowledge and writing abilities. She is always keen on new and intelligent products.
Related Articles
-
How to Fix STATUS_ACCESS_VIOLATION | Chrome/Edge
![author icon]() Dany/2025-07-04
Dany/2025-07-04 -
Why Is Xbox One Running Slow? 6 Effective Ways
![author icon]() Cici/2025-07-04
Cici/2025-07-04 -
How to Start Mac in Recovery Mode [macOS Ventura/Monterey/Big Sur]
![author icon]() Jaden/2025-07-04
Jaden/2025-07-04 -
How to Check SSD Health on Windows 10 via CMD [New Guide]
![author icon]() Sherly/2025-07-10
Sherly/2025-07-10
EaseUS Data Recovery Services
EaseUS data recovery experts have uneaqualed expertise to repair disks/systems and salvage data from all devices like RAID, HDD, SSD, USB, etc.