Computer or laptop gets stuck on "Repairing disk error" while booting? Laptop or PC stuck on the booting screen with "Repairing disk errors. This might take over an hour to complete" message? You wait and wait, and it turns out that nothing changed? Relax! Don't let this annoying problem bother you anymore. Here now in this article, we'll provide you with practical and powerful solutions and fixes to quickly fix Windows 10, 8 or 7 stuck on repairing disk error. You may follow any one of the below-offered tips or fixes to get your problem solved now.
Note: If you are not familiar with computer administrating jobs or computer repairing stuff, please follow method 1 to get your problem solved and rescue your computer from Windows stuck on 'repairing disk' error.
Method 1. Fix with a Bootable Disk (No data loss!)
Windows fail to boot or gets stuck with 'Repairing disk errors' message, it means that something was wrong on the boot disk which leads system unable to boot from the disk. When such a problem occurs, the best choice is to create a WinPE bootable disk from another healthy computer and let the bootable disk to restore Windows 10/8/7 into a healthy state so to fix the stuck error.
To create a bootable disk, you may turn to professional partition manager software for help. Here you may try EaseUS Partition Master which allows you to create a bootable disk, reboot Windows from the bootable disk, and even help to fix Windows repairing disk errors without losing any data.
Step 1. Start EaseUS Partition Master after connecting the external drive/USB to your computer, go to "Bootable Media," and click "Create bootable media."

Step 2. Select an available USB Drive or CD/DVD and click "Create." You can also burn the Windows ISO file to the storage media.

Step 3. Connect the created bootable drive to the new computer and reboot the computer by pressing and holding F2/Del to enter the BIOS. Then, set the WinPE bootable drive as the boot disk and press F10 to exit.
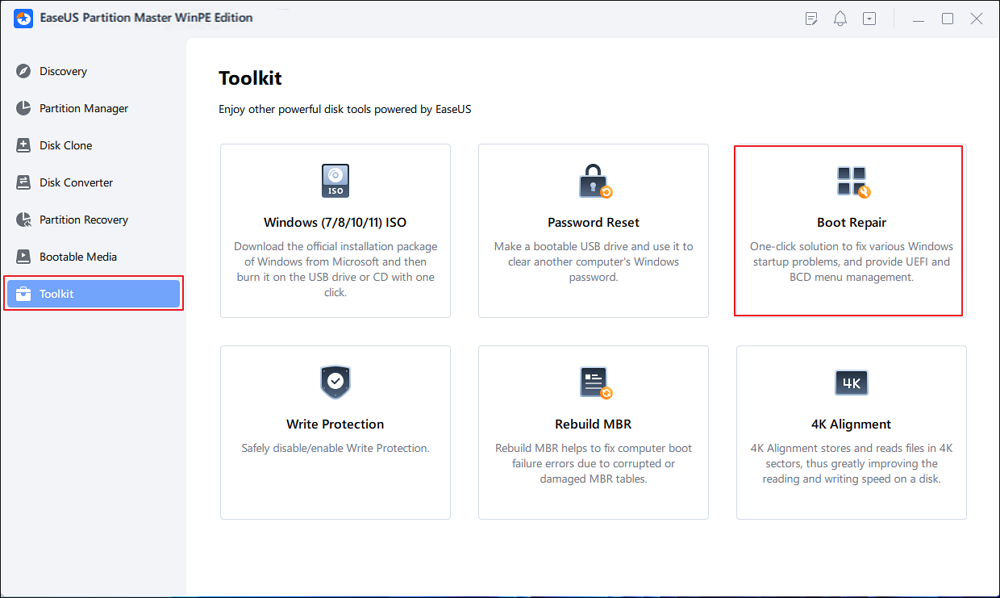
Step 4. Boot the computer again and enter the WinPE interface. Then, open EaseUS Partition Master and click "Boot Repair" under the "Toolkit" option.
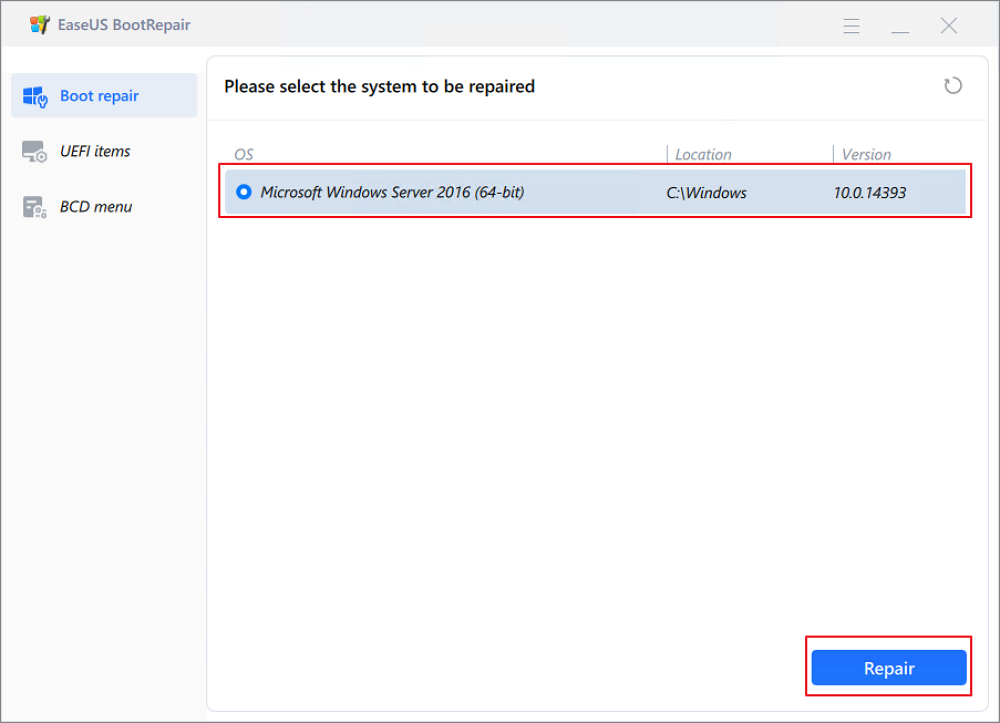
Step 5: Select the system you want to repair and click "Repair."
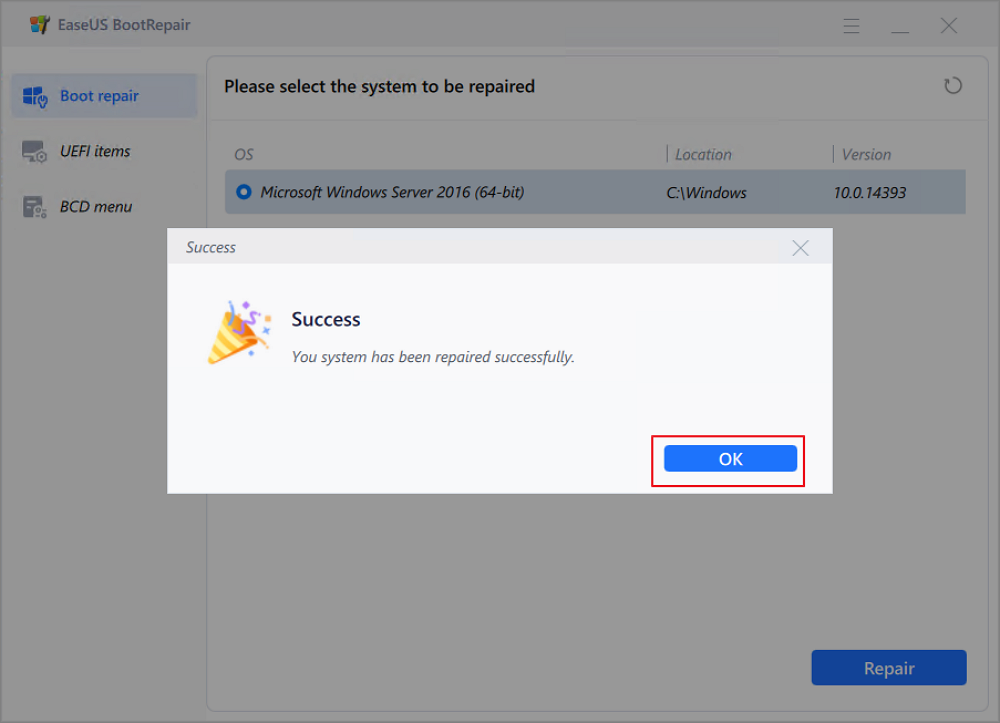
Step 6. Wait a moment, and you will receive an alert that the system has been successfully repaired. Click "OK" to complete the boot repair process.
After this, reboot your PC and you should be able to access Windows and load everything on your computer successfully.
You can also apply EaseUS Partition Master with its check partition feature to fix disk/system errors in the Windows system.
Method 2. Restart PC from Safe Mode with Networking
When your computer or laptop gets stuck on 'Repairing Disk errors', you may try restart PC or laptop from Safe Mode with networking. Here below are the detail steps.
- Restart PC: hold "Shift" and select "Power" when sign-in screen show up > "Restart";
- After PC/laptop restarts to "Choose an option screen", select "Troubleshoot" > "Advanced options" > "Startup Settings" > "Restart";
- After PC/laptop restarts, you'll see a list of options. Select 5 or F5 to start PC from Safe Mode with Networking.
Note: If you lose some important files or data in the system partition after fixing Windows stuck on 'Repairing disk error', relax, and you can apply professional data recovery software - EaseUS Data Recovery Wizard to restore all your lost data with ease.
Method 3. Proceed System Restore
System Restore is a way to undo system changes with restore point that you've created so to return system files and settings to an earlier point without losing personal data. If Windows PC or laptop cannot start, you can use installation or recovery media to enter startup settings.
Let's see how to fix Windows stuck on 'Repairing Disk errors' with system restore now:
- Create installation media with a USB drive: you can go to Microsoft to download a media creation tool (for Windows 10) or Windows 8/7 installation packs;
- Insert USB drive or DVD into PC or laptop and restart it;
- Set Windows to boot from a drive and you can change the boot order in BIOS.
- On the Install Windows screen, select "Repair your computer".
- On the "Choose an option" screen, select "Troubleshoot" > "Advanced option" > "System Restore".
All you need is to wait patiently to let Windows restore to a healthy state and then all problems including Windows stuck on 'Disk Repairing' error will all be fixed.
Method 4. Perform Automatic Repair
To fix Windows 10/8/7 stuck on 'Repairing Disk' error by performing the automatic repair, you need an installation disk or USB, and you can create a media creation tool for Windows 10/8/7 before starting automatic repair.
- Boot PC or laptop from the installation media: When Windows show manufacturer logo, press F12 to enter boot menu and set PC or laptop to boot from the installation tool. If you cannot find the boot menu, restart PC/laptop and press Boot menu option key when Windows logo shows up; and set system to boot from CD/DVD ROM;
- When a gray text shows up on a black screen, telling "Press any key to boot from CD or DVD", press any key;
- Select the correct time and Keyboard type;
- Click "Repair your computer" in the lower left corner;
- Click on "Troubleshooting" > "Advanced option" > "Automatic repair".
Was This Page Helpful?
Updated by Tracy King
Tracy became a member of the EaseUS content team in 2013. Being a technical writer for over 10 years, she is enthusiastic about sharing tips to assist readers in resolving complex issues in disk management, file transfer, PC & Mac performance optimization, etc., like an expert.
Related Articles
-
Repair Time Machine Backup (Solved): Time Machine Backup Failed, Corrupted, Missing
![author icon]() Tracy King/2024-01-11
Tracy King/2024-01-11 -
Five Ways to Fix "Path Not Found C:Boot" Error in Windows
![author icon]() Cici/2024-01-11
Cici/2024-01-11 -
Efficient Tutorial: Create Multiple Partitions on USB Drive Using Diskpart
![author icon]() Sherly/2024-01-11
Sherly/2024-01-11 -
Solved: Getting Files Ready for Installation Stuck at 0%, 1%, 10%, 100%
![author icon]() Brithny/2024-04-19
Brithny/2024-04-19

EaseUS Data Recovery Services
EaseUS data recovery experts have uneaqualed expertise to repair disks/systems and salvage data from all devices like RAID, HDD, SSD, USB, etc.