- Applies To: iPad Pro, iPad Air, iPad, iPad Mini
- Supported Files Types: Photos, Videos, Audio Files, Books, Documents...
Depending on the type of file you want to transfer, the best suitable solution for you varies. Read on to get the details and apply the one that fits your needs most to transfer files from a USB flash drive to your iPad with ease.
| 🔍Fix |
💻Effectiveness |
🧿Difficulty |
| 1️⃣iOS data transfer software (free) |
🔹use EaseUS MobiMover Free to transfer all iOS data. |
Easy |
| 2️⃣File Explorer |
🔹transfer photos and videos from USB to your iPad. |
Easy |
| 3️⃣iCloud Drive |
🔹sync and access files across your devices, generally including iPhone, iPad, Mac, and PC. |
Easy |
| 4️⃣USB flash drive |
🔹transfer files from USB flash drive to iPad. |
Medium |
After reading this guide, you will know how to transfer files from USB to iPad, either with or without a computer.
Part 1. How to Transfer Files from USB to iPad with a Computer (Free)
If you have a computer available, be it a Mac or a PC, you can easily transfer files from USB to your iPad via the USB connection.
Method 1. Transfer Files from USB to iPad with iOS Data Transfer Software
Supports: Photos, Videos, Audio Files, Ringtones, Contacts, PDFs, and More
If you want to import files like photos, videos, music, or books from a USB flash drive to your iPad, you can use the free data transfer software for iPhone, iPad, and iPod Touch - EaseUS MobiMover Free. With it, you are able to:
- Transfer files from computer/USB drive to iPhone/iPad or vice versa
- Transfer data from one iPhone/iPad to another
- Download online videos to a computer or mobile device using URL
Since you are an iPad user, you will need such a tool at one time or another to know how to transfer files from PC to iPad or how to transfer data from iPad to iPad. Get it now to take more control over your iDevice content.
To transfer files from USB to iPad (or iPhone):
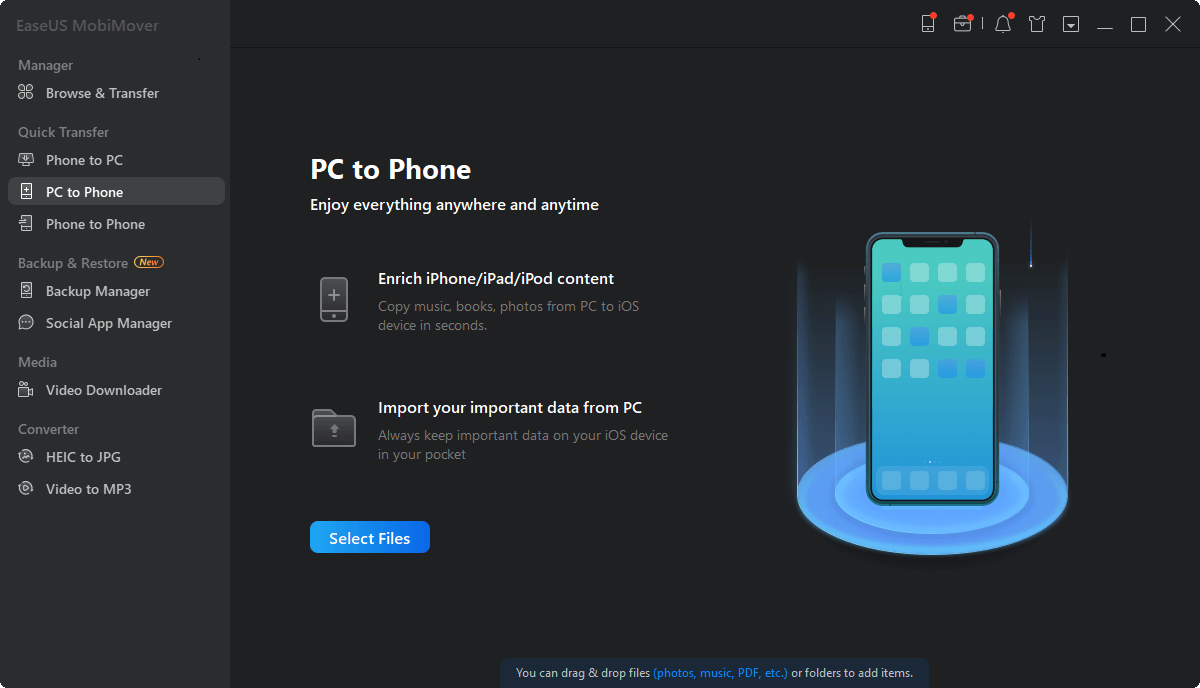
Step 1. Connect the USB drive and your iPad/iPhone (in iOS 8 or later) to your computer. Launch EaseUS MobiMover and navigate to "PC to Phone" on the main interface. Click "Select Files".
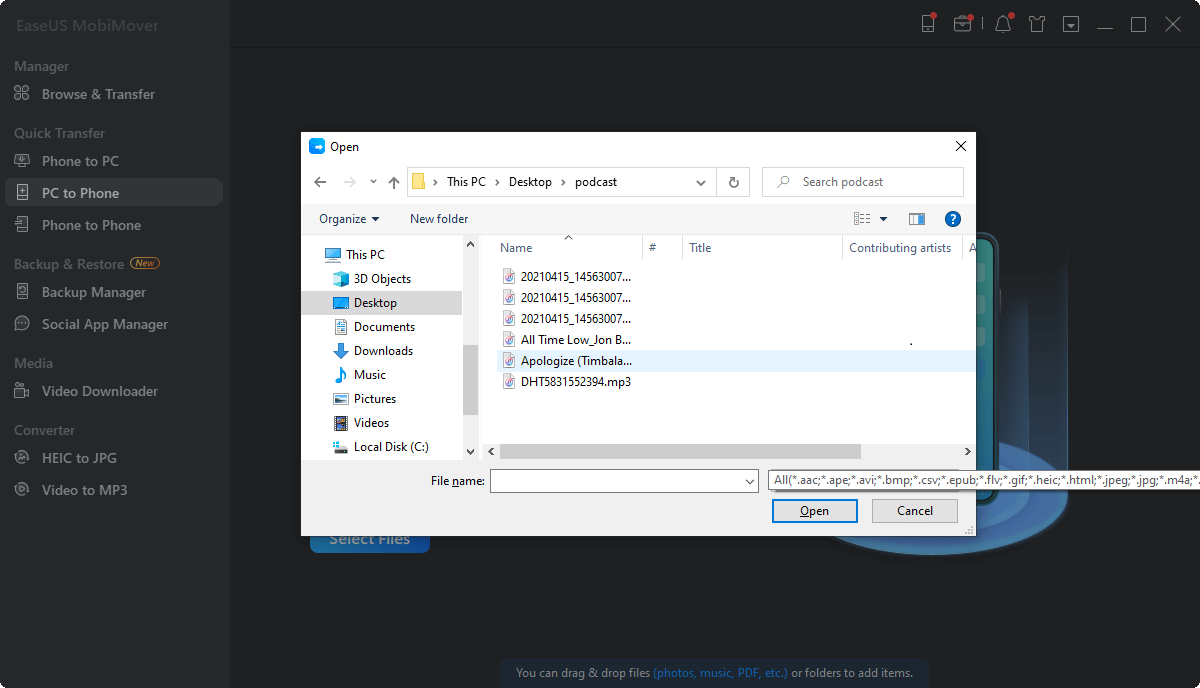
Step 2: Windows File Explorer will open. Click the USB drive and choose the files you want to transfer to your iPhone. Click "Open".
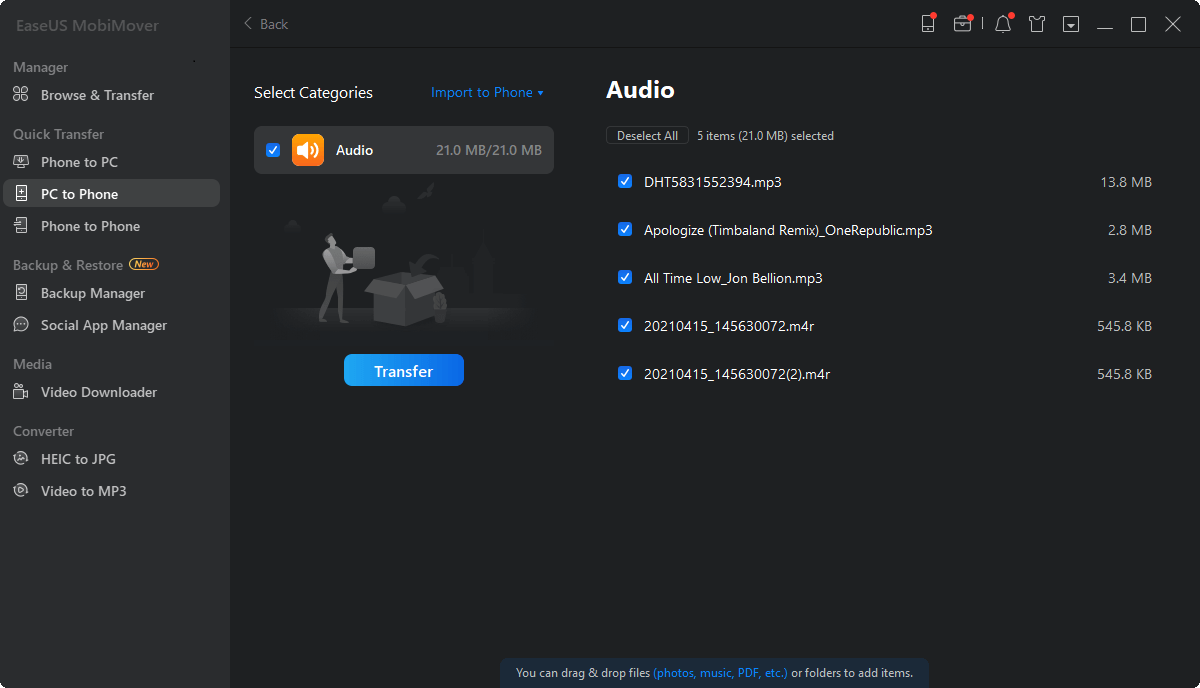
Step 3. Here you can view the selected files. You can continue adding files by clicking "Add Contents", or simply drag & drop the files to add items. Finally, click "Transfer" to start transferring the selected files, folders from your USB to iPhone/iPad. After the process, you can go to the corresponding location on your iDevice to check the transferred files such as images in Photos, movies/TV shows in Videos, PDF/audiobooks in iBook, etc.
Whether you want to add movies to iPad or put music on iPad, you can all follow the same steps above.
Isn't it easy? Without iTunes installation, without data syncing, EaseUS MobiMover will copy files to your iPad safely and quickly.
Further reading:
Method 2. Transfer Files from USB to iPad via File Explorer
Supports: Photos and Videos
If the files you want to transfer are photos and videos, you can use File Explorer (called Windows Explorer in versions earlier than Windows 10) to get it done. Without any software installation, you can transfer photos and videos from USB to your iPad by connecting your devices to the computer.
To transfer files from USB to iPad via File Explorer:
Step 1. Connect your USB flash drive and your iPad to the computer via the USB port.
Step 2. Unlock your iPad and trust the computer.
Step 3. Go to "This PC" > [your USB] and copy the files you want to transfer.
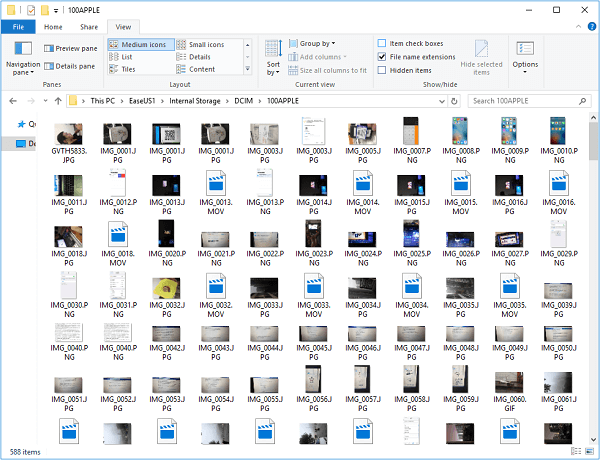
Step 4. Go to "This PC" > [your iPad] > "Internal Storage" > "DCIM" > "100APPLE" and paste the files in the folder.
Step 5. Open the "Photos" app on your iPad and you will see the USB files existing here.
![How to transfer files from USB to iPad via File Explorer]()
Method 3. Transfer Files from USB to iPad with iCloud Drive
Supports: Documents (Word, Excel, PPT...)
iCloud Drive is a cloud-based and document-oriented service provided by Apple. With it, you can sync and access files across your devices, generally including iPhone, iPad, Mac, and PC. With iCloud Drive, you can transfer files from USB to iPad by uploading files from the USB drive to iCloud via a computer and then downloading the files from iCloud to your iPad in the Files app.
Before you start, make sure:
- You are using the same Apple ID on your computer and iPad
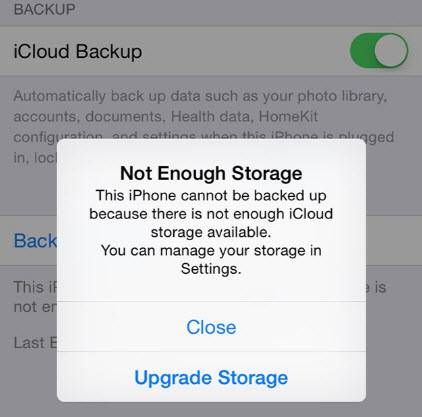
- There is enough free space in iCloud
To copy files from USB to iPad with iCloud Drive:
Step 1. Upload files from USB to iCloud.
- If you have installed iCloud on your computer, go to iCloud settings and enable "iCloud Drive", and then copy the files you want to transfer to the "iCloud Drive" folder on your computer.
- If not, go to iCloud.com and sign in. Choose "iCloud Drive" and click the "Upload" option to add the files to iCloud.
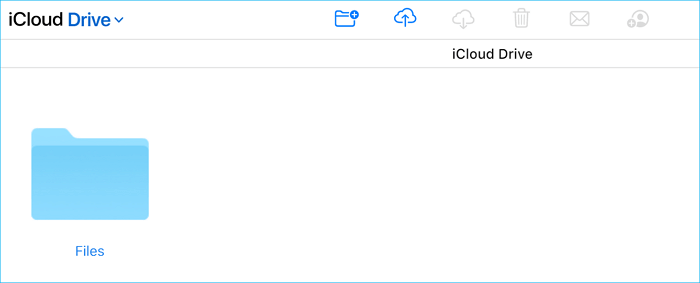
Step 2. On your iPad, go to the "Files" app and choose "iCloud Drive".
Step 3. You should see the files synced from iCloud here. If not, wait for a while for the file syncing to complete. If iCloud Drive is not syncing, learn how to fix it.
Step 4. Click the "Download" icon in the top right corner of the file to download it to your iPad.
By doing so, you can transfer Word, Excel, PPT, PDF files from USB to your iPad over Wi-Fi.
![How to transfer files from USB to iPad via iCloud Drive]()
As you may know, you can also transfer photos and videos from USB to iPad using iCloud, which works similar to iCloud Drive: You first need to upload photos from USB to iCloud via a computer and then download photos to the iPad from iCloud. For a detailed guide, refer to the article about how to transfer photos from PC to iPad.
Part 2. How to Transfer Files from USB to iPad Without Computer (Paid)
Supports: Photos, Videos, Audio Files, Documents, and More
What if you don't have a computer available or just want to transfer files from USB to iPad without a computer? You can do it as long as you have a Type-C flash drive or lighting to USB adapter.
If you have a Type-C flash drive, you can connect it to your iPad directly and then transfer files according to your needs. If you are going to use an adapter, make sure your adapter has a lighting port (which I will explain later) and follow the steps below to learn how to transfer files from USB to your iPad with it.
To transfer files from USB to iPad without computer:
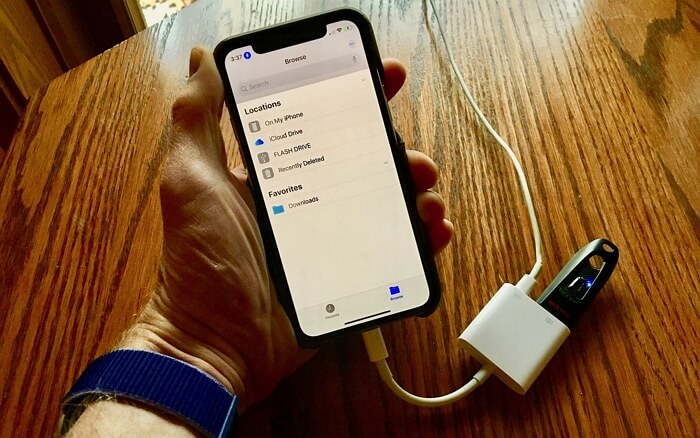
Step 1. Connect your USB to the adapter via the USB port and connect the adapter to your iPad in iOS 13 and later.
Step 2. Then you will see a prompt on your iPad saying "Cannot use accessory". That's because the accessory requires much power. To cope with it, use your iPad power adapter and charge cable to provide additional power via the lighting port on your adapter. (That's why your adapter should have a lighting port.)
Step 3. Afterward, you can go to the "Files" app > "Flash Drive" to view and access the files from the USB. Copy and paste the files from your USB to your iPad according to your needs.
![How to transfer files from USB to iPad without computer]()
Frequently Asked Questions
The questions below are asked frequently by users. If you have read this guide in detail, the answers will be clear in your mind. If not, there are brief answers.
1. How do I transfer files from USB to iPad?
According to the file type you want to transfer, you can use an iOS data transfer tool like EaseUS MobiMover (photos, videos, audio files, PDFs...), File Explorer (photos and videos), iCloud Drive (documents), or a lighting to USB adapter (anything existing on your USB).
2. Can I connect a flash drive to iPad Pro?
Yes, you can. If your USB is a Type-C flash drive, connect it to your iPad via the lighting port directly. If not, buy a lighting to USB adapter and connect your USB to the iPad via the adapter.
3. Can iPad read files from USB stick?
Make are your iPad is running iPadOS 13 and later. Once you connect your USB to the iPad, you can access the USB files from the "Files" app.
The Bottom Line
Now you know how to transfer files from USB to your iPad Pro, iPad Air, iPad, or iPad Mini. You can also apply the tips to transfer files from USB to your iPhone if you need to.
Carry out the way best suited to your needs to transfer files to your iPad with ease.
 NEW
NEW HOT
HOT