Even though we regularly connect different networks to our computers, very few people know how to change network names on Windows 10. So if you're looking for ways to change network names on Windows 10, but don't know how to do so, there's no need to worry.
You can just follow the steps outlined in this post to change the names on your network if you're using Windows 10. We'll be sharing two methods to change network names in this post, so make sure to read the full post so you can see which method will work best for you.
Why Would You Need to Change Network Names on Windows 10
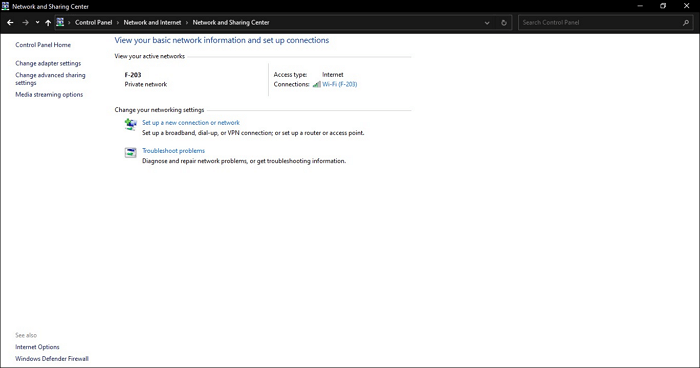
Changing the network name on your Windows computer can have a lot of benefits, especially if you connect your computer to many different Internet connections regularly. Whenever you connect your computer to a Wi-Fi or LAN network, these networks automatically get assigned a specific network name that can be seen in the connectivities dialog box.
Methods to Change Network Name
You can use two methods to change network names on Windows 10. If you're a user of Windows 10 Home, you can use Windows Registry for this purpose. If you're using Windows 10 Pro, Education, or Enterprise, you can use the Local Security Policy, to use the Windows 10 change network name option.
Method 1. Using Windows Registry
If you're using Windows 10 Home, here's how you can change your network names.
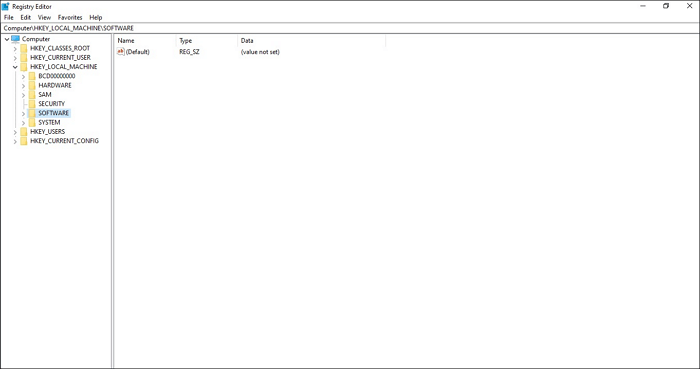
Step 1. Press the "Windows Key" or click on the search bar and type in regedit.msc. You'll see the Registry Editor app in the search results.

Step 2. Once you open this app, you'll need to click on "Computer" in the left bar of the app window.
Step 3. Now, search for a folder titled "HKEY_LOCAL_MACHINE." Once you've located this folder, click on it.
Step 4. You need to search for the "SOFTWARE" folder and click on it.
Step 5. Once you've opened this folder, you'll see that this folder contains a lot of subfolders. You need to search for the one named Microsoft and click on it.

In the Microsoft folder, navigate to the folder named "WindowsNT" and open it.
Step 6. In this folder, look for a folder called "CurrentVersion." Once found, click on it.

In the CurrentVersion folder, locate the "NetworkList" folder. You'll need to click on this folder and go to the folder titled "Profiles."
Step 7. Once you've clicked on the Profiles folder, you'll see many different folders which have their names in brackets. Every one of these folders corresponds to a network you connected your computer to.
To change the name of a particular network, you'll need to click on each of these folders until you find the folder that corresponds to the network whose name you're trying to change.
Step 8. In our case, the fourth folder in the Profiles folder was for the network we wish to rename.
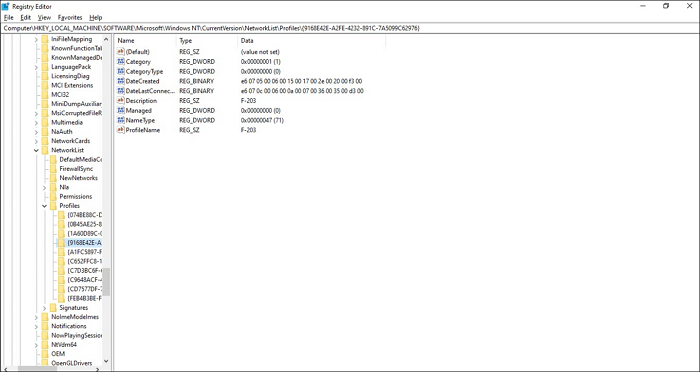
Step 9. In this folder, you'll see that the file at the bottom of the list is titled ProfileName, which tells you the current name of the network. To change the network name, right-click on the "ProfileName file."
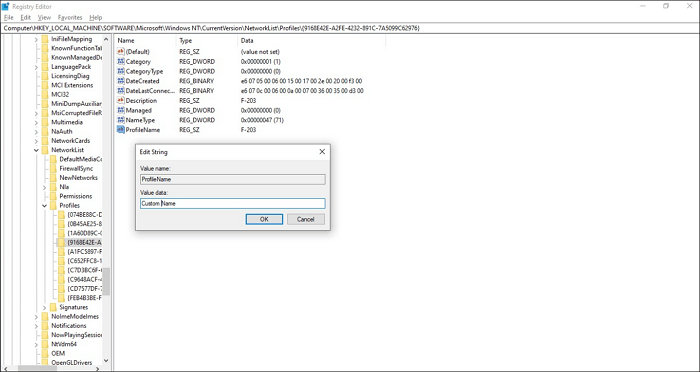
A dialogue box titled "Edit String" will open as a result. In this dialogue box, you need to click on the text bar under "Value Data" and type in the name you wish to use for this network.
Method 2. Using Local Security Policy
If you're using Windows 10 Pro, Enterprise, or Education, you won't be able to change your network names using the Registry Editor. In these versions of Windows 10, you need to use the Local Security Policy to change network names.
Step 1. To do that, you'll need to type in secpol.msc in the Windows search bar and open the "Local Security Policy."
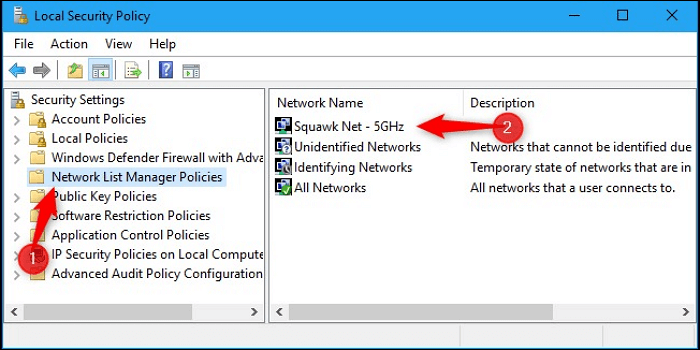
Step 2. In the Local Security Policy, you need to click on "Security Settings." Under this, you'll see a folder named "Network List Manager Policies." Once you click on this folder, you'll see a list of networks that your computer connects to.
Step 3. Now, you'll need to locate the network whose name you wish to change and click on it. You'll see a dialogue box pop up that lists the properties of that connection. In the Network Name page of this dialogue box, type in the new network name in the text box present under "Name."
Step 4. After typing in your new network name, you just need to click on "OK," and your network will show on your computer with its new name.
Conclusion
In this post, we've discussed the methods that can be used for changing network names on Windows 10 computers. If you're using Windows 10 Home, you can use the Registry Editor to do this. If you're using Windows 10 Pro, Enterprise, or Education, you can change network names using the Local Security Policy.
Was This Page Helpful?
Daisy is the Senior editor of the writing team for EaseUS. She has been working at EaseUS for over ten years, starting as a technical writer and moving on to being a team leader of the content group. As a professional author for over ten years, she writes a lot to help people overcome their tech troubles.
Related Articles
-
Mac Error Code 8072 Occurs? Check Here to Get Rid of It
![author icon]() Jaden/2024-10-25
Jaden/2024-10-25 -
What Is the Best Allocation Unit Size for Video Files in 2024
![author icon]() Sherly/2024-11-27
Sherly/2024-11-27 -
White Light of Death PS4: Quick Solutions Without Data Loss
![author icon]() Brithny/2024-10-30
Brithny/2024-10-30 -
How to Format USB to exFAT on Mac [Ultimate Guide]
![author icon]() Cici/2024-10-25
Cici/2024-10-25

EaseUS Data Recovery Services
EaseUS data recovery experts have uneaqualed expertise to repair disks/systems and salvage data from all devices like RAID, HDD, SSD, USB, etc.