-
![]()
Daisy
Daisy is the Senior editor of the writing team for EaseUS. She has been working in EaseUS for over ten years, starting from a technical writer to a team leader of the content group. As a professional author for over 10 years, she writes a lot to help people overcome their tech troubles.…Read full bio -
Jane is an experienced editor for EaseUS focused on tech blog writing. Familiar with all kinds of video editing and screen recording software on the market, she specializes in composing posts about recording and editing videos. All the topics she chooses …Read full bio
-
![]()
Melissa Lee
Melissa is a sophisticated editor for EaseUS in tech blog writing. She is proficient in writing articles related to screen recording, video editing, and PDF file conversion. Also, she's starting to write blogs about data recovery, disk partitioning, data backup, etc.…Read full bio -
Jean is recognized as one of the most professional writers in EaseUS. She has kept improving her writing skills over the past 10 years and helped millions of her readers solve their tech problems on PC, Mac, and iOS devices.…Read full bio
-
![]()
Jerry
Jerry is a fan of science and technology, aiming to make readers' tech life easy and enjoyable. He loves exploring new technologies and writing technical how-to tips. All the topics he chooses aim to offer users more instructive information.…Read full bio -
Larissa has rich experience in writing technical articles. After joining EaseUS, she frantically learned about data recovery, disk partitioning, data backup, screen recorder, disk clone, and other related knowledge. Now she is able to master the relevant content proficiently and write effective step-by-step guides on various computer issues.…Read full bio
-
![]()
Rel
Rel has always maintained a strong curiosity about the computer field and is committed to the research of the most efficient and practical computer problem solutions.…Read full bio -
![]()
Gemma
Gemma is member of EaseUS team and has been committed to creating valuable content in fields about file recovery, partition management, and data backup etc. for many years. She loves to help users solve various types of computer related issues.…Read full bio
Page Table of Contents
Melissa Lee
Updated on Apr 19, 2024
0 Views |
0 min read
If there is one content type consumed the most in recent years, it is videos. There are many reasons why you would want to record a video. Regardless of the reasoning, you have several ways to do that. As long as you have a camera and a computer available, you can easily and quickly record a video yourself using some pretty basic steps. This guide is all about how to connect a camera and how to record video on PC with external camera.
- Part 1: How to Record from Camera to Computer on PC
- Part 2: How to Connect a Camera to Your Computer
How to Record from Camera to Computer on PC
Suppose you want to capture video from camera. In that case, you need to find an excellent webcam recorder first, as most apps that let you view your camera's footage do not offer the ability to record a video from the camera to computer.
Here we'd like to share with you an incredible webcam recording software called EaseUS RecExperts. It is an excellent tool to record videos from just about any internal or external camera. As long as your computer detects and recognizes the camera you have attached, this tool should be able to detect it and let you record videos from it on your computer screen. Moreover, if you sometimes need to record screen and webcam simultaneously, you also can achieve this goal by using RecExperts.
Just download it for free to start your recording. There is no need to register!
How to Record from a Camera on PC using EaseUS RecExperts
Step 1. Launch this webcam recorder, and select the little webcam icon by clicking the down-arrow button on the left panel.

Step 2. If there is more than one camera device connected to your computer, you can freely choose your desired one. Besides, you can also select the audio source, adjust resolution and position, and even adjust the opacity if needed.

Step 3. Then enable the Remove Background, it will download the AI module.

Step 4. After that, you can change the background picture by using some effects, like blur, scenery, studio, and classroom. Or you can upload a picture from your own device. It is recommended that you are in a solid color background, and the effect of AI recognition to remove the background will be better.

Step 5. You can click on the REC button when you are ready to start your webcam recording. During the process, you can choose to resize the recording window, take screenshots, pause or stop the recording flexibly. To end the recording, just click on the red square icon.

Step 6. Then, it will lead you to preview the recorded videos. Apart from that, you can enhance the recordings with some tools.
As you can see, your recorded video file is nothing but a regular file that you normally see on your computer. You can now move it to an external USB storage, copy it to your mobile device, or even upload it to your cloud storage. Later on, if you ever want to get access to your video file and you are not sure how to do that, you can open a File Explorer window to do that. Simply open the File Explorer and navigate to the following path.
Before recording, get this amazing webcam recorder now!
Here is a video about free video recording software. Check the recommended options in it!
- 00:00 - Intro
- 00:26 - Best PC video recording software - EaseUS RecExperts

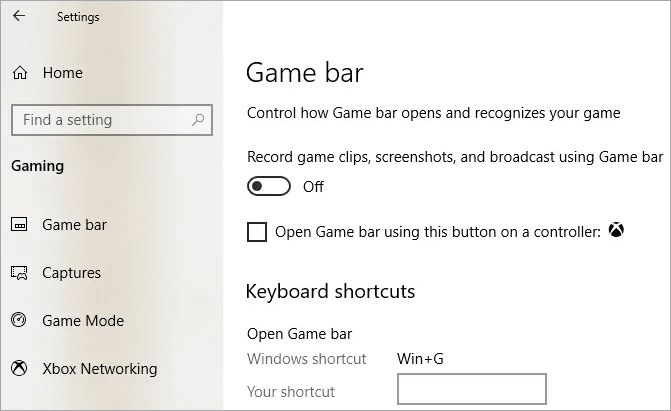
Learn More: How to Connect a Camera to Your Computer
Connecting a camera to your computer is a whole procedure in itself. That is because most cameras are not plug-and-play, and you need to configure certain options on your computer before you can use them. This configuration includes installing the required drivers and utilities that allow your computer to interact with your connected camera.
Not just installing the software, you also need to connect the camera to your machine physically. This depends on what type of camera you have. If yours is a camera that uses a USB connection, you can simply plug your camera into one of the ports on your computer to connect it. If the camera uses another type of port, you will need to check the user manual to see how to connect it to your machine. The following is all that you need to do.
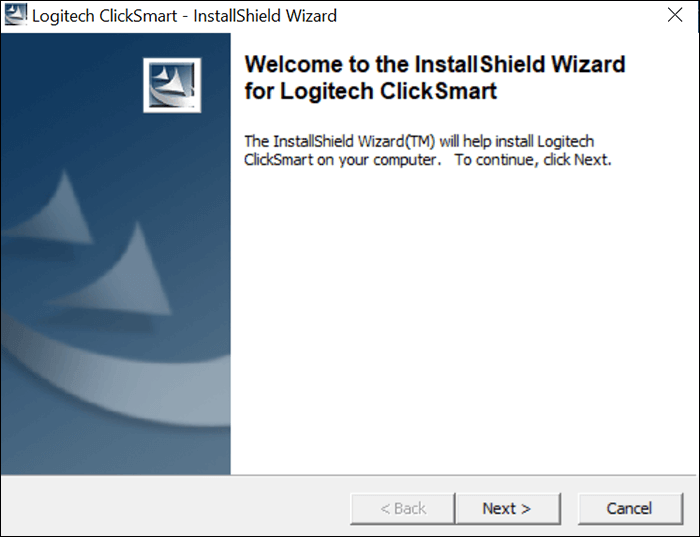
Step 1. Install the Drivers for Your Camera
In earlier days, you would get a CD, DVD, or even a floppy drive containing the drivers for your camera. If you have a disk, connect it to your computer. If you do not have one, head over to the official site of your camera and download the required drivers.
Once the drivers are downloaded, or you have inserted the disk to your computer, double-click on the setup file and it will begin to install the essential drivers on your machine. Make sure to go for a full installation of the camera in case the installer asks if you want to customize your installation.
Step 2. Install the Required App
Most cameras come with a dedicated app to let you test and view the footage from your camera. This app, in most cases, gets installed along with the drivers. However, with certain cameras, you need to install this app separately.
If that is the case, open the installer for the app and begin to install the app. Make sure to tick-mark all the feature boxes to ensure the app is installed with all the features that your camera offers. You can download the app from the camera manufacturer's website if you do not have the disk.
Step 3. Connect the Camera to Your Computer
When you have installed the required drivers and app on your computer, the next thing you need to do is to connect your camera to your PC. This is a normal connection, and you can connect the camera using a USB or any other cable provided with it.
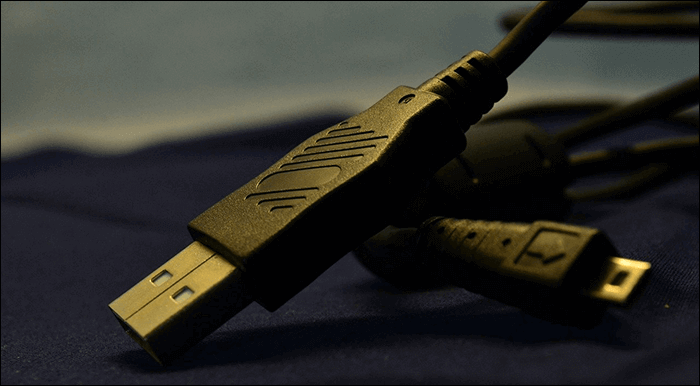
Most external cameras use a USB cable to connect the camera to a high-speed USB port on your computer. Make sure the port you use for this is working as a defective port may cause you not to watch the camera footage.
Step 4. View the Footage from Your Connected Camera
Finally, when you are done installing the drivers, apps, and connecting the camera, you will want to test if the camera works. You can do this by using the app that you just installed on your computer. While the camera is still attached to your computer, launch the camera app on your PC.
Conclusion
Most users are not sure how to record a video when they get a new camera for their computer. If you are one of those users, EaseUS RecExperts makes it extremely easy for you to record a video from any of your cameras. It has universal support for cameras, and you simply need to click on a few buttons to start recording from your attached camera.
EaseUS RecExperts

One-click to capture anything on screen!
No Time Limit, No watermark
Start Recording