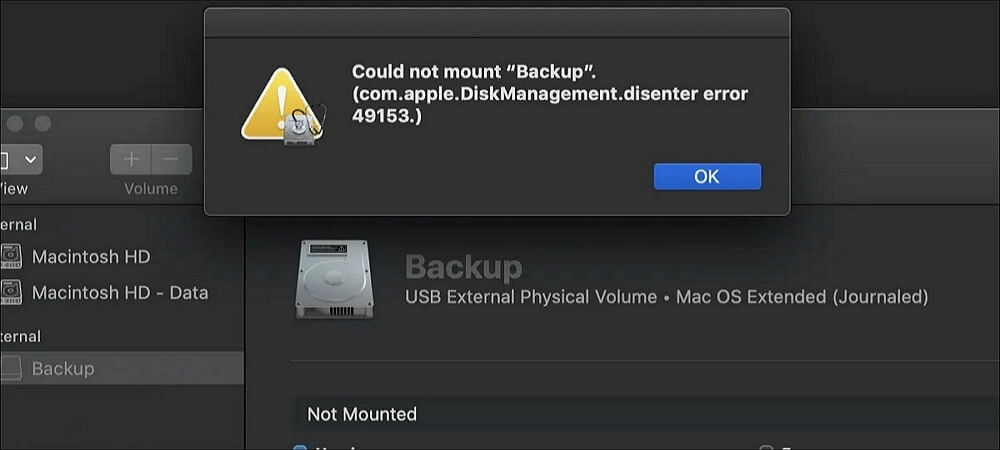
Encountering the "com.apple.DiskManagement.disenter error 49153" while attempting to mount your external hard drive on your Mac can be quite disheartening.
This enigmatic error, often represented by the code 49135, indicates a problem with your cherished external drive or the macOS itself. At the same time, the specter of data loss looms; despair not! This article will explore why you might see the com.apple.diskmanagement.disenter error 49135 when using an external hard drive on your Mac.
We'll also guide you through the steps to fix this issue and get your important data back, all without any complications.
| Workable Solutions | Step-by-step Troubleshooting |
|---|---|
| Fix 1. Restart Your Mac | Click the Apple menu at the top, and choose the Restart option to restart your Mac...Full steps |
| Fix 2. Run First Aid in Disk Utility | Initiate Disk Utility by navigating to Applications > Utilities, and identify your drive on the left...Full steps |
| Fix 3. Use Terminal in Single User Mode | Access Single User Mode, and press and hold the Power button and the Command + S...Full steps |
| Fix 4. Disable Time Machine | Stop the Time Machine process to enable your drive's mounting and fix this error...Full steps |
| Other Effective Fixes | Delete Time Machine snapshots or format your drive to fix the error 49153...Full steps |
Just like the com.apple.DiskManagement.disenter error 49244 on Mac; the error 49153 can be fixed. Before fixing it, come along as we uncover the reasons behind this problem and help you solve it, making your digital life smoother again.
com.apple.DiskManagement.disenter error 49153: Possible Causes
The com.apple.DiskManagement.disenter emerges due to complex interactions within the Disk Management framework. To resolve it effectively, one must delve into the potential reasons behind its occurrence.
⚠️Corrupted System Files and Directories
One plausible cause of error 49153 is the presence of corrupted or missing critical system files. Disk Management heavily relies on these files to function smoothly. When they are compromised, an error can emerge. Fixing corrupted files on Mac can solve error 49153.
❌Incompatible Software Installations
Conflicts arising from incompatible software installations can disrupt the harmony of Disk Management. If newly installed software clashes with existing components, error 49153 might manifest. Software incompatibility also leads to Sonoma installer failure.
💾Insufficient Disk Space
Insufficient disk space poses another potential trigger for this error. Disk Management requires ample space to execute its operations seamlessly. When space is lacking, or Mac deleted files not freeing space, error 49153 could appear.
😰Hardware Issues
Underlying hardware problems can also contribute to this error. Failing hard drives or malfunctioning disk sectors can disrupt the communication between the operating system and Disk Management, resulting in error 49153.
⛔Improper Permissions and Security Settings
Incorrect permissions or security settings can impede Disk Management's functions, leading to error 49153. Proper permissions are vital for the smooth execution of disk-related tasks.
How to Fix com.apple.DiskManagement.disenter error 49153
After examining the potential causes behind the "com.apple.DiskManagement.disenter error 49153", let's delve into actionable solutions. Users can regain optimal functionality in their Ventura and Sonoma systems by systematically addressing these remedies.
For a clearer understanding of the process and to assist you further, we have included a helpful video guide. Be sure to watch the video to ensure a smooth formatting process. Here are some of its parts to help you out with the problem:
- 00:00 - Introduction
- 02:03 - Drive sets to APFS format by default
- 02:49 - Two partitions of external HDD
Fix 1. Restart Your Mac to Fix Mac Error 49153
Rebooting a Mac or force restarting a Mac can effectively address various minor issues. If you still need to attempt this, consider initiating a reboot of your Mac. Click the Apple menu and select the "Restart" option.

Begin by safely ejecting the unmountable drive and disconnecting it from your Mac. Afterward, proceed to restart your Mac and then reconnect the problematic drive. This simple procedure is often a practical solution for resolving common glitches.
Fix 2. Run First Aid in Disk Utility
To resolve this issue, consider the option of repairing your drive using Disk Utility. Check the steps below:
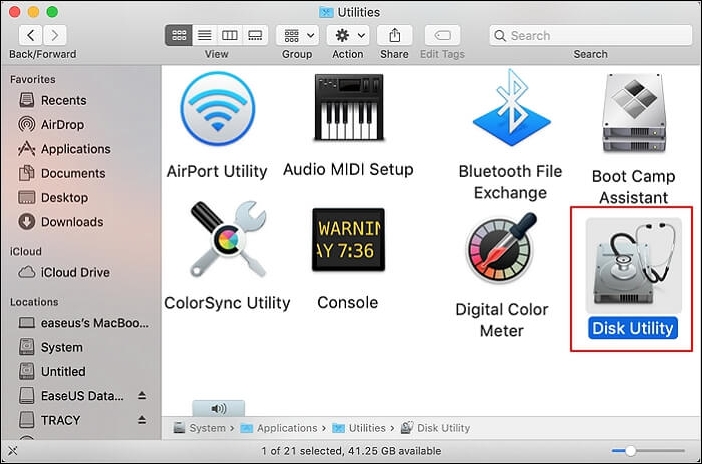
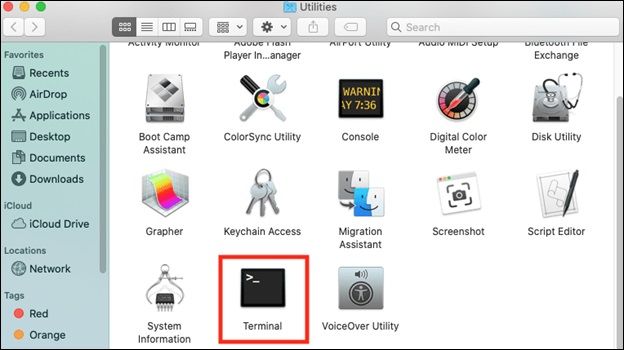
Step 1. Initiate "Disk Utility" by navigating to "Finder > Applications > Utilities".
Step 2. Identify your drive in the left sidebar and tap the "First Aid" button at the window's top section.
Step 3. Upon encountering the dialogue box, activate the "Run" option.
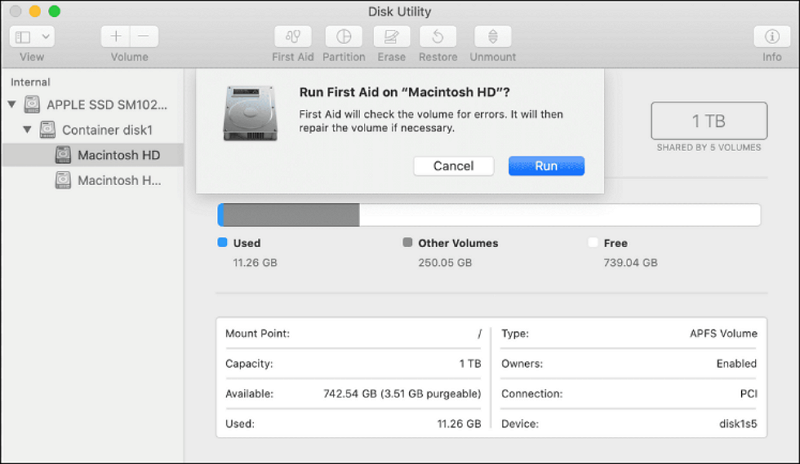
Step 4. Subsequently, take the step of manually mounting your hard drive within Disk Utility. It involves choosing your drive or volume from the left sidebar and selecting the "Mount" button.
No worry if you encounter this "couldn't unmount disk 69888" error on your Mac! This article will solve the unmountable error 69888.

Couldn't Unmount Disk 69888 on Mac | Top 6 Methods to Fix
This article will discuss 6 effective methods to fix the couldn't unmount disk 69888 error on Mac. Read more >>
Fix 3. Use Terminal in Single User Mode
To use the Terminal in single-user mode, you must follow these steps:
Step 1. Access "Single User Mode" by restarting your Mac.

Step 2. After that, press and hold the Power button and the "Command + S" keys together.
Step 3. You are in Single User Mode when a window resembling the Terminal app appears. Wait for the continuous white text to halt, then input the subsequent command /sbin/fsck -fy and press "Return".
Step 4. Enter the command reboot after the process wraps up. Your Mac will receive the instruction to restart itself.
Fix 4. Disable Time Machine to Fix Error 49153
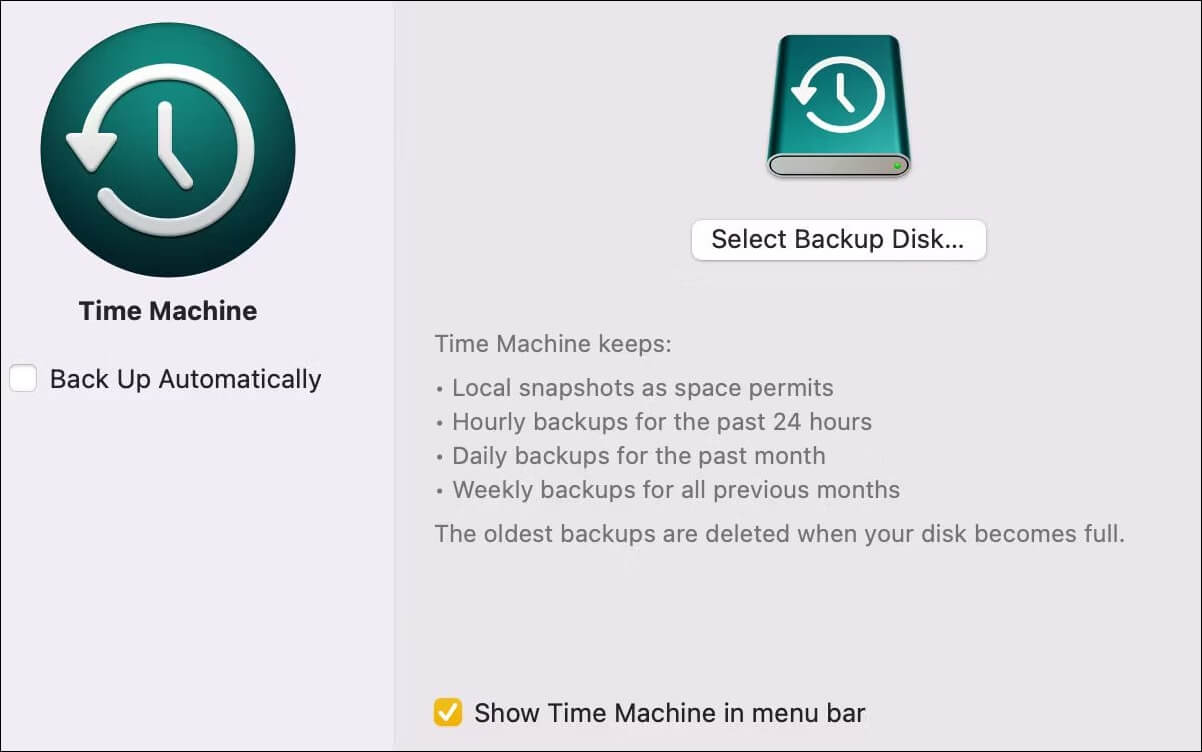
You can also stop the Time Machine process to enable your drive's mounting and fix this error. To do this, you must access Time Machine's settings by opening System Preferences and selecting Time Machine. From there, deselect the checkbox next to the "Back Up Automatically" option.
Share this article on social media to help others learn more about how to fix the "com.apple.DiskManagement.disenter error 49153" on Mac.
Fix 5. Delete Time Machine Snapshots
You might resolve this disk utility error by erasing Time Machine snapshots from your Mac. Follow these instructions to do so using the Terminal app:
Step 1. Open Terminal.
Step 2. Commence by displaying a list of locally stored Time Machine snapshots. Input the provided command and press the "Return" key:
tmutil listlocalsnapshots /
Step 3. Execute the next command by typing it and pressing "Return":
tmutil thinlocalsnapshots /99999999999999
Step 4. Repeatedly use these commands to ensure the deletion of all your snapshots.
Fix 6. Format Drive to Fix Diskmanagement Disenter Error 49153
Before formatting an internal hard drive on a Mac, it's crucial to recognize that this action will erase all of your existing data. Safeguarding your files by creating a backup is an essential initial step.
EaseUS Data Recovery Wizard for Mac comes to the rescue in such unfortunate scenarios, which can help you recover formatted hard drives on Mac.
This professional data recovery tool specializes in recovering permanently deleted files on Mac from various situations, whether due to errors, accidental deletions, emptied Trash Bins, or other causes. With a few simple steps, you can easily retrieve your valuable files and breathe easily.
🏆Key Features of EaseUS Data Recovery Wizard for Mac
- Recover deleted photos on Mac, and retrieve videos, music, documents, emails, etc.
- Support various Mac devices like HDD, SSD, and SD card recovery on Mac.
- Supports restore files without Time Machine backups or iCloud Drive.
Using the powerful EaseUS recovery tool to back up your essential data first:
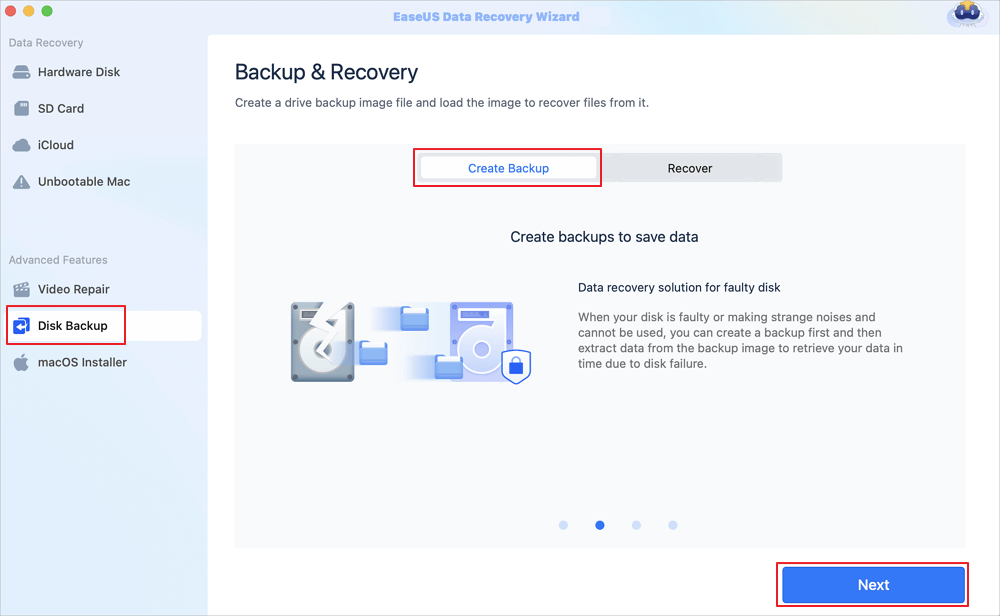
Step 1. Click "Disk Backup" > "Create Backup" > "Next" in EaseUS Data Recovery Wizard for Mac's main interface. You can create a drive backup image file in case the data is overwritten.
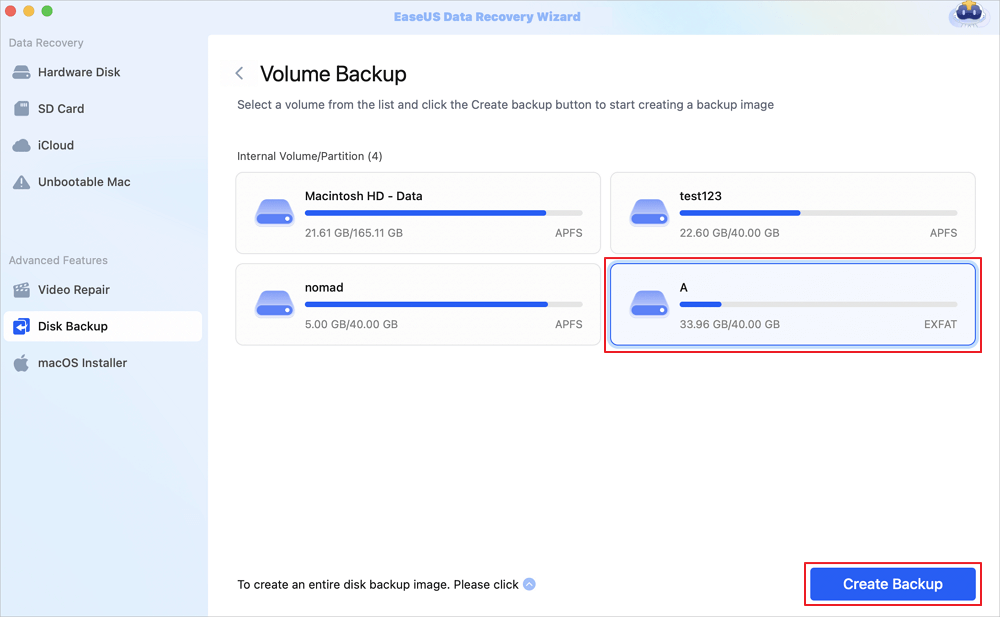
Step 2. Select an internal volume to back up, and click "Create Backup". If you want to create backups and recover data from an external hard drive, USB flash drive, or SD card, remember to connect the storage device to your Mac in advance.
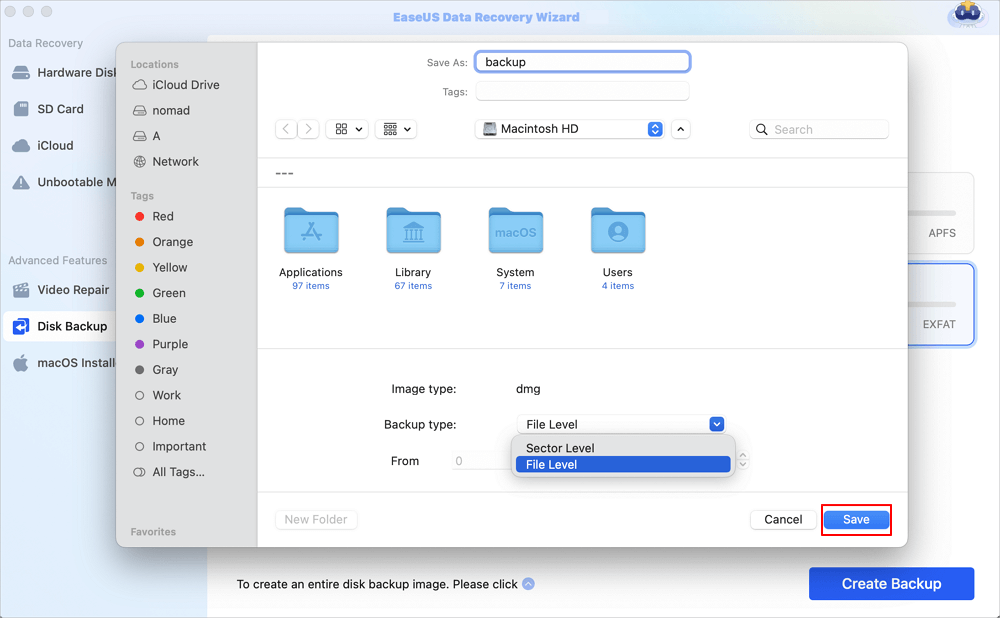
Step 3. Choose a place to save your backup files, and change the name of your backup file, then click "Save". It is not wise to save backups in the same storage device that you want to recover data from.
After backing up your essential data, check the steps below to format your hard drive on Mac:
Step 1. Launch the "Disk Utility" application. Locate your target drive in the left sidebar of the Disk Utility window.
Step 2. At the top of the window, locate and click the "Erase" button to initiate the formatting process.
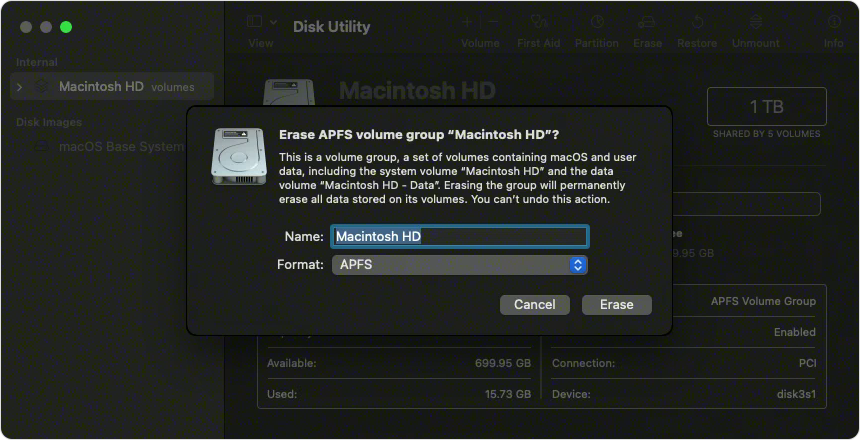
Step 3. A dialogue box will appear; within it, assign a name to your drive and opt for a specific format.
Step 4. Choose the "GUID Partition Map" scheme, which is ideal for compatibility with modern Mac systems.
Step 5. Once you've configured the settings, click the "Erase" button to proceed with the formatting procedure.
Conclusion
In summary, encountering data loss due to the "com.apple.DiskManagement.disenter error 49153" can be distressing. However, there's a silver lining with EaseUS Data Recovery Wizard for Mac. This powerful tool is designed to address a wide range of data loss scenarios, whether it's the error itself, accidental deletions, emptied Trash Bin, or more.
com.apple.DiskManagement.disenter error 49153 FAQs
Here are questions people frequently ask when the "com.apple.DiskManagement.disenter error 49153" occurs on Mac:
1. What is error 49153 on Mac?
Error 49153 on Mac, specifically the "com.apple.DiskManagement.disenter" error, typically occurs during disk formatting or partitioning. It signifies a failure in the Disk Utility's operation, possibly due to conflicts or issues with the drive.
2. How can I compel my Mac to mount an unresponsive hard drive?
Ensure the drive is connected to your Mac. Access Disk Utility and choose your external HDD from the left sidebar. Initiate the mounting process by clicking the Mount button at the top of the window.
3. How to resolve the issue of a Mac not mounting a hard drive?
Check the connections and cables for any physical issues if a hard drive doesn't mount on a Mac. Try connecting the drive to another USB or Thunderbolt port. If the issue persists, use Disk Utility to repair the drive and check its health. If unsuccessful, consider data recovery options and professional assistance.
4. How do I remount my internal hard drive Mac?
To do this, you must access Disk Utility. Locate the unmounted drive on the left panel, select it, and click the "Mount" button. If successful, the drive will reappear on your desktop and in Finder.
Was This Page Helpful?
Brithny is a technology enthusiast, aiming to make readers' tech lives easy and enjoyable. She loves exploring new technologies and writing technical how-to tips. In her spare time, she loves sharing things about her game experience on Facebook or Twitter.
Related Articles
-
What Does SMART Status Mean, Here Is Everything You Want
![author icon]() Sherly/2024-01-19
Sherly/2024-01-19 -
How to Change Boot Drive Windows 10? [Updated 2024]
![author icon]() Tracy King/2024-02-04
Tracy King/2024-02-04 -
How to Fix macOS 13 Ventura Installation Failed/Stuck/Frozen (2024 Tips)
![author icon]() Brithny/2024-01-11
Brithny/2024-01-11 -
Efficient Tutorial: Create Multiple Partitions on USB Drive Using Diskpart
![author icon]() Sherly/2024-01-11
Sherly/2024-01-11

EaseUS Data Recovery Services
EaseUS data recovery experts have uneaqualed expertise to repair disks/systems and salvage data from all devices like RAID, HDD, SSD, USB, etc.