
Synology NAS, developed by Synology Inc., is a centralized data storage and backup solution that streamlines file collaboration, optimizes video management, and ensures secure network deployment for efficient data management. It can also be used for daily purposes at home. Next, let us explore how to backup your computers Synology NAS. 
Backup to Synology NAS with EaseUS Todo Backup
EaseUS Todo Backup is a reliable and user-friendly backup tool. With just a few clicks, it allows you to backup your computer, system, disks and files to your Synology NAS. Apart from NAS, it also supports a range of other storage devices such as HDD, SSD, USB external disks, Hardware RAID, Home File Server, cloud storage, etc.
Moreover, EaseUS Todo Backup offers a clone function that facilitates disk cloning without any data loss. Simply download the software and follow the guide below to safeguard your PC.
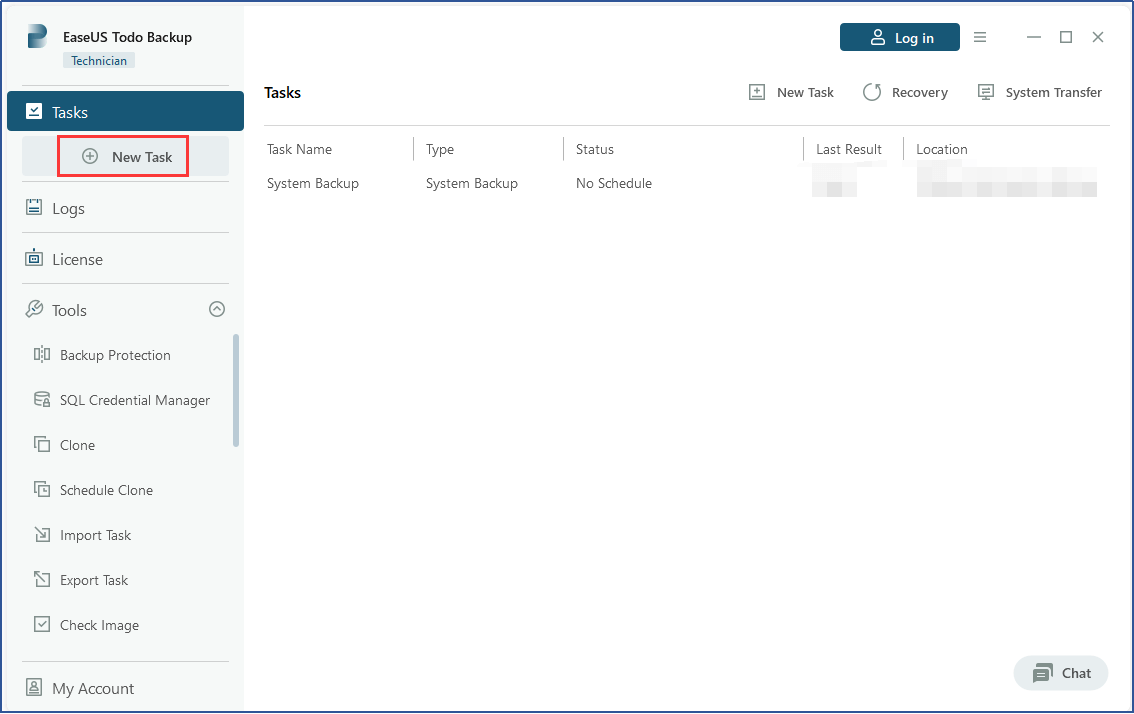
1. Please open EaseUS Todo Backup and create a new backup task by clicking New Task.
2. Choose the type of backup content you want to include, such as Disk/Volume, System, File, or other.

3. To select the destination, click Browse... and add your NAS device.

4. Enter the IP/Name of the NAS device and the appropriate credentials to establish a connection with NAS.

5. Once the NAS device has been added, choose a suitable location on the NAS to store the backup images. Then click OK.

6. You can also schedule the backup to run once, daily, weekly, or monthly.

7. After setting up the task, click Proceed to begin the backup.

8. The backup is now in progress. With a backup, you can feel secure and confident in knowing that your data and information are protected and easily retrievable in case of any unfortunate events.

Central Management Backup Solution to NAS
If you have a large number of computers that need to be backed up, it would be time-consuming to create tasks on each individual computer. We recommend using EaseUS Backup Center, a centralized management solution to save you time and effort.
By installing Backup Center on one of the machines, you can easily create a single backup task and deploy it to all client machines. This simplifies the backup process and ensures that all of your computers are properly protected.
1. First of all, please create a new backup task in Backup Center. The steps are almost the same as that in Todo Backup.

2. Once it is created, please choose Deploy Task to select the client machines.

Backup Computer with Synology Drive Client
Synology Drive Client is desktop software that simplifies file synchronization, computer backup services, and data management for multiple client computers to a central server - Synology Drive Server. Using Synology Drive Client, you can schedule backup tasks to transfer your computer files to a Synology Drive server. Additionally, you can create versions of files that can be restored or downloaded when necessary.
1. To begin using Synology Drive Client, please download and install the desktop client from the Synology Download Center. Be sure to select the version that is compatible with your computer's operating system.
2. Run the Synology Drive Client on your computer. Click Start Now.
3. Connect to your Synology NAS running Synology Drive Server using either its domain name, QuickConnect ID, or IP address (IPv6 supported). Enter the username and password. Click Next.

4. Select Backup Task. Click Next.

5. Select your backup source and destination. You can change the destination by clicking Select.

6. Click Backup Rules to configure further settings.
7. Tick Keep locally deleted files on the remote backup destination folder so that the files already backed up to your Synology NAS will not be deleted even if you delete them on your computer. Click Apply to save the changes.

8. Click Next. Then choose one of the three backup modes. We highly recommended selecting Continuous backup because it helps avoid data loss. However, in this example, we will demonstrate how to configure a Scheduled backup because it requires more steps. Click Next.

9. Select backup days, frequency, start time, and end time from each menu.

10. Tick Continue any uncompleted backup tasks when the system is in operation again so that the backup task will continue to run after recovering from interruptions such as an unexpected system shutdown.
11. Click Next.
12. You will see a summary of your backup task in the last step of the wizard. Click Done to confirm.
13. Double-click on the Synology Drive Client icon in the notification area to view your backup information and progress.
Conclusion
In summary, this post outlines the process of backing up computers to Synology NAS. For this purpose, EaseUS Todo Backup is recommended for its helpful and intuitive features, while EaseUS Backup Center is better suited for managing multiple computers in groups.
Backup to Synology NAS FAQs
1. What is the difference between sync and backup on Synology drive?
Backing up means to manually or automatically copy files from one location to another, usually from one physical drive to another, although it could also be to an online location. Syncing means to manually or automatically copy or delete files as needed to ensure that two locations have an identical set of files.
2. Is a NAS better than an external hard drive?
Network-attached storage devices offer more functionality than external hard drives, allowing for operations such as remote storage data access by multiple users, more robust data protection and security, and flexible backup options.
3. How Do I Connect Windows to Synology NAS?
You can achieve this through the following steps:
- Open Windows Explorer and click on Computer or This PC.
- Next, click on Map Network drive.
- On the next window, select a drive letter from the drop-down.
- Enter the server name and shared folder name for your Synology NAS, i.e., and click Finish.
- Enter the username and password for your DSM. Click OK.
- You'll now have your shared network folder mapped and accessible under Computer or This PC.
Was This Page Helpful?
Updated by Gap
Gap has been working as an experienced data backup and security engineer at EaseUS for over 10 years, focusing on working with clients to assess needs and implemented procedures and tasks for appropriate backup solutions.
-
Taking everything into consideration, we can say that EaseUS Todo Backup Home can offer you a little extra sense of security with a set of advanced tools. The interface provides quick adaptation, every process guiding you all the way through so you don't get stuck or further damage your system rather than keeping it safe.
Read More -
EaseUS Todo Backup Free lets you create backups of your important files or your entire computer through its streamlined interface. Just choose the backup type you'd like to get started, and let the program do the reset.
Read More -
EaseUS includes all the features I expect from backup software like versioning, incremental backups, and scheduling. For more advanced users, EaseUS allows you to install a pre-boot environment onto your hard drive so you can use it to restore files without burning a CD or putting it on an external USB drive.
Read More
Related Articles
-
How to Create EaseUS Bootable USB, CD/DVD, and ISO Image with EaseUS Todo Backup
![author icon]() Jean/2023/11/30
Jean/2023/11/30 -
Top 10 Best Server Backup Software: Which One Is Best for You
![author icon]() Cedric/2024/01/03
Cedric/2024/01/03 -
How to Back Up Active Directory in Windows Server
![author icon]() Gap/2023/12/19
Gap/2023/12/19 -
Best Free Backup Software for Windows Server(2024)
![author icon]() Larissa/2024/01/03
Larissa/2024/01/03
![]()
EaseUS Todo Backup
Smart backup tool for your files and entire computer in Windows 10/8/7.
Install Windows on Multiple Computers at Once? No Problem!
Learn how to install Windows 11/10/7 and special programs/software on a batch of computers. Use 10 minutes to do the 10 hours work without making a single mistake!
Get Free Solution!