You might want to share or keep a backup of your essential data from your iPhone 15, which calls for a proper transferring method to backup iPhone to USB flash drive or transfer your essential iPhone 15 photos to such external sources. With new connectivity methods in line, learning how to transfer iPhone 15 photos to a hard/flash drive would be necessary. This article proposes optimal methods to transfer photos from iPhone to external hard drive or transfer photos from iPhone to flash drive.
Part 1. The Best One-Click Way to Transfer iPhone 15 Photos to Flash Drive on Computer
For the first method, instead of looking through conventional data transfer techniques, we'd be providing you with EaseUS MobiMover. This unique iPhone transfer software offers an instant photo transfer solution, allowing you to shift photos from your iPhone 15 to other iOS devices or computers. This data-transferring utility does not cater to simple transfers but is also used for backup purposes.
If you have important data that needs to be withheld on another hard/flash drive, EaseUS MobiMover makes it easy to process it. Its ability to handle the backup and restoration of WhatsApp chats and attachments makes it a perfect data transfer and management option. If you wish to transfer iPhone 15 photos to hard drive or flash drive, this transferring utility brings ultimate convenience.
Click below to download the trial version of this EaseUS software to use it freely to transfer photos from iPhone 15 to computer, USB drive or hard drive with ease:
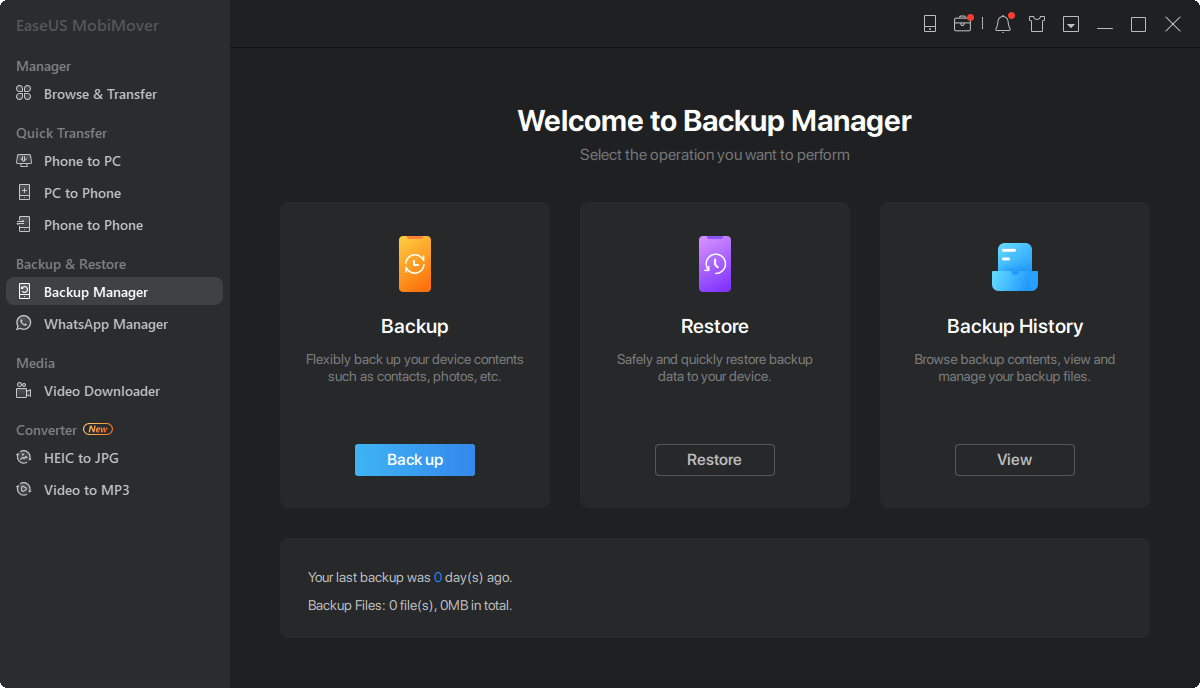
Step 1. Connect your iPhone to your PC with a USB cable and go to "Backup Manager" > "Back up" in EaseUS MobiMover.
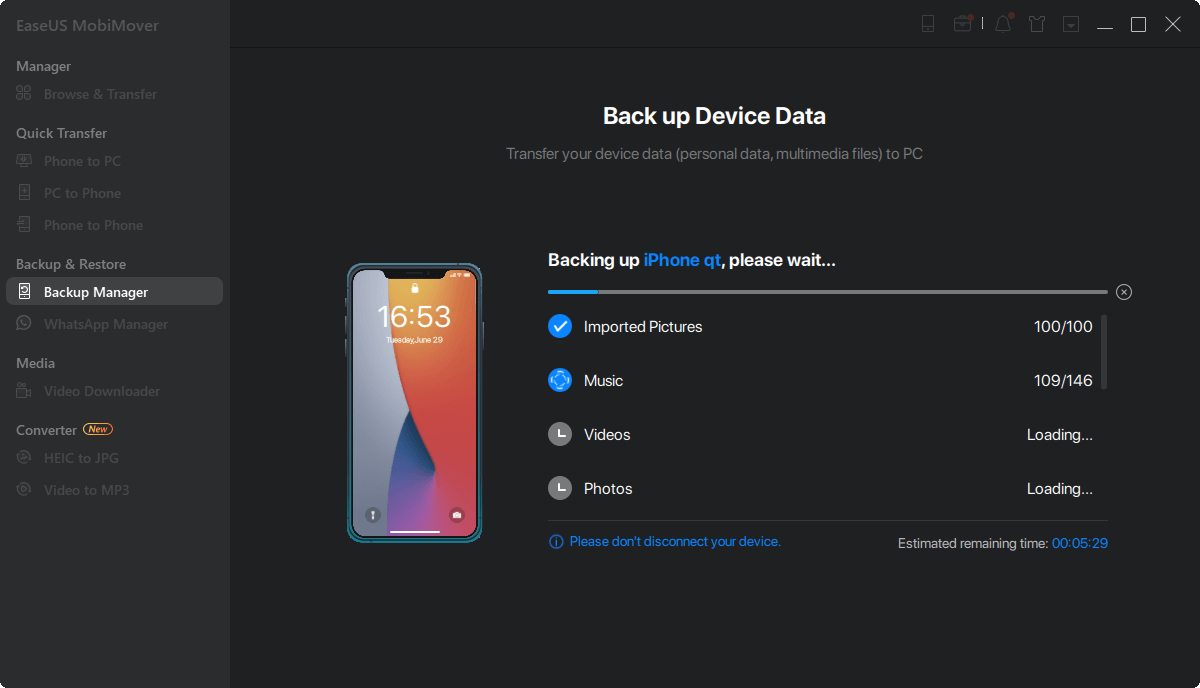
Step 2. Check the content you need to backup and tap "Select" to change the iPhone backup location to the external hard drive. Then click "One-Click Backup".
Step 3. Wait for the backup to complete. If you need to restore an iPhone from the backup in the future, go to "Backup Manager" > "Restore" to restore the backup from the external hard drive to your device.
Part 2. 4 Alternatives to Transfer iPhone 15 Photos to Flash Drive with Computer
As we have successfully reviewed the best way to transfer iPhone 15 photos to a flash drive on a computer, you might still require some basic knowledge of the conventional transfer methods. We will be reviewing the top-rated transfer methods that help you transfer your iPhone 15 photos to the computer:
1. Using iCloud
For the first method, iCloud.com features an easy option for users to shift their iPhone 15 to the computer. As this service can be accessed online through any browser, you have to ensure the data is successfully synchronized into it from your iPhone 15.
Once the synchronization concludes, log in with the same Apple ID on your computer and process the photo transfer. To know how to transfer iPhone 15 photos to a hard/flash drive using iCloud, look ahead into the steps:
Step 1. After accessing the iCloud web app with your credentials, you have to select the "Photos" app from the Apps widget.
Step 2. Here, locate the folder from which you want to download the pictures and choose them. Tap on the "Download" icon from the top right corner after selecting them.
![proceed with icloud photos option]()
2. Using Windows Explorer
A simple yet restricted option for transferring iPhone 15 photos to the computer is through Windows Explorer. By simply connecting your iPhone 15 through a wired connection, you can transfer your important pictures to the computer. Following this, you can have it stored on your hard drive or a flash drive, which is processed using the instructions below:
Instructions. Connect your iPhone 15 with the original USB-C cable and open File Explorer. Here, choose the "Apple iPhone" device and access its internal storage. You have to copy-paste all the image folders from there to the hard or flash drive.
![access iphone photos file explorer]()
3. Using Image Capture on Mac
If you are still confused about how to transfer iPhone 15 photos to a hard/flash drive, this solution provides a direct convenience for Mac users. This dedicated feature offered by Apple allows its users to quickly transfer images and video clips from their iPhone to a Mac. With a simple interface and easy-to-process tool, you can easily transfer your iPhone 15 photos with the following step:
Instructions. Open the Image Capture application on your MacBook after connecting your iPhone 15 with an Apple-certified USB-C cable. Then, go through all the pictures of your iPhone and select the required one. Once selected, hit the "Download" button to get them exported to your Mac, or use "Download All" to save all the images of your iPhone 15.
![use image capture app mac]()
4. Using the Photos App on Mac
The macOS provides an integrated experience to Apple users, allowing multiple direction connections on different scales. The Photos app is another direct connection iPhone 15 users can establish by synchronizing their photos using the same Apple ID. To carry out the transfer successfully, use the instructions featured below:
Instructions. After connecting your iPhone 15 with your MacBook, open the Photos app from the Dock and select your iDevice from the left panel. Here, you get to export the required images by selecting them and pressing the "Import Selected" button. If you have already used this method, you can save the new photos of your iPhone only by clicking the "Import All New Photos" button.
![import photos using photos app mac]()
Part 3. How to Directly Transfer iPhone 15 Photos to USB Flash Drive Without Computer
A direct way exists to transfer iPhone 15 photos to a flash drive. Since the iPhone 15 was launched with a USB-C port, the lightning port restrictions have been exempted, allowing users to directly connect a USB-C flash drive with their iPhone 15.
Through this simple technique, users can transfer their essential photos from the iPhone into the flash drive without any computer connection.
Step 1. Take a Type C to USB adapter to connect one side with your USB and one side with your iPhone or get a USB-C flash drive and insert it directly into your iPhone 15 USB-C port. To confirm if your iPhone 15 has detected the USB, open the Files app and check if it is visible under the "Location" section.
Step 2. Next, open the Photos app and choose all the images you want to export to your flash drive by tapping the "Select" button from the top right corner. Here, tap the "Share" icon, press the "Save to Files" option by scrolling down, and select the flash drive location to successfully transfer the pictures.
![save photos to flash drive]()
Conclusion
This article has reviewed the top methods that can be used to figure out how to transfer iPhone 15 photos to a hard/flash drive. With methods like EaseUS MobiMover, ensuring smooth data transfer from your iPhone 15 to the computer is not easy.
Along with other conventional photo transfer methods, you can easily make backups and save your device's data. Furthermore, with the updates brought in the iPhone 15, you can transfer your photos directly to a flash drive without using a computer.
FAQs on How to Transfer iPhone 15 Photos to Hard Drive / Flash Drive
If you are still having doubts about how to transfer iPhone 15 photos to a hard/flash drive, we've set up some further questions along with their answers to clear any remaining queries:
1. How to transfer files from iPhone 15 to computer?
One of the best ways to transfer files from an iPhone 15 to a computer is EaseUS MobiMover. With diverse file format support, this one-click solution aids in smooth data transfer from the iPhone to the computer.
2. How do I download all my photos from my iPhone?
To download all the photos from your iPhone to your Windows PC or MacBook, you can follow these methods:
- MacBook Method. Choose your connected iPhone from the left panel in the Image Capture app and tap the "Download All" button to download the entire photo library.
- Windows Method. Press the "Import" button in the Photos app of your PC and click on your connected iPhone. Here, enable the "Select All" option and press the "Add" button to download all your iPhone photos.
3. What is the best way to store thousands of photos?
The best way to store thousands of photos across an appropriate location is EaseUS MobiMover. This unique iPhone transferring tool helps users transfer and keep data backups across the computer. Regardless of the number of photos, you can store them across your computer using the convenient system offered by EaseUS MobiMover.
 NEW
NEW HOT
HOT