Data backup is an essential process that anyone using modern technology needs to learn. There are many dedicated devices and techniques to create backups. Numerous people back up iPhone to external hard drive or use cloud devices to save their data.
One such device type is NAS or Network Attached Storage. It is used by a lot of people to store their important data. But is it possible to back up iPhone to Synology NAS? Synology is the most popular provider of NAS devices.
So, does that mean an iPhone user can use this NAS device to back up their data? This article will answer that question and more. So let's dive right into it and find out how to back up iPhone to Synology NAS.
Part 1. Set Up Synology NAS on PC for iPhone Backup
The first thing you're going to do is set up the NAS device on your PC for iPhone backup. This is a brief process that requires you to log into the NAS device using your credentials. That's why it's important to set up your NAS device before you can use it for an iPhone backup.
Here's what you will do on either your Mac or Windows PC:
Step 1. Install the Synology Assistant program after downloading it from Synology official website.
Step 2. Now start up the Synology software and wait for it to sense your NAS device.
![Synology software]()
Step 3. Select one of the NAS devices or the only option if you don't have more than one.
![NAS devices]()
Step 4. You will then enter IP address into a browser tab and put in your NAS credentials.
You can also modify the password of your NAS device by right-clicking on the NAS option in Synology Assistant software. From there, just head into the credentials preferences to alter the password as well as the IP address of the NAS device.
Part 2. Manually Backup iPhone to Synology NAS
The first method is to manually back up iPhone to Synology NAS. That means you're going to to copy all of your iPhone data to your PC and you can find more info regarding that in this article. That's why you will have to tail these steps once you transfer files from iPhone to PC:
Step 1. Log into your Synology NAS device from any browser.
Step 2. Open the File Station option on the NAS desktop.
![File Station option]()
Step 3. Open the folder/location where you have iPhone data saved.
![iPhone data saved]()
Step 4. Click and hold the files and then drop them into the Synology NAS.
![Synology NAS]()
Step 5. Wait for the upload to finish into your Synology NAS.
![Synology upload NAS]()
This will take a few minutes but that'll depend on the size of your iPhone data. You will see the upload finish in the top-right corner as indicated in the image above.
Part 3. Automatically Backup iPhone to Synology NAS
The next step is to automatically back up iPhone to Synology NAS. That's why you're going to need a Synology-approved application called DS Files on your iPhone. You can download it from App Store easily and then follow these steps:
Step 1. Use the DS File app on your iPhone then log into Synology NAS.
![DS File app]()
Step 2. You will now tap on the menu preference in the top-right corner then push the Add button.
![Add button]()
Step 3. Then you will tap on the Upload button as the next dialogue box appears.
![Upload button]()
Step 4. Browse your iPhone with DS File and upload the files you need to back up to NAS.
![DS File and upload the files]()
Step 5. Wait for DS Files to upload to your NAS device.
![Wait for DS Files to upload to your NAS device]()
This might take a few minutes but that'll depend on the file size. It'll also depend on the number of files that you upload to the NAS Synology device.
Part 4. Backup iPhone to Synology NAS via EaseUS MobiMover
Another thing you can do is use a third-party tool on your Mac or Windows PC to move directly to Synology NAS. This data transfer and backup software is called EaseUS MobiMover and it's one of the best iPhone backup programs that you can use today.
It's available on both Windows and Mac. So that means you don't have to worry about using it on either platform. You can also easily employ it to create backup or transfer files between two phones. And here are some of the key features that make it a great option to backup iPhone to Synology NAS:
That's why it's one of the best software that you can use for transferring your iPhone to Synology NAS without any issues. Now you know why this software is vital, let's talk about the steps to backup iPhone to Synology NAS:
Note: Before you do the following, you need to map the NAS to a disk on your computer, such as disk D, and then you can choose the corresponding path for backup.
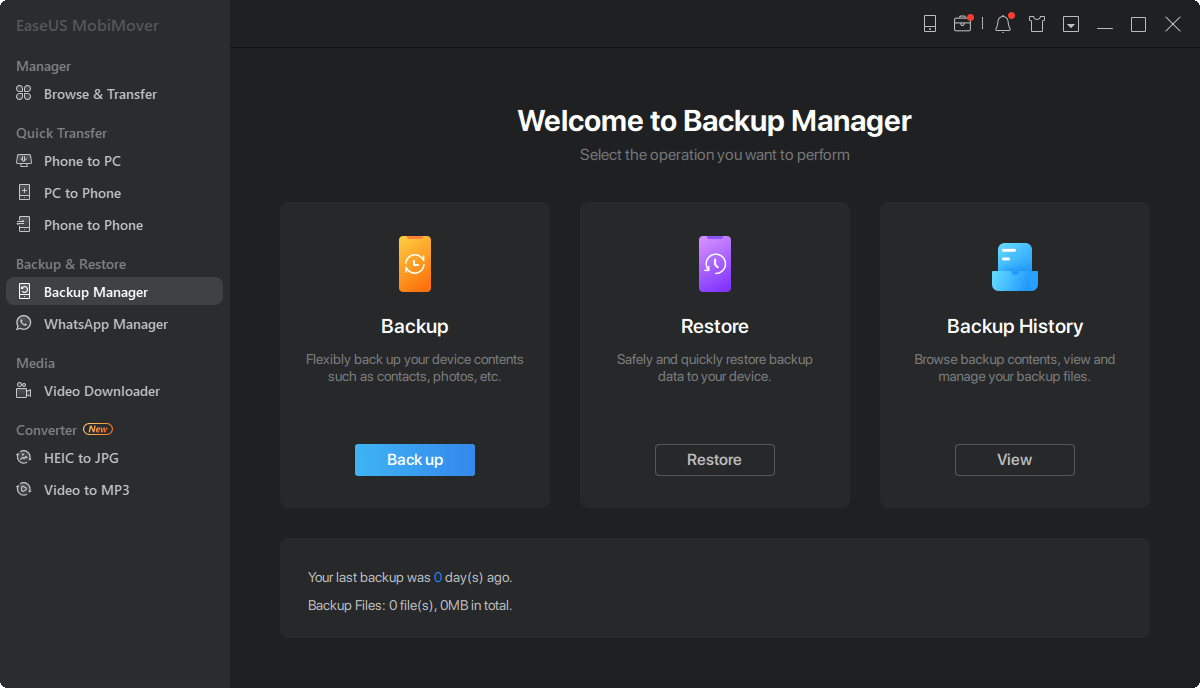
Step 1. Connect your iPhone to your PC and trust the computer. Launch EaseUS MobiMover and go to "Backup Manager" > "Back up".
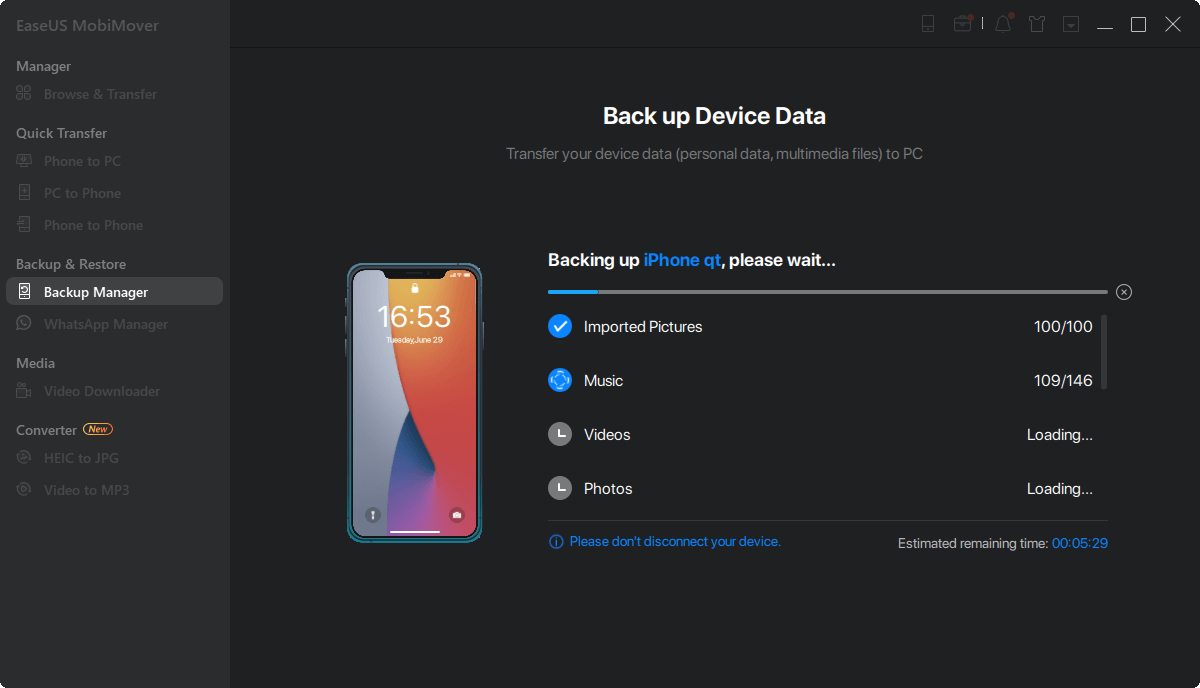
Step 2. Since all the supported files are selected by default, click "One-Click Backup" directly to start backing up your iPhone to computer.
Step 3. Wait patiently until the backup process completes. When you need to restore the backup, go to "Backup Manager" > "Restore" and follow the onscreen instructions to continue.
Part 5. Conclusion
These are some key ways to back up your iPhone to Synology NAS without any issues. It's essential to comprehend that you can take all these steps on any iPhone device. But you will have to guarantee that you follow each step correctly.
And all of the backup tactics we talked about work perfectly. But you still might want to choose the option that'll work the best for you. And if you ask our recommendation, then there's no better way to back up your iPhone to Synology NAS than using EaseUS MobiMover.
Part 6. FAQs
Here are some FAQs to help respond to any added questions you might have:
1. Can I back up my iPhone on NAS?
You can easily back up any iPhone data to a NAS device. NAS or Network Attached Storage devices are hard drives connected to your network. The primary purpose of any NAS device is to help you back up any data onto them.
2. How do you connect your iPhone to a Synology NAS?
You will need an application on iOS called DS Files and then download it on your iPhone. Once you have it on your iPhone, then enter the NAS IP address in the network section of DS Files. Then you will have to provide the credentials for login on NAS.
3. Can Synology sync with iCloud?
Synology can easily sync with iCloud. That's why it's essential to understand how you can set up iCloud on Synology. This way, you can see all of your iCloud data on your NAS devices.
 NEW
NEW HOT
HOT