Quick fix: Use SFC to fix the system cannot find the file specified error

In Command Prompt, type the following command: sfc /scannow. Now press Enter.
After scanning and correcting errors, restart the computer and check if the "the system cannot find the file specified" error is fixed.
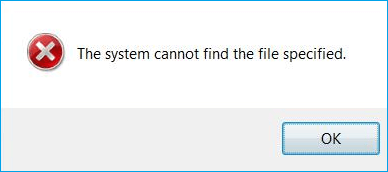
"The system cannot find the file specified"
"The system cannot find the file specified" is an error that may happen on Windows 10 or earlier versions and usually indicates an Error Code 0x80070002. The error may also occur under various conditions, but most people receive this prompt when they:
- Access a local hard drive, external hard drive, USB, and more in Disk Management
- Access files and folders on your computer
- Launch a program
- Install Driver
- Back up system
How to Fix "The system cannot find the file specified"
Depending on your situation, the solutions to the problem "The system cannot find the file specified" vary. Identify your situation and find the corresponding solutions below.
| Workable Solutions | Step-by-step Troubleshooting |
|---|---|
| Case 1. Error while accessing the drive | Recover data from the hard drive > fix the hard drive via Diskpart...Full steps |
| Case 2. Error while accessing folders | Check the system log file > look for files via Regedit > check for RTHDCPL in Registry key...Full steps |
| Case 3. Error while launching programs | Click open EaseUS DriverHandy and click "Scan" to find all the outdated drivers...Full steps |
| Case 4. Error while installing drivers | Look for files via Regedit > check for RTHDCPL in the Registry key...Full steps |
| Case 5. Error while backing up system | Install the latest Windows updates > check Services settings...Full steps |
Situation 1. Receive "The system cannot find the file specified" While Accessing a Hard Drive
Most people encounter the "the system cannot find the specified file" error when trying to access or back up some data. This is because the file system of the target device is corrupted or damaged, making your hard drive, USB, or external hard drive inaccessible. To fix this error, you need to run the chkdsk command to repair the corrupted file system, using reliable data recovery software to return all lost data. Then, clean and re-partition the hard drive using the diskpart command in CMD.
First. Run CHKDSK Command to Fix "System Cannot Find File Specified" Device
- Right-click the Start button, type cmd in the Search, and select Command Prompt (Admin).
- Type chkdsk x: /f /r (x represents your target drive) into the Command Prompt window and press Enter Wait while chkdsk tries to repair the corrupted file systems.
- Type exit and press Enter to leave this command.
After this, you can try to re-open the drive to find your saved files. If files are missing or not showing up, move to the following tutorial to recover data from your storage device using reliable data recovery software
Next. Recover Data from Problematic Hard Drive or Device
Whether it's an external storage device or a local hard drive, you can use EaseUS Data Recovery Wizard to recover data from the device. It can retrieve deleted/formatted/lost files and get back data from formatted or inaccessible hard drives. To regain access to your precious files:
Step 1. Run EaseUS Data Recovery Wizard. Choose the drive where you lost files and start scanning. This software allows you to recover lost data from all devices, including HDD, SSD, USB drive, SD card, pen drive, camera, etc.

Step 2. Browse the full scan results. You can choose the file type you need by clicking on the file type filter. EaseUS data recovery software supports 1000+ file types like photos, videos, documents, emails, audio files, and many more.

Step 3. Select the files you want to preview. Click "Recover" and set a storage location to save the recovered data.

Last. Fix the Hard Drive via Disk Clean Diskpart
Now that you have kept your files safe, but the device is still not accessible, you can follow the steps below to fix the device without any worries.
Step 1. Run Command Prompt as an administrator.
Step 2. Enter diskpart and click "Yes" to allow this app to make changes on the computer.
Step 3. Enter the following commands one by one:
- list disk
- select disk 1 (Replace "1" with the number of your problematic disk)
- list disk (Now you will see a star in front of the disk you selected)
- clean (Then you will receive a notification asking you to insert a disk. Click "Cancel". Repeat the "clean" command until you succeed.)
Step 4. If you have successfully cleaned your disk, enter the following commands in order:
- list disk
- select disk X
- create partition primary
- select partition 1
- active
- format fs=fat32 quick ("fs" means the file system you want to assign to the partition, be it FAT32, NTFS, or exFAT. "quick" indicates "quick format".)
If the process goes smoothly, you can now access your hard drive or USB drive and use it for data storage again.
Read Also: SFC scannow There is a system repair pending
Situation 2. Get the Prompt "The system cannot find the file specified" While Accessing Files/Folders
You will also see the error message when you try to open a folder or file by double-clicking it. There are three solutions to this situation.
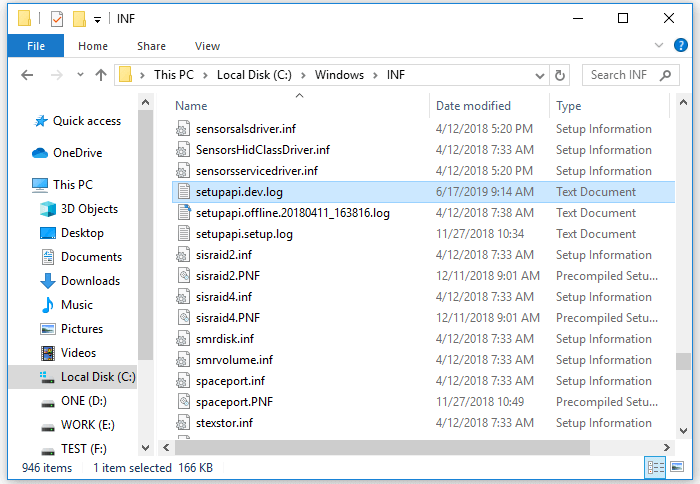
Method 1. Check the System Log File
Step 1. Navigate to the C:/Windows/inf directory and open the Inf folder.
Step 2. Locate the setupapi.dev or setupapi.dev.log file and open it.
Step 3. Press "Ctrl + F" hotkey and type cannot find the file in the search.
Step 4. Press "Enter" to run the search. You should get the missing file.
Step 5. Copy and paste it into the Windows/inf folder.
Step 6. Reinstall the hard disk driver and reboot the system.
Method 2. Look for Files via Regedit
Step 1. Press "Windows + R" and enter regedit. If there is a prompt asking for permission, click "Yes".
Step 2. Go to HKEY_LOCAL_MACHINE\SOFTWARE\Microsoft\Windows\CurrentVersion and check if there is "RunOnce". If not, add it manually.
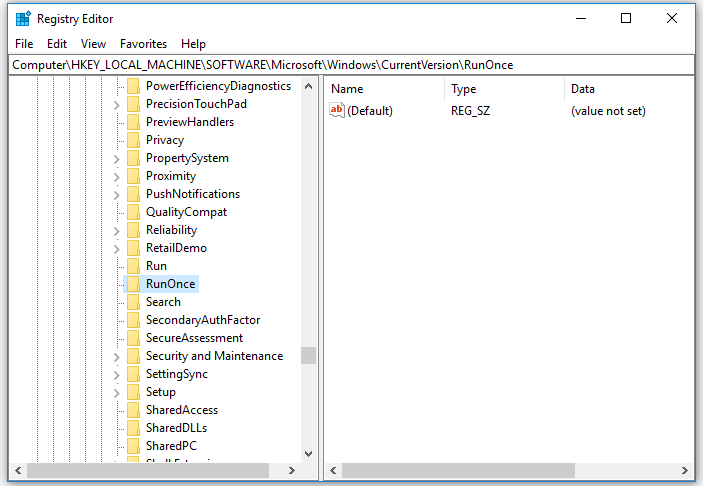
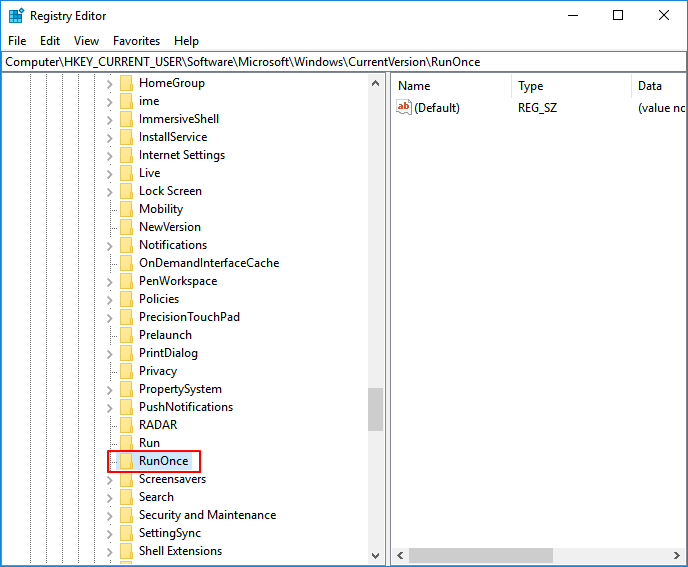
Step 3. Go to HKEY_CURRENT_USER\Software\Microsoft\Windows\CurrentVersion and check whether there is "RunOnce". If not, create it manually.
Step 4. Quit Registry Edit, restart your computer, and install hard disk drivers again.
Method 3. Check for RTHDCPL in Registry Key
Step 1. Press "Windows + R" and enter regedit. If there is a prompt asking for permission, click "Yes".
Step 2. Go to HKLM\Software\Microsoft\Windows\CurrentVersion\Run\ and look for RTHDCPL. If it doesn't exist, check for "Run" property and set the Admin-user permission as "Full Control", press "OK" to continue.
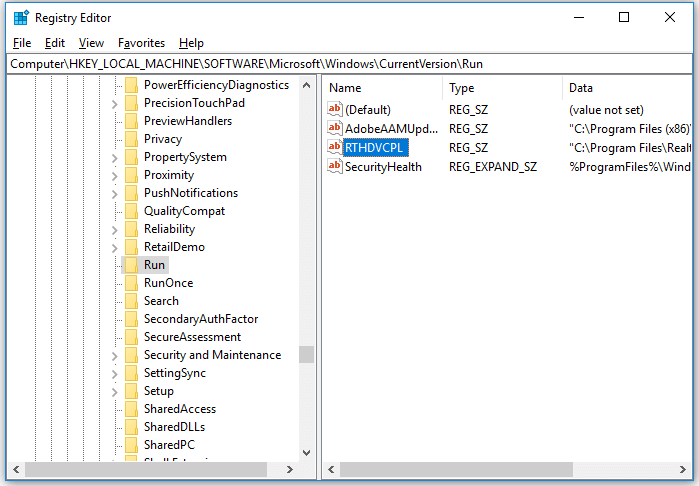
Be careful not to delete content from your registry since it may result in severe issues on your computer.
Situation 3. See the Prompt Saying, "The system cannot find the file specified" While Launching Programs
This one seems to occur frequently among users. Apply one of the three methods below to have a try.
Method 1. Update Your Hard Disk Driver
In this method, you will know a utility that is called, EaseUS DriverHandy. This tool can help you update all drives with one click. It can automatically scan all your outdated drives and update these drivers automatically. It can free your hands from the complex updating process. Now, download it to try.
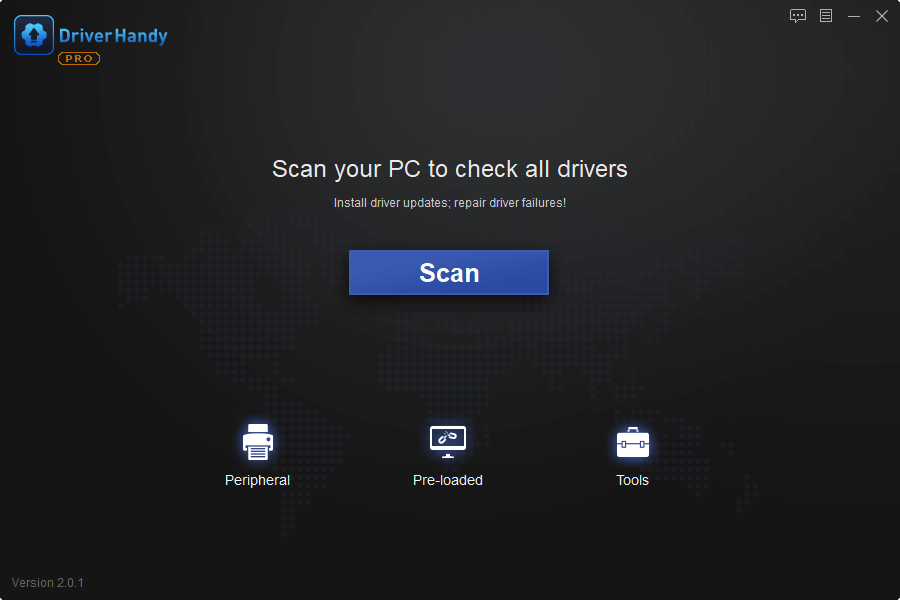
With the help of EaseUS DriverHandy, you can have:
- Better audio and sharper graphics
- Less freezing and crashing
- Smoother browsing and downloading
- Fewer hardware and system issues
Method 2. Reinstall the Program
Step 1. Quit the program.
- Right-click on your taskbar and choose "Task Manager."
- Under the Processes tab, select the program and choose "End Task."
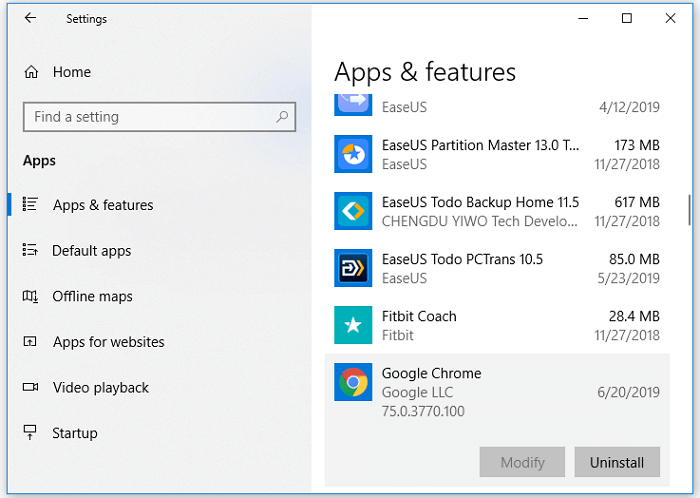
Step 2. Reinstall your program
- Go to "Windows Settings" > "Apps" > "Apps & features"
- Click the problematic program and choose "Uninstall."
- Go to Microsoft Store, download the application, and install it again.
Step 3. Restart your computer.
Method 3. End nginx.exe Process
You may feel unfamiliar with nginx.exe, which is an essential Windows process. The notification of the "The system cannot find the find specified" error may result from the fact that the Windows OS starts or restart the nginx.exe abnormally. To fix it:
Step 1. Right-click on your taskbar and choose "Task Manager".
Step 2. Under the Processes tab, select nginx.exe and choose "End Task."
Step 3. Download nginx.exe again and restart it.
Situation 4. Receive "The system cannot find the file specified" While Installing Drivers
If you receive the notification while installing a driver on your PC, you can try method 2 or 3 in Situation 2 to eliminate the "The system cannot find the file specified" error.
Situation 5. Get the Error Message "The system cannot find the file specified" While Backing Up System
If your condition fits this situation, you have several options to try. In addition to trying method 3 in Situation 3, you can also try the two tips detailed below.
Method 1. Install Windows updates
If you haven’t updated Windows for a long time, the "The system cannot find the file specified" error signifies that it's about time to install all pending updates. For this purpose, you have to:
Step 1. Press the "Windows + I" keys and select Update & Security.
Step 2. Click "Check for Updates" and wait.
Step 3. When the list of available updates is revealed, install all of them.
Step 4. Repeat the same procedure several times to ensure that all needed updates have been installed.
Step 5. Don’t forget to restart the system to finish the installation of updates.
If you find files are missing after the Windows update, you can restore the files with the help of the EaseUS data recovery tool. This free tool allows you to recover lost files in Windows 10, 8 or 7, etc., due to the system upgrade, system crash, careless deleting, or virus attacking within three simple steps.
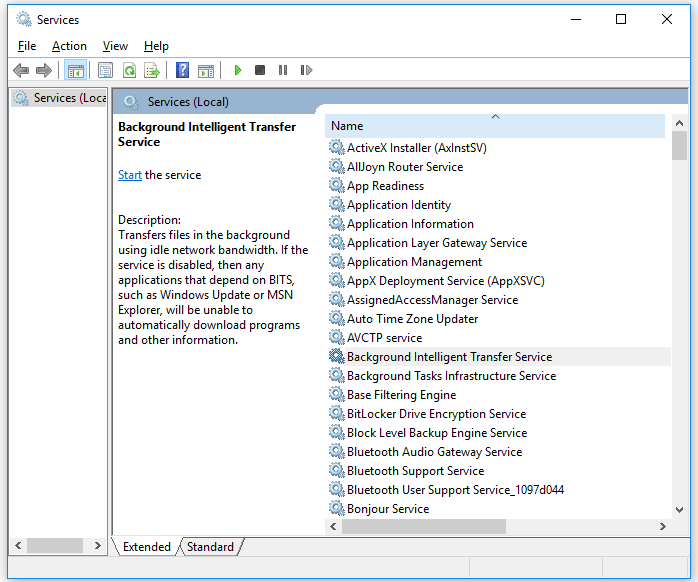
Method 2. Check Services Settings
Step 1. Go to the Start menu and type services.
Step 2. Go to "Background Intelligent Transfer Services", right-click it, and set the "Startup type" to "Automatic" or "Automatic (Delayed Start)", then click "Start".
Step 3. Go back to find "Cryptographic Services" and "Windows Update", then set their "Startup type" to "Automatic", too.
Step 4. Don't forget to click "Start" to initiate the service and click "Apply" > "OK".
The Bottom Line
Since the error message "The system cannot find the file specified" may appear in many situations, it's almost impossible to include all the solutions in one article. Thus, we have presented you with four commonest situations and the most effective fixes for them. Hope one of the tips above can fix "The system cannot find the file specified" for you successfully.
Was This Page Helpful?
Daisy is the Senior editor of the writing team for EaseUS. She has been working at EaseUS for over ten years, starting as a technical writer and moving on to being a team leader of the content group. As a professional author for over ten years, she writes a lot to help people overcome their tech troubles.
Brithny is a technology enthusiast, aiming to make readers' tech lives easy and enjoyable. She loves exploring new technologies and writing technical how-to tips. In her spare time, she loves sharing things about her game experience on Facebook or Twitter.
Related Articles
-
Desktop Keeps Refreshing on Windows 10/11 (Why & How to Fix)
![author icon]() Larissa/2024-03-15
Larissa/2024-03-15 -
Working on Updates 100% Complete Don't Turn Off Your Computer [6 Fixes]
![author icon]() Jaden/2024-02-21
Jaden/2024-02-21 -
How to Format Tesla USB on Mac [Detailed Instruction]
![author icon]() Cici/2024-01-11
Cici/2024-01-11 -
How to Fix Error Code 2003F When Entering Recovery Mode on macOS 13/12/11
![author icon]() Jaden/2024-04-09
Jaden/2024-04-09

EaseUS Data Recovery Services
EaseUS data recovery experts have uneaqualed expertise to repair disks/systems and salvage data from all devices like RAID, HDD, SSD, USB, etc.