
3 Ways | How to Screenshot on Acer Easily
Taking a screenshot on Acer's laptop sounds insignificant, but it plays a significant role in daily life. After all, screenshots are helpful in various ways. You can use screenshot tool to capture a specific moment of a video. That is useful when some video-sharing platforms lock the capture mode. The captured screenshot can also be shared with others and used for various purposes, from entertainment purpose to work.
Hence, it's essential to know how to screenshot on Acer and this post gives 3 ways.
Also read:
How to Take a Screenshot on Acer with EaseUS ScreenShot
Want to take a customizable screenshot of your Acer screen? Look no more than EaseUS ScreenShot.
Coming with an intuitive workflow and friendly user interface, this Windows screen capture software is easy to operate for all levels of users. Whether you are going to take full screenshots or partial ones, you can always get the task done with this freeware. What's more, it offers some other advanced options to enhance the screenshots you took, including but not limited to adding mosaics, texts, arrows, circles, and a lot more. Once done, you can choose to save it to your computer, or directly copy it to the clipboard to share with your friends.
Try this software to take a custom screenshot now!
How to take a screenshot with it:
Step 1. Download and install EaseUS Screenshot on your PC, then launch it.

Step 2. You will see two options on the toolbar. The left one is for "Rectangular screenshot", and the right one is for "Full screenshot".
To take a partial screenshot, you just click on the left button (or double click the "Ctrl" key), then drag your mouse to select the area on your screen; To take a full screenshot, you can click the right button (or double click "Alt" on keyboard).

Step 3. When the screen is captured, you can see an editing toolbar below the screenshot. It provides a set of tools to modify the screenshot by drawing, adding text, mosaic, etc.
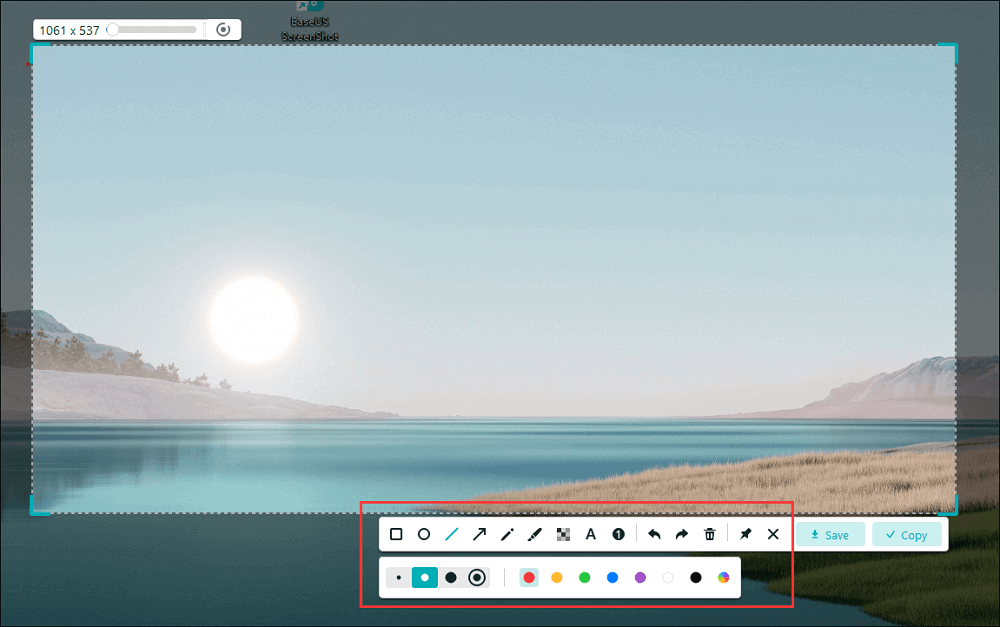
Step 4. Once done, click the "Save" button or press "Space" to save the screenshot. Or, you can click "Copy" or hit the "Enter" key to copy the screenshot to the clipboard.
How to Screenshot on Acer Using Keyboard
Finding out how to take a screenshot on Acer is pretty straightforward. However, there are some extra steps needed for some methods. When you take a screenshot on Acer using the shortcuts, the device will capture the screenshots immediately. It will be automatically saved on Acer. However, there are also some moments where you need to use another software to open the captured image.
Here are some methods of capturing a screenshot on Acer's laptop on Windows 7/8/10:
Windows 7
The method of capturing a screenshot on Acer on Windows 7 is pretty straightforward:
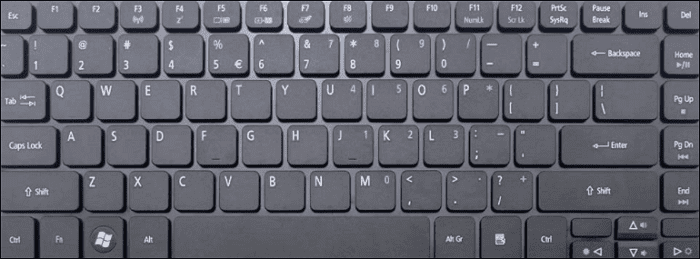
Step 1. Press "PrtSc" (Print Screen) located at the top right of the keyboard.
Step 2. Open Paint and press "Ctrl+V" to make the screenshot appear.
Step 3. If pressing "PrtSc" doesn't work, combine it with "Fn". This happens when PrtSc has another function besides capturing a screenshot.
Windows 8/10
Windows 8 and 10 have the same method of capturing screenshots, and it's pretty much automatic.
Step 1. Press the Windows key and then click "PrtSc".
Step 2. Go to the output location, and you will see your screenshot there.
Pros of Keyboard Shortcut
- No need for third-party installation
- Fast and immediate capture
- No interruption when we are watching a video
Cons of Keyboard Shortcut
- Keyboard shortcuts cannot be customized
- The complex shortcut combination makes it hard to remember
How to Screenshot on Acer via Snipping Tool
Suppose you want to use a method that doesn't use both keyboard and third-party software. In that case, you can opt for the built-in tool that's installed on Acer. to find the location, all you need to do is search "Snipping" on the Windows bar. Click the icon that has a scissor.
Here are the steps to use the Snipping Tool:
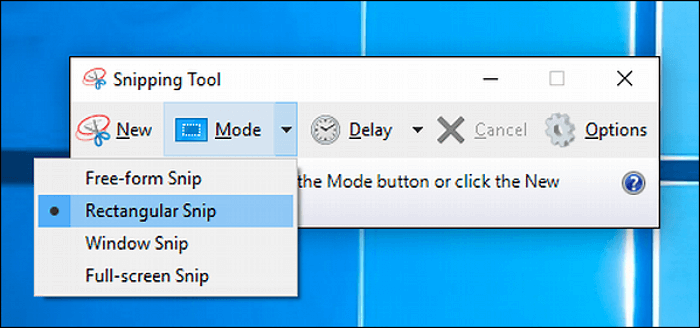
Step 1. Launch the Snipping Tool, and click "New".
Step 2. Drag the mouse on the area you want to capture
Step 3. When the Snipping window shows the screenshot, click "Save As" and save as the desired format.
Step 4. Open the output location and check to see if your screenshot image is there or not.
Pros of Snipping Tool
- The annotate function allows users to add notes
- Offer basic image editing
- Allow users to create GIFs
Cons of Snipping Tool
- Do not automatically save the screenshot
- There are times when the captured screen does not appear immediately
Conclusion
There are various ways to take a screenshot on Acer, from using keyboard shortcuts to built-in software. For total control of your screenshot, though, it's best to use EaseUS ScreenShot, as it allows customization on screenshot hotkey, scheduled recording, and many more.
Was This Page Helpful?