
How to Screenshot on MSI Laptop with 4 Ways
MSI laptops are seen by many people as one of the best laptops for gaming and productivity. If you are using this computer, you may be a gamer as well to some extent. In this case, if you want to keep your rank and share it with your friends, you can take a screenshot as it keeps all the information you see on the gaming screen.
If you don't know how to do it, you've come to the right place. Because in this article, we will give you almost all the workable solutions to help you take a screenshot on MSI laptops. Read through this essay and see how to screenshot on MSI laptops quickly and easily!
Part 1. Taking Screenshots With the PrintScreen Key
To take a screenshot on your computer, using hotkeys may be the most direct way. Therefore, we will show you how to screenshot your laptop screen with a press of the keyboard first. The PrintScreen key is designed to take screenshots on your computer screen with just one click. Let's dive in and see exactly how you can take screenshots with the PrintScreen key. Note that you will need a keyboard to do so.
Step 1. Opening the App or the screen you want to take screenshots. At first, you need to open the application or website of which you want to take a screenshot. If you want to take a screenshot of the entire screen of your MSI laptop, make sure that the app is running on full screen.
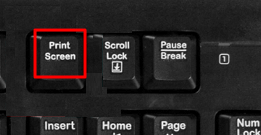
Step 2. Catch your keyboard and look for the "PrintScreen" key on the top line of your keyboard. Note that the key might be written as "PRTSC" instead of PrintScreen. If you can't find "PrintScreen", "PRTSC" also works.
Step 3. Press the "Windows" + "PrintScreen" keys at the same time. When you see the screen does a blink, it means that the screenshot has been taken.
Step 4. Once you have taken the screenshots, you can find the screenshots in the "Screenshots" under "Pictures".
Part 2. Taking Screenshots With EaseUS ScreenShot
To capture a screenshot on an MSI laptop, EaseUS ScreenShot will help you. It is an easy-to-use screen capture software that can enable you to capture full or just a part of your screen on your computer, which means you can decide which part of the screen will be captured. Whatever computer you use, Lenovo, Dell, HP, or others, EaseUS ScreenShot can take a screenshot for you with just one click.
Moreover, it provides some editing tools to help you enhance the screenshot you captured, such as adding text, drawing lines, inserting mosaics, and so on. Below are some main highlights of EaseUS ScreenShot:
- Friendly user interface and intuitive workflow
- Allows you to take customizable screenshots according to your needs
- Let you edit the screenshots instantly
- Pin the captured image to your desktop for later using
Now, you may download this free screen capture software by clicking the button below and start taking screenshots on an MSI laptop.
Step 1. Download and install EaseUS Screenshot on your PC, then launch it.
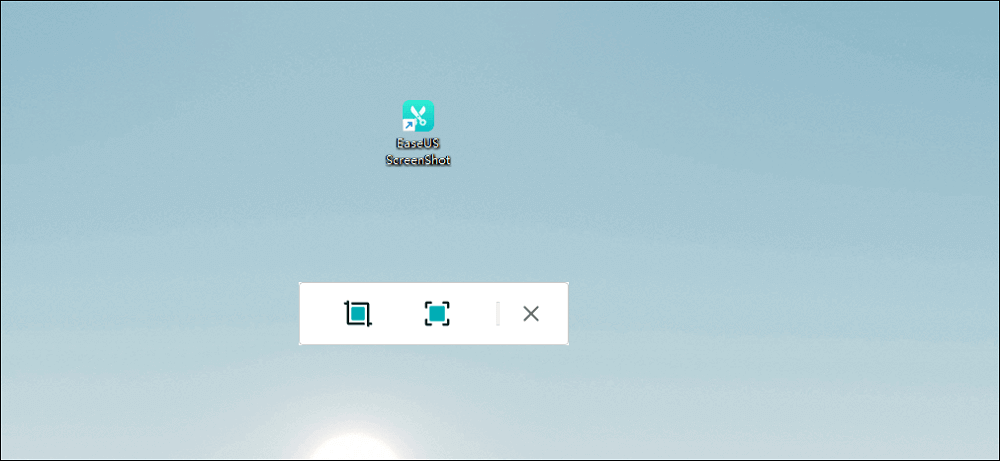
Step 2. You will see two options on the toolbar. The left one is for "Rectangular screenshot", and the right one is for "Full screenshot".
To take a partial screenshot, you just click on the left button (or double click the "Ctrl" key), then drag your mouse to select the area on your screen; To take a full screenshot, you can click the right button (or double click "Alt" on keyboard).

Step 3. When the screen is captured, you can see an editing toolbar below the screenshot. It provides a set of tools to modify the screenshot by drawing, adding text, mosaic, etc.
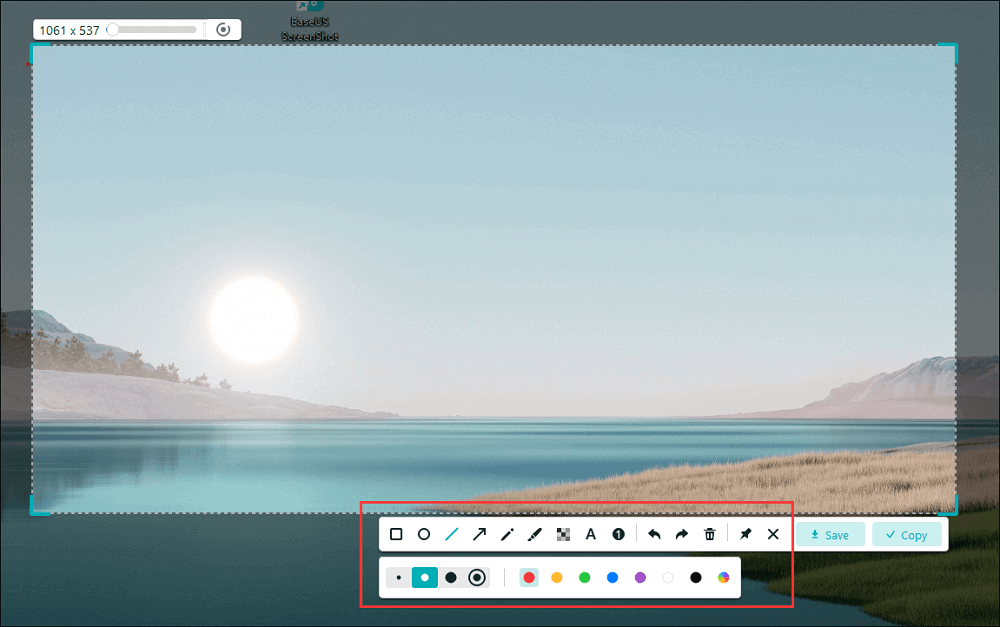
Step 4. Once done, click the "Save" button or press "Space" to save the screenshot. Or, you can click "Copy" or hit the "Enter" key to copy the screenshot to the clipboard.
Part 3. Taking Screenshots With Snipping Tool
Snipping Tool is a built-in free screen capture tool available on Windows 11, 10, 8, and 7. With this tool, you can capture your entire screen, capture a specific Window, and capture any areas on your computer screen as you wish. Now, let's see how you can take screenshots on an MSI laptop with Snipping Tool.
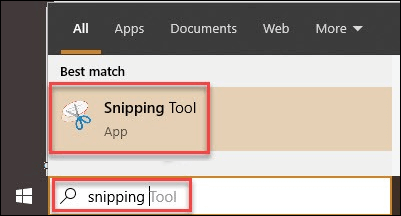
Step 1. Go to the windows search option and type in "snipping tool", and click on the application to launch it.
Step 2. To take a screenshot, you need to click on the new tab. Then, click your mouse on the left and hold it, then move around your mouse to select the area you want to take a screenshot of. After that, release the mouse, and the area you choose will be captured.
Step 3. Last, you can select the "save snip" option, give a name to it and then save your screenshot on the desired location of your laptop.
Part 4. Taking Screenshots With with Windows + G
Other hotkeys can help you take a screenshot on your computer, too. Win + G can awake Gamebar and you can then use it to take screenshots. This works on almost all laptops. Let's see how to do it step-by-step.
Step 1. Open the window that you want to take screenshots for.
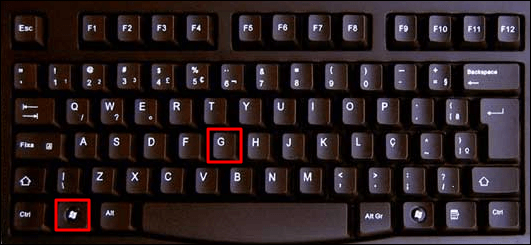
Step 2. Now Press "Windows" + "G" at the same time to awake "Gamebar".
Step 3. Use the screenshot-taking function to take screenshots on the MSI laptop.
Step 4. You can find this screenshot picture in the "screenshot" folder.
Conclusion
Taking screenshots is never a difficult task if you find a proper tool. In this article, we have shown you how to screenshot MSI laptops in four feasible ways. For most users, we recommend you download the user-friendly and comprehensive tool, EaseUS ScreenShot. Download it right now!
2Was This Page Helpful?