-
![]()
Daisy
Daisy is the Senior editor of the writing team for EaseUS. She has been working in EaseUS for over ten years, starting from a technical writer to a team leader of the content group. As a professional author for over 10 years, she writes a lot to help people overcome their tech troubles.…Read full bio -
Jane is an experienced editor for EaseUS focused on tech blog writing. Familiar with all kinds of video editing and screen recording software on the market, she specializes in composing posts about recording and editing videos. All the topics she chooses …Read full bio
-
![]()
Melissa Lee
Melissa is a sophisticated editor for EaseUS in tech blog writing. She is proficient in writing articles related to screen recording, video editing, and PDF file conversion. Also, she's starting to write blogs about data recovery, disk partitioning, data backup, etc.…Read full bio -
Jean is recognized as one of the most professional writers in EaseUS. She has kept improving her writing skills over the past 10 years and helped millions of her readers solve their tech problems on PC, Mac, and iOS devices.…Read full bio
-
![]()
Jerry
Jerry is a fan of science and technology, aiming to make readers' tech life easy and enjoyable. He loves exploring new technologies and writing technical how-to tips. All the topics he chooses aim to offer users more instructive information.…Read full bio -
Larissa has rich experience in writing technical articles. After joining EaseUS, she frantically learned about data recovery, disk partitioning, data backup, screen recorder, disk clone, and other related knowledge. Now she is able to master the relevant content proficiently and write effective step-by-step guides on various computer issues.…Read full bio
-
![]()
Rel
Rel has always maintained a strong curiosity about the computer field and is committed to the research of the most efficient and practical computer problem solutions.…Read full bio -
![]()
Gemma
Gemma is member of EaseUS team and has been committed to creating valuable content in fields about file recovery, partition management, and data backup etc. for many years. She loves to help users solve various types of computer related issues.…Read full bio
Page Table of Contents
Rel
Updated on Jan 02, 2024
0 Views |
0 min read
If you love simulation-based games, you must have heard of Sims 4, which is well-known thanks to all the close to real-life scenarios and tools it offers. If you are a YouTuber and want to record Sims 4 for YouTube, then this post is right for you. Here you will learn some screen recorder for Sims 4, and detailed tutorials on how to record Sims 4 gameplay on Mac and PC without any hassle. Then, you can share how you build a house, create a character, and so on to social platforms.
- How to Screen Record Sims 4 for YouTube via EaseUS RecExperts [HOT]
- How to Record Sims 4 Gameplay with Voice using Game Bar
- How to Record Sims 4 with OBS Studio on Mac
- How to Record in Sims 4 with Built-in Camera
How to Screen Record Sims 4 for YouTube via EaseUS RecExperts
EaseUS RecExperts is an easy-to-use screen and game recorder that can record high-quality videos at variable frame rates. Sims 4 supports 60 FPS gameplay, and the recorder can record at 60 FPS, which means you will have a smooth video output without any jitter.
Besides that, you can also use it to record green screen webcam. This is really beneficial for YouTubers who take gameplay videos with real-time comments. They can easily record their webcam and change the green background using video editing software. If you want to record some other games, it's helpful as the same. When you want to record games on Steam, this game recorder must be the most suitable choice.
EaseUS RecExperts
- Frame rate options make sure the game syncs with the FPS
- Able to capture games like record LoL gameplay
- Support webcam recording along with the gameplay
- Record streaming audio on many platforms
- Some editing tools like trimmer are available
No registration is needed!
Step 1. Launch the gameplay that you want to record. Next, open EaseUS RecExperts and click on the "Game" button on the left.

Step 2. Click on the "Select Game" option to choose a Game Window or Game Process. Then, you can enable the audio and webcam recording if needed. When all are done, click the big REC button to start the gameplay recording.

Step 3. A floating toolbar will appear, and you can pause or stop the recording. Besides that, the camera icon enables you to take a screenshot, and the timer icon lets you stop the recording automatically.

Step 4. After saving the recorded gameplay video, a media player will pop up. It gives you a built-in tool to trim the recording, extract audio from the video, and add an opening & ending part. You can find the tool at the bottom of the player.

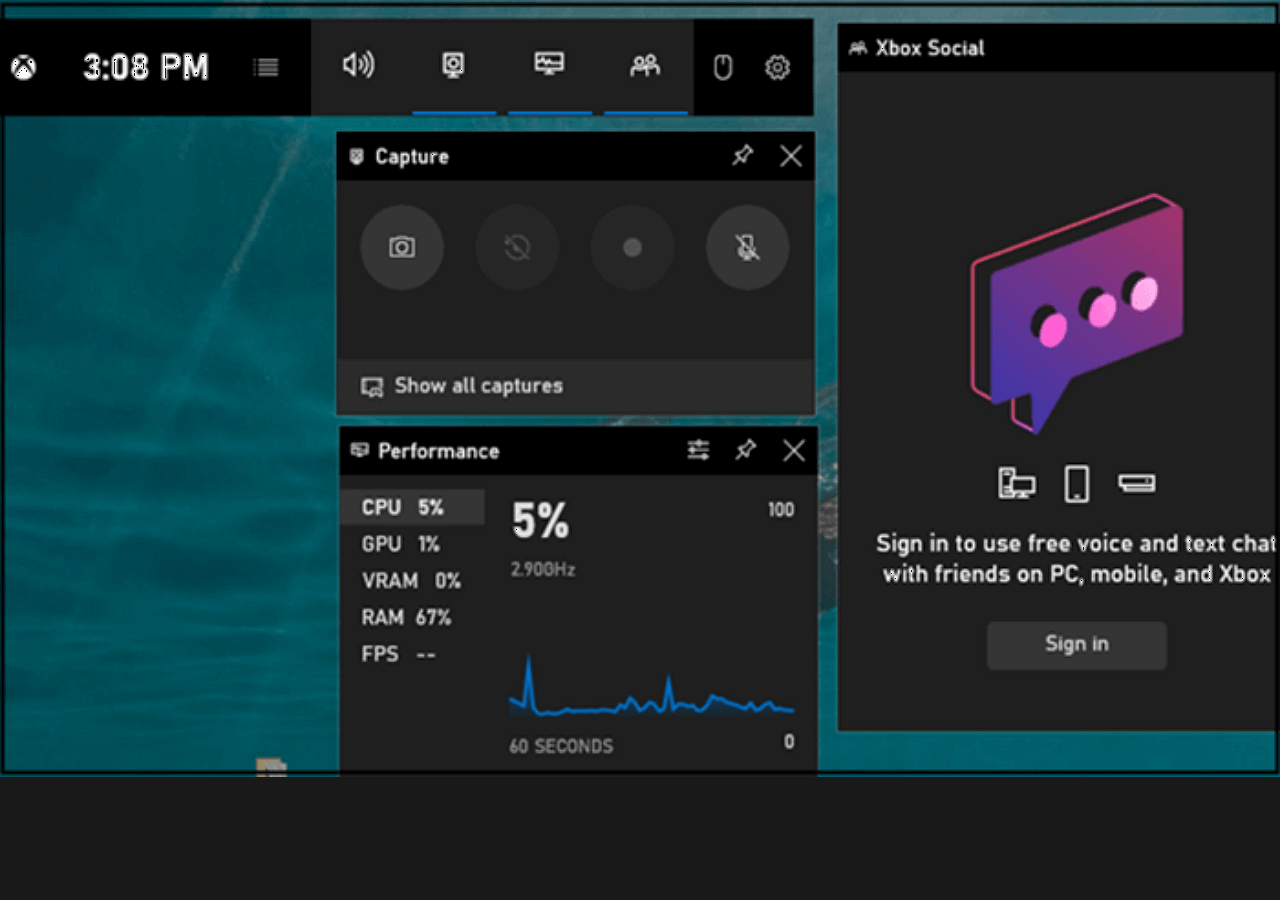
How to Record Sims 4 Gameplay with Voice using Game Bar
Windows 10 offers a built-in screen recording tool—Game Bar. It is an Xbox App tool that allows recording almost anything on the screen, including Sims 4 gameplay. It can automatically identify games, and once you have Sims 4 installed, it will automatically appear in the menu. The game bar also allows you to connect music services such as Spotify so you can play with music in the background.
Features:
- High-definition recording for gameplays
- Support platforms like Steam, Twitch, Discord, and more
- Instantly check how the video will look on large displays
- Keep a tab on performance, i.e., CPU, GPU usage
Steps to Record Sims 4 with Xbox Game Bar:
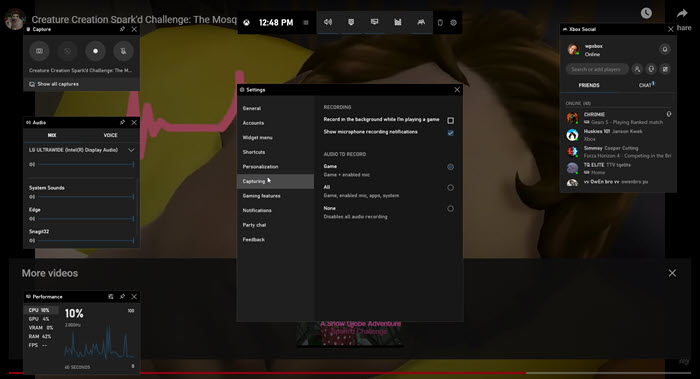
Step 1. Launch Sims 4 and get to the point at which you plan to record it. If there is an update, update it to the latest version for any interruption within the game—next, press Win + G to bring up the game bar.
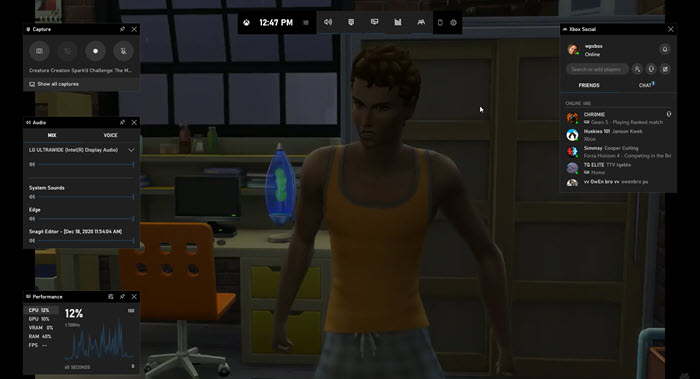
Step 2. Configure Microphone, Sound settings, chat, and everything else crucial for your recording. Look at all the widgets available, and make sure the setup is ready to record the game.
Step 3. Click on the record button in the capture section. You can also use Win + Alt + R to start recording.
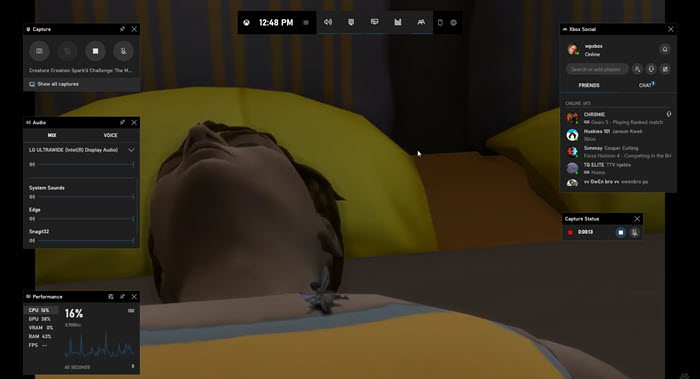
Step 4. Once done, click on the stop button on the floating button to stop recording. To stop the recording using the keyboard, use the same keyboard shortcut used to start recording.
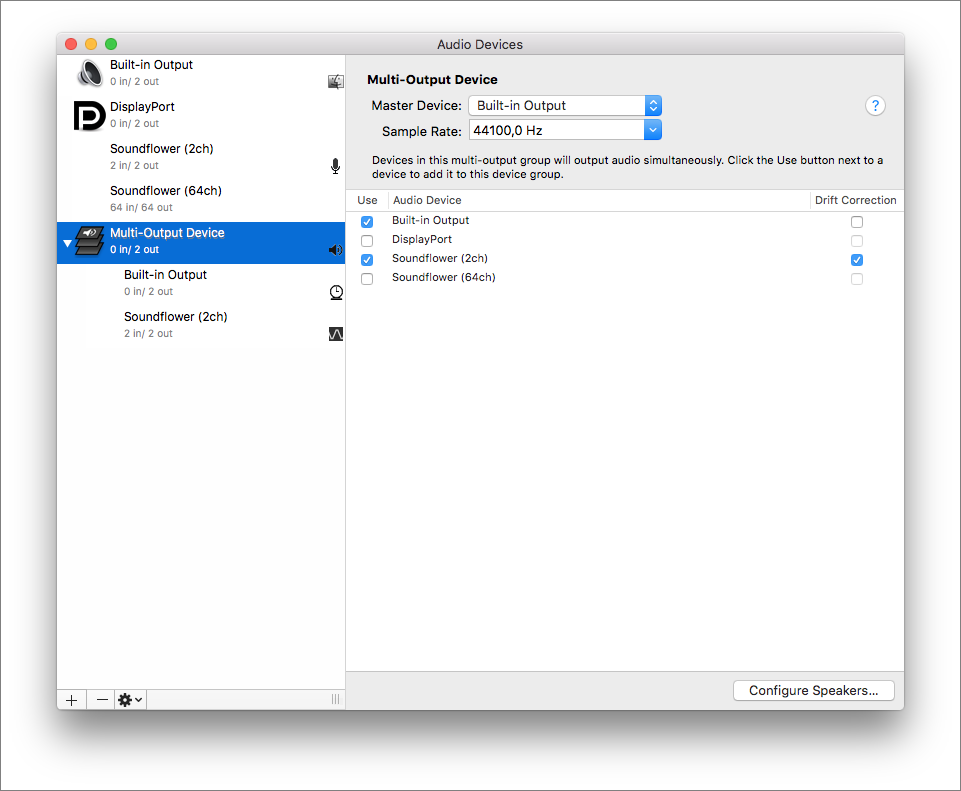
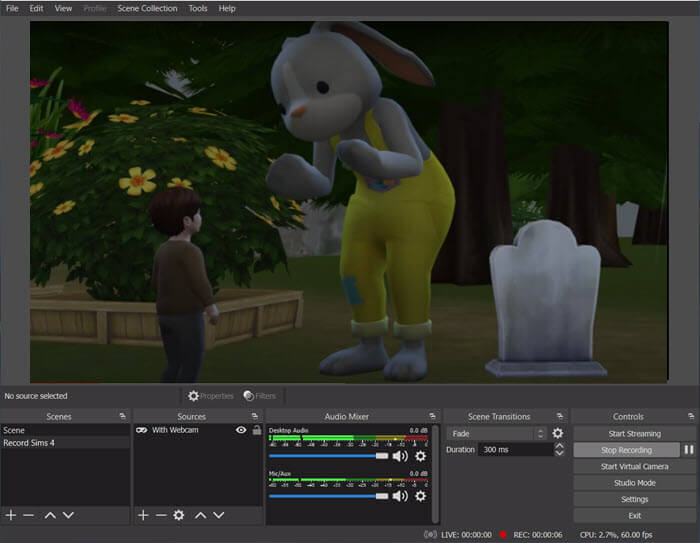
How to Record Sims 4 with OBS Studio on Mac
OBS or Open Broadcast Software is open-source software that has been built for recording and streaming. The software allows you to create scenes where you can choose multiple sources, set up audio sources, and so on. If you are planning to merge multiple videos or use the webcam during recording, this is the place to configure. The software is not heavy on the CPU, which makes it a great recording software.
Features:
- Support multiple video recording sources
- Real-time video and audio capturing and mixing
- Scene creation supports switching between different types of game recording
- Per-source filters such as noise gate and noise suppression
How to record the Sims 4 gameplay on Mac:
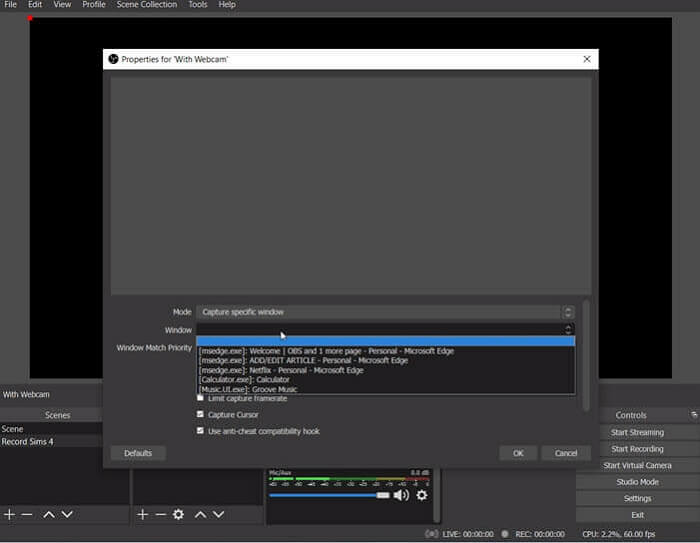
Step 1. The first thing to do is set up the scene and sources for it. The configuration panel offers both of them at the bottom. Once you have set up the scene's name, click on sources, right-click and add a new one. In the pop-up screen, select the Sims 4 Game application. Make sure to check the option to stretch the image to screen for full-screen recording.
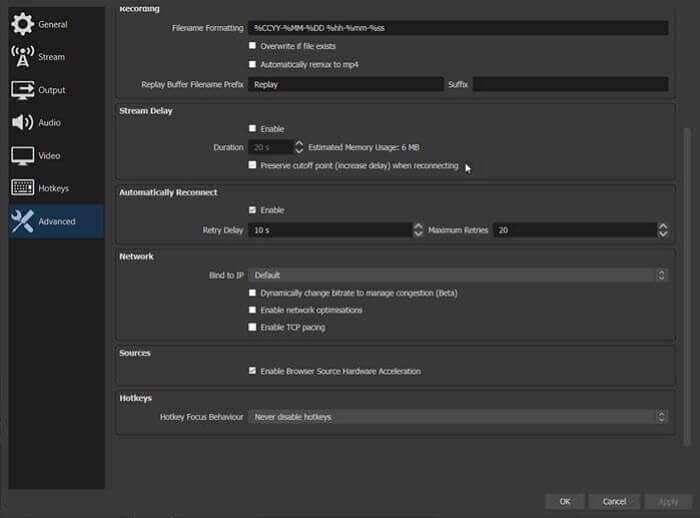
Step 2. Next, you should configure the Encoding settings. It would help if you unchecked the "Use CBR" option, configure quality balance, bitrate, buffer size, and apply. Switch to Video settings and set the resolution and FPS. Similar to this, configure audio settings for the best quality. Lastly, look at the advanced sections to configure video, network, and change as per the need.
Step 3. To get started, click on the Preview Stream. A red outline will appear, which you can configure and adjust. Finally, start recording, and once done, you are ready with the recording.
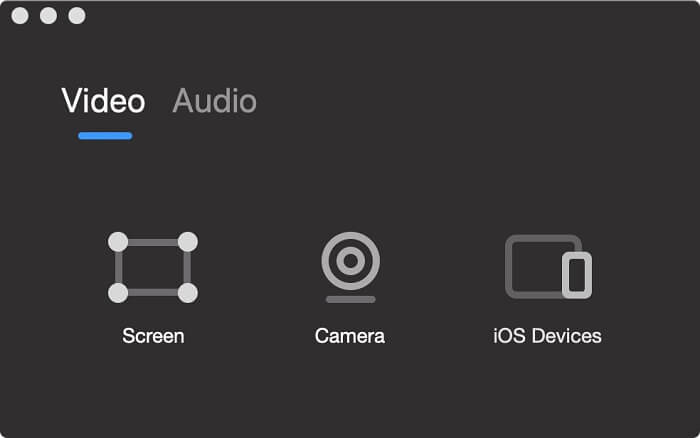
How to Record in Sims 4 with Built-in Camera
Sims 4 offers the built-in feature to record the gameplay. However, it is limited to a few minutes as it was built to record gameplay moments. It supports hotkeys for creating movies, and they are accommodating.
Features:
- Quickly switch between different views
- Hotkeys are available
- Memorize scenes to make sure the camera positions are correct
- Flexibility to create a movie timeline
How to record in Sims with voice using the inbuilt camera:
Step 1. Launch the Sims 4 game and select the screen recording function under the game option or video capture. Next, select the video quality, choose the sound option.
Step 2. Using the keyboard, press Tab to enable the camera mode. Then press the WASD keys to move the camera in different directions. Once done, use the numbers 5,6,7,8,9 on the keyboard to memorize the scene.
Step 3. Use the key V to start recording, and once done, press it again to stop. Do note that you can only record for a few minutes only.

Conclusion
Here are 4 methods to record Sims 4, and you can also use those ways to record other games you like in only a few clicks. Among all those recorders above, EaseUS RecExperts is the most competent one since it can simultaneously meet your needs in screen recording and video trimming. Download it and have a try now.
FAQs About How to Record Sims 4 on Windows and Mac
Here are answers to some of the common questions asked when it comes to recording Sims 4.
1. How do you record gameplay on origin?
You can use any game recording software such as OBS Studio to record Origin Game.
2. How do you make a stop motion on Sims 4?
You will have to use the Sims 4 built-in camera and memorize feature to record stop motion in Sims 4.
3. How do you record the video on Sims 4?
You can use the built-in camera to record high-quality video.
EaseUS RecExperts

One-click to capture anything on screen!
No Time Limit, No watermark
Start Recording