For most users, iCloud is an excellent way to bring their photos and videos from iPhone to Mac. It boasts impressive sync and backup capabilities, offline photo access, and easy management. Beyond these benefits, it also has some flaws that might not be acceptable for some users. If you're one of the groups who don't want to use iCloud, here are some iCloud alternatives to transfer photos from iPhone to Mac. Read on to get the details.
PAGE CONTENT:
- Transfer Photos from iPhone to Mac Without iCloud Using EaseUS MobiMover
- Import Photos from iPhone to Mac with Finder (for macOS Catalina and later)
- Upload Photos from iPhone to Mac Using Photos
- Transfer Photos from iPhone to Mac Without USB
Method 1. How to Transfer Photos from iPhone to Mac Without iCloud Using EaseUS MobiMover
When you want to transfer photos from iPhone to Mac without iCloud, using EaseUS MobiMover Pro is a good choice for you. With MobiMover installed on your Mac (or PC), you can transfer files from iPhone/iPad in iOS 8 or later to computer, add items to iOS device from computer, sync data from one iOS device to another and manage your iDevice content freely. No matter you want to transfer photos from iPhone to Mac like in this case or do other things like putting music to iPhone without iTunes and syncing contacts from one iPhone to another, using EaseUS MobiMover will bring you lots of conveniences.
Now, click the button below to safely download and install EaseUS MobiMover on your Mac, then follow the steps below to have a try.
Step 1. Connect your iPhone to Mac with a USB cable. Run EaseUS MobiMover, choose "Phone to Mac" and click the "Next" button to continue.
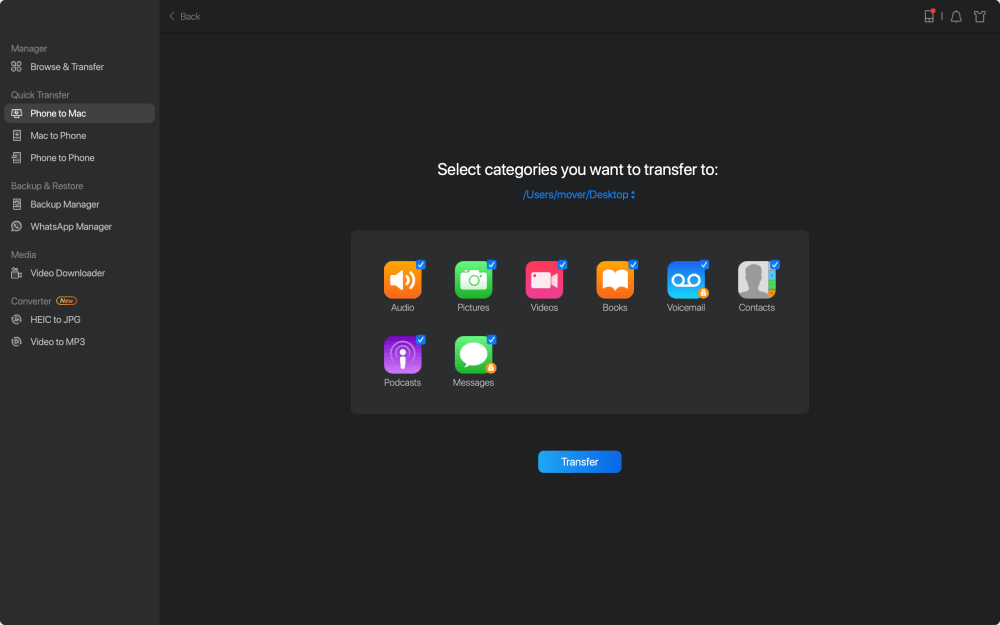
Step 2. Check the category/categories you want to copy from your iPhone to Mac. As you can see, you can copy other supported files together with photos from your iPhone to Mac all at once. After that, don't forget to customize the storage path for the exported photos unless you want to save them on your desktop.
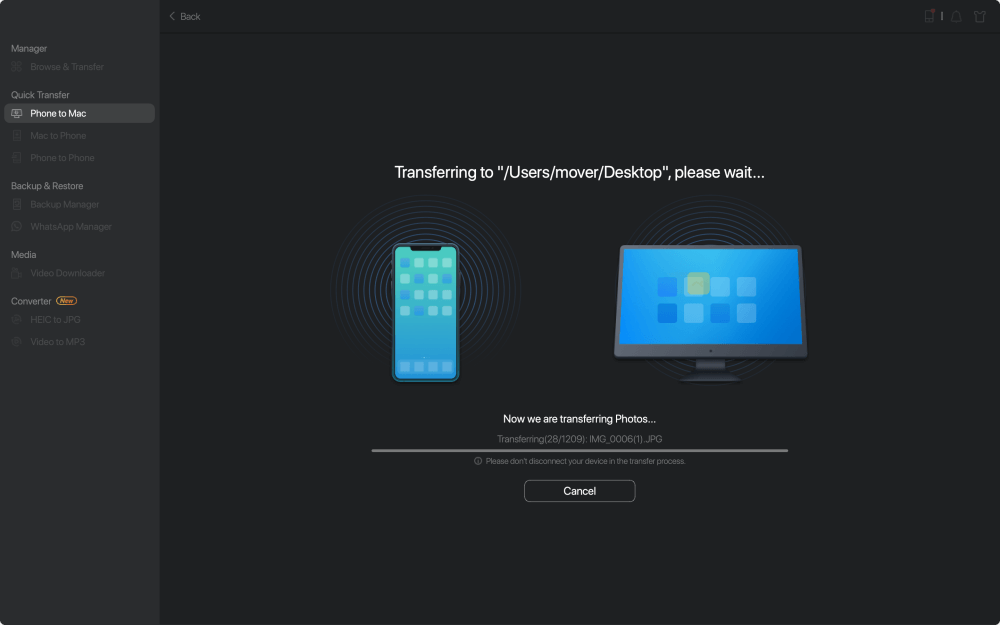
Step 3. Now, click the "Transfer" button to start transferring photos or other files from your iPhone to Mac without iTunes. Exporting files from iPhone to Mac with MobiMover is the right way for backup to avoid unexpected data loss.
Method 2. How to Import Photos from iPhone to Mac with Finder
Don't want to install third-party software on your Mac? No problem. Another possible way to copy photos from iPhone to Mac (only supports macOS Catalina and later) is to utilize Finder, which works similar to iTunes but runs more stable and faster. Here's how it works.
Step 1. Connect your iPhone to your Mac with a USB cable and run Finder.
Step 2. Then, your iPhone will appear in the sidebar of the Finder Window under Locations. Just click on it.
Step 3. If prompted, tap on "Trust" on your iPhone.
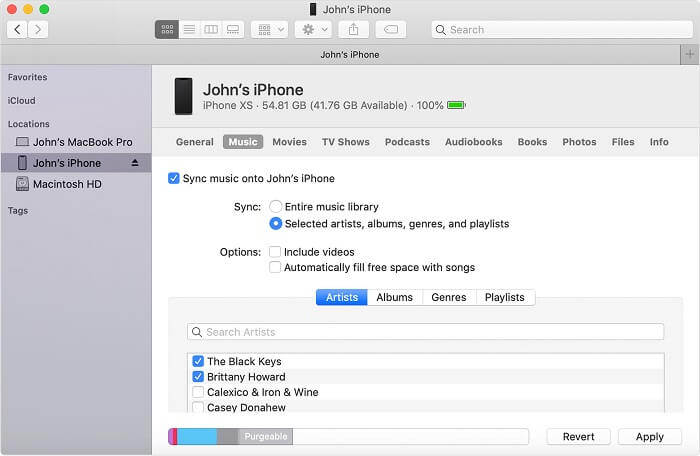
Step 4. Select "Photos" and check the "Sync photos to your device from" option.
Step 5. Choose your photos you'd like to share.
Step 6. Click "Apply" to start transferring pictures from iPhone to Mac.
![Transfer photos from iPhone to Mac via Finder]()
Method 3. How to Upload Photos from iPhone to Mac Using Photos App
If you regularly use the Photos app on the Mac to manage your photos, then you can manually plug your iPhone into your Mac and import photos with the Photos app.
Note that this only works with photos stored in Camera Roll. If you want to transfer photos stored in Photo Stream or Photo library, go back to use Method 1 or Method 2.
Step 1. Connect your iPhone to your Mac.
Step 2. Open Photos App if it doesn't run automatically.
Step 3. Go to the Import screen, choose the photos you'd like to transfer to Mac. If you don't see this option, just click on your device name in the sidebar manually.
Step 4. Click "Imported Selected." You can also click "Import All New Photos" to transfer all new photos from iPhone to Mac without iCloud.
![Import photos from iPhone to Mac]()
Method 4. How to Transfer Photos from iPhone to Mac Without USB
As you can see, all methods we mentioned above require you to use a USB. But if there is no USB cable available or your USB cable gets damaged, how to transfer photos from iPhone to Mac without USB?
Don't worry, either AirDrop or Cloud service has the ability to move photos between an iPhone and a Mac wirelessly.
Option 1. Transfer Photos from iPhone to Mac Without USB via AirDrop
Step 1. Turn on AirDrop on your iPhone and Mac.
Step 2. Open Photos App on your iPhone.
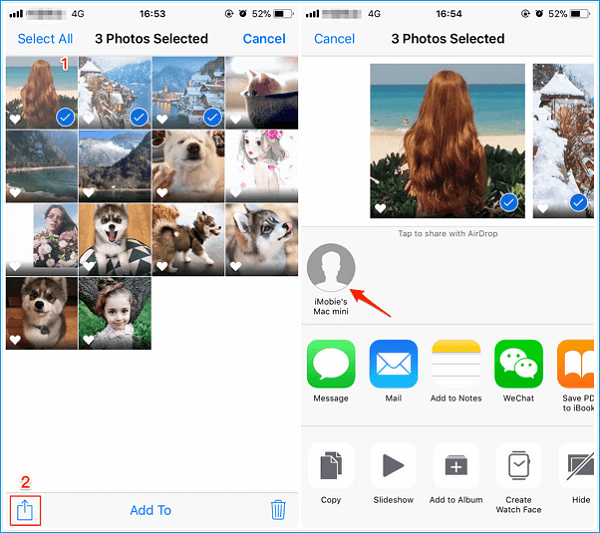
Step 4. Select the photos you'd like to export to Mac.
Step 5. Click the Share button and click the name of your Mac in the AirDrop section to import photos from iPhone to Mac without iCloud.
![How to transfer photos from iPhone to Mac without iCloud]()
Using similar steps, you can AirDrop photos from iPhone to iPhone if you need.
Option 2. Move Photos from iPhone to Mac Using Cloud Services
If you prefer to use a non-Apple cloud service, such as Google Photos, Dropbox, OneDrive, etc, you can follow the steps below to do it with ease. Here we will take Google Photos for an example.
Step 1. Launch the Google Photos app on your iPhone and log in with your Google account when asked.
Step 2. If this is the first time using this app, you will be asked to access your photos, tap OK.
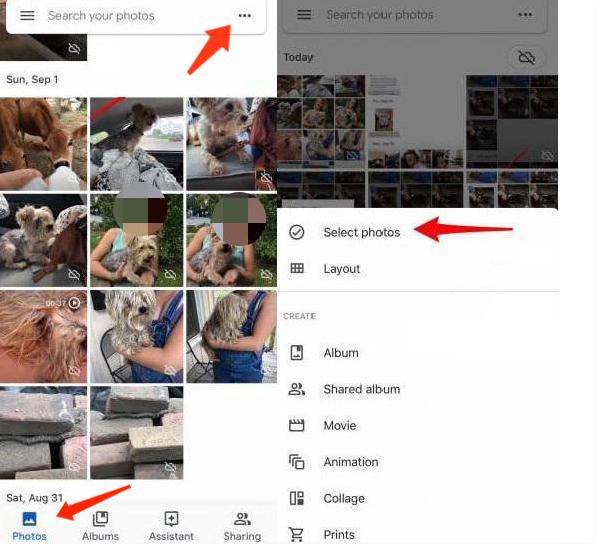
Step 3. Go to Photos option > Tap the three vertical dots in the upper right corner.
Step 4. From the options, choose "Select photos."
![Transfer Photos from iPhone to Mac via Google Photos]()
Step 5. Select the items you wish to upload and tap three dots in the upper corner.
Step 6. Select Back up. Then, the selected photos will be uploaded.
Step 7. Open Google Photos on your Mac and download pictures to your Mac.
The Bottom Line
That's all about our guide on how to transfer photos from iPhone to Mac. As you can see, there are many different ways to get this job done, whether you have iCloud or not. Even without USB cable around you, we also have the way to help you achieve your goal.
 NEW
NEW HOT
HOT