Applies To: iPhone XS/XS Max/XR, iPhone X, iPhone 8, iPhone 7 or iPad in iOS 11
With the help of iCloud, you can upload your iPhone photos to iCloud Photo Library, which enables you to access and view your iPhone photos on all your devices. It's indeed a useful feature that serves to back up your iPhone or share content across your devices. That's why so many users are looking for the way to transfer iPhone photos to iCloud. If that's what you are thinking about, reading this article to get the detailed steps on how to save iPhone photos to iCloud is a good choice for you.
Part 1: How to sync iPhone photos to iCloud
Luckily, the steps to back up your iPhone photos to iCloud are not complex at all. However, to make sure you can upload iPhone photos to iCloud smoothly without problems like "iPhone not uploading to iCloud", it's necessary for you to:
- Connect your iPhone to a stable and reliable Wi-Fi network.
- Make sure your iPhone battery is charged.
- Make sure there is enough iCloud storage available for you to copy all your iPhone photos to iCloud. (Get a full iCloud storage? Learn how to free up space on iCloud or buy more storage from Apple.)
Then follow the steps below to sync your iPhone photos to iCloud.
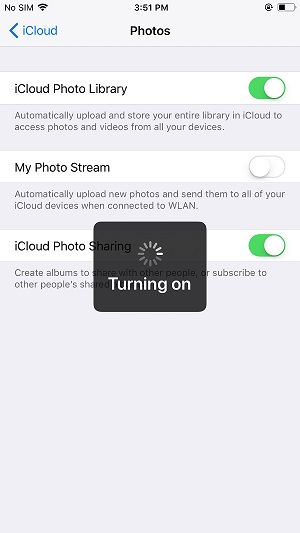
Step 1: Go to Settings App on your iPhone in iOS 11.
Step 2: Choose [your name] > iCloud > Photos.
Step 3: Toggle on iCloud Photo Library to start to upload your iPhone photos to iCloud.
Find iCloud backup slow? Learn the tips on how to make iCloud backup faster to save your time.
![How to sync iPhone photos to iCloud]()
Part 2: How to back up/sync your iPhone photos without iCloud (FREE)
Want to back up your iPhone photos or sync photos across your iOS devices by using iCloud? Although you can make it with simple steps, uploading your iPhone photos to iCoud may not work as you expect. Thus it's necessary for you to learn an alternative way to back up your iPhone photos or share photos between two iOS devices. The completely FREE tool that can help you with it is EaseUS MobiMover Free, the software for iOS data transfer and file management. With MobiMover installed on your PC running Windows 7 or later, you can back up iOS device (iPhone/iPad in iOS 8 or later) to PC, sync files from one iDevice to another or transfer data from PC to iPhone/iPad free of charge.
- What can MobiMover transfer or manage for you:
-
Photos: Camera Roll, Photo Library, Photo Stream, Photo Videos
Videos: Movies, TV shows, Music Videos
Audios: Music, Ringtones, Voice Memos, Audiobooks, Playlists
Others: Contacts, Notes, Messages, Voice Mails, Books, and Safari Bookmarks
With MobiMover, you can not only sync your iPhone photos to PC all at once (as shown in the steps below) but also transfer photos from one iOS device to another easily without any cost. Don't hesitate to have a try.
Step 1. Connect your iPhone to your computer (Mac or PC) with a USB cable and run EaseUS MobiMover. In MobiMover, choose "Phone to PC" to back up all your iPhone photos to the computer at once. Then, click the "Next" button to go on.
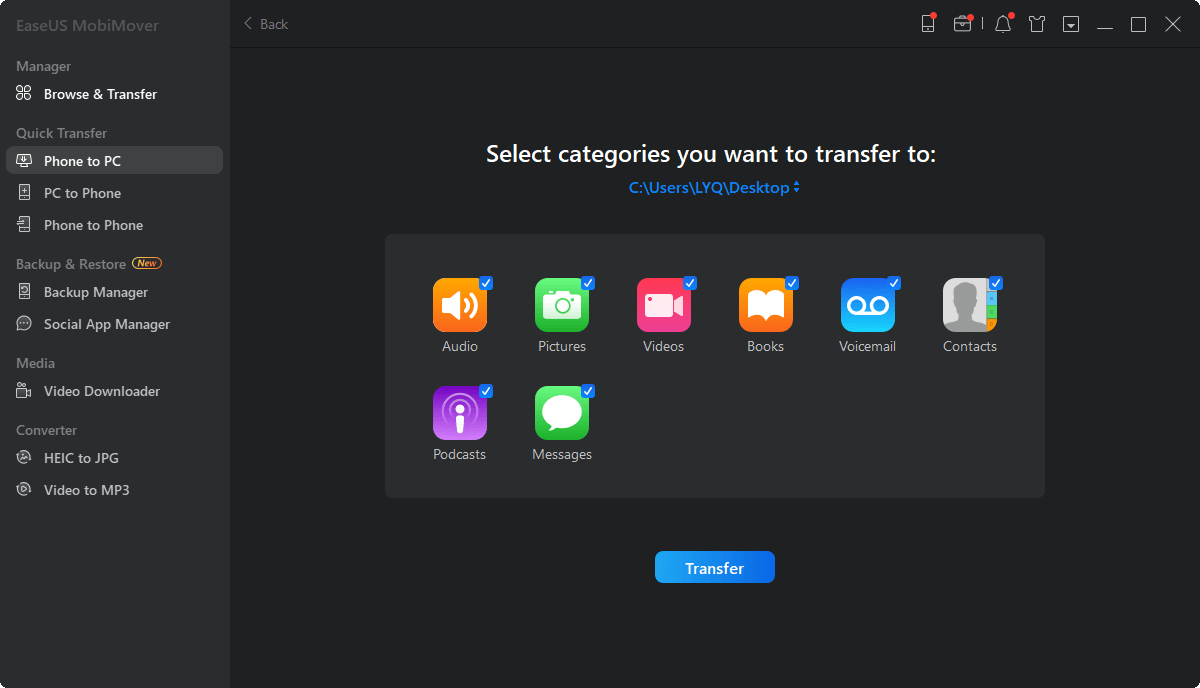
Step 2. Select the category/categories you'd like to back up. It's an excellent choice to make a copy of all the supported file types on your iPhone using the data transfer feature. You can see from the screenshot below, MobiMover enables you to back up iPhone data on your desktop or customize the storage path by yourself.
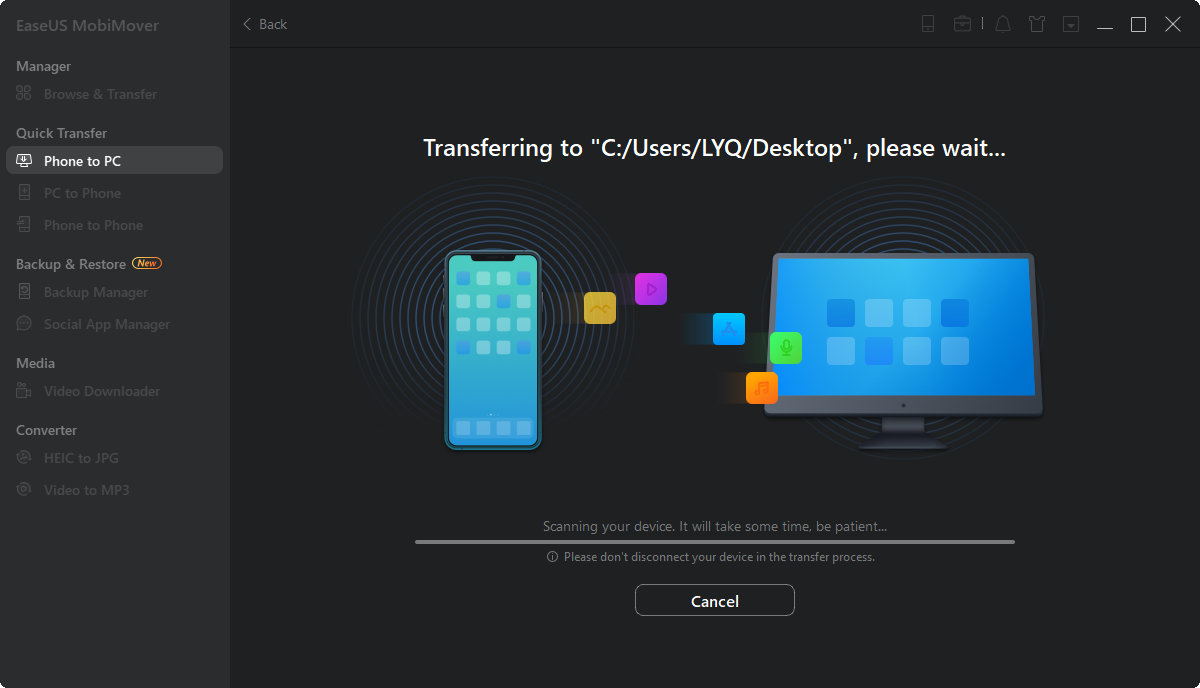
Step 3. Now, click the "Transfer" button to start backing up your iPhone photos to computer without iCloud. The transmission is high-speed, and you don't have to wait too long.
 NEW
NEW HOT
HOT