What's the iPhone DFU Mode? DFU or Device Firmware Upgrade mode allows all devices to be restored from any state. It is essentially a mode where the boot ROM can accept iBSS. DFU is burned into the hardware, so it cannot be removed. So, when your iPhone 8/8 Plus/X running iOS 11 can't be turned on or recognized by iTunes, you can put your iPhone into DFU Mode, which can make your iPhone recognized by iTunes. And then, you can restore your iPhone in DFU Mode by iTunes effectively and safely.
In addition to that, you may also need to put your device in DFU mode when your iPhone gets locked. If you, unfortunately, encounter this problem, check our guide on how to get into a locked iPhone.
How to get into DFU Mode on iPhone 8/8 Plus/X
Get into DFU Mode with One-Stop iPhone Toolkit
EaseUS MobiXpert is an all-in-one iPhone Toolkit designed to solve iPhone/iPad/iPod problems. Whether your iPhone is stuck on the Apple logo screen or the recovery mode, you can utilize it as your great helper.
Main Features:
- Fix iOS/iPadOS system issues without effort.
- It can iTunes errors in a few clicks, such as iTunes backup and restore errors.
- If you want to get into recovery mode, it enables you to get into it with one click.
- It supports updating or downgrading your iOS systems with ease.
Step 1. Install and launch EaseUS MobiXpert on your computer. Connect your iPhone/iPad to computer. From the main interface, click System Repair.
![home page]()
Step 2. Click iOS/iPadOS System Repair to get into DFU mode.
![ios system repair]()
Step 3. Choose a mode to restore your device to the original state.
![select repair mode]()
Step 4. After your device is recgonized, select your device and choose the correct device model. Then, follow the on-screen instructions to put your device in DFU mode.
![enter dfu mode]()
Put iPhone 8/8 Plus/X into DFU Mode Officially
Most iPhone users don't know how to get into DFU Mode. Don't worry. This article will provide you with the method to put your iPhone Plus/X into DFU Mode. (Want to learn more tips and get the most out of iPhone? Please go to the iOS & Mac Topics section to find what you need.) So, please follow the tutorial below and get into DFU Mode on your iPhone 8/8 Plus/X.
Step 1. Connect your iPhone 8/8 Plus/X to a computer using a USB cable.
Step 2. Quick-press the Volume Up button.
Step 3. Quick-press the Volume Down button.
Step 4. Hold down the Side button until the screen goes black, then hold down both the Side and the Volume Down buttons.
Step 5. After 5 seconds, release the Side button while holding down the Volume Down button.
Step 6. If the Apple logo appears, the Side button is held down for too long.
Step 7. Nothing will be displayed on the screen when the device is in DFU mode. ITunes will alert you that a device was detected in recovery mode if open.
If your iPhone 8/8 Plus/X shows a screen telling you to connect the device to iTunes, like the picture below, retry these steps.
![connect device to iTunes]()
Back Up iPhone First Before Getting into DFU Mode
When you successfully get into DFU Mode and restore your iPhone 8/8 Plus/X using iTunes, you will lose all the data on your iPhone. So it's important to back up your iPhone 8/8 Plus/X data to a computer. Here you May need the iPhone data transfer software that can help you to transfer all the data in your device to the computer with just one click. The free iOS data transfer software - EaseUS MobiMover Free - can easily make it.MobiMover can help you transfer files between iOS devices or between iOS devices and computers and manage your iOS content by deleting, adding, or editing items on your device from your computer. Sounds great? Equip your computer with MobiMover and launch the application to try transferring iPhone 8/8 Plus/X data to your computer.
Step 1. Connect your iPhone 8 or iPhone X to your PC with a USB cable. If asked, tap "Trust" on the device screen. Open EaseUS MobiMover and select the transfer mode "Phone to PC". Then, click "Next" to export iPhone data to the computer.
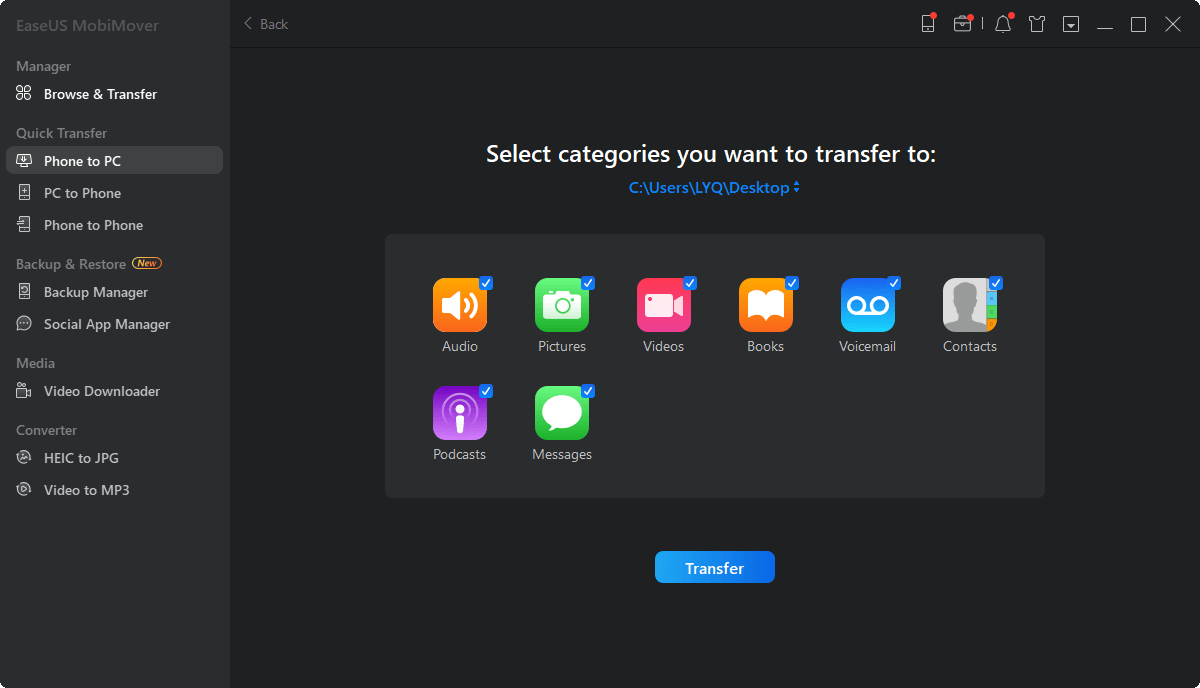
Step 2. All the compatible data from your iPhone will be read and loaded here. You can transfer them all or select a particular type to download to PC by checking the boxes. The default path to keep the transferred items is C:\Users\Owner\Desktop, you can customize a location as well. Click "Transfer".
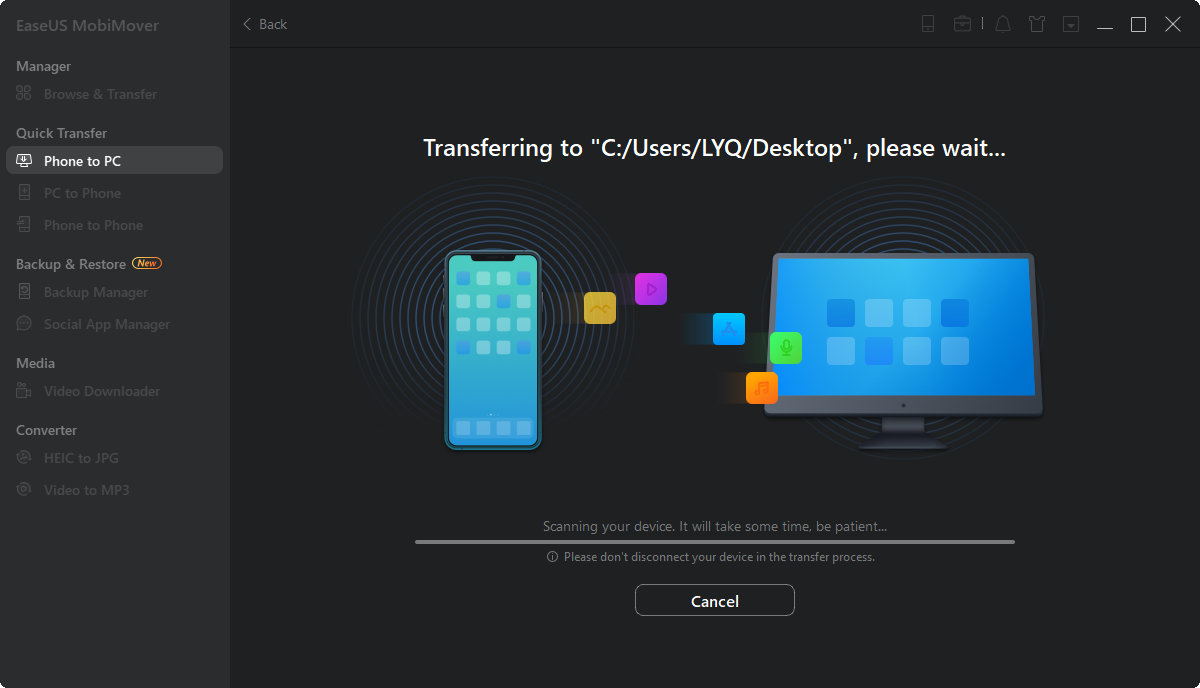
Step 3. MobiMover will start immediately to transfer files from iPhone X or iPhone 8 to PC without a hitch. Don't disconnect the USB connection until the process accomplishes. Unlike iTunes, MobiMover can move iOS data in an accessible way. When the transferring has done, you can open and check the exported files.
Conclusion
In this article, you have learned two methods to get your iPhone 8/8 Plus/X into DFU Mode: one with third-party software - EaseUS MobiXpert; the other is the official way. However, when you enter the mode, you should know that your iPhone will be erased. On this occasion, it is advised to back up your iPhone first.
How to Get into DFU Mode on iPhone 8/8 Plus/X FAQs
1. How do I get my iPhone 8 Plus out of DFU mode?
The method for iPhone 8 Plus users to exit the DFU Mode is to:
- Action 1. Press the Volume Up button.
- Action 2. Press the Volume Down button.
- Action 3. Hold down the Side button until your device restarts.
The method also applies to iPhone 8 and iPhone X.
2. How do I put my iPhone 8 in DFU mode without a computer?
To put iPhone 8 and newer models into DFU mode without a computer is to press and release the volume up button and repeat the action on the volume down button. Then, press and hold the side button until you see the recovery screen.
 NEW
NEW HOT
HOT